Another day, more wheels (and so on).
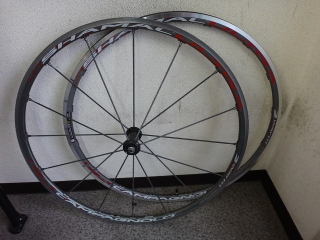
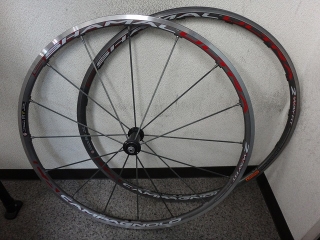
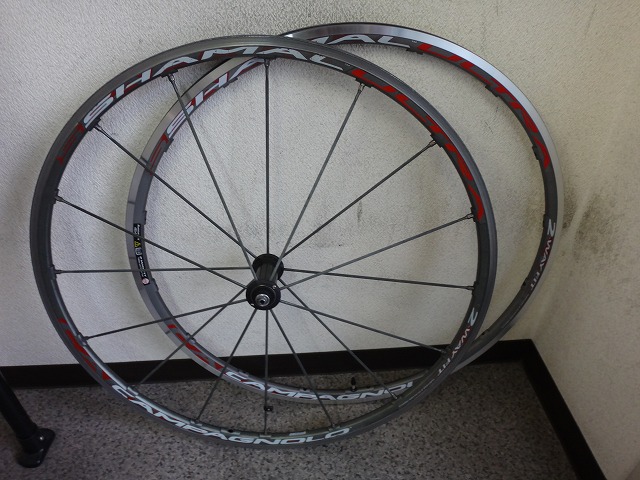
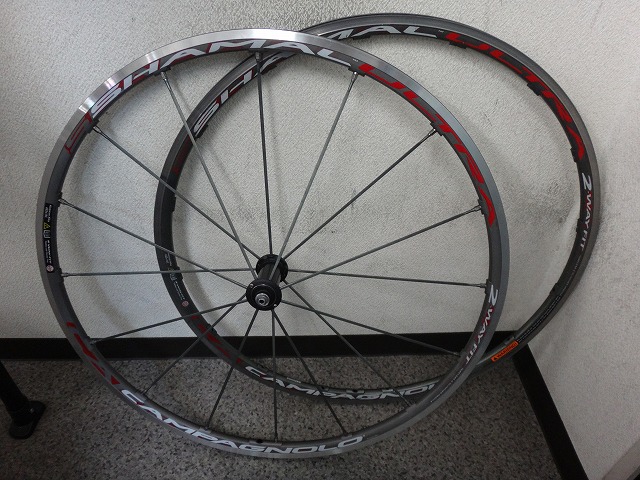
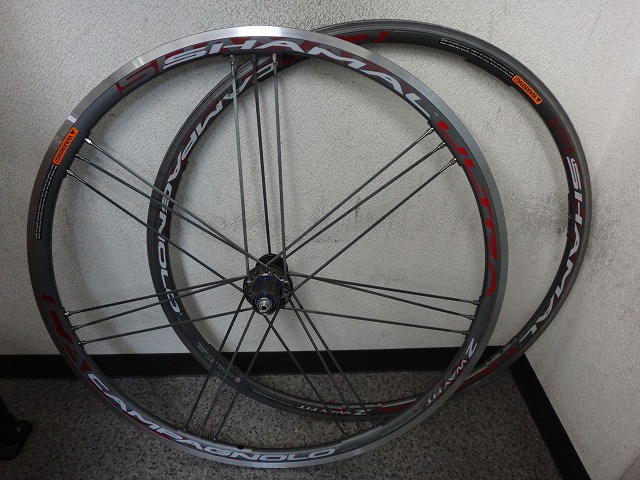
A customer brought in a Shamal Ultra for me to work on.
Both the front and rear wheel rims had severe wear in the brake zones,
so we decided to replace the rims.
You might think "why not just buy a new Shamal Ultra?",
but this customer's frame and seatpost are titanium,
and they've also chosen a titanium-colored gray anodized handlebar set,
so they have an unmovable commitment to this particular rim color.
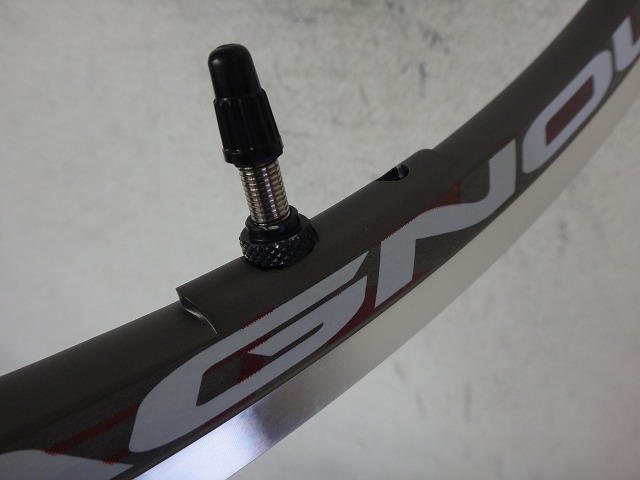
Both front and rear rims had lost their valve bushings,
but there's no need to replace them.
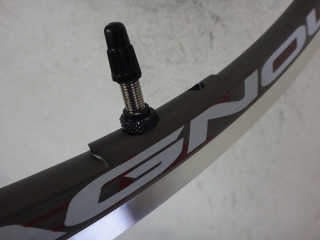
Since these are 2WAY-FIT rims, they came with valve bushings and tubeless valves.
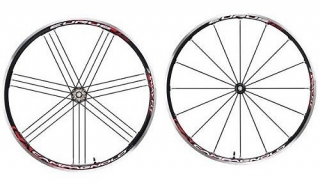
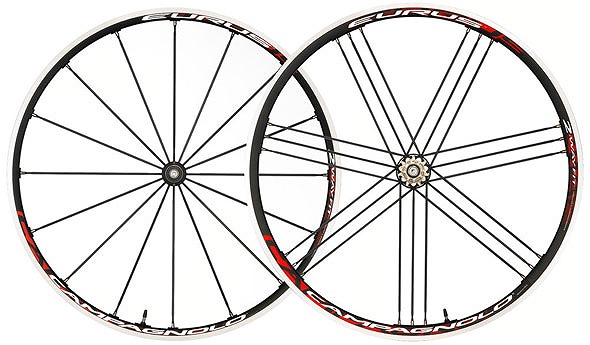
Also, in the case of the black Shamal Ultra which shares rims with the Eurus (Fulcrum wheel),
the stickers are sold separately,
but since this titanium gray is a color exclusive to the Shamal Ultra,
the stickers are already applied.
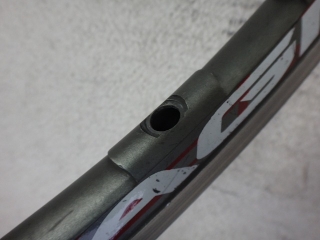
On the old rim, the valve hole sits midway between the nipple holes,
but on the new rim, the reinforcement bump serves as both
the valve hole and nipple hole, so the valve's phase relative to the spokes is shifted.
Current Campagnolo rims, whether WO or 2WAY-FIT,
seem to have the valve hole with its own reinforcement,
but there's a period where some 2WAY-FIT models have both valve and adjacent rim hole reinforced,
and with Fulcrum wheels it seems like double-hole reinforcement is more common.
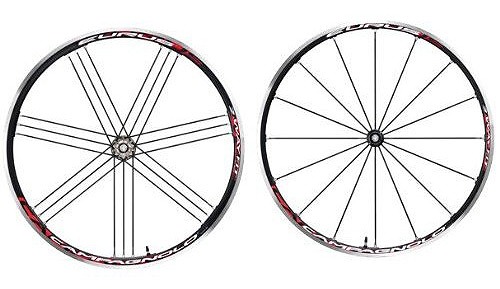
In the 2017 models, the Racing Zero Competizione 2WAY-FIT
had double-hole reinforcement.
Some Racing Zero WO models have triple-hole reinforcement,
with the valve hole and both adjacent nipple holes reinforced.

↑These look like they're from the same era (though the "2WAY-FIT" lettering is different sizes)
and even the Eurus 2WAY-FIT has mixed versions.
Maybe I shouldn't be worrying about this.
All built up.
I also did a hub overhaul.
The preparation work takes several times longer than the actual wheel building,
but that's just how it goes with wheels like this.

Now for the rear wheel.

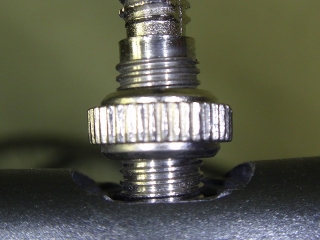
If you tighten down the double-step valve nuts on Schwalbe tubes,
they fit perfectly into the valve bushing holes required by 2WAY-FIT.
If you loosen them, it defeats the purpose, and over-tightening is bad too, so this doesn't really solve the problem.
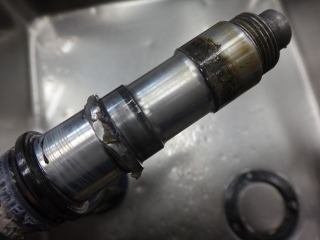
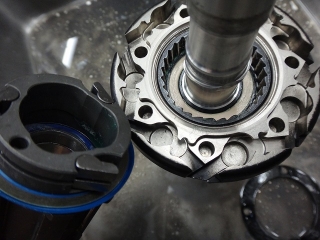
I had a hard time removing the freebody from the hub axle.
The outer bearing on the freebody looks like it's rusted.

It was rusted, so I replaced it.
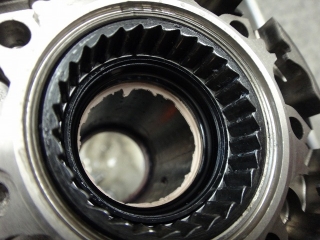
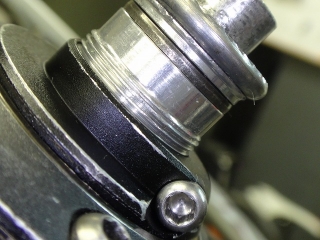
Both front and rear hubs had their grease guard membranes torn
(though this couldn't happen naturally),
but since it's not a critical component, I'll leave it as is.

↑This area rarely gets a chance to be cleaned, so
I put in the effort.

before
after
I could skip all this and just do a quick rim swap,
but I hate having a gritty hub rotating on the truing stand.
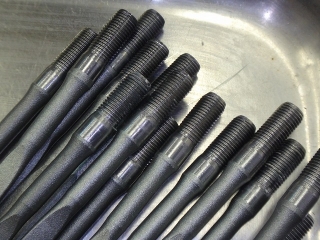
I clean the spokes as much as possible,
though honestly, keeping the dirt line that marks where the spoke emerged from the nipple
does make the subsequent work slightly easier.
I really should just take a photo of the spoke protrusion before disassembly.
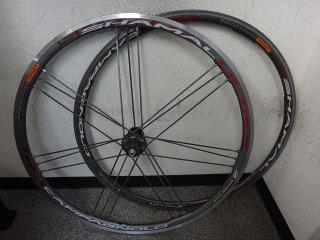
All built up.
A customer brought in a Shamal Ultra for me to work on.
Both the front and rear wheel rims had severe wear in the brake zones,
so we decided to replace the rims.
You might think "why not just buy a new Shamal Ultra?",
but this customer's frame and seatpost are titanium,
and they've also chosen a titanium-colored gray anodized handlebar set,
so they have an unmovable commitment to this particular rim color.

Both front and rear rims had lost their valve bushings,
but there's no need to replace them.
Since these are 2WAY-FIT rims, they came with valve bushings and tubeless valves.
Also, in the case of the black Shamal Ultra which shares rims with the Eurus (Fulcrum wheel),
the stickers are sold separately,
but since this titanium gray is a color exclusive to the Shamal Ultra,
the stickers are already applied.
On the old rim, the valve hole sits midway between the nipple holes,
but on the new rim, the reinforcement bump serves as both
the valve hole and nipple hole, so the valve's phase relative to the spokes is shifted.
Current Campagnolo rims, whether WO or 2WAY-FIT,
seem to have the valve hole with its own reinforcement,
but there's a period where some 2WAY-FIT models have both valve and adjacent rim hole reinforced,
and with Fulcrum wheels it seems like double-hole reinforcement is more common.
In the 2017 models, the Racing Zero Competizione 2WAY-FIT
had double-hole reinforcement.
Some Racing Zero WO models have triple-hole reinforcement,
with the valve hole and both adjacent nipple holes reinforced.
↑These look like they're from the same era (though the "2WAY-FIT" lettering is different sizes)
and even the Eurus 2WAY-FIT has mixed versions.
Maybe I shouldn't be worrying about this.
All built up.
I also did a hub overhaul.
The preparation work takes several times longer than the actual wheel building,
but that's just how it goes with wheels like this.
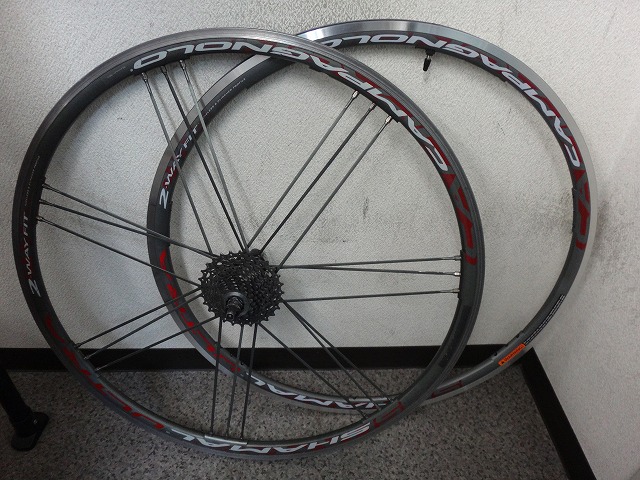
Now for the rear wheel.
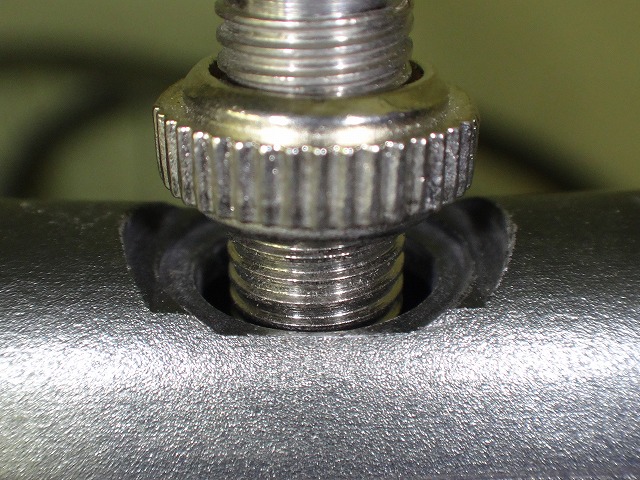
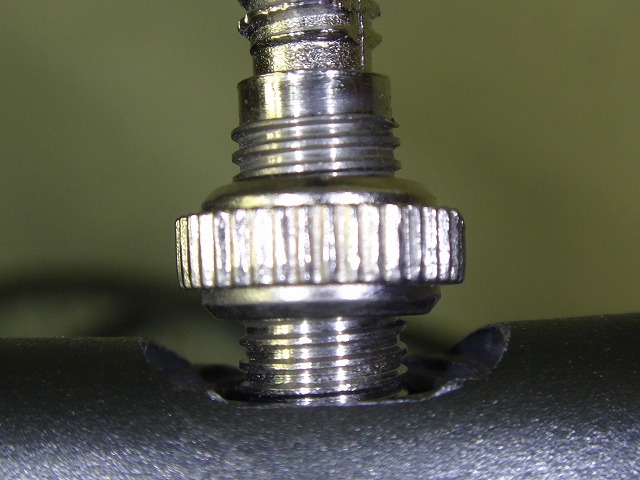
If you tighten down the double-step valve nuts on Schwalbe tubes,
they fit perfectly into the valve bushing holes required by 2WAY-FIT.
If you loosen them, it defeats the purpose, and over-tightening is bad too, so this doesn't really solve the problem.

I had a hard time removing the freebody from the hub axle.
The outer bearing on the freebody looks like it's rusted.
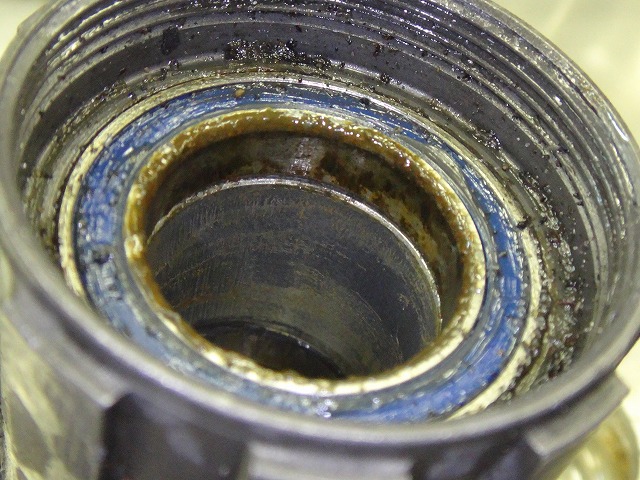
It was rusted, so I replaced it.

Both front and rear hubs had their grease guard membranes torn
(though this couldn't happen naturally),
but since it's not a critical component, I'll leave it as is.
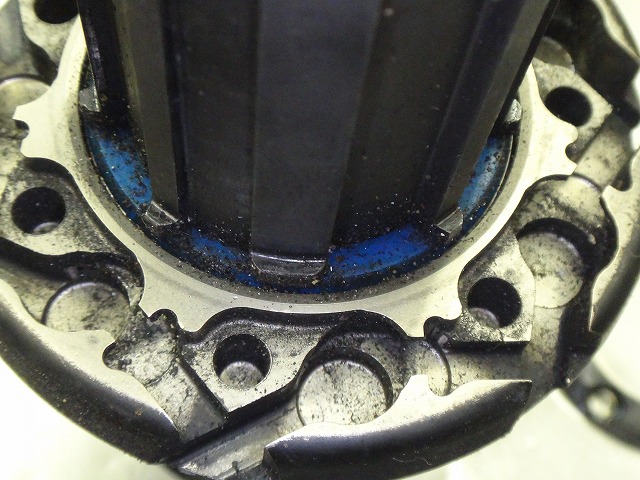
↑This area rarely gets a chance to be cleaned, so

I put in the effort.

before

after
I could skip all this and just do a quick rim swap,
but I hate having a gritty hub rotating on the truing stand.

I clean the spokes as much as possible,
though honestly, keeping the dirt line that marks where the spoke emerged from the nipple
does make the subsequent work slightly easier.
I really should just take a photo of the spoke protrusion before disassembly.
All built up.