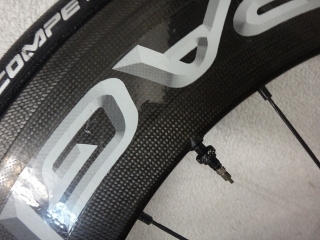
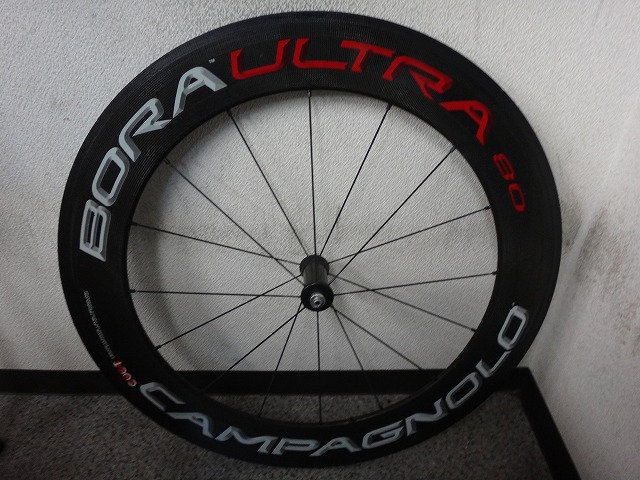
A customer dropped off a Bora Ultra 80 for inspection.

They requested a full check.
This Bora Ultra 80 was the latest spec when it came out, but now it's become the oldest spec in the lineup.
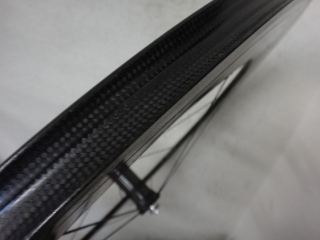
The rim's outer edge has no holes other than the valve hole,
and it uses external nipples rather than internal ones.
This external nipple design came from the Bullet spec,
but when the Bora Ultra 80 came out, both the Bora Ultra Two and Bora One had internal nipples.
Since there was no 35mm deep Bora model, "Bora" referred to the 50mm deep version.
All wheels up to that point were what we'd now call narrow rims at 20mm width.
The wide rim, by comparison, is 24.2mm wide.
The Bora 35 that came next had external nipples and a narrow rim,
and then the Bora 50 that followed had external nipples and a wide rim.
That same year, the Bora 35 also switched to a wide rim.
The Bora 35 narrow rim spec only existed for one year in 2014,
and the Bora 50 never actually had a spec with external nipples and a narrow rim
(because both changes happened simultaneously).
Currently, both the Bora 50 and 35 come in wide rims with clincher options,
but the Bora Ultra 80's rim spec hasn't changed since its release,
so it still has a narrow rim and comes only in tubular format.
There was lateral offset.
For a high-end Campagnolo model, this is an amount that shouldn't exist out of the box.
And there are signs the nipples have been touched, so it looks like someone did a sloppy spoke tensioning job.
Since the customer isn't the original owner, I don't know the full history.
I forgot to take a photo after the work, but
I showed the customer that the centering was off.
By the time I noticed, the tubular tire was already mounted, so
I couldn't use the most reliable centering gauge anymore.

Neither wheel had valve bushings.
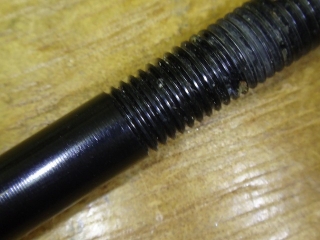
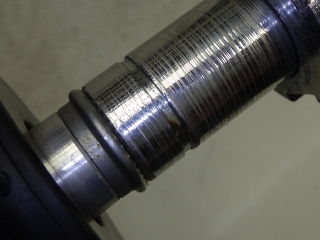
The original extended valve started coming with threads partway down,
allowing a valve nut to be installed.
This was my first time using the latest valve bush design as a repair part.
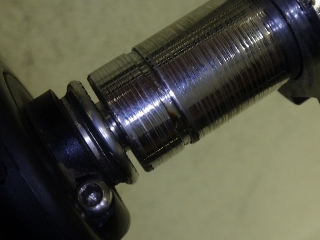
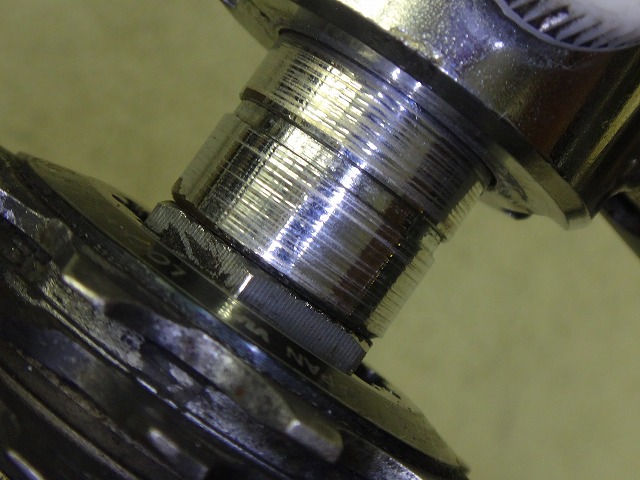
The two-prong tabs should orient front-to-back on the rim,
so the split ends up facing left-to-right.
The valve passes through easily, and it even lifted up a bit when inserting,
but thanks to the tabs it doesn't come out—it's very well designed.
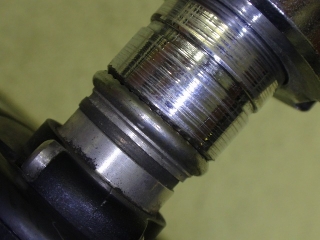
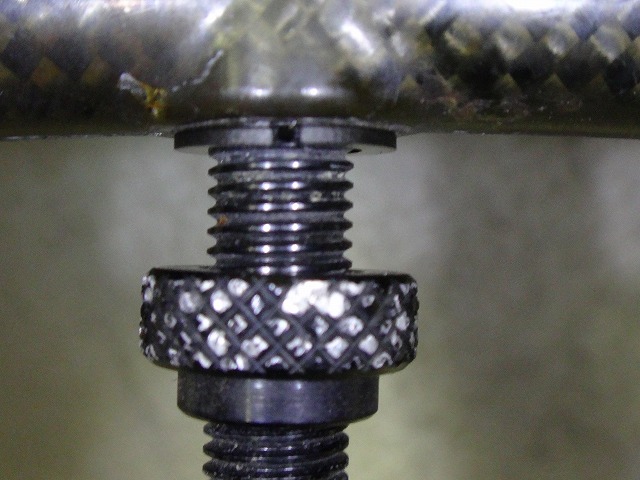
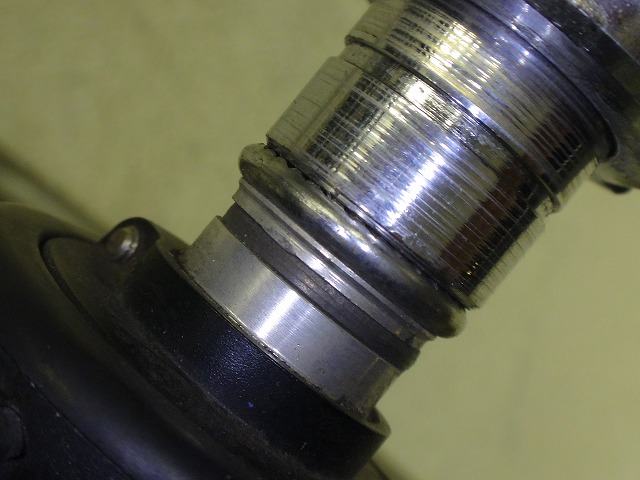
The original condition had a falling-apart tubular tire mounted,
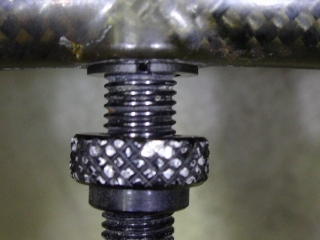
with the valve nut tightened abnormally hard in the opposite direction from the photo
to hide the rattling sound.
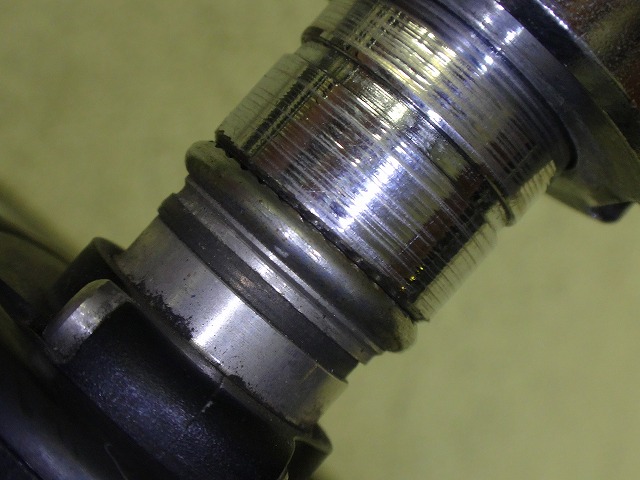
The worn knurling on the valve nut is a trace of desperation—someone tightened it with pliers.

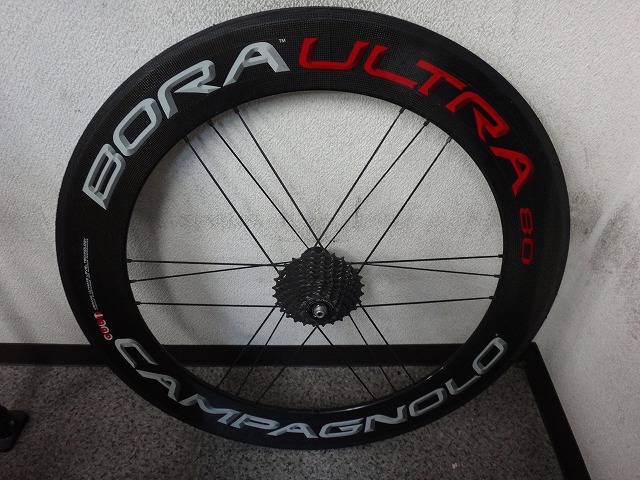
Now for the rear wheel.

There was a slight lateral offset, but
based on the direction and amount, it might just be from perfect centering followed by years of use.
There was almost no side-to-side wobble.
Now that I think about it, the front wheel also had some radial runout, so the work took a while.
If you can't fix it properly, don't touch it.

Just tightening up the non-drive side fixed it immediately.
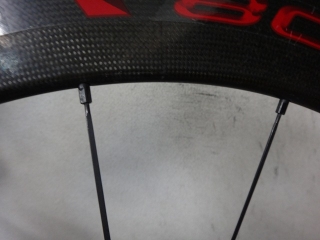
Wait... the spokes on this wheel...
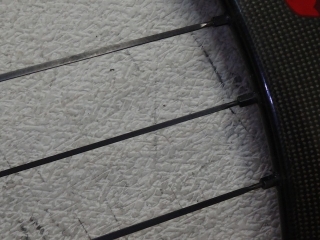
Not as extreme as the old Zonda, but could they be different diameters left to right...?
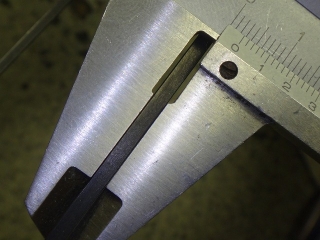
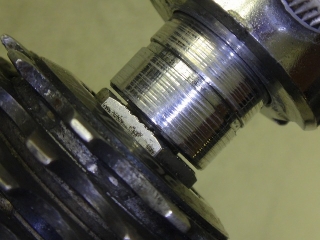
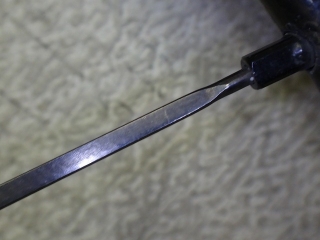
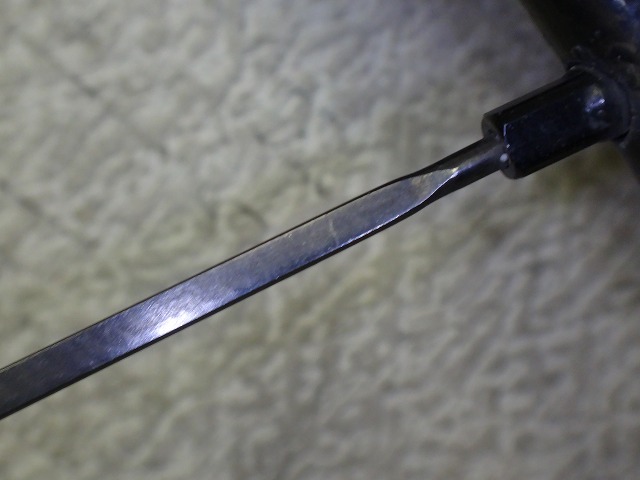
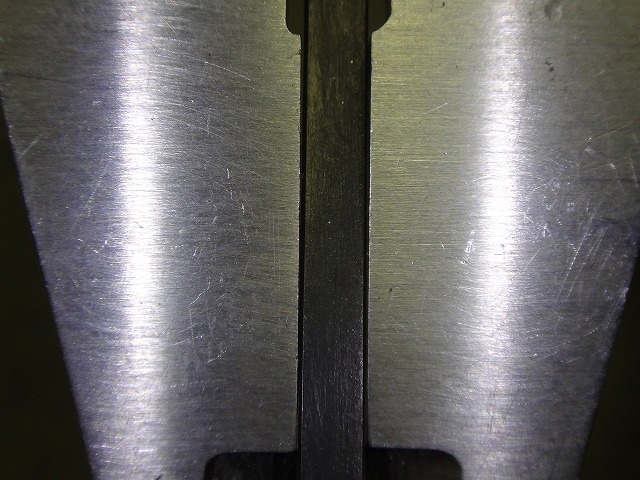
The drive-side spoke

measured with calipers, and then I
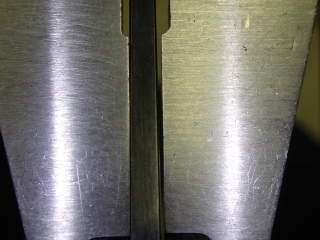
compared it to the non-drive side. Yep, different diameter spokes left to right.
In a 2:1 build, different diameter spokes aren't fundamentally necessary,
so it's a pretty subtle spec detail.
I don't think many people would notice this...
They requested a full check.
This Bora Ultra 80 was the latest spec when it came out, but now it's become the oldest spec in the lineup.

The rim's outer edge has no holes other than the valve hole,

and it uses external nipples rather than internal ones.
This external nipple design came from the Bullet spec,
but when the Bora Ultra 80 came out, both the Bora Ultra Two and Bora One had internal nipples.
Since there was no 35mm deep Bora model, "Bora" referred to the 50mm deep version.
All wheels up to that point were what we'd now call narrow rims at 20mm width.
The wide rim, by comparison, is 24.2mm wide.
The Bora 35 that came next had external nipples and a narrow rim,
and then the Bora 50 that followed had external nipples and a wide rim.
That same year, the Bora 35 also switched to a wide rim.
The Bora 35 narrow rim spec only existed for one year in 2014,
and the Bora 50 never actually had a spec with external nipples and a narrow rim
(because both changes happened simultaneously).
Currently, both the Bora 50 and 35 come in wide rims with clincher options,
but the Bora Ultra 80's rim spec hasn't changed since its release,
so it still has a narrow rim and comes only in tubular format.


There was lateral offset.
For a high-end Campagnolo model, this is an amount that shouldn't exist out of the box.
And there are signs the nipples have been touched, so it looks like someone did a sloppy spoke tensioning job.
Since the customer isn't the original owner, I don't know the full history.
I forgot to take a photo after the work, but
I showed the customer that the centering was off.
By the time I noticed, the tubular tire was already mounted, so
I couldn't use the most reliable centering gauge anymore.

Neither wheel had valve bushings.

The original extended valve started coming with threads partway down,
allowing a valve nut to be installed.

This was my first time using the latest valve bush design as a repair part.
The two-prong tabs should orient front-to-back on the rim,
so the split ends up facing left-to-right.
The valve passes through easily, and it even lifted up a bit when inserting,
but thanks to the tabs it doesn't come out—it's very well designed.
The original condition had a falling-apart tubular tire mounted,
with the valve nut tightened abnormally hard in the opposite direction from the photo
to hide the rattling sound.
The worn knurling on the valve nut is a trace of desperation—someone tightened it with pliers.
Now for the rear wheel.

There was a slight lateral offset, but
based on the direction and amount, it might just be from perfect centering followed by years of use.
There was almost no side-to-side wobble.
Now that I think about it, the front wheel also had some radial runout, so the work took a while.
If you can't fix it properly, don't touch it.
Just tightening up the non-drive side fixed it immediately.
Wait... the spokes on this wheel...

Not as extreme as the old Zonda, but could they be different diameters left to right...?

The drive-side spoke
measured with calipers, and then I

compared it to the non-drive side. Yep, different diameter spokes left to right.
In a 2:1 build, different diameter spokes aren't fundamentally necessary,
so it's a pretty subtle spec detail.
I don't think many people would notice this...