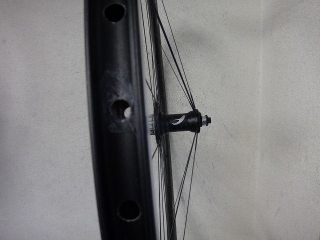
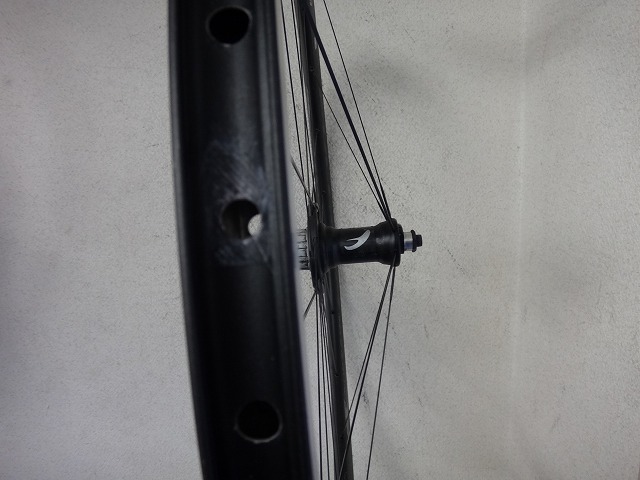
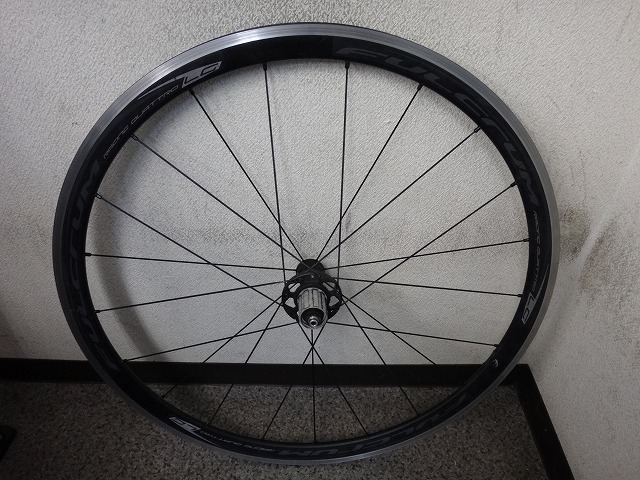
A customer brought in the rear wheel or what's left of it from a Racing Quattro LG.

All the spokes on the non-freewheel side are completely broken.
The bike got hit from behind, and
I didn't see it myself, but apparently the frame made it through unscathed.


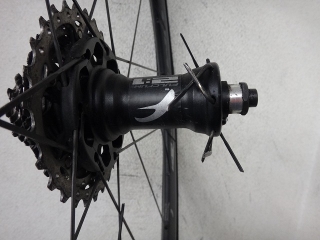
This is rough.

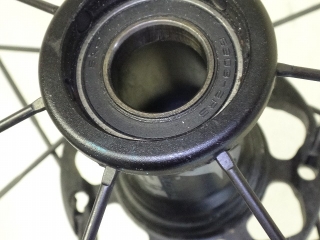
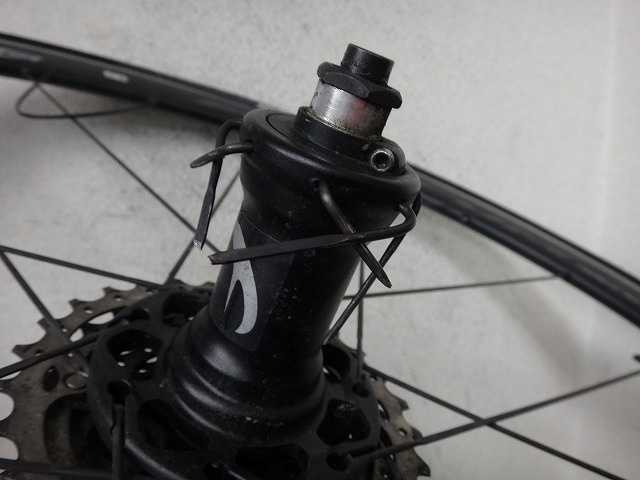
I replaced the spokes and evened out the spoke-to-nipple threading depth across all seven locations.
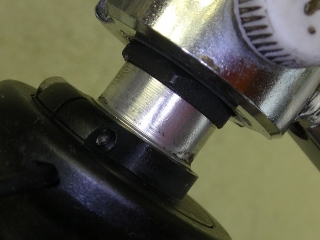
Before installing the hub axle and building the wheel,
there's something that needs to be done first.
1

2
3

4
5
6
7
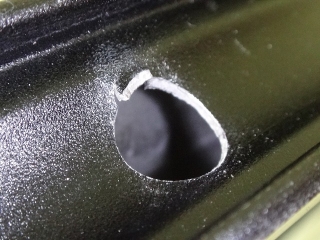
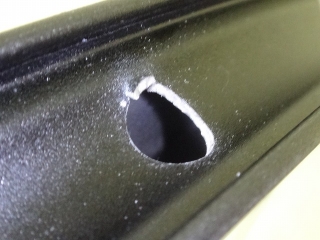
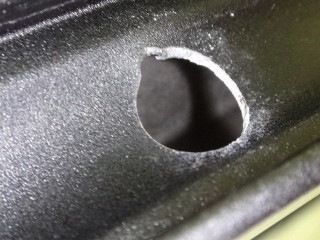
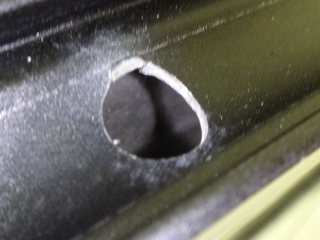
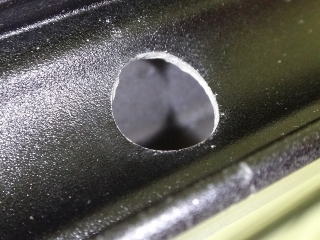
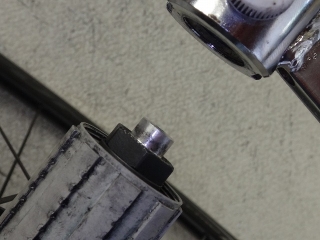
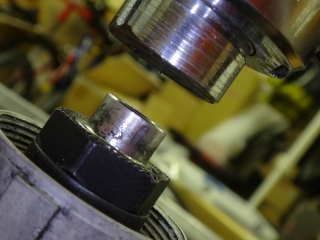
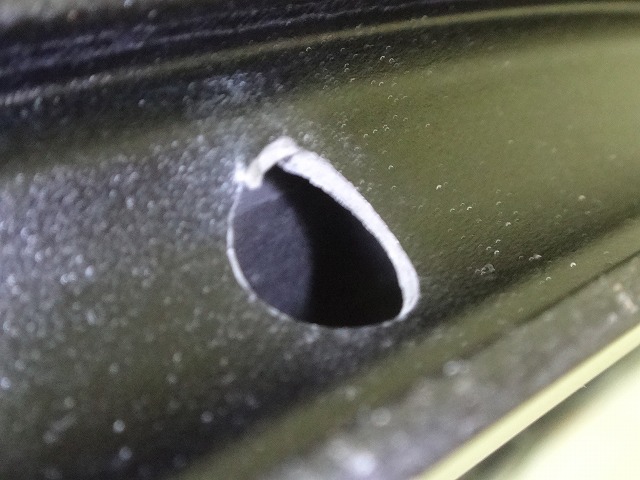
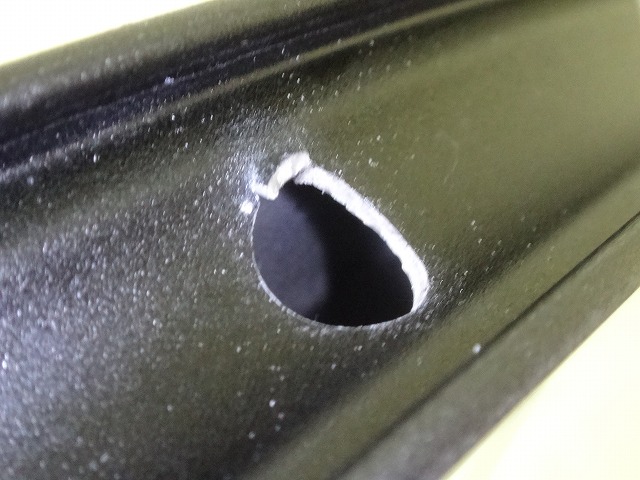
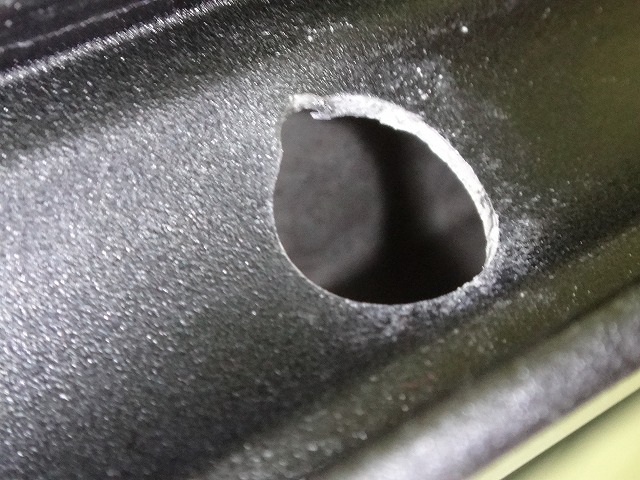
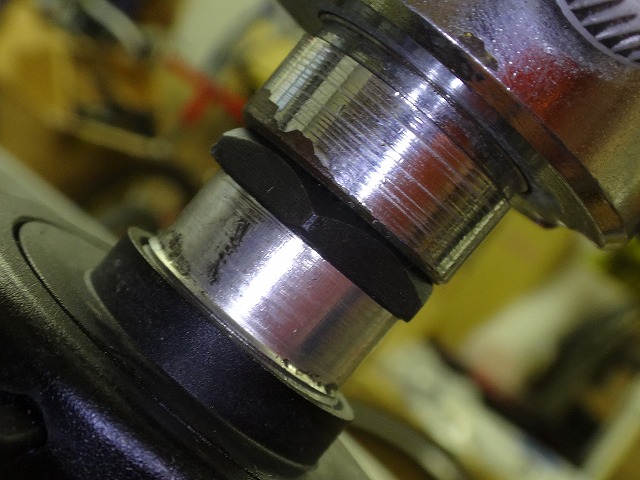
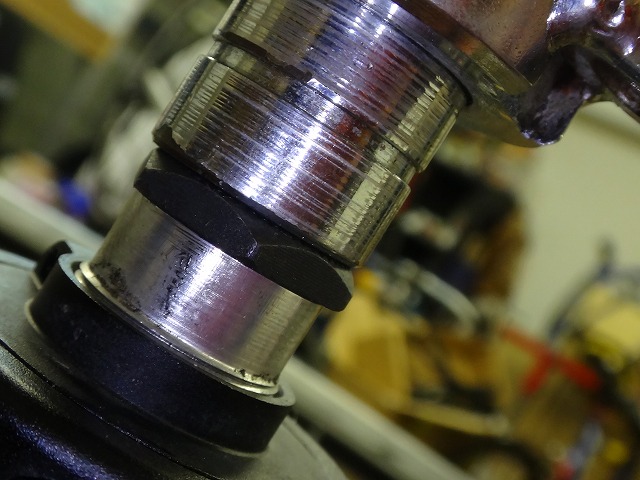
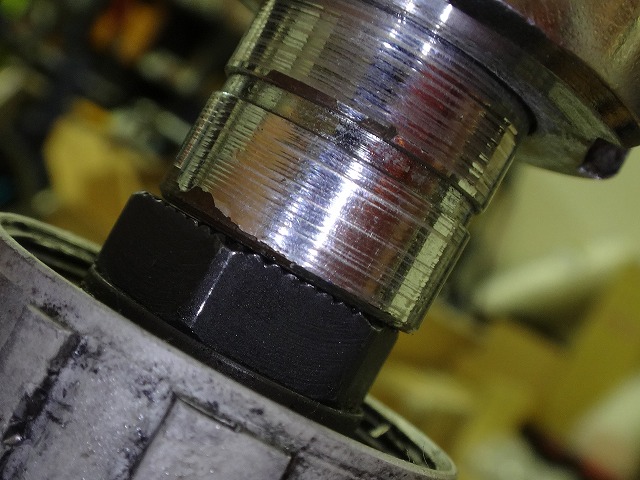
Of the seven rim holes on the freewheel side's outer section, positions 1–6 (excluding image 7 above)
show damage where the nipples struck the rim from inside due to spoke breakage shock,
causing burrs and chips to form.
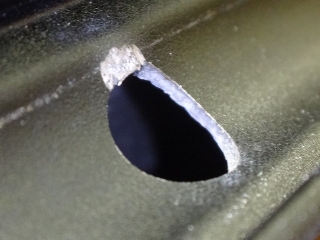
I ground down and evened out all the protrusions that rim tape couldn't cover.
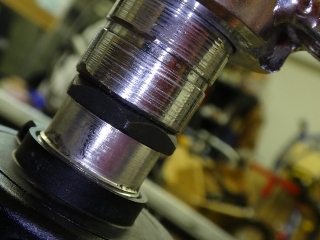
It's way out of true.
↑The amount of centering deviation at the initial build stage

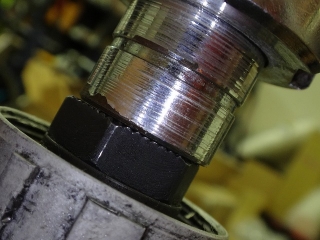
From there, I tightened the non-freewheel side six full turns.
Up to this point, since I haven't trued it properly,
the amount of deviation varies somewhat depending on the position.
Once I'd roughly trued it radially and laterally,
I was hoping the rim would be just a sheet or two of paper toward the freewheel side,
but it came out centered. Oh well.
From here, fine-tuning the true could introduce more centering drift, creating extra work,
so I wanted to leave just a slight bit of room for tightening the non-freewheel side.
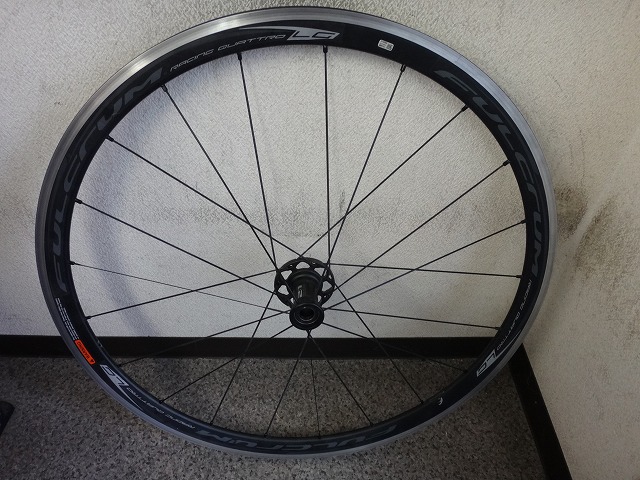
This time, I managed to finish truing without introducing any centering deviation.

Done.
All the spokes on the freewheel side came through fine,
and the rim showed no deformation in the brake zone.
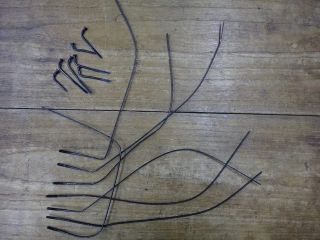
↑The replaced spokes
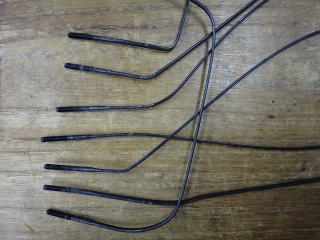
The threaded end mostly came out in good shape,
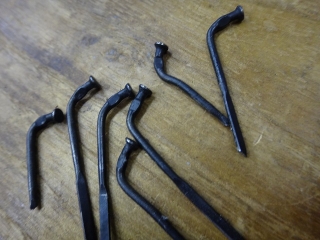
but the head end had a lot of bending initially,
so I straightened those out to remove them from the flanges.
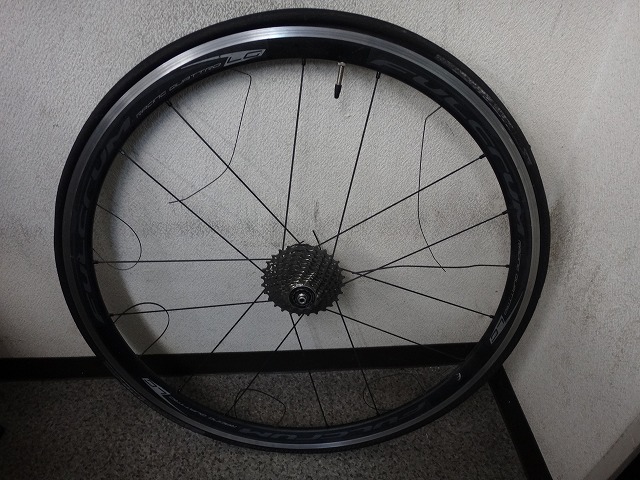
All the spokes on the non-freewheel side are completely broken.
The bike got hit from behind, and
I didn't see it myself, but apparently the frame made it through unscathed.


This is rough.

I replaced the spokes and evened out the spoke-to-nipple threading depth across all seven locations.
Before installing the hub axle and building the wheel,
there's something that needs to be done first.

1
2
3

4
5

6

7
Of the seven rim holes on the freewheel side's outer section, positions 1–6 (excluding image 7 above)
show damage where the nipples struck the rim from inside due to spoke breakage shock,
causing burrs and chips to form.

I ground down and evened out all the protrusions that rim tape couldn't cover.
It's way out of true.


↑The amount of centering deviation at the initial build stage

From there, I tightened the non-freewheel side six full turns.
Up to this point, since I haven't trued it properly,
the amount of deviation varies somewhat depending on the position.
Once I'd roughly trued it radially and laterally,
I was hoping the rim would be just a sheet or two of paper toward the freewheel side,
but it came out centered. Oh well.
From here, fine-tuning the true could introduce more centering drift, creating extra work,
so I wanted to leave just a slight bit of room for tightening the non-freewheel side.
This time, I managed to finish truing without introducing any centering deviation.
Done.
All the spokes on the freewheel side came through fine,
and the rim showed no deformation in the brake zone.

↑The replaced spokes

The threaded end mostly came out in good shape,

but the head end had a lot of bending initially,
so I straightened those out to remove them from the flanges.