I received the front and rear wheels of a Racing Zero (track racing wheelset) from a customer.
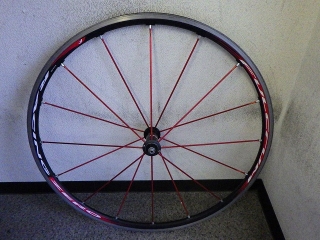
Apparently it had been sitting in the high school cycling club's storage room,
but now it will be used by a specific individual, so they requested a complete overhaul.
By the way, they're tubular tires.
Let me start with the front wheel.
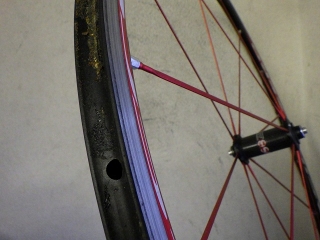
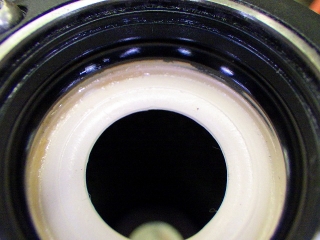
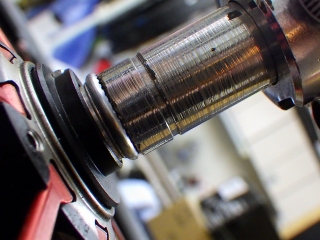
Fine animal hair-like fibers had stuck to the oil seeping from the hub gaps,
but nothing had gotten inside the hub itself.

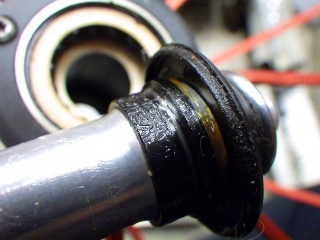
It's a USB bearing with black ball race specification,
the combination most prone to pitting,
but there wasn't even any proper wear marking to begin with,
so it hadn't seated in yet.
The customer mentioned that the front hub rotation felt "gritty,"
so I'm overhauling the hub.
The right cone also
and the left cone showed no signs of pitting.
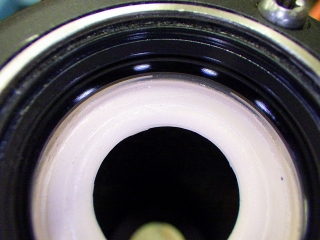
When you overhaul a Campagnolo Fulcrum cup-and-cone hub,
sometimes you lose that smooth, effortless feel it had before.
I've cleaned and re-greased both the front and rear hubs this time.
There is a slight grinding sensation when the hub completes one rotation,
but this is also seen in brand new wheels and isn't abnormal.
With use, it will eventually disappear, and then the bearing will properly seat.
In this case, the front hub is already rotating noticeably smoother than before.
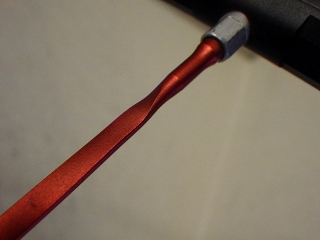
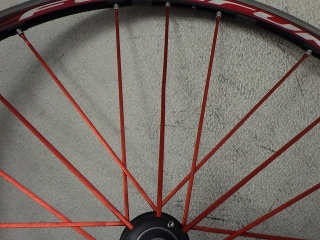
Anyway, there was an obviously deformed spoke.

When I released the tension...
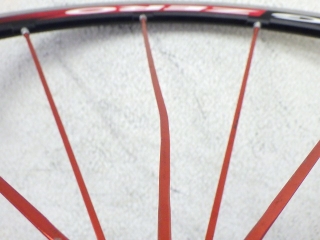
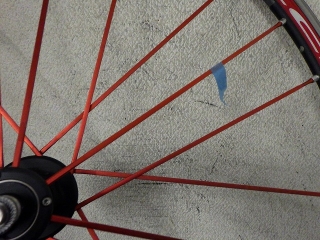
↑it looked like this
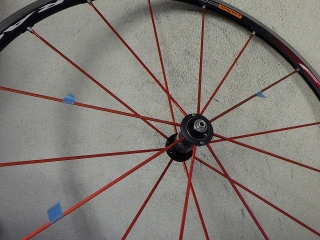
↑the spoke marked with tape on the right of the image
is where I replaced a spoke.
The relationship between the rim hole and the sticker position differs
because I'm shooting from the opposite side as before.
The spoke in the middle of the image,
one spoke over from where I replaced the spoke, coming from the same flange,

was twisted from amateur wheel truing.
When a wheel truing is done carelessly with such a deformed spoke left in place,
fixing only the lateral runout creates vertical runout,
and someone apparently tried to deal with that.
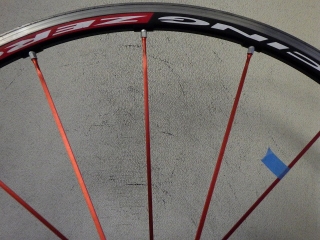
Since I've corrected both lateral and vertical runout on the front wheel,
before any new brake marks appear, if you spin the wheel,
you can see the wear line marks dancing up and down in the brake zone—
that's the final state it's in now.
Before I touched it, the wear line marks were the ones that were perfectly round.

The spoke on the opposite side of the twisted spoke
also had twist marks.
As for the amateur truing work, it didn't show any sense of purposeful adjustment toward a goal of "fixing" the wheel.
It looked like someone spun the wheel like a roulette, stopped it randomly,
and then loosened and tightened nipples completely at random—
correcting this required substantial effort.
I focused on eliminating lateral and vertical runout.
Since I identified the deformed spoke early on,
I didn't check for interim centering.
There is a center offset, but
since all three spokes I replaced were on the same side of the flange
on the bearing cone adjustment nut side,
it's inevitable that the rim shifts toward this side
when adjusting with a tightening tendency.

I centered it.
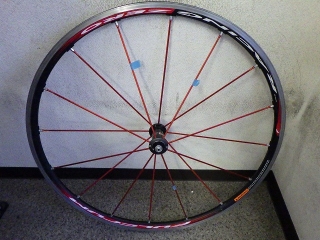
Done.
These three spokes are the ones I replaced.
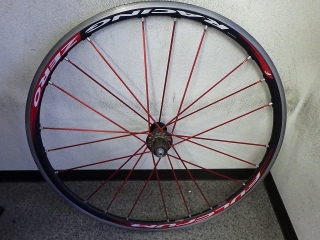
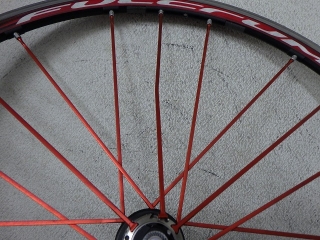
Now for the rear wheel.
Given what happened with the front wheel, I'm suspicious,
but the rear wheel also had one spoke requiring replacement.
In the image above, the middle one—a radial spoke on the non-freewheel side.
Before releasing tension, the deformation is only barely discernible.

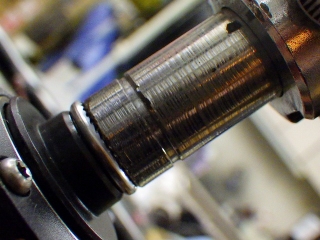
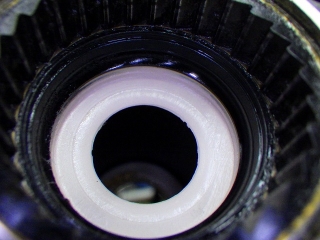
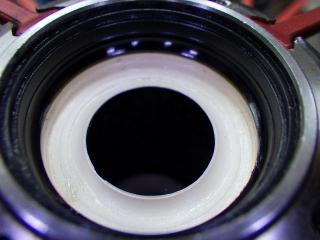
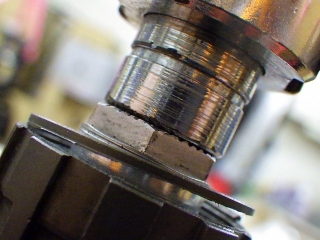
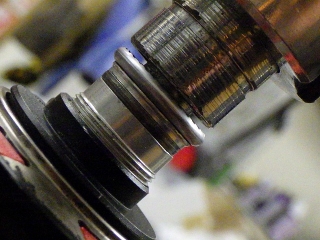
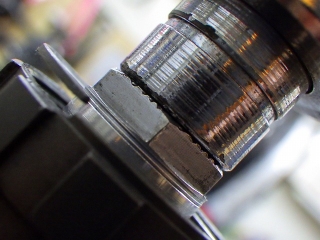
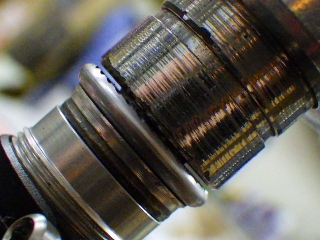
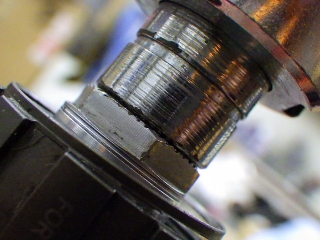
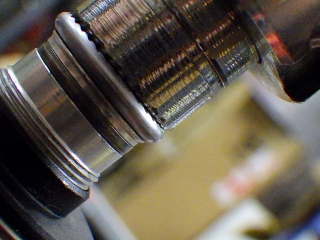
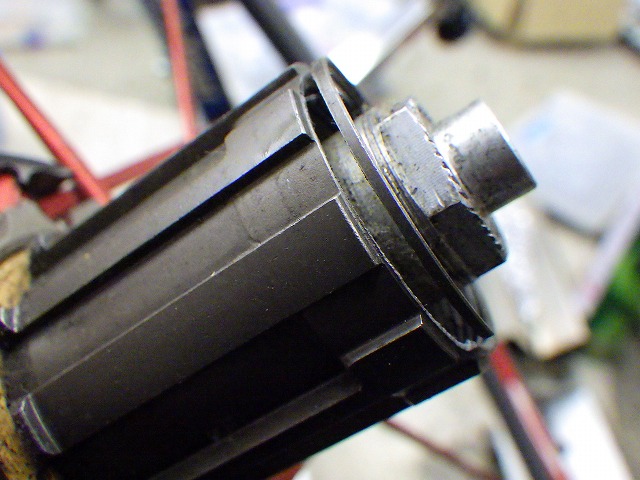
The edge of the freehub body was chipped.
I've identified the cause of this,
but I'll cover that in a separate post later.
↑the freewheel side cone
↑the non-freewheel side cone
The bearing parts have no issues.
I've cleaned and re-greased them.
As for the freehub body, as mentioned above,
but the pawl return spring showed no deformation.
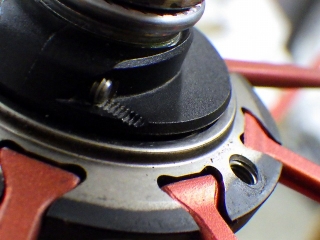
↑loosening the nipple and removing the deformed spoke from the flange looks like this
I replaced the spoke and brought the runout back in.
The rim is offset toward the non-freewheel side.
After the first centering pass. Almost there.
Centered.
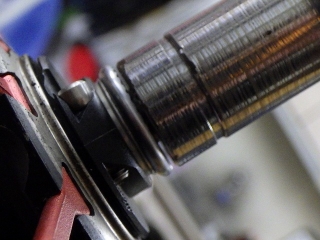
The fact that I've been rotating the freehub body to different angles
to deliberately show the chipped condition
has been intentional.

Done.

↑replaced spokes
The top three spokes are from the front wheel,
and the bottom one is from the rear wheel.
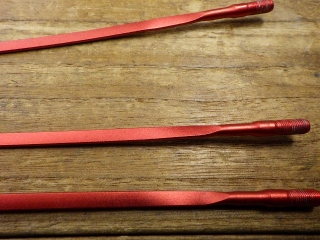
The reasons for replacing the three front wheel spokes are,
from top to bottom: deformation, twisting, and twisting.

Apparently it had been sitting in the high school cycling club's storage room,
but now it will be used by a specific individual, so they requested a complete overhaul.

By the way, they're tubular tires.
Let me start with the front wheel.

Fine animal hair-like fibers had stuck to the oil seeping from the hub gaps,
but nothing had gotten inside the hub itself.

It's a USB bearing with black ball race specification,
the combination most prone to pitting,
but there wasn't even any proper wear marking to begin with,
so it hadn't seated in yet.
The customer mentioned that the front hub rotation felt "gritty,"
so I'm overhauling the hub.

The right cone also

and the left cone showed no signs of pitting.
When you overhaul a Campagnolo Fulcrum cup-and-cone hub,
sometimes you lose that smooth, effortless feel it had before.
I've cleaned and re-greased both the front and rear hubs this time.
There is a slight grinding sensation when the hub completes one rotation,
but this is also seen in brand new wheels and isn't abnormal.
With use, it will eventually disappear, and then the bearing will properly seat.
In this case, the front hub is already rotating noticeably smoother than before.

Anyway, there was an obviously deformed spoke.

When I released the tension...

↑it looked like this

↑the spoke marked with tape on the right of the image
is where I replaced a spoke.
The relationship between the rim hole and the sticker position differs
because I'm shooting from the opposite side as before.
The spoke in the middle of the image,
one spoke over from where I replaced the spoke, coming from the same flange,


was twisted from amateur wheel truing.
When a wheel truing is done carelessly with such a deformed spoke left in place,
fixing only the lateral runout creates vertical runout,
and someone apparently tried to deal with that.
Since I've corrected both lateral and vertical runout on the front wheel,
before any new brake marks appear, if you spin the wheel,
you can see the wear line marks dancing up and down in the brake zone—
that's the final state it's in now.
Before I touched it, the wear line marks were the ones that were perfectly round.

The spoke on the opposite side of the twisted spoke
also had twist marks.
As for the amateur truing work, it didn't show any sense of purposeful adjustment toward a goal of "fixing" the wheel.
It looked like someone spun the wheel like a roulette, stopped it randomly,
and then loosened and tightened nipples completely at random—
correcting this required substantial effort.


I focused on eliminating lateral and vertical runout.
Since I identified the deformed spoke early on,
I didn't check for interim centering.
There is a center offset, but

since all three spokes I replaced were on the same side of the flange
on the bearing cone adjustment nut side,
it's inevitable that the rim shifts toward this side
when adjusting with a tightening tendency.


I centered it.

Done.

These three spokes are the ones I replaced.

Now for the rear wheel.

Given what happened with the front wheel, I'm suspicious,
but the rear wheel also had one spoke requiring replacement.
In the image above, the middle one—a radial spoke on the non-freewheel side.
Before releasing tension, the deformation is only barely discernible.
The edge of the freehub body was chipped.
I've identified the cause of this,
but I'll cover that in a separate post later.

↑the freewheel side cone

↑the non-freewheel side cone
The bearing parts have no issues.
I've cleaned and re-greased them.
As for the freehub body, as mentioned above,
but the pawl return spring showed no deformation.

↑loosening the nipple and removing the deformed spoke from the flange looks like this


I replaced the spoke and brought the runout back in.
The rim is offset toward the non-freewheel side.


After the first centering pass. Almost there.


Centered.
The fact that I've been rotating the freehub body to different angles
to deliberately show the chipped condition
has been intentional.


Done.

↑replaced spokes
The top three spokes are from the front wheel,
and the bottom one is from the rear wheel.

The reasons for replacing the three front wheel spokes are,
from top to bottom: deformation, twisting, and twisting.