Another day, another wheel (and so on).
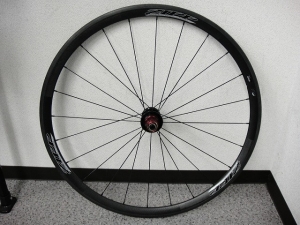
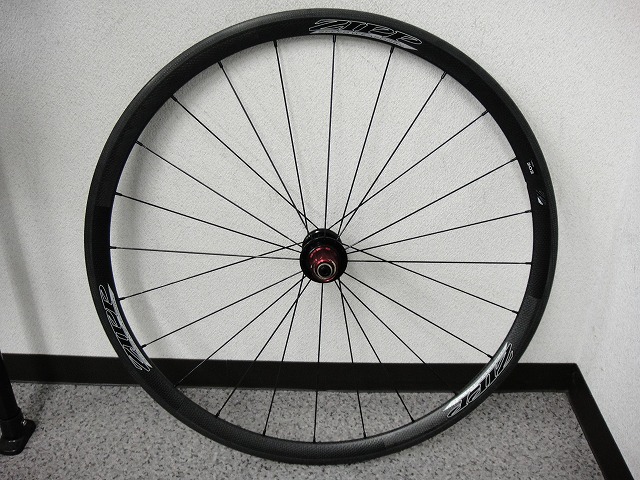
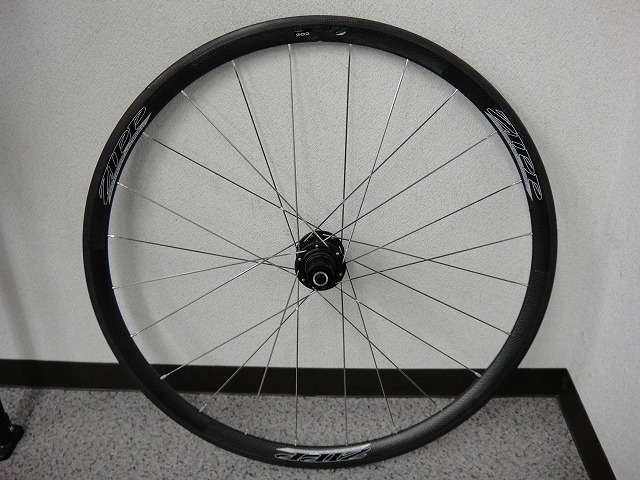
I received a ZIPP 202 rear wheel on consignment.
The customer wants it rebuilt with a PowerTap hub (power meter hub) that I'm also holding.
With ZIPP rims, the strength (not to be confused with stiffness)
has improved dramatically over the past 10 years.
They may have started as a small garage maker,
but as companies grow, it becomes harder to take risky manufacturing approaches.
For example, if a rim were to fail on a descent during the Tour de France mountain stage
and get broadcast worldwide, that would be a disaster.
Back when the ZIPP 202 was at its lightest,
the rim sold individually was called the "QUICK-V 245."
The 303 rim of the same era was the "MID-V 280."
These numbers are catalog weights.
The actual measured weights were 268g and 292g respectively,
but current 202 and 303 rims are considerably heavier than those.
However, both the buckling strength and maximum spoke tension
are significantly better on the current models.
You used to hear stories like "So-and-so's ZIPP rim broke,"
but over the last five years, such stories have become quite rare.
Comparing the 2008 202 rim (QUICK-V 245) with the current 202 rim
based solely on weight to judge which is better makes no sense.
The current 202 has a higher rim profile too, but that's another disadvantage weight-wise.
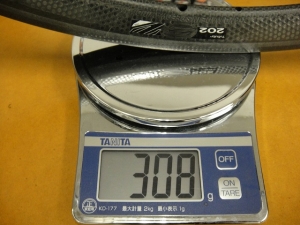
So naturally, I'd want to know the actual measured weight of the current rim in this photo.
But I'm not telling. I want to be the only one who knows. ←wow this guy's got a bad attitude
(It's coming... he's coming...)
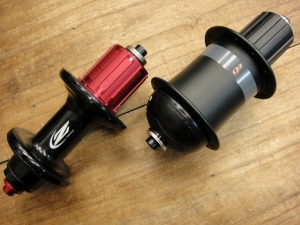
Disassembled it.
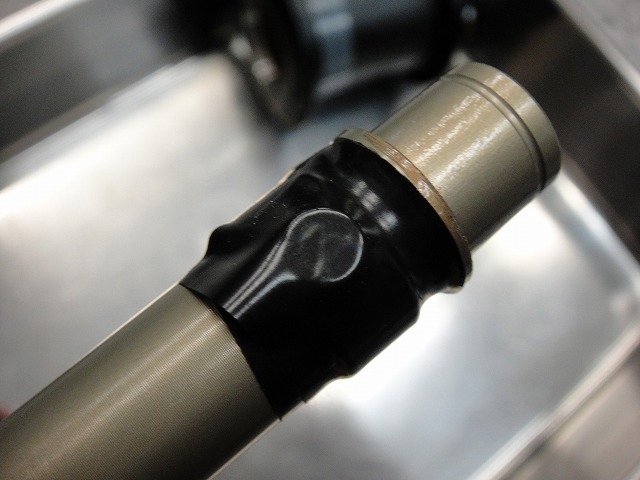
The hub is new, but I was asked to deal with some unmotivated tape work.

It seems "unmotivated tape" has become a generic term.


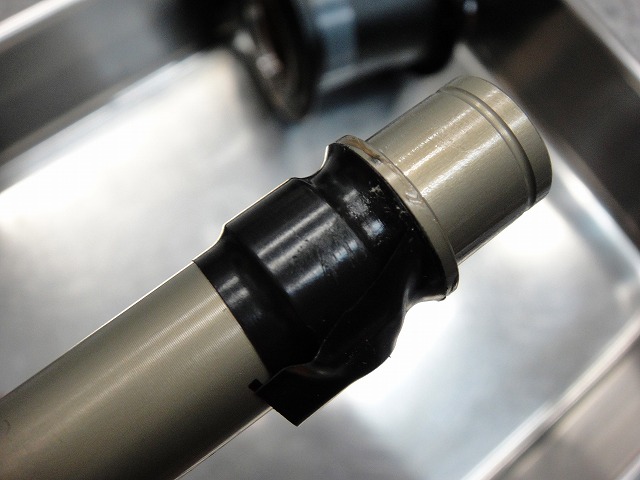
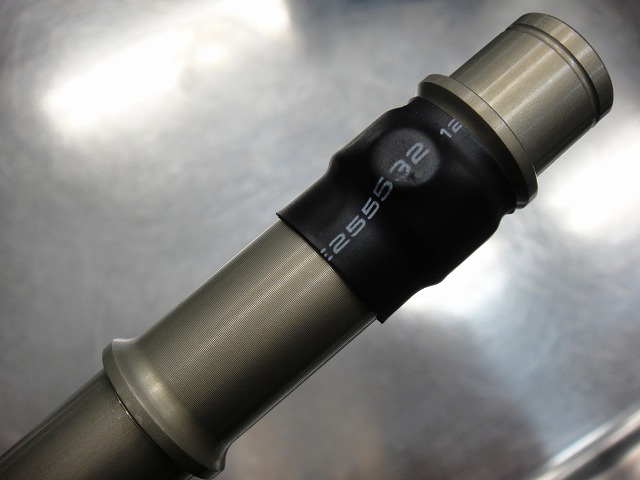
This time the tape is pretty decent work—the kind that won't peel
even after extended use.


Well, either way, I'm gonna redo it anyway!

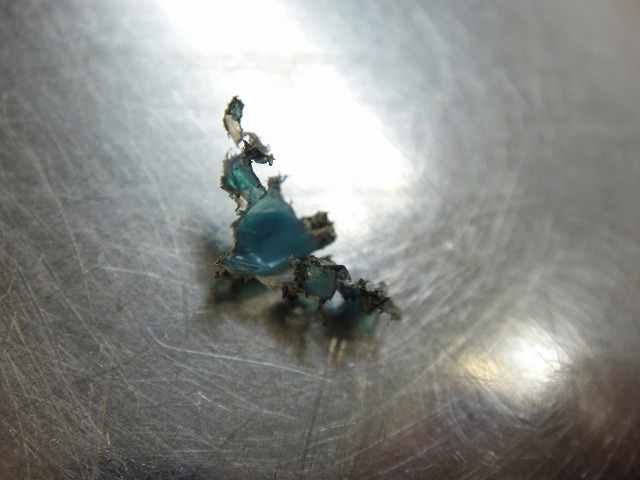
When I shook the rim, I heard a rustling sound, so I managed to extract the foreign matter.
It was debris from the balloon used during molding.
It doesn't feel particularly hard to the touch,
but when you shake the rim, it sounds like a small stone is rattling around—quite solid-sounding.
It took about 10 minutes to get this out.
I usually don't struggle this much with it...
A significant chunk of the wheel-building time went to removing this debris.
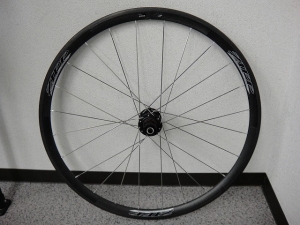
Built it up.
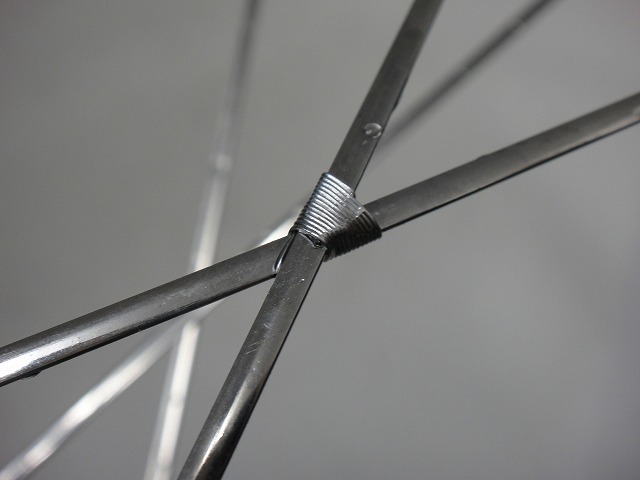
Per the customer's request, both sides use CX-RAY spokes
in a 4-cross (yon-roku) lacing pattern.
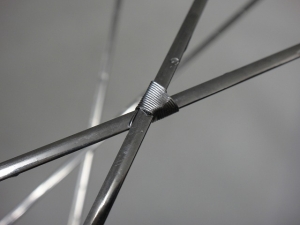
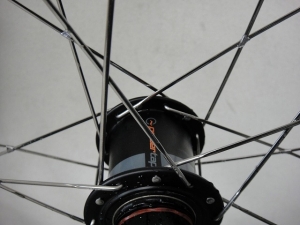
They said to leave the spoke tying "up to you," so I tied the spokes.
When you're used to building wheels with different spoke diameters and different spoke counts on each side,
the looser feel of the non-freewheel side on a standard hand-built wheel feels unreliable,
and this wheel I just built—with equal diameter and different counts on each side—also gives me a slight sense of incompleteness.
I added spoke tying to fill that gap.
If the previous build had been a hand-built wheel, I might not have tied the spokes,
but since the previous build was straight gauge zero-cross (zeronī) lacing with the freewheel side cranked super tight,
just matching the previous setup—let alone exceeding it—is a real struggle.
I have things I want to write about freewheel-side radial lacing,
but I haven't had the time.
I also haven't finished the post on "different spoke counts or different spoke diameters on each flange,"
and to continue that, I'd need to write about freewheel-side radial lacing first.
That's all for today.
Sorry for the wait! I'm taking the photo now!
Please look at this image!
↑Stop it noooow!
I received a ZIPP 202 rear wheel on consignment.
The customer wants it rebuilt with a PowerTap hub (power meter hub) that I'm also holding.
With ZIPP rims, the strength (not to be confused with stiffness)
has improved dramatically over the past 10 years.
They may have started as a small garage maker,
but as companies grow, it becomes harder to take risky manufacturing approaches.
For example, if a rim were to fail on a descent during the Tour de France mountain stage
and get broadcast worldwide, that would be a disaster.
Back when the ZIPP 202 was at its lightest,
the rim sold individually was called the "QUICK-V 245."
The 303 rim of the same era was the "MID-V 280."
These numbers are catalog weights.
The actual measured weights were 268g and 292g respectively,
but current 202 and 303 rims are considerably heavier than those.
However, both the buckling strength and maximum spoke tension
are significantly better on the current models.
You used to hear stories like "So-and-so's ZIPP rim broke,"
but over the last five years, such stories have become quite rare.
Comparing the 2008 202 rim (QUICK-V 245) with the current 202 rim
based solely on weight to judge which is better makes no sense.
The current 202 has a higher rim profile too, but that's another disadvantage weight-wise.
So naturally, I'd want to know the actual measured weight of the current rim in this photo.
But I'm not telling. I want to be the only one who knows. ←wow this guy's got a bad attitude
(It's coming... he's coming...)

Disassembled it.
The hub is new, but I was asked to deal with some unmotivated tape work.
It seems "unmotivated tape" has become a generic term.
This time the tape is pretty decent work—the kind that won't peel
even after extended use.

Well, either way, I'm gonna redo it anyway!
When I shook the rim, I heard a rustling sound, so I managed to extract the foreign matter.
It was debris from the balloon used during molding.
It doesn't feel particularly hard to the touch,
but when you shake the rim, it sounds like a small stone is rattling around—quite solid-sounding.
It took about 10 minutes to get this out.
I usually don't struggle this much with it...
A significant chunk of the wheel-building time went to removing this debris.
Built it up.

Per the customer's request, both sides use CX-RAY spokes
in a 4-cross (yon-roku) lacing pattern.
They said to leave the spoke tying "up to you," so I tied the spokes.
When you're used to building wheels with different spoke diameters and different spoke counts on each side,
the looser feel of the non-freewheel side on a standard hand-built wheel feels unreliable,
and this wheel I just built—with equal diameter and different counts on each side—also gives me a slight sense of incompleteness.
I added spoke tying to fill that gap.
If the previous build had been a hand-built wheel, I might not have tied the spokes,
but since the previous build was straight gauge zero-cross (zeronī) lacing with the freewheel side cranked super tight,
just matching the previous setup—let alone exceeding it—is a real struggle.
I have things I want to write about freewheel-side radial lacing,
but I haven't had the time.
I also haven't finished the post on "different spoke counts or different spoke diameters on each flange,"
and to continue that, I'd need to write about freewheel-side radial lacing first.
That's all for today.

Sorry for the wait! I'm taking the photo now!

Please look at this image!
↑Stop it noooow!