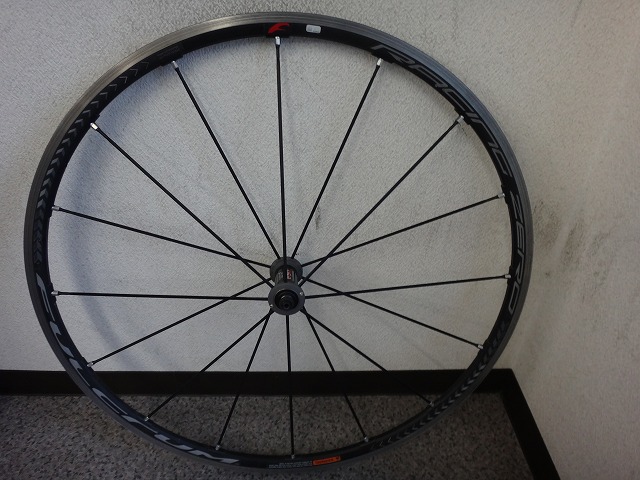
I received a Racing Zero (Campagnolo wheel) from a customer.
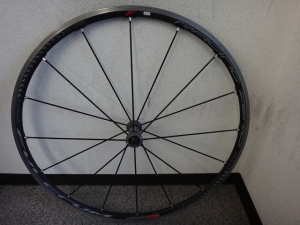
They wanted a hub overhaul and inspection.
It had been used for about 12,000 km with no maintenance.
When it comes to opening up a hub, if I think it's "not necessary," I'll tell the customer "it's still good to go." But with this one, the moment I touched the hub shaft with my fingertips, I could feel that maintenance was definitely needed.
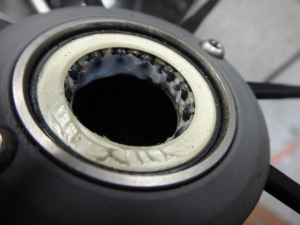
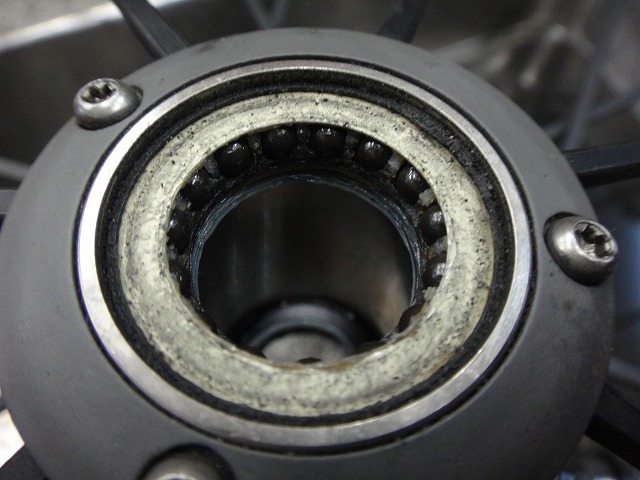
The rear hub has lateral play, and while there's no chattering in the rotation, it doesn't feel like grease has been applied properly either.
The grease has shaken with water intrusion and emulsified.
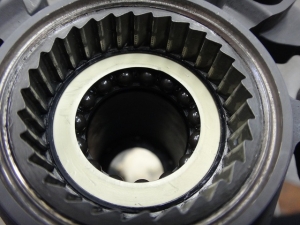
Campagnolo and Fulcrum wheels have very poor sealing between the freebody and hub body.
Even just rinsing with a regular garden hose—not high-pressure washing—and then disassembling the hub can reveal light water seepage.
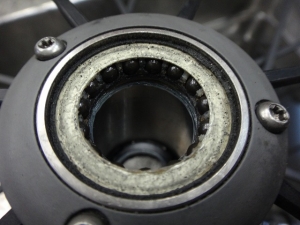
↑Due to grease around the ratchet, the freeside seal is dirtier.

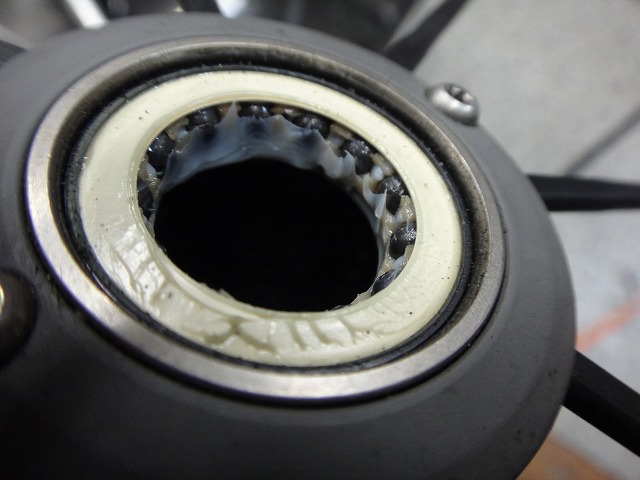
The inner seals were doing their job.
The grease on the hub shaft isn't dirty.
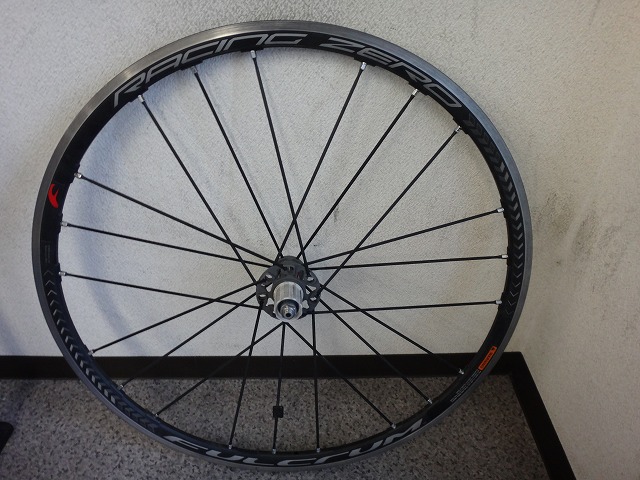
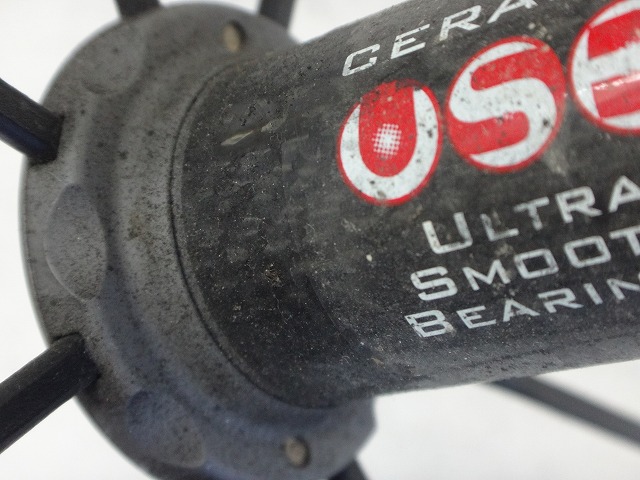
Also, this Racing Zero has the newer front hub with smaller bearing diameter, but the rear hub is still the older black one. The newer front hub bearing diameter probably only comes with silver ones.

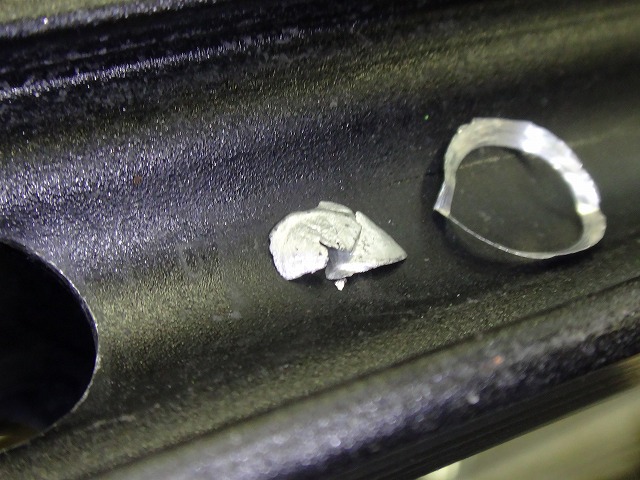
The inside of the rim was rattling quite a bit, so I pulled out a spoke nipple. Quite a big one.
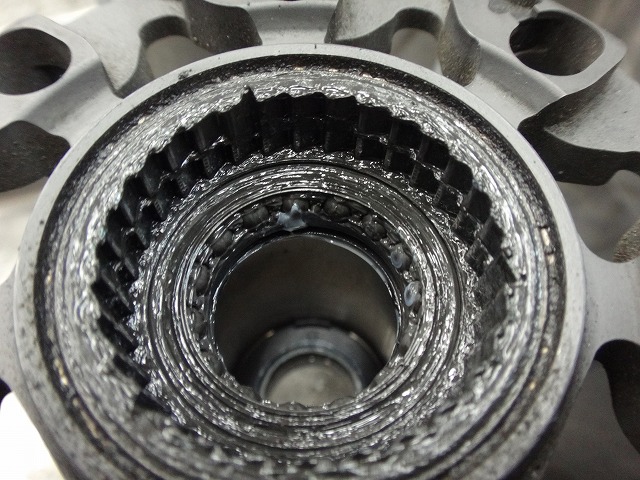
I cleaned the rear hub.

I cleaned not just the interior but the flanges as well.
As expected, the right end nut loosened in my hand, but more than that, it was already loose to begin with.
It wasn't a case of "the end nut was in its final tightened position but loosened in my hand"—rather, it had loosened by about one thread and turned outward.
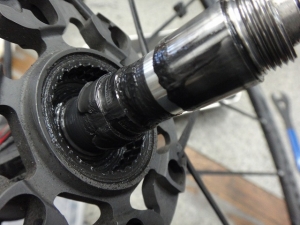
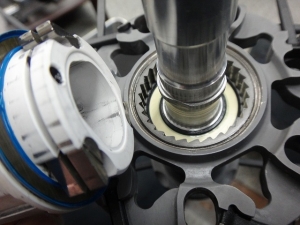
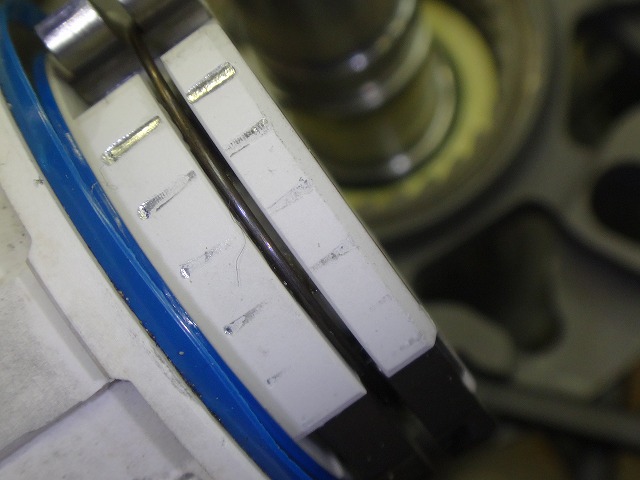
When this happens, I've learned from experience that the freebody can shift, and the ratchet teeth on the hub body get struck by the freebody, leaving impact marks. But it seems the extent of these impacts varies depending on how strongly the pawls are pulled back by the spring.
The pawl return spring on the freebody was slightly warped, so I replaced it.
As I always say, since these parts are inexpensive, if anything seems off at all, it's worth replacing.
Given what could happen if it fails, there's no reason not to use a new one.
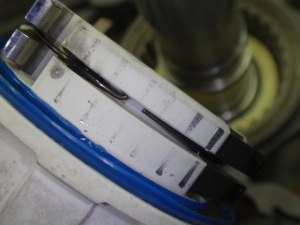
The image above shows installing the new spring—looking from inside the wheel, the spring is applied clockwise.
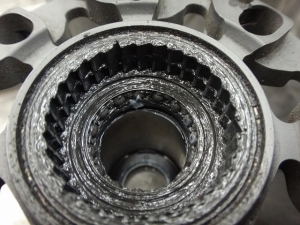
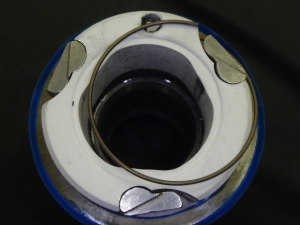
If the hole where the spring hooks is at 12 o'clock, then the pawls are at 2, 6, and 10 o'clock positions, and the spring engages them in that order. I think the spring force to lift the pawls diminishes the farther it travels.
↑Between 10 and 2 o'clock
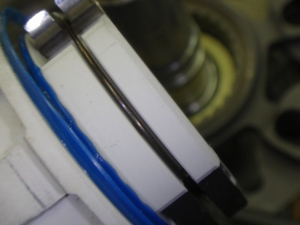
↑Between 2 and 6 o'clock

↑Between 6 and 10 o'clock
Only in the section where the spring force is strongest are there no impact marks on the hub body.
Of course, the deformation I saw happened with a slightly bent spring, so with a new spring and the right end nut properly tightened, there should be virtually no variation in the pawl lifting force between individual units.

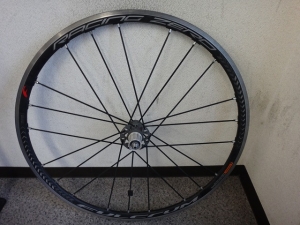
Next, the front wheel.
I washed this hub too.
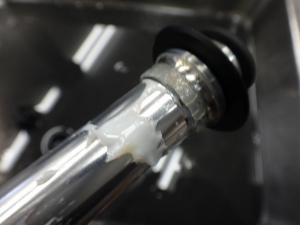
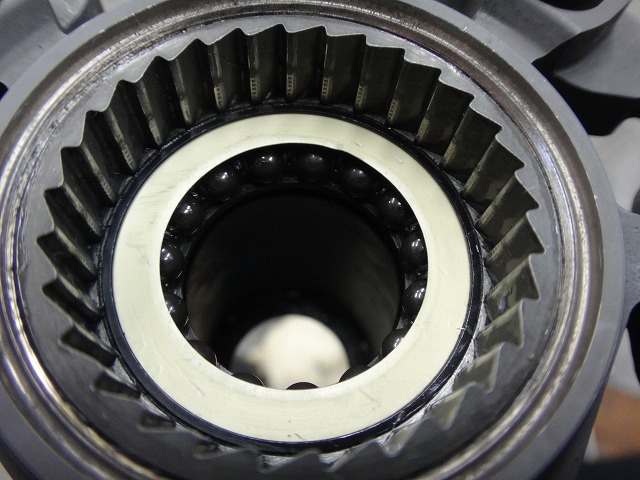
The grease isn't dirty, but it still felt depleted, so after cleaning I regreased it.
As expected, it was a silver one as well.

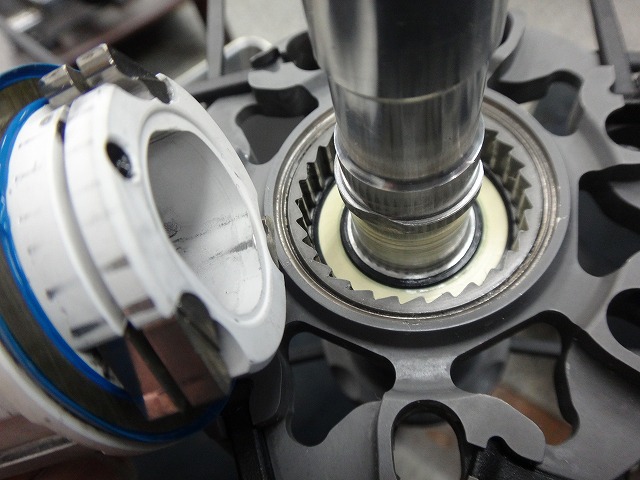
On the front hub, this time too the right end nut loosened first, so with the right end nut tightened, I was able to use a custom-made 14mm wrench with the exact width to hold the shaft while loosening the left end nut.

I got a comment asking me to stop being coy and show this custom tool! So for once, I'll oblige.
This time it was just barely able to get it off. The left end nut went "crack!" the moment it loosened.
For the inspection, the front wheel had slight runout, and the rear wheel had some centering drift, but both were minor.
They wanted a hub overhaul and inspection.
It had been used for about 12,000 km with no maintenance.
When it comes to opening up a hub, if I think it's "not necessary," I'll tell the customer "it's still good to go." But with this one, the moment I touched the hub shaft with my fingertips, I could feel that maintenance was definitely needed.
The rear hub has lateral play, and while there's no chattering in the rotation, it doesn't feel like grease has been applied properly either.

The grease has shaken with water intrusion and emulsified.
Campagnolo and Fulcrum wheels have very poor sealing between the freebody and hub body.
Even just rinsing with a regular garden hose—not high-pressure washing—and then disassembling the hub can reveal light water seepage.
↑Due to grease around the ratchet, the freeside seal is dirtier.

The inner seals were doing their job.
The grease on the hub shaft isn't dirty.
Also, this Racing Zero has the newer front hub with smaller bearing diameter, but the rear hub is still the older black one. The newer front hub bearing diameter probably only comes with silver ones.
The inside of the rim was rattling quite a bit, so I pulled out a spoke nipple. Quite a big one.
I cleaned the rear hub.

I cleaned not just the interior but the flanges as well.
As expected, the right end nut loosened in my hand, but more than that, it was already loose to begin with.
It wasn't a case of "the end nut was in its final tightened position but loosened in my hand"—rather, it had loosened by about one thread and turned outward.
When this happens, I've learned from experience that the freebody can shift, and the ratchet teeth on the hub body get struck by the freebody, leaving impact marks. But it seems the extent of these impacts varies depending on how strongly the pawls are pulled back by the spring.

The pawl return spring on the freebody was slightly warped, so I replaced it.
As I always say, since these parts are inexpensive, if anything seems off at all, it's worth replacing.
Given what could happen if it fails, there's no reason not to use a new one.
The image above shows installing the new spring—looking from inside the wheel, the spring is applied clockwise.
If the hole where the spring hooks is at 12 o'clock, then the pawls are at 2, 6, and 10 o'clock positions, and the spring engages them in that order. I think the spring force to lift the pawls diminishes the farther it travels.

↑Between 10 and 2 o'clock

↑Between 2 and 6 o'clock
↑Between 6 and 10 o'clock
Only in the section where the spring force is strongest are there no impact marks on the hub body.
Of course, the deformation I saw happened with a slightly bent spring, so with a new spring and the right end nut properly tightened, there should be virtually no variation in the pawl lifting force between individual units.
Next, the front wheel.

I washed this hub too.

The grease isn't dirty, but it still felt depleted, so after cleaning I regreased it.
As expected, it was a silver one as well.
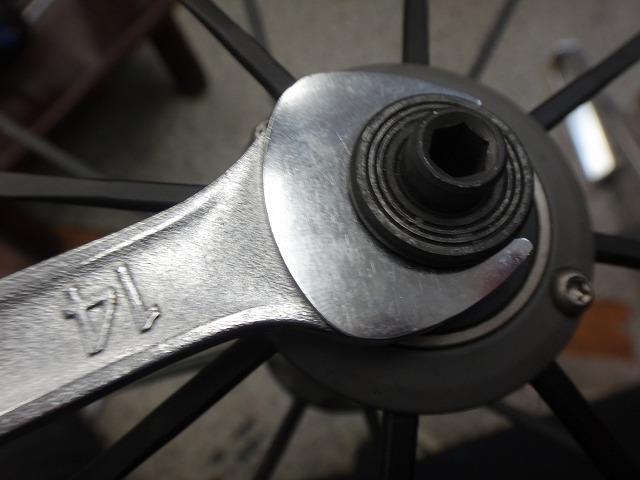
On the front hub, this time too the right end nut loosened first, so with the right end nut tightened, I was able to use a custom-made 14mm wrench with the exact width to hold the shaft while loosening the left end nut.

I got a comment asking me to stop being coy and show this custom tool! So for once, I'll oblige.
This time it was just barely able to get it off. The left end nut went "crack!" the moment it loosened.
For the inspection, the front wheel had slight runout, and the rear wheel had some centering drift, but both were minor.