Another wheel day (and so on).

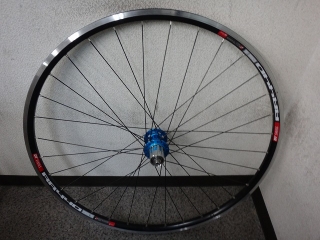
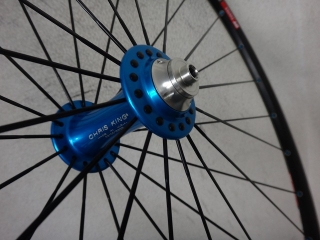
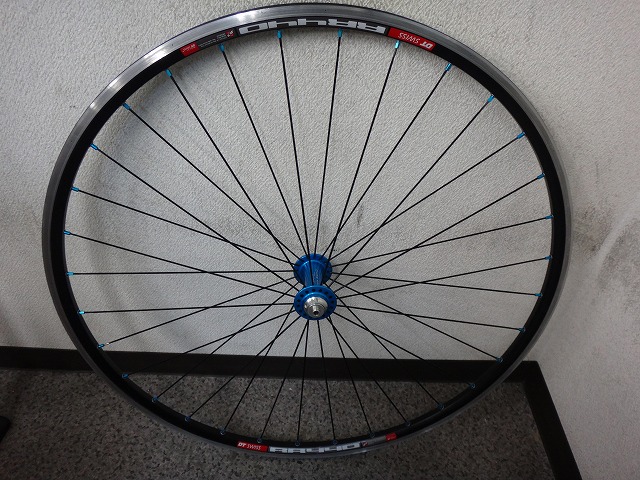
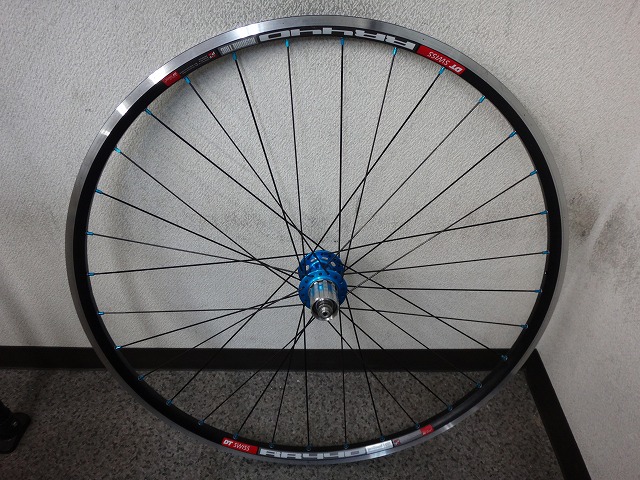
A customer brought me a wheelset built with Chris King hubs.
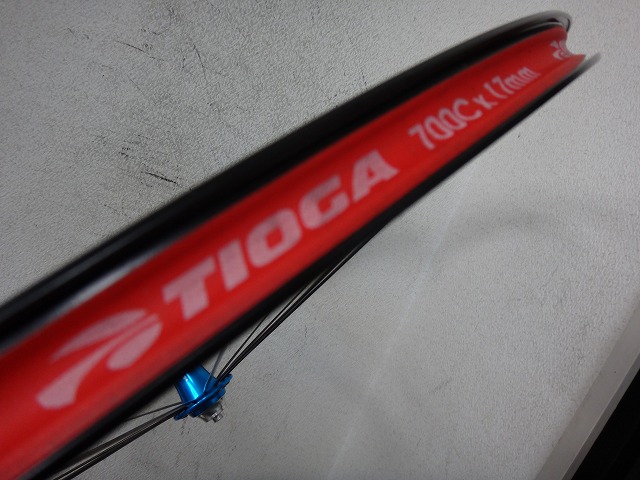
Front rim is DT's RR440,
rear is RR440 Asymmetric with offset R440 specification.
Apparently it was built at a nearby shop,
and before I could even ask, they told me which one.
I'd never heard of the place, but since it's on the route I take on my night rides home,
I actually found it the other day when I passed through. Hm.
Apparently when they placed the order, the builder threw out some preemptive disclaimers like "I haven't really built many wheels..."
but here they are using premium materials like Chris King despite acknowledging that skill level. That's something else.
Starting with the front wheel.
32H all-black competition outpoke radial laced.
Apparently this front wheel shoots out when dancing.
I grabbed the spokes—they were totally sloppy.
Radial and lateral runout are reasonably dialed in.
Maybe slightly worse than Shimano off-the-peg wheels?
Center offset measured about the thickness of two sheets of paper.
Depending on the centering gauge's precision, it might get flagged as "out."
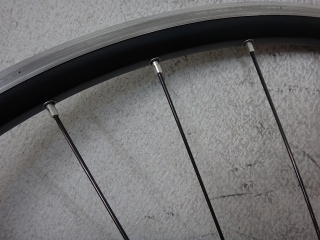
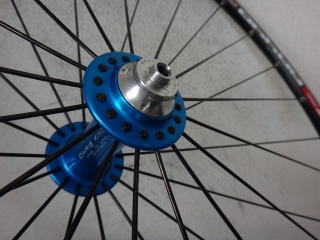
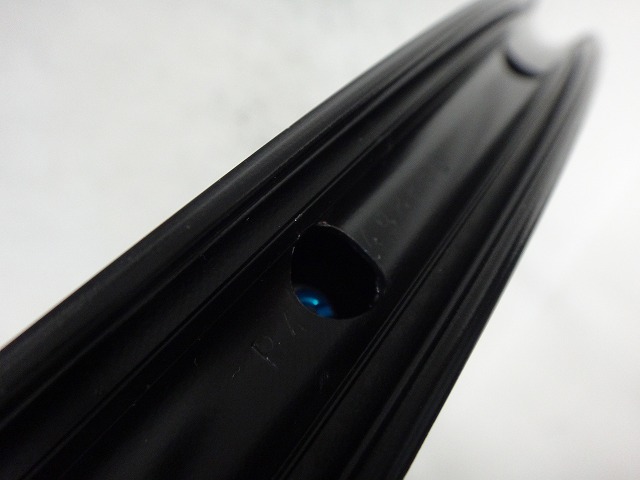
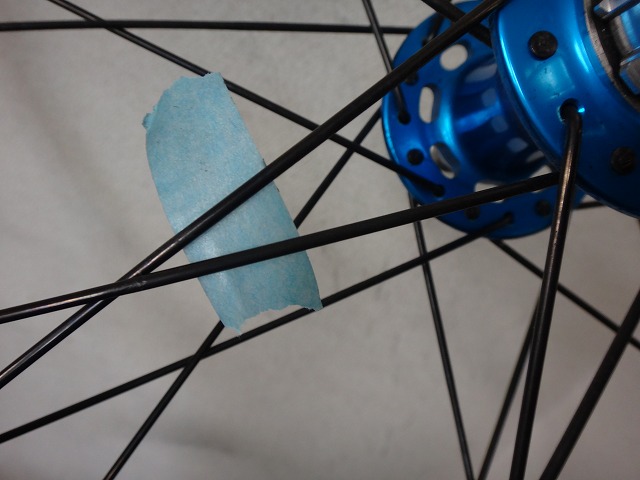
Both wheels have silver aluminum nipples.
After rebuilding, the customer wants nipples that match the hub anodizing as closely as possible,
so I'll use DT's turquoise.
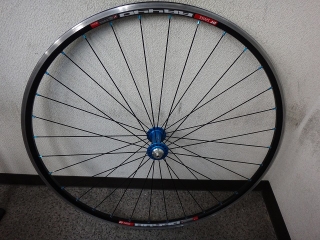
Built.
Black CX-RAY outpoke radial laced.
The CX-RAY choice was the customer's request.

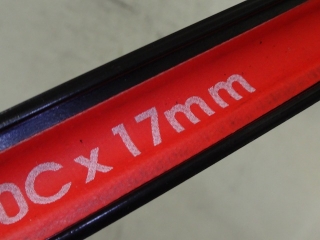
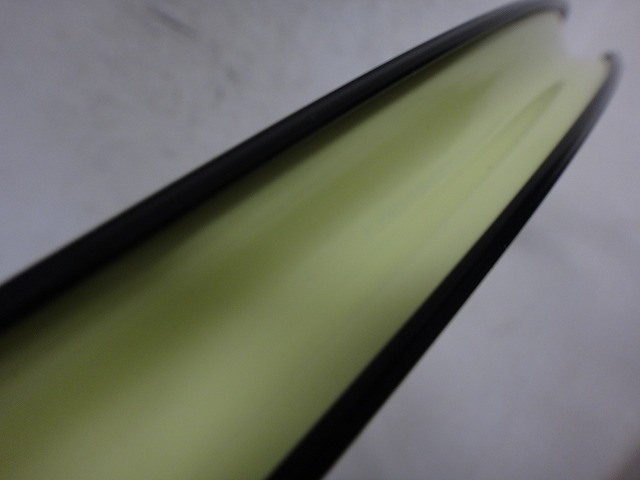
The rim tape installed was 17mm wide, but it doesn't fit properly on this rim.
That said, if it were a normal clincher rim, I suppose it'd barely work.

Shifting this way
and that way is because

the rim tape sinks into the tubeless bead seat recess,
eating up effective width.
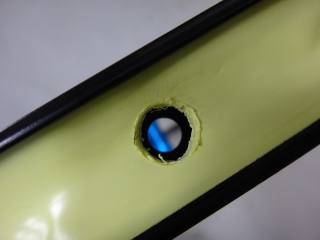
Applied Stan's 21mm rim tape.
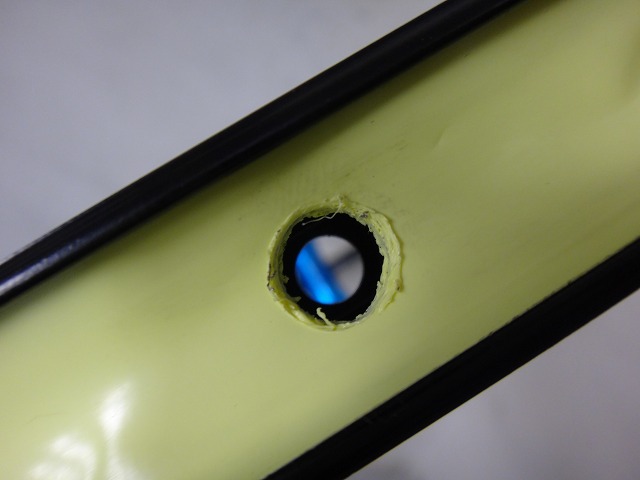
Kind of irrelevant, but I open the valve hole in this tape with a soldering iron.
The manufacturer's official video shows carving it out with a small knife,
but if you use the screwdriver-tap method,
the hole sometimes splits front-to-back,
and then you can't use it for tubeless with a tubeless valve installed.
In the photo above, I opened it full diameter at the rim side,
but for tubeless applications I keep it just large enough for the valve to pass through.

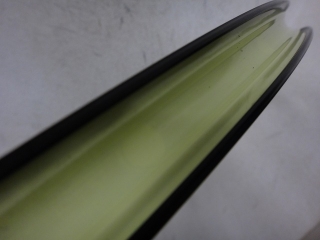
Applied the rim tape...
threw some random tire and tube on it,
and inflated to 9 bar once.
The tape follows the rim contour perfectly with no overflow anywhere.
Now for the rear wheel.
The rim is heavily biased toward the non-drive side.
When you grab the spokes,
it deflects this much—and that's the drive side.
The spokes are all-black competition, but shamelessly laced 46g style.
A builder this incompetent using 46g lacing is completely pointless.
Of course, someone at this skill level will never have the insight to conceive of asymmetrical spoking in a lifetime,
so I assume they're copying mine—but if this wheel's state is being used to evaluate the effectiveness of asymmetrical spoking,
that's seriously annoying.
Just to be clear, I'm not saying "don't use 46g lacing,"
I'm saying "build proper wheels first."
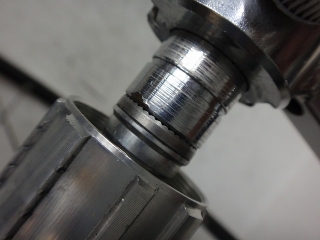
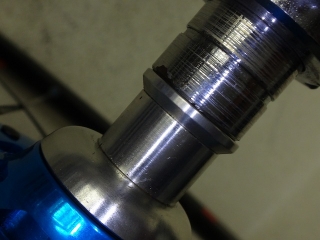
Man, that poor Chris King hub.
Reusing the drive-side competition spokes.
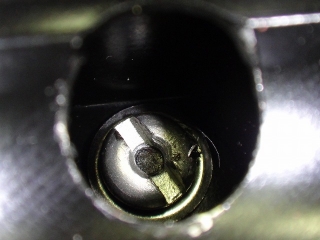
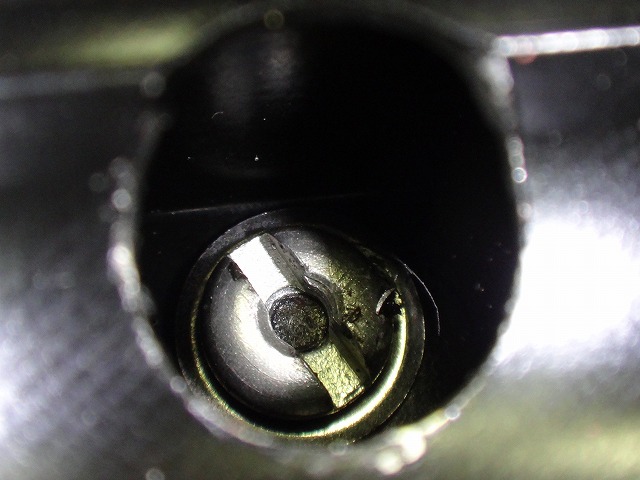
They had no threadlocker on them and some weird oil was smeared around, making degreasing a pain.
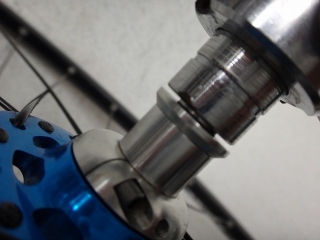
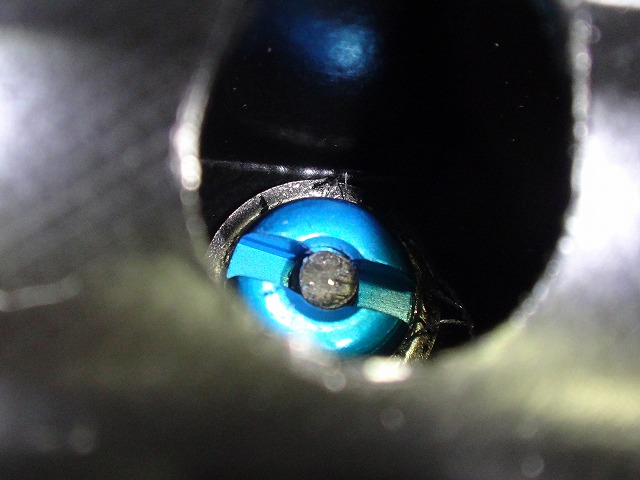
I didn't remove the drive-side spokes from the hub during the rebuild—that's to distinguish between inpoke and outpoke.
The spoke length is flush with the nipple slot, so by my standard where the end face of the nipple itself defines proper length,
these are "fine but slightly short"—which is actually exactly what I consider proper length.

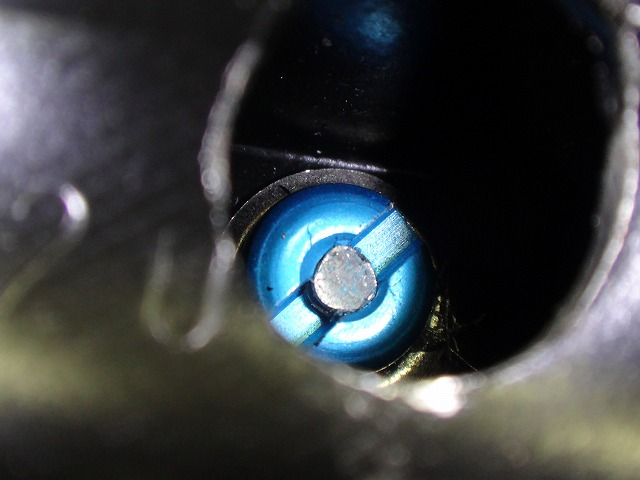
Even though I reused the same spoke length,
it's now flush with the nipple end face.
Considering the original build was obviously undertensioned,
I figured we'd end up around here after a proper rebuild.

The non-drive side is black CX-RAY.
The spokes' end faces are silvery because they weren't painted to begin with—
the threads never get paint coverage anyway.

Built.

Black half-comp 46g laced.
Spoke tying comes later.
While building, I was struck by how much tension I could still add to the non-drive side—
the offset rim effect was genuinely noticeable.
Drive-side spoke squeeze after rebuild.
To be fair-minded about it, I'm squeezing harder than before.
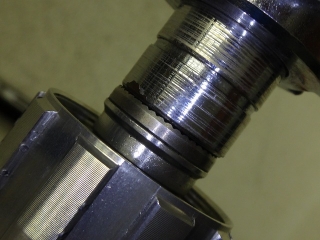
Obviously the wheel is centered.


A customer brought me a wheelset built with Chris King hubs.
Front rim is DT's RR440,
rear is RR440 Asymmetric with offset R440 specification.
Apparently it was built at a nearby shop,
and before I could even ask, they told me which one.
I'd never heard of the place, but since it's on the route I take on my night rides home,
I actually found it the other day when I passed through. Hm.
Apparently when they placed the order, the builder threw out some preemptive disclaimers like "I haven't really built many wheels..."
but here they are using premium materials like Chris King despite acknowledging that skill level. That's something else.

Starting with the front wheel.
32H all-black competition outpoke radial laced.
Apparently this front wheel shoots out when dancing.
I grabbed the spokes—they were totally sloppy.
Radial and lateral runout are reasonably dialed in.
Maybe slightly worse than Shimano off-the-peg wheels?
Center offset measured about the thickness of two sheets of paper.
Depending on the centering gauge's precision, it might get flagged as "out."

Both wheels have silver aluminum nipples.
After rebuilding, the customer wants nipples that match the hub anodizing as closely as possible,
so I'll use DT's turquoise.
Built.

Black CX-RAY outpoke radial laced.
The CX-RAY choice was the customer's request.
The rim tape installed was 17mm wide, but it doesn't fit properly on this rim.
That said, if it were a normal clincher rim, I suppose it'd barely work.

Shifting this way

and that way is because
the rim tape sinks into the tubeless bead seat recess,
eating up effective width.
Applied Stan's 21mm rim tape.
Kind of irrelevant, but I open the valve hole in this tape with a soldering iron.
The manufacturer's official video shows carving it out with a small knife,
but if you use the screwdriver-tap method,
the hole sometimes splits front-to-back,
and then you can't use it for tubeless with a tubeless valve installed.
In the photo above, I opened it full diameter at the rim side,
but for tubeless applications I keep it just large enough for the valve to pass through.
Applied the rim tape...

threw some random tire and tube on it,
and inflated to 9 bar once.
The tape follows the rim contour perfectly with no overflow anywhere.


Now for the rear wheel.
The rim is heavily biased toward the non-drive side.

When you grab the spokes,
it deflects this much—and that's the drive side.
The spokes are all-black competition, but shamelessly laced 46g style.
A builder this incompetent using 46g lacing is completely pointless.
Of course, someone at this skill level will never have the insight to conceive of asymmetrical spoking in a lifetime,
so I assume they're copying mine—but if this wheel's state is being used to evaluate the effectiveness of asymmetrical spoking,
that's seriously annoying.
Just to be clear, I'm not saying "don't use 46g lacing,"
I'm saying "build proper wheels first."
Man, that poor Chris King hub.
Reusing the drive-side competition spokes.
They had no threadlocker on them and some weird oil was smeared around, making degreasing a pain.
I didn't remove the drive-side spokes from the hub during the rebuild—that's to distinguish between inpoke and outpoke.
The spoke length is flush with the nipple slot, so by my standard where the end face of the nipple itself defines proper length,
these are "fine but slightly short"—which is actually exactly what I consider proper length.
Even though I reused the same spoke length,
it's now flush with the nipple end face.
Considering the original build was obviously undertensioned,
I figured we'd end up around here after a proper rebuild.
The non-drive side is black CX-RAY.
The spokes' end faces are silvery because they weren't painted to begin with—
the threads never get paint coverage anyway.
Built.
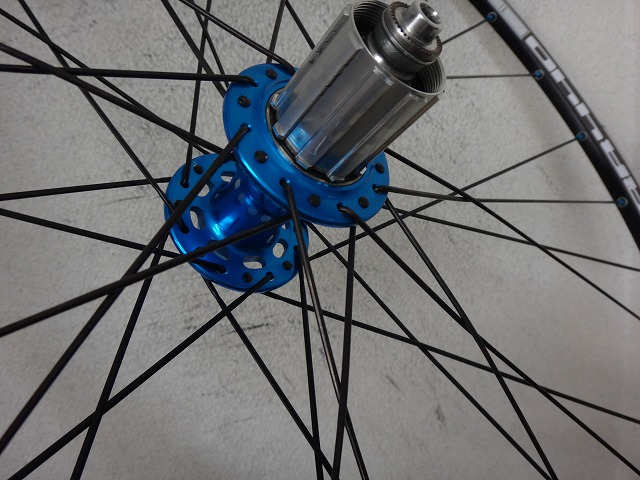
Black half-comp 46g laced.
Spoke tying comes later.
While building, I was struck by how much tension I could still add to the non-drive side—
the offset rim effect was genuinely noticeable.


Drive-side spoke squeeze after rebuild.
To be fair-minded about it, I'm squeezing harder than before.


Obviously the wheel is centered.