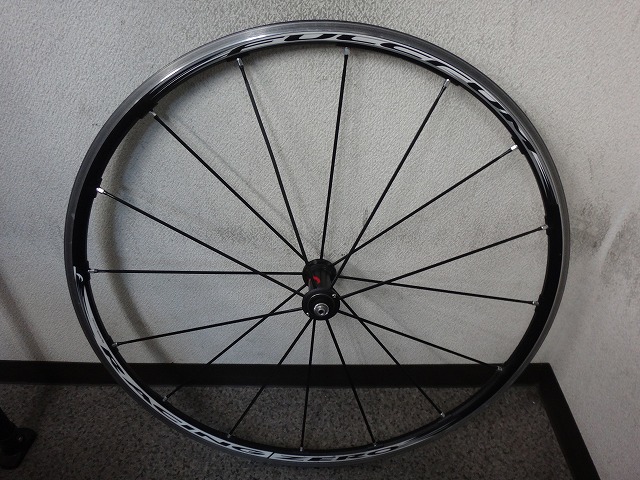
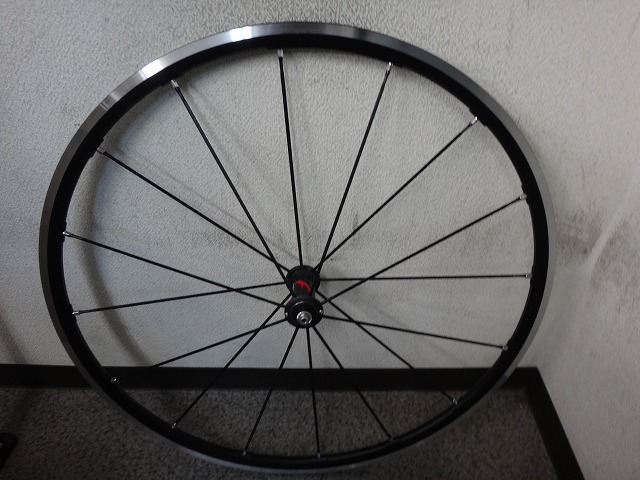
A customer dropped off a Racing Zero front rim with me for service.

I'm saying "Racing Zero rim front wheel" rather than
"Racing Zero front wheel" because

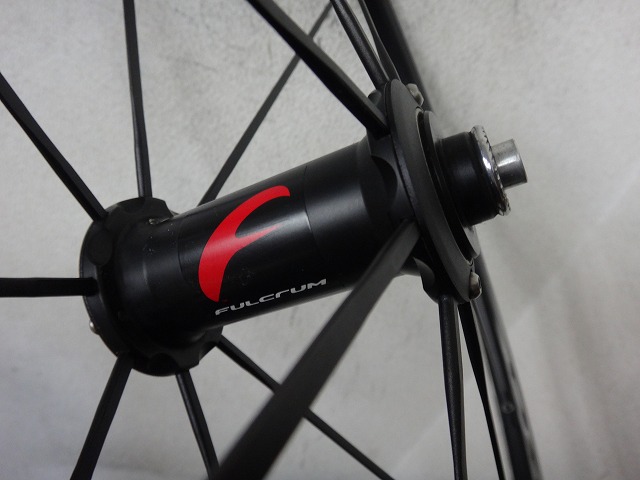
the hub is a Racing 1.
This isn't an original Racing 1 hub,
so hubs from this era use aluminum nipples
rather than brass nipples.
Spare rims are supplied without stickers,
and you can optionally apply stickers to match the hub grade.
This wheel's history is that when the original Racing 1 rim
was swapped for a Racing 1/Zero rim,
only the stickers were changed to Racing Zero.
Now the customer is requesting a second rim replacement.

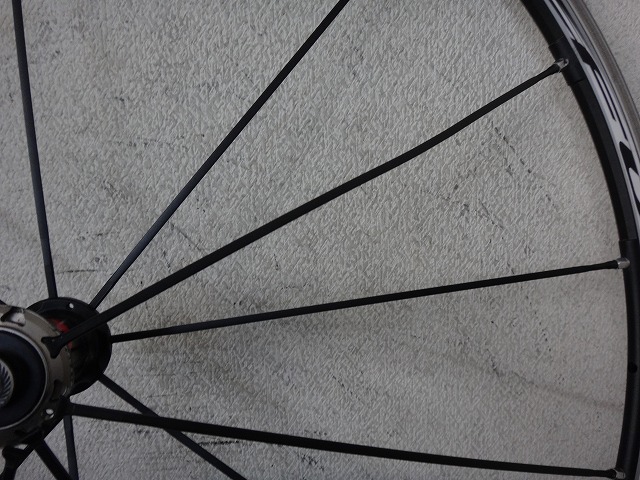
Before disassembly, I noticed one spot with significant runout,
which turned out to be from a bent spoke.
The old rim's braking surface didn't show wear requiring replacement,
so I thought maybe just replacing and adjusting the spoke would fix it.
But when I placed the disassembled rim on a glass surface plate,
I detected a slight warp,
so I'm replacing the rim as the customer requested.
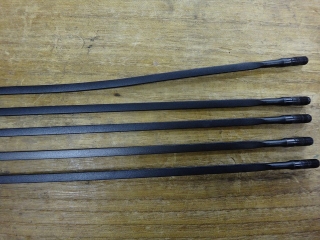
↑I replaced the bent spoke.

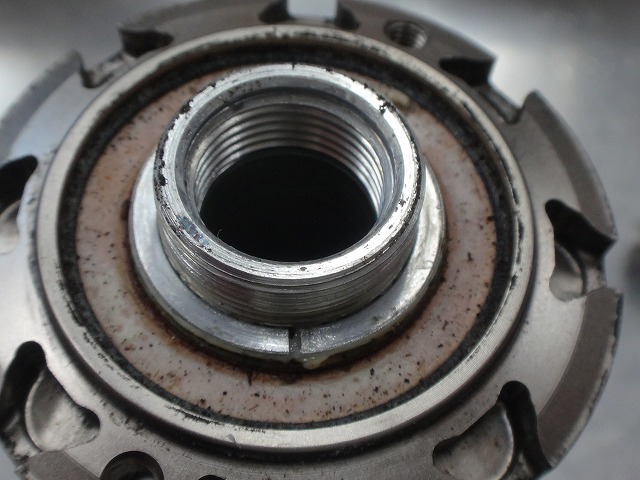
I did a complete overhaul on the hub.

before

after
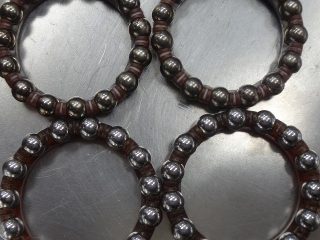
The hub's ball races showed nice wear patterns,
but the bearing balls were clouded over so I replaced them.
The top image is the original bearing, the bottom is new.

↑Top image is the original bearing, bottom is new.
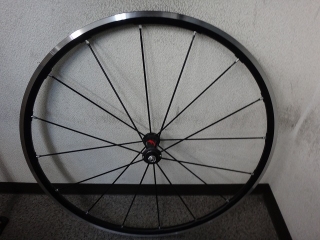
All assembled.
The customer said no stickers needed.
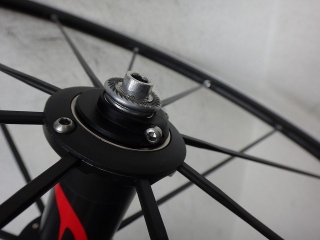
Regarding the hub's bearing adjustment,
it becomes loose once spoke tension is applied.
I started with the hub spinning smoothly with no play as a standalone unit,
but play developed during wheel building,
so I readjusted it.
I'm saying "Racing Zero rim front wheel" rather than
"Racing Zero front wheel" because
the hub is a Racing 1.
This isn't an original Racing 1 hub,
so hubs from this era use aluminum nipples
rather than brass nipples.
Spare rims are supplied without stickers,
and you can optionally apply stickers to match the hub grade.
This wheel's history is that when the original Racing 1 rim
was swapped for a Racing 1/Zero rim,
only the stickers were changed to Racing Zero.
Now the customer is requesting a second rim replacement.
Before disassembly, I noticed one spot with significant runout,
which turned out to be from a bent spoke.
The old rim's braking surface didn't show wear requiring replacement,
so I thought maybe just replacing and adjusting the spoke would fix it.
But when I placed the disassembled rim on a glass surface plate,
I detected a slight warp,
so I'm replacing the rim as the customer requested.
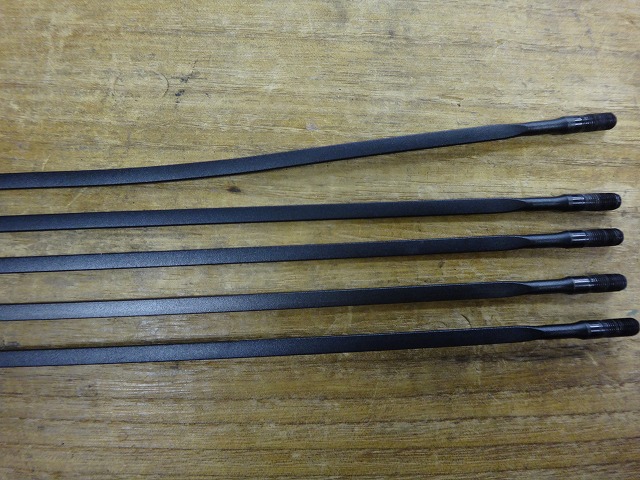
↑I replaced the bent spoke.

I did a complete overhaul on the hub.
before

after

The hub's ball races showed nice wear patterns,
but the bearing balls were clouded over so I replaced them.
The top image is the original bearing, the bottom is new.

↑Top image is the original bearing, bottom is new.
All assembled.
The customer said no stickers needed.

Regarding the hub's bearing adjustment,
it becomes loose once spoke tension is applied.
I started with the hub spinning smoothly with no play as a standalone unit,
but play developed during wheel building,
so I readjusted it.