Another day of wheel building (and so on).
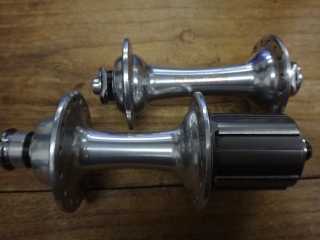
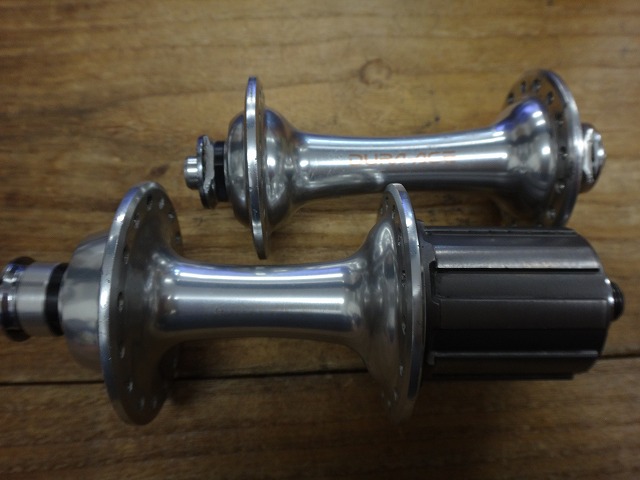
A customer handed me some Shimano 7700 hubs.
I'm building Nomu Lab Wheel No. 5 with these, and they asked me to explain the bearing adjustment process, so I'll write it down here.
「Adjust to the loosest point where there's no lateral play when the wheel is built (with spoke tension applied).」
When tightening the locknut, moving the inner hub wrench changes the adjustment, so you have to account for that too.
If you adjust the hub alone, once it becomes a wheel the adjustment loosens and sometimes lateral play develops.
If you pursue the lightest rotation possible, the bearing gets slightly tighter when the quick release is tightened, so you'd want it "with barely any lateral play on the wheel, play disappears exactly when the quick release is tightened." But in that case maintenance frequency increases, so I don't recommend it.
For structures that allow bearing adjustment after tightening the quick release, there's Mavic's cone nuts that grab 4 of 6 holes with a cone wrench to adjust, but lately press-fit types are increasing too.
I thought it was only on InstantDrive rear hubs, but Ksyrium front hubs have press-fit cones too.
They had snap rings installed to prevent bearing dropout.
Shimano hubs as standalone units and pedal axles have adjustment that's somehow absolutely perfect right out of the box.
There must be some standard they follow for bearing adjustment, but especially with pedals—how do they get it so dead-on?
(Tighten slightly and it becomes noticeably stiff, loosen for light rotation and there's lateral play with the axle wobbling around)
Adjusting pedal axle bearings usually means the internals are damaged, and you rarely touch new ones on purpose, so maybe that's why it feels extra impressive.

The front hub logo is slightly faded, but
The rear hub was almost completely worn off.
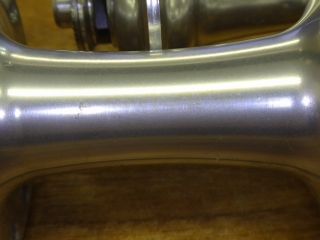
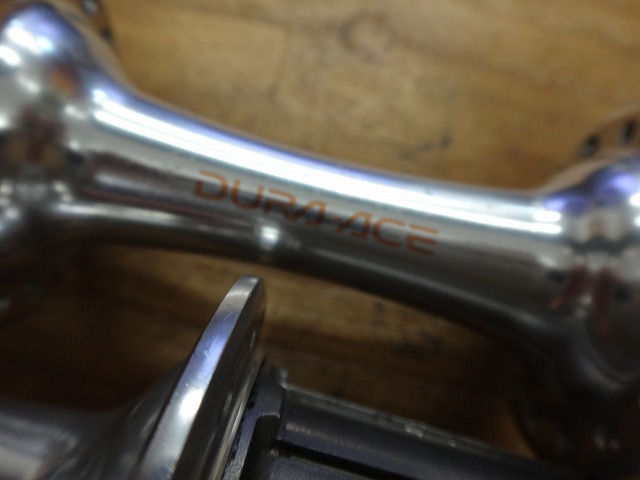
The DURA-ACE logo is barely visible at this angle in the image.
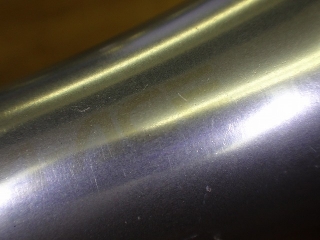
↑Close-up of the ACE part.
Can't say for certain whether it was used, but if you use a hub brush (colloquially called "hub hair"), the anodizing fades noticeably fast.
On anything other than iron-body hubs, you should avoid it.

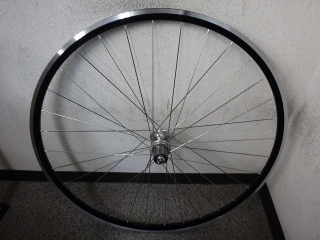
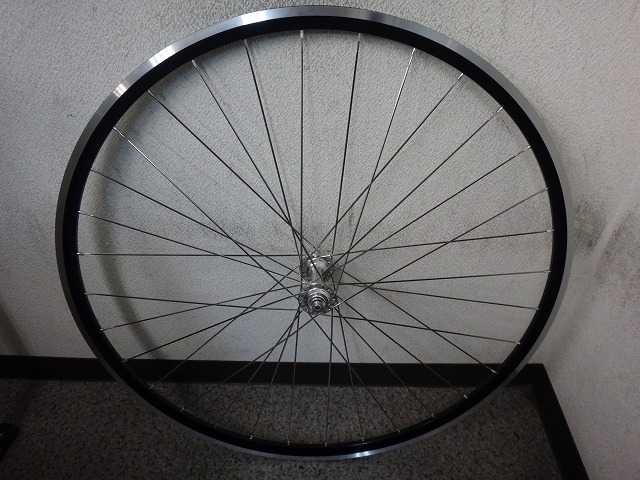
Built the front wheel.
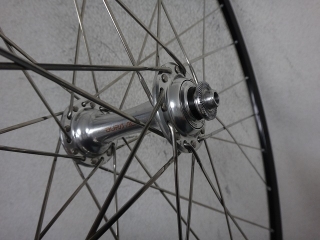
HB-7700 32H CX-RAY Rocc (six-cross Italian pattern) lacing.
Silver CX-RAY spokes for the front (semi-competition for the rear) and silver aluminum nipples—beyond that they left it to my judgment. The reasons I chose Rocc lacing were: this hub forbids radial lacing (though I do it on my personal ones), radial lacing at 32H makes the hub body harder to wipe clean (my personal wheel is 24H), the flange wear pattern showed Rocc lacing history, and apparently tangent lacing makes the front brake work better (※).
※There's a customer who rebuilt a Chris King 32H hub and Open Pro rim front wheel from radial to 6-cross lacing. When I asked what changed (twisted resistance feels stronger, wheel feels stiffer, etc.), what they said was definitively noticeable at the feel level was "the brake works better than before."
Built the rear wheel too.
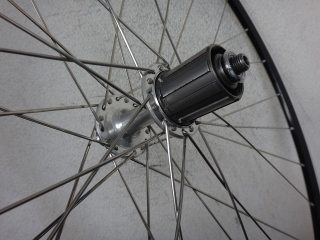
FH-7700 32H semi-competition 4-cross lacing.
Threading comes later.
I made sure to align the hub body logo perfectly—visible through the valve hole—even though it's fading.
A customer handed me some Shimano 7700 hubs.
I'm building Nomu Lab Wheel No. 5 with these, and they asked me to explain the bearing adjustment process, so I'll write it down here.
「Adjust to the loosest point where there's no lateral play when the wheel is built (with spoke tension applied).」
When tightening the locknut, moving the inner hub wrench changes the adjustment, so you have to account for that too.
If you adjust the hub alone, once it becomes a wheel the adjustment loosens and sometimes lateral play develops.
If you pursue the lightest rotation possible, the bearing gets slightly tighter when the quick release is tightened, so you'd want it "with barely any lateral play on the wheel, play disappears exactly when the quick release is tightened." But in that case maintenance frequency increases, so I don't recommend it.
For structures that allow bearing adjustment after tightening the quick release, there's Mavic's cone nuts that grab 4 of 6 holes with a cone wrench to adjust, but lately press-fit types are increasing too.
I thought it was only on InstantDrive rear hubs, but Ksyrium front hubs have press-fit cones too.
They had snap rings installed to prevent bearing dropout.
Shimano hubs as standalone units and pedal axles have adjustment that's somehow absolutely perfect right out of the box.
There must be some standard they follow for bearing adjustment, but especially with pedals—how do they get it so dead-on?
(Tighten slightly and it becomes noticeably stiff, loosen for light rotation and there's lateral play with the axle wobbling around)
Adjusting pedal axle bearings usually means the internals are damaged, and you rarely touch new ones on purpose, so maybe that's why it feels extra impressive.
The front hub logo is slightly faded, but

The rear hub was almost completely worn off.
The DURA-ACE logo is barely visible at this angle in the image.

↑Close-up of the ACE part.
Can't say for certain whether it was used, but if you use a hub brush (colloquially called "hub hair"), the anodizing fades noticeably fast.
On anything other than iron-body hubs, you should avoid it.
Built the front wheel.

HB-7700 32H CX-RAY Rocc (six-cross Italian pattern) lacing.
Silver CX-RAY spokes for the front (semi-competition for the rear) and silver aluminum nipples—beyond that they left it to my judgment. The reasons I chose Rocc lacing were: this hub forbids radial lacing (though I do it on my personal ones), radial lacing at 32H makes the hub body harder to wipe clean (my personal wheel is 24H), the flange wear pattern showed Rocc lacing history, and apparently tangent lacing makes the front brake work better (※).
※There's a customer who rebuilt a Chris King 32H hub and Open Pro rim front wheel from radial to 6-cross lacing. When I asked what changed (twisted resistance feels stronger, wheel feels stiffer, etc.), what they said was definitively noticeable at the feel level was "the brake works better than before."

Built the rear wheel too.

FH-7700 32H semi-competition 4-cross lacing.
Threading comes later.
I made sure to align the hub body logo perfectly—visible through the valve hole—even though it's fading.