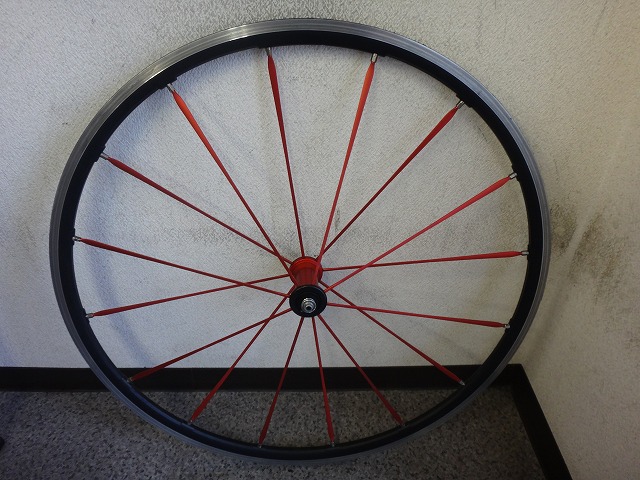
A customer brought in a first generation Racing Zero wheel for servicing.
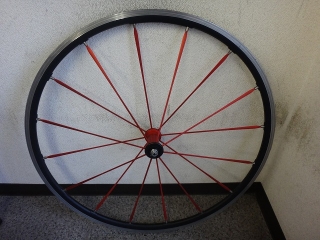
Strictly speaking, the first model had red/red/red hubs/spokes/rims,
but this one has the later black/red/black spec.
Apart from the color, the construction is identical to the first model.
The rear wheel had virtually no lateral runout,
but there was a slight bulge in the brake zone from buckling,
making it barely usable but in fairly rough condition.
The front wheel, though, had an abnormally large radial runout.
For a moment, I suspected the rim itself was deformed.

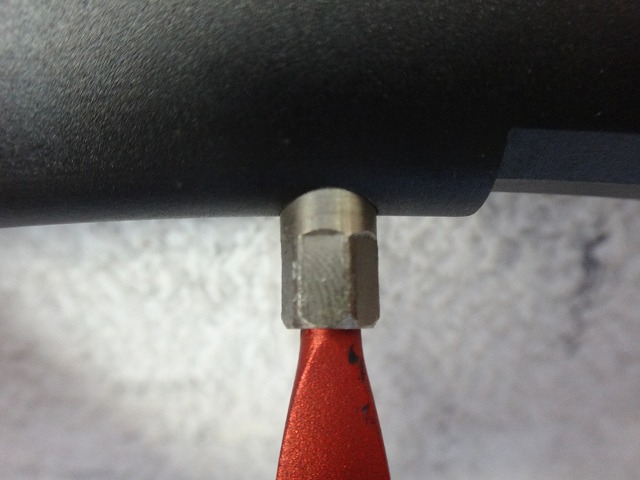
The aluminum nipples on Racing Zeros from this era
have a brass-colored anodize coating, and when internal corrosion progresses,
they peel off like eggshells.
This wheel hasn't reached that stage yet.

However, there was one nipple that had been replaced with the later silver-colored aluminum type.
The radial runout was directly beneath this location,
and the culprit was that radial runout wasn't corrected when the spoke and nipple were replaced.
It appears to be work from some professional shop somewhere... but still.
Separately from this,
I saw a Racing Zero rear wheel that had its rim replaced at a nearby shop
brought in because it was creaking excessively.
Upon inspection, it was assembled loosely with abnormally low tension—
not even reaching the lower limit of the hanging/off-the-shelf variance range.
For the freewheel side of current model Racing Zero rear wheels with non-aero spokes,
my standard using Hozan's tension meter, specifically the H1ST,
is 230 or more but less than 240
(of course, with the wheel centered in final condition).
Stock-built wheels sit around 235,
and anything below 220 becomes noticeably slack, but
that wheel measured 205-210 before work.
They should measure tension before replacing the rim, or
reference another Racing Zero nearby if available—
but who knows what standard they were using to build it.
That creaking issue was resolved by my tightening work.
Like this, when rim or spoke replacement is done carelessly with only lateral runout corrected,
under-tensioning is the more common issue,
but this time, unusually, it was over-tensioned.
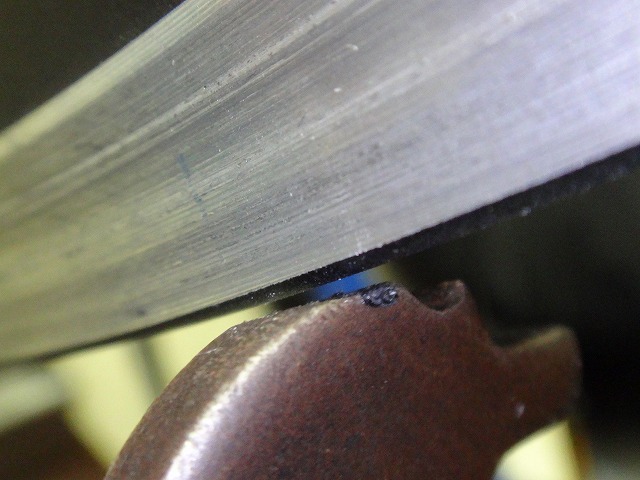
In other words, only around the silver-colored nipple location was the rim pulled inward.
Tightening just the silver nipple creates lateral runout, so
the adjacent nipples on both sides were also tightened to remove only lateral runout.
Most positions where the rim outline just touches the truing stand gauge,

the inward-pulled section looks like this.

I corrected the radial runout, centered the wheel, and corrected lateral runout.
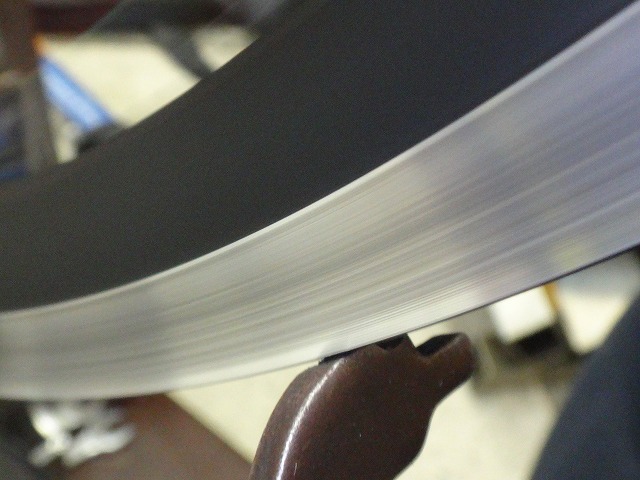
The image above shows the wheel spinning vigorously.
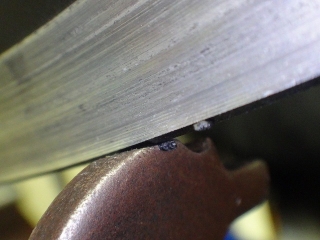
Also in the post-work condition,
↑at this position, the brake wear mark is on the inner side of the rim
with no wear mark on the outer side. I'll call this position A.

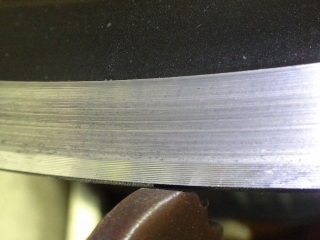
↑at this position, the wear mark is in the center of the brake zone
with no wear marks above or below it. I'll call this position B.
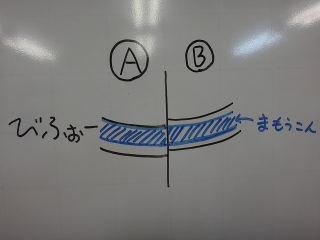
I've drawn similar diagrams before, but
in the pre-work condition, as the wheel rotates,
the rim outline pulses up and down,
while the brake zone wear marks don't move at all.

In the post-work condition, within the brake zone that barely moves up and down,
the wear marks themselves move up and down instead.
Strictly speaking, the first model had red/red/red hubs/spokes/rims,
but this one has the later black/red/black spec.
Apart from the color, the construction is identical to the first model.
The rear wheel had virtually no lateral runout,
but there was a slight bulge in the brake zone from buckling,
making it barely usable but in fairly rough condition.
The front wheel, though, had an abnormally large radial runout.
For a moment, I suspected the rim itself was deformed.
The aluminum nipples on Racing Zeros from this era
have a brass-colored anodize coating, and when internal corrosion progresses,
they peel off like eggshells.
This wheel hasn't reached that stage yet.

However, there was one nipple that had been replaced with the later silver-colored aluminum type.
The radial runout was directly beneath this location,
and the culprit was that radial runout wasn't corrected when the spoke and nipple were replaced.
It appears to be work from some professional shop somewhere... but still.
Separately from this,
I saw a Racing Zero rear wheel that had its rim replaced at a nearby shop
brought in because it was creaking excessively.
Upon inspection, it was assembled loosely with abnormally low tension—
not even reaching the lower limit of the hanging/off-the-shelf variance range.
For the freewheel side of current model Racing Zero rear wheels with non-aero spokes,
my standard using Hozan's tension meter, specifically the H1ST,
is 230 or more but less than 240
(of course, with the wheel centered in final condition).
Stock-built wheels sit around 235,
and anything below 220 becomes noticeably slack, but
that wheel measured 205-210 before work.
They should measure tension before replacing the rim, or
reference another Racing Zero nearby if available—
but who knows what standard they were using to build it.
That creaking issue was resolved by my tightening work.
Like this, when rim or spoke replacement is done carelessly with only lateral runout corrected,
under-tensioning is the more common issue,
but this time, unusually, it was over-tensioned.
In other words, only around the silver-colored nipple location was the rim pulled inward.
Tightening just the silver nipple creates lateral runout, so
the adjacent nipples on both sides were also tightened to remove only lateral runout.

Most positions where the rim outline just touches the truing stand gauge,
the inward-pulled section looks like this.
I corrected the radial runout, centered the wheel, and corrected lateral runout.
The image above shows the wheel spinning vigorously.
Also in the post-work condition,
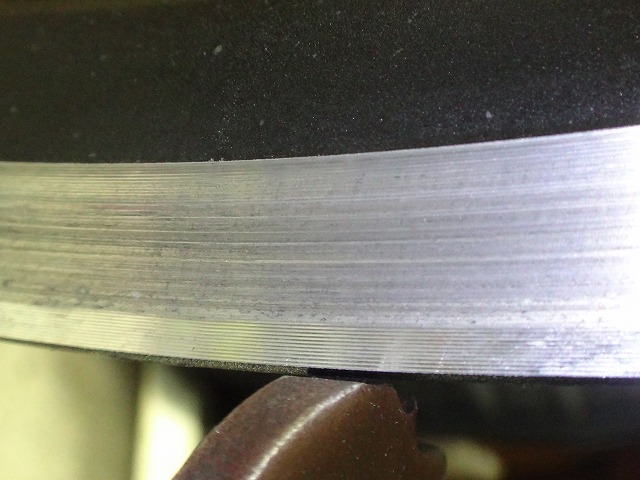
↑at this position, the brake wear mark is on the inner side of the rim
with no wear mark on the outer side. I'll call this position A.
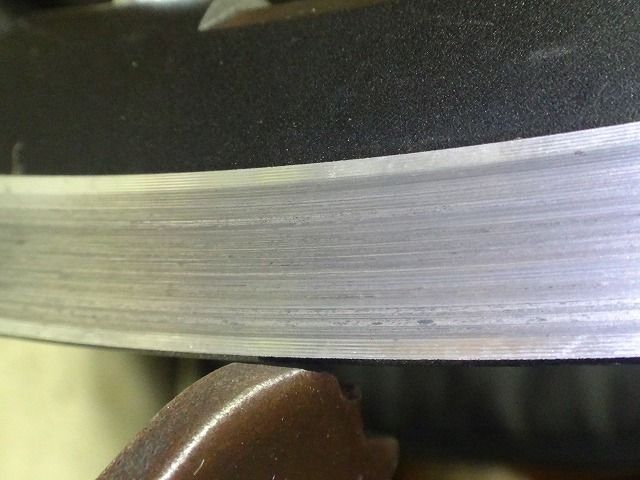
↑at this position, the wear mark is in the center of the brake zone
with no wear marks above or below it. I'll call this position B.

I've drawn similar diagrams before, but
in the pre-work condition, as the wheel rotates,
the rim outline pulses up and down,
while the brake zone wear marks don't move at all.

In the post-work condition, within the brake zone that barely moves up and down,
the wear marks themselves move up and down instead.