Back to wheel work today (and so on).
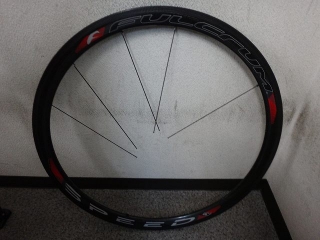
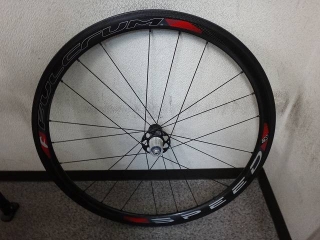
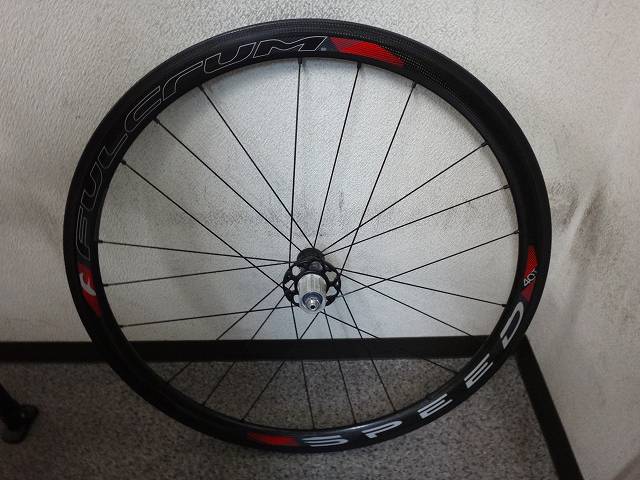
Continuing from yesterday, the rear wheel of the Speed 40T.
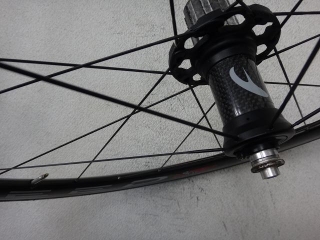
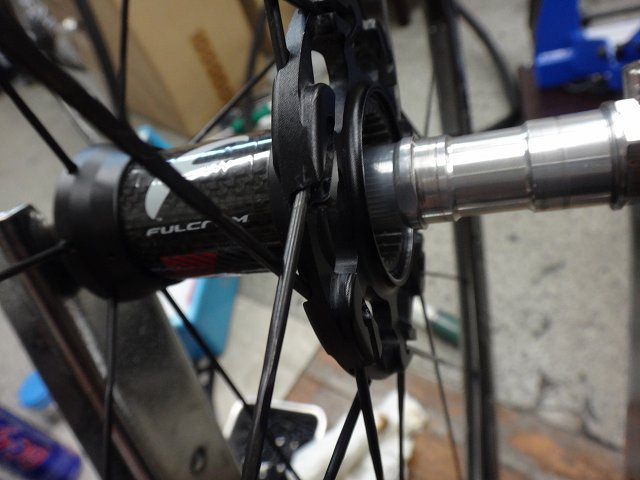
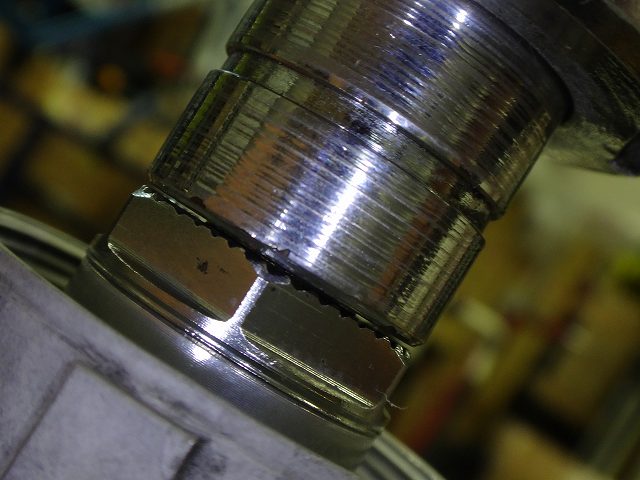
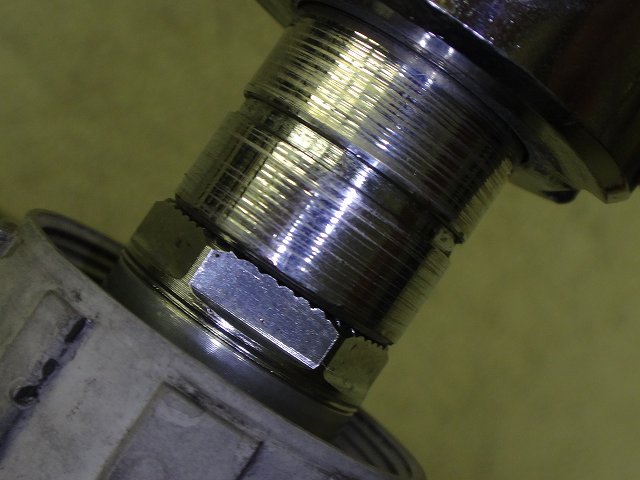
The freewheel side has a hook-type flange, while the non-freewheel side has a through-type flange.

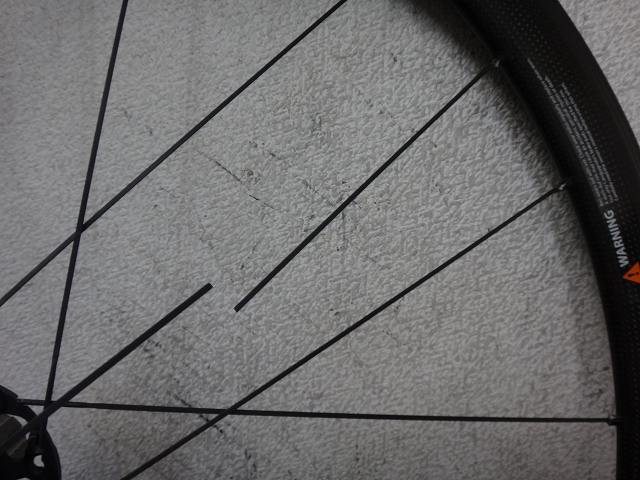
There are some nipples in relatively decent condition, but just like the front wheel
corrosion is progressing
and most of the nipples are cracked.
All 21 of them are seized,
and there's not a single nipple that turns properly.

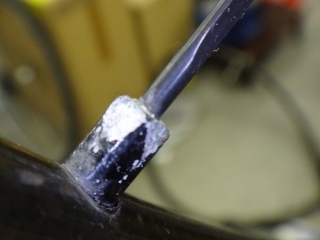
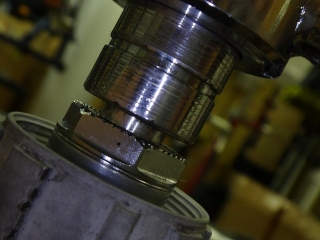
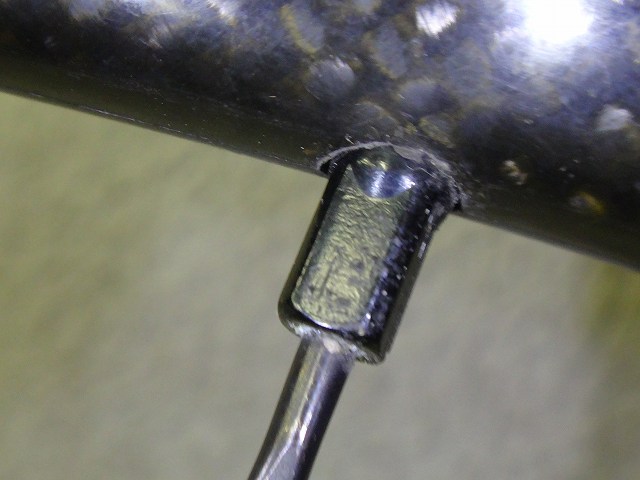
I cut one spoke on the non-freewheel side.
When you cut a spoke under tension, it makes a "BANG!" sound and
the damage gets transmitted to the rim hole, so it might just be a placebo,
but I hold the area outside the cut point firmly
and cut in a state where I'm pushing toward the hub as much as possible.

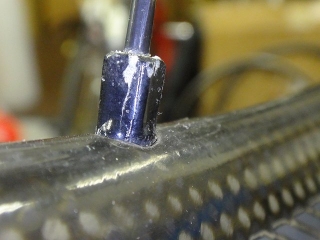
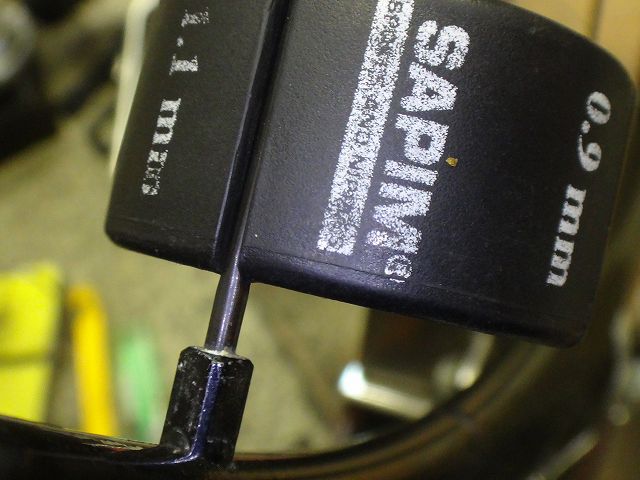
I selected a nipple that appeared to have no corrosion.
Among the reasons why the nipple won't turn, I'm excluding spoke tension,
but even this one can't be loosened.
Either the nipple will strip or the spoke will twist
before the nipple breaks apart like a hard candy.
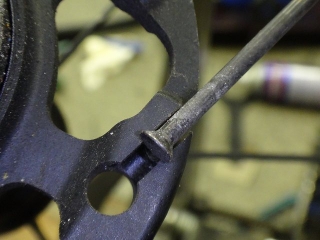
The freewheel side has a hook-type flange, so
slightly less than half the spokes can be removed from the hub without loosening the nipples,
but these nipples are also seized to the spokes,
and as a result, all the spokes needed to be replaced.
It feels like a miracle that I could reuse 2 spokes from the front wheel.

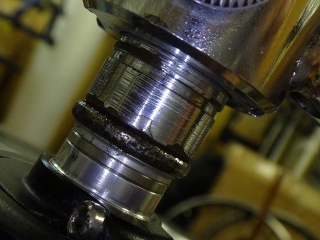
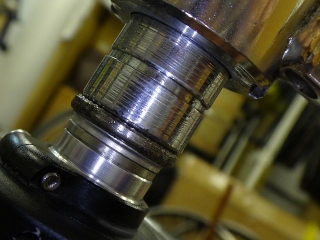
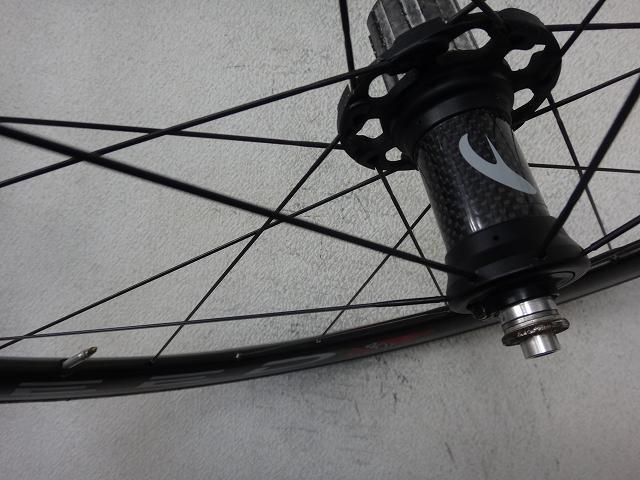
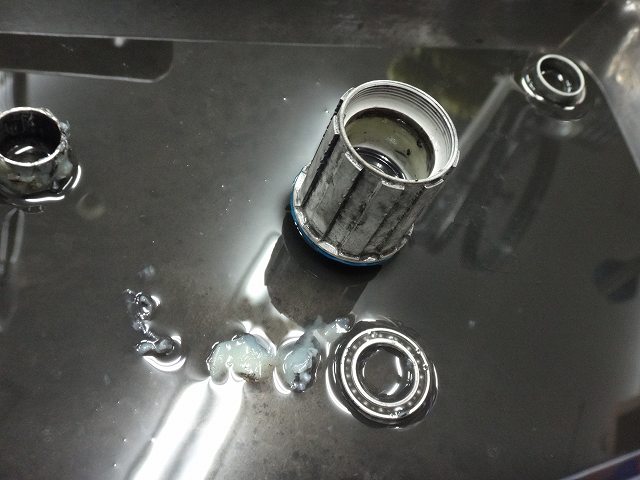
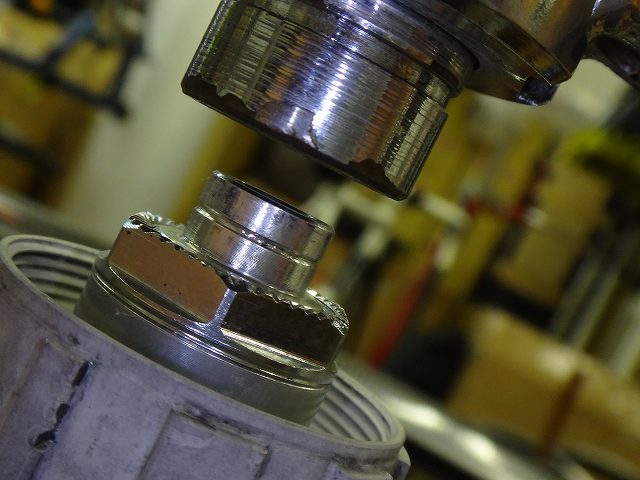
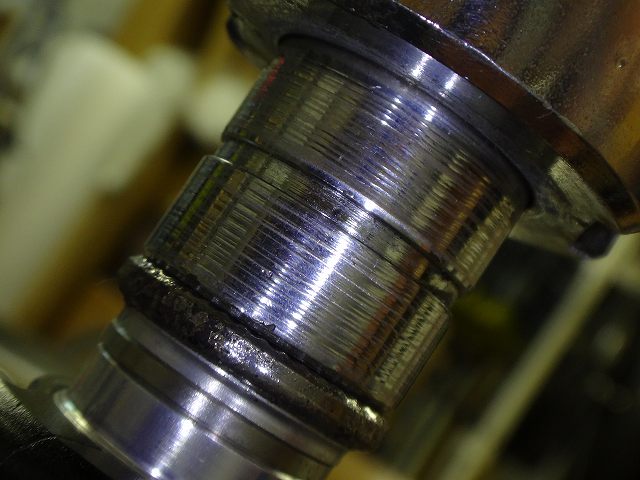
I separated the hub and removed and cleaned the entire hub axle assembly.

I did a trial assembly of the wheel without the freewheel body and achieved almost no radial or lateral runout,
with the rim shifted firmly toward the freewheel side.
At this point, it's crucial to chase down the radial runout as much as possible.

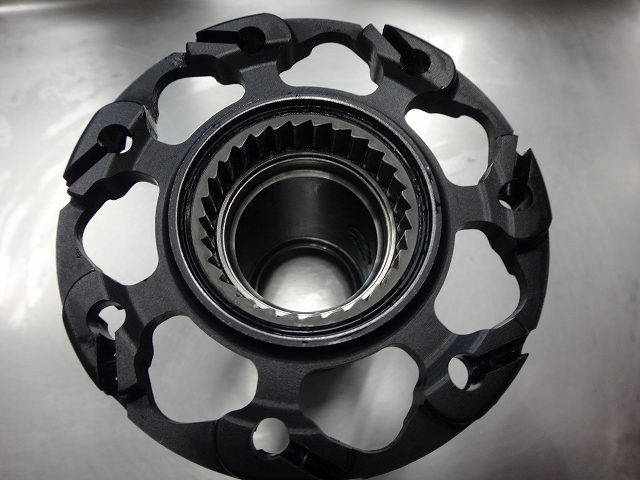
The outer bearing of the freewheel body was damaged, so
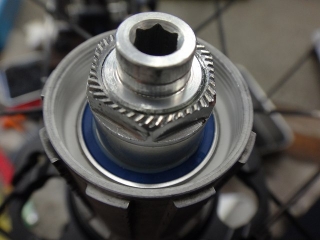
I replaced it.

The rim is shifted firmly toward the freewheel side.
From here I'll bring the center back with additional tension on the non-freewheel side,
but tightening the non-freewheel side also increases tension on the freewheel side,
so I adjust things so that when the center is achieved,
the tension reaches the target tension for the finished assembly.
After the first round of tensioning.
At this point the tension is roughly the same as the rear wheel before work began,
so further tensioning will bring it above the original state.


After the second round of tensioning.
Still off by about two sheets of paper.


Center is dialed in.
If you chase down the radial runout properly before centering,
you'll have almost no radial runout at this point.
Fine adjustments can be made afterward if needed.
Done building.
Oops, I forgot to weigh the rim.
Actually, I did measure the front rim.
The customer had balance weights attached to both front and rear rims,
so the weight includes those,
but considering it's a wide rim at 40mm depth and can be tensioned properly
without internal nipples despite being from a reputable maker that can't cut corners,
it's not just lightweight, you could even call it super lightweight.
While there are plenty of carbon tubular rims lighter than this,
when it comes to a rim at the same width and rim depth with the same tension rating but lighter than this,
basically none exist.
The Bora 35 tubular rim would qualify,
but that's basically the sibling of this one so...
You want the actual measured weight right away?
I'm not giving that out for free.
↑man this guy's got a bad attitude
Sorry for the wait!

Please look at this image!
All the weights shown in the image range are attached,
so please make your judgment including those!
↑stop iiiiiit!
Continuing from yesterday, the rear wheel of the Speed 40T.
The freewheel side has a hook-type flange, while the non-freewheel side has a through-type flange.
There are some nipples in relatively decent condition, but just like the front wheel

corrosion is progressing

and most of the nipples are cracked.
All 21 of them are seized,
and there's not a single nipple that turns properly.
I cut one spoke on the non-freewheel side.
When you cut a spoke under tension, it makes a "BANG!" sound and
the damage gets transmitted to the rim hole, so it might just be a placebo,
but I hold the area outside the cut point firmly
and cut in a state where I'm pushing toward the hub as much as possible.
I selected a nipple that appeared to have no corrosion.
Among the reasons why the nipple won't turn, I'm excluding spoke tension,
but even this one can't be loosened.
Either the nipple will strip or the spoke will twist
before the nipple breaks apart like a hard candy.

The freewheel side has a hook-type flange, so

slightly less than half the spokes can be removed from the hub without loosening the nipples,
but these nipples are also seized to the spokes,
and as a result, all the spokes needed to be replaced.
It feels like a miracle that I could reuse 2 spokes from the front wheel.
I separated the hub and removed and cleaned the entire hub axle assembly.
I did a trial assembly of the wheel without the freewheel body and achieved almost no radial or lateral runout,
with the rim shifted firmly toward the freewheel side.
At this point, it's crucial to chase down the radial runout as much as possible.
The outer bearing of the freewheel body was damaged, so

I replaced it.

The rim is shifted firmly toward the freewheel side.
From here I'll bring the center back with additional tension on the non-freewheel side,
but tightening the non-freewheel side also increases tension on the freewheel side,
so I adjust things so that when the center is achieved,
the tension reaches the target tension for the finished assembly.


After the first round of tensioning.
At this point the tension is roughly the same as the rear wheel before work began,
so further tensioning will bring it above the original state.
After the second round of tensioning.
Still off by about two sheets of paper.

Center is dialed in.
If you chase down the radial runout properly before centering,
you'll have almost no radial runout at this point.
Fine adjustments can be made afterward if needed.
Done building.
Oops, I forgot to weigh the rim.
Actually, I did measure the front rim.
The customer had balance weights attached to both front and rear rims,
so the weight includes those,
but considering it's a wide rim at 40mm depth and can be tensioned properly
without internal nipples despite being from a reputable maker that can't cut corners,
it's not just lightweight, you could even call it super lightweight.
While there are plenty of carbon tubular rims lighter than this,
when it comes to a rim at the same width and rim depth with the same tension rating but lighter than this,
basically none exist.
The Bora 35 tubular rim would qualify,
but that's basically the sibling of this one so...
You want the actual measured weight right away?
I'm not giving that out for free.
↑man this guy's got a bad attitude
Sorry for the wait!
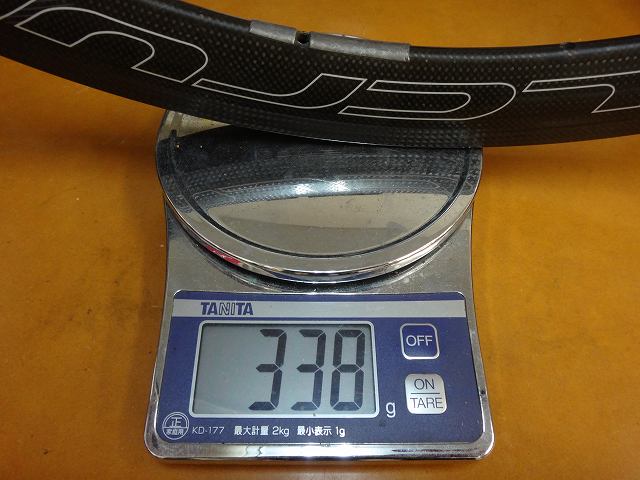
Please look at this image!
All the weights shown in the image range are attached,
so please make your judgment including those!
↑stop iiiiiit!