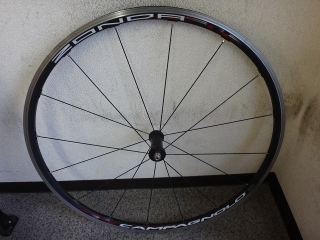
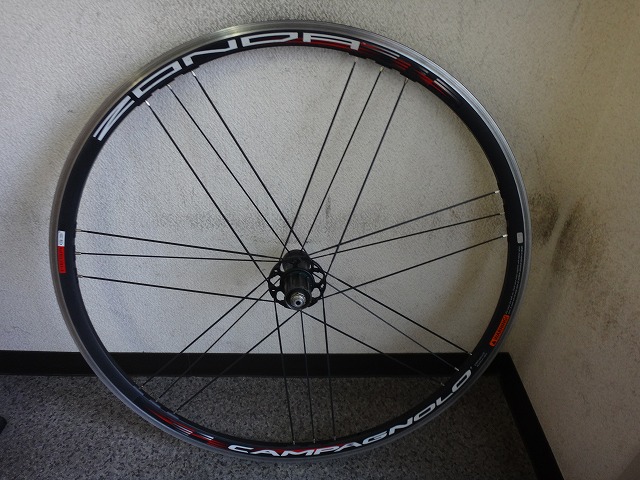
I received a Zonda rear wheel from a customer.
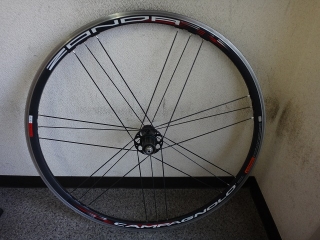

The right side hub bearing had spalling,
and they'd been managing it by greasing for now.

There was center offset that appeared to be from years of use.
There was barely any runout, no wobble significant enough to fill this gap.
I removed the freebody.
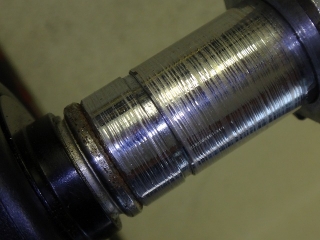
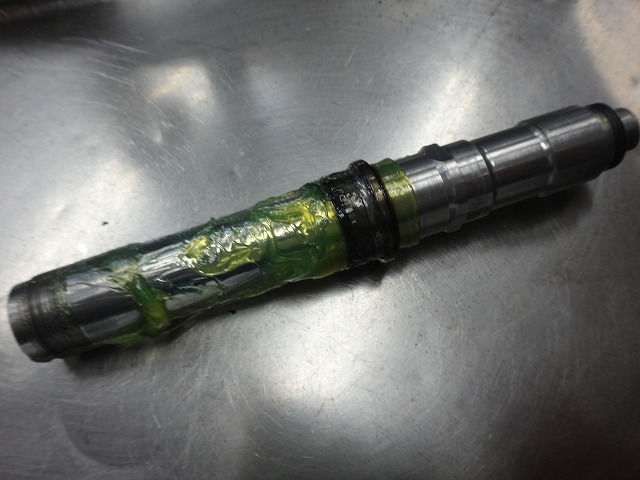
There was no corrosion transfer on the hub axle.

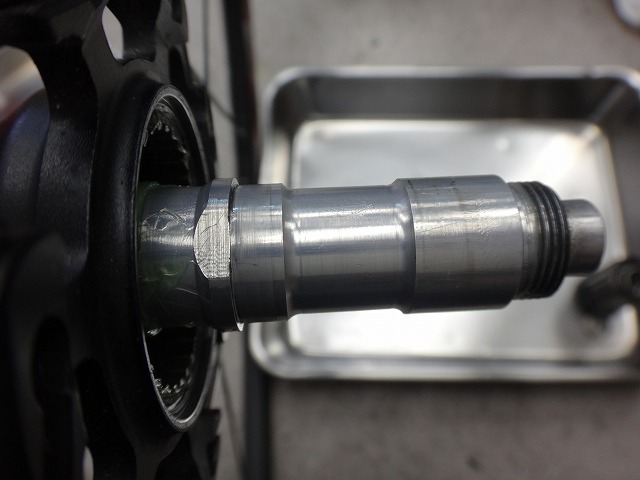
I removed the hub axle.

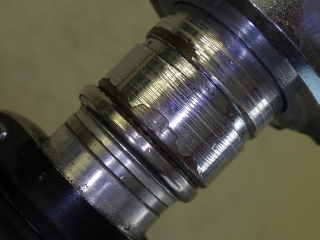
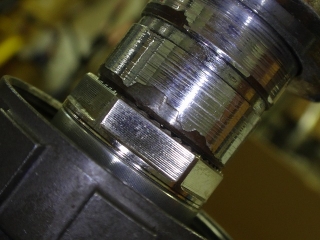
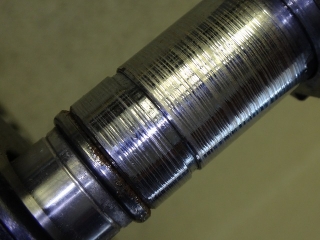
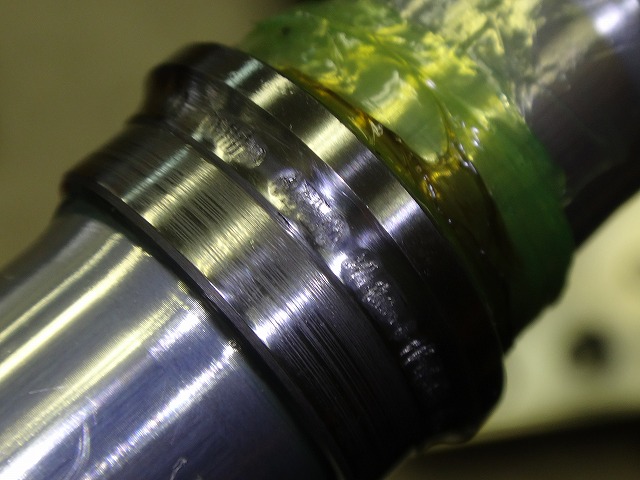
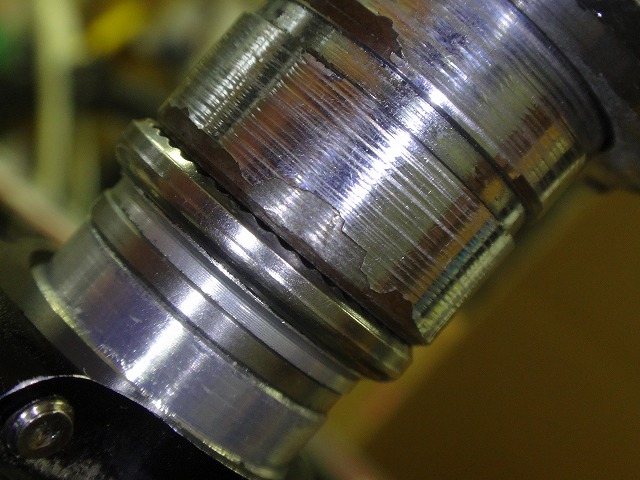
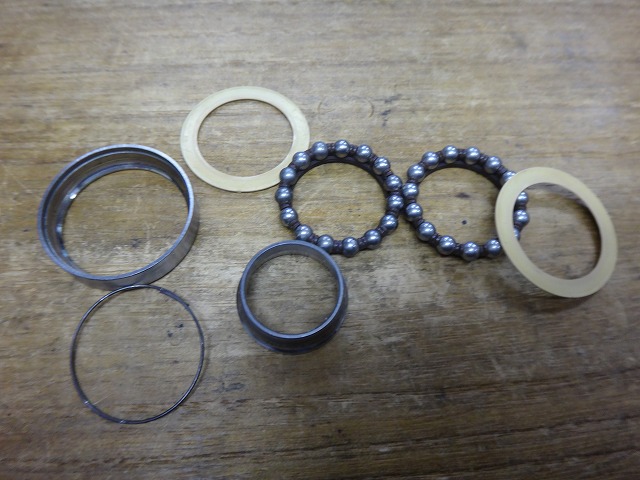
The right cone had some damage—not quite spalling,
but there were marks on the ball race.

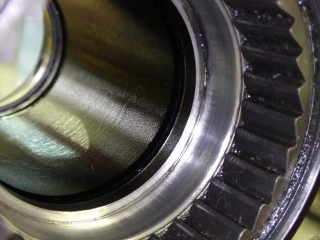
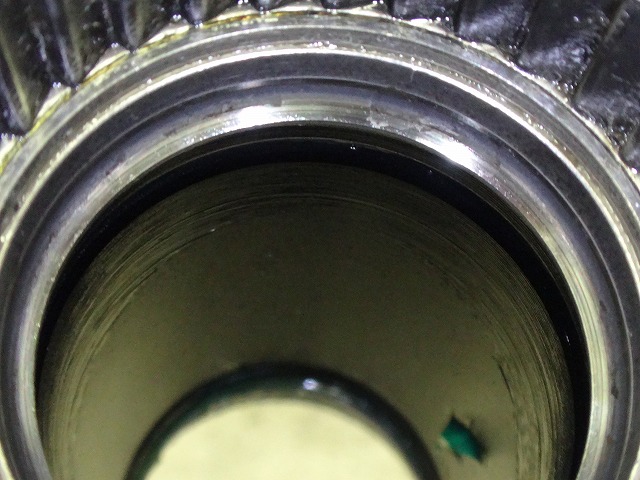
The right adjustable cup had spalling.
The left adjustable cup was fine.
I didn't photograph it, but the left cone was also undamaged.

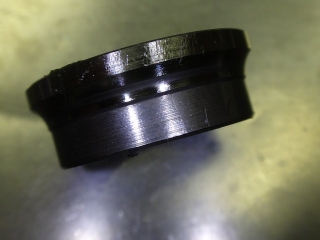
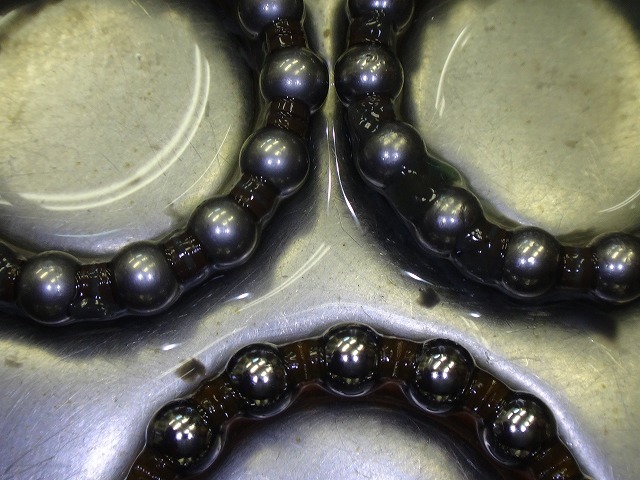
↑In the image, top right is the hub's right side, top left is the hub's left side,
and bottom is a new cartridge bearing.
The ball bearings on the left side were also worn, so I'm replacing them.
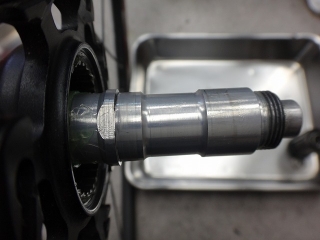
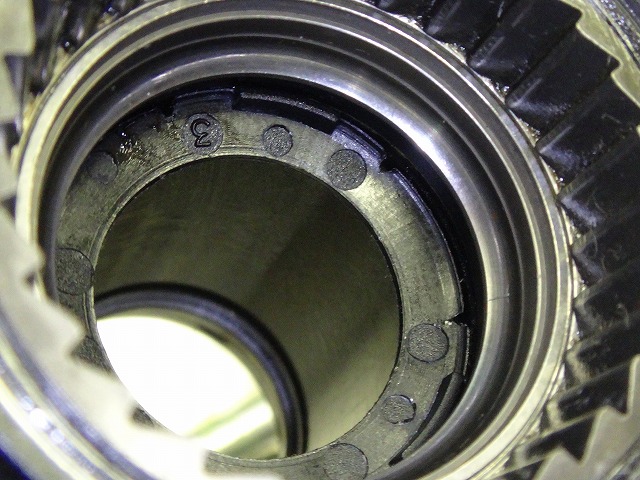
I removed just the right cone.
The groove on the hub body is for fitting the grease guard
HB-EU025 that I mentioned the other day.

I pressed in the new cone and installed the HB-EU025.
Addendum: As mentioned in the comments,
the seal orientation in the image is reversed. I'll fix that later.
It's not that I didn't understand correctly...
Thank you for the comment.

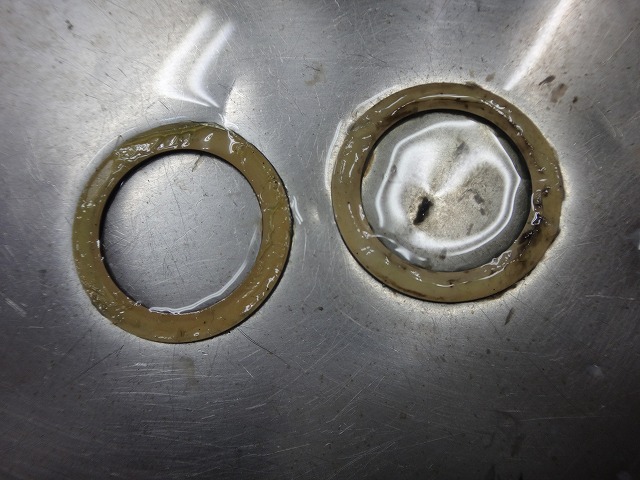
The seal that fits in the cone groove can be reused, but

there's no reason to be stingy, so I replace it.

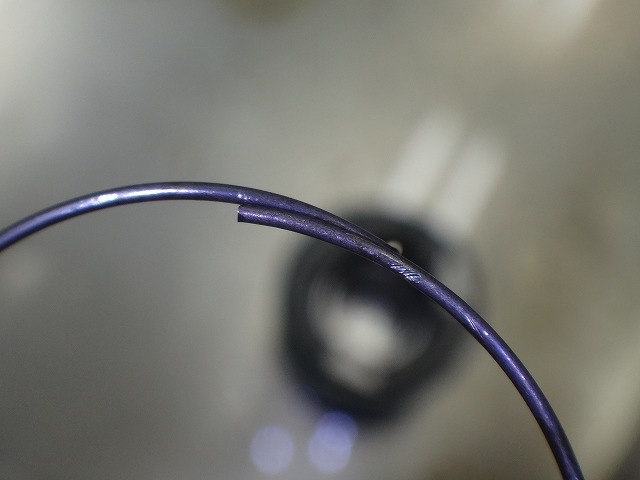
The freebody pawl return spring had
slight deformation, so I replaced it.
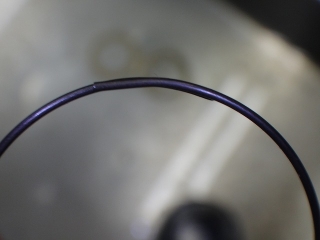

↑This is what the new spring looks like
Only the right cone was replaced, and regarding how it was pressed in,
it can't be considered less than the original state.
In other words, the hub axle likely went deeper toward the left side than originally,
and the opposite isn't possible.
If the hub axle went deeper to the left, then the rim's position relative to the hub axle
would shift rightward,
so the rim's rightward drift from the original provisional center
would increase.

But in reality it came out perfectly centered. What the heck?
From here I corrected a very slight wobble.
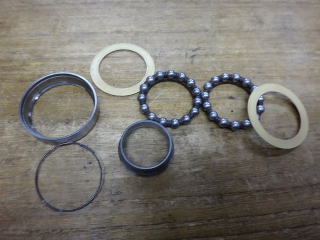
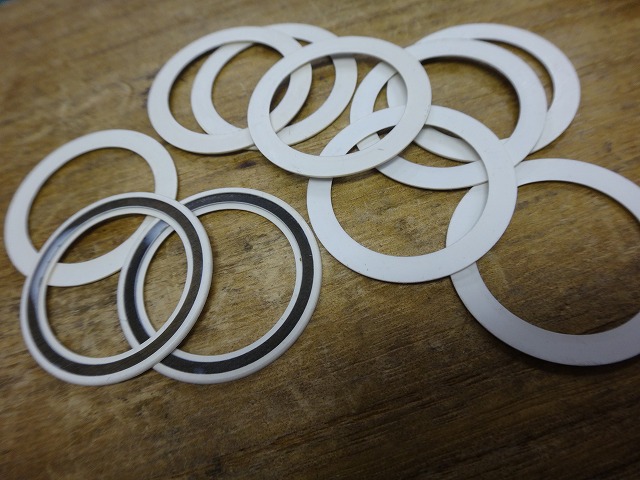
↑Replaced parts
The original state had quite a gritty hub rotation,
but after the work the hub has that new-hub feel of not having broken in yet,
so it'll need some riding time to settle.
Next, the front wheel.
It seems fine, but they asked me to check it just in case.
It's perfectly centered, with just one spot that had a slight wobble,
but it's not a big deal.
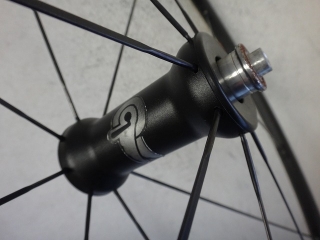
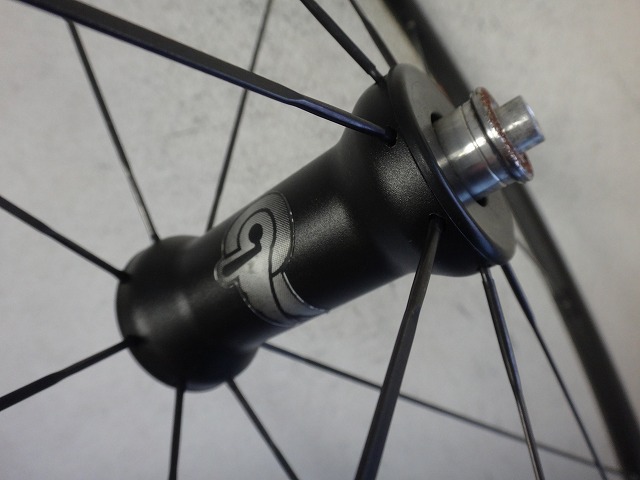
The sticker on the hub shell was a reverse logo.
You could make it a correct logo by removing both dust seals on the hub,
pulling out the hub axle, and flipping it.
The rear hub, by the way, had the correct logo.
When you pull out the hub axle the right cone comes with it, but
if you just insert it from the opposite side,
from the original state it becomes "left cone + right cup" and "right cone + left cup,"
and the bearing wear-in won't match up, which isn't good.
So if you were to flip the orientation,
you'd only change the direction of the hub axle parts themselves,
but even then the binding of the centering split wedge washers
would inevitably differ from the original state.
As for this front hub, it rotates more smoothly and lightly
than a new CULT, it's so well broken in,
that I hesitated to touch it, so I left it as is.

The right side hub bearing had spalling,
and they'd been managing it by greasing for now.


There was center offset that appeared to be from years of use.
There was barely any runout, no wobble significant enough to fill this gap.
I removed the freebody.
There was no corrosion transfer on the hub axle.
I removed the hub axle.
The right cone had some damage—not quite spalling,
but there were marks on the ball race.
The right adjustable cup had spalling.

The left adjustable cup was fine.
I didn't photograph it, but the left cone was also undamaged.
↑In the image, top right is the hub's right side, top left is the hub's left side,
and bottom is a new cartridge bearing.
The ball bearings on the left side were also worn, so I'm replacing them.

I removed just the right cone.
The groove on the hub body is for fitting the grease guard
HB-EU025 that I mentioned the other day.
I pressed in the new cone and installed the HB-EU025.
Addendum: As mentioned in the comments,
the seal orientation in the image is reversed. I'll fix that later.
It's not that I didn't understand correctly...
Thank you for the comment.
The seal that fits in the cone groove can be reused, but
there's no reason to be stingy, so I replace it.
The freebody pawl return spring had
slight deformation, so I replaced it.

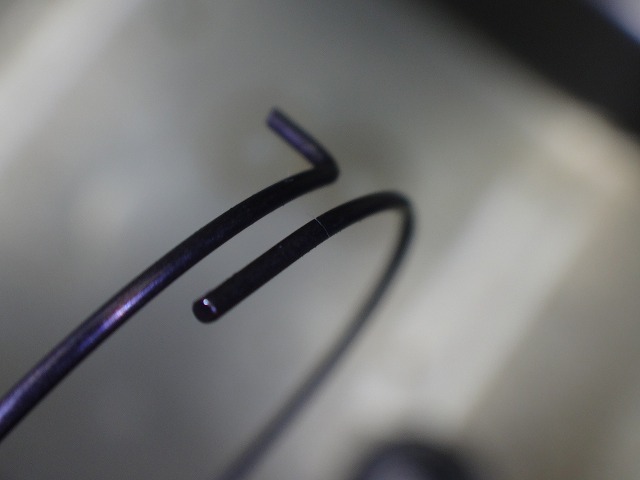
↑This is what the new spring looks like
Only the right cone was replaced, and regarding how it was pressed in,
it can't be considered less than the original state.
In other words, the hub axle likely went deeper toward the left side than originally,
and the opposite isn't possible.
If the hub axle went deeper to the left, then the rim's position relative to the hub axle
would shift rightward,
so the rim's rightward drift from the original provisional center
would increase.

But in reality it came out perfectly centered. What the heck?
From here I corrected a very slight wobble.
↑Replaced parts
The original state had quite a gritty hub rotation,
but after the work the hub has that new-hub feel of not having broken in yet,
so it'll need some riding time to settle.

Next, the front wheel.
It seems fine, but they asked me to check it just in case.


It's perfectly centered, with just one spot that had a slight wobble,
but it's not a big deal.
The sticker on the hub shell was a reverse logo.
You could make it a correct logo by removing both dust seals on the hub,
pulling out the hub axle, and flipping it.
The rear hub, by the way, had the correct logo.
When you pull out the hub axle the right cone comes with it, but
if you just insert it from the opposite side,
from the original state it becomes "left cone + right cup" and "right cone + left cup,"
and the bearing wear-in won't match up, which isn't good.
So if you were to flip the orientation,
you'd only change the direction of the hub axle parts themselves,
but even then the binding of the centering split wedge washers
would inevitably differ from the original state.
As for this front hub, it rotates more smoothly and lightly
than a new CULT, it's so well broken in,
that I hesitated to touch it, so I left it as is.