A customer brought in the front wheel of Nomu Lab Wheel No. 5.
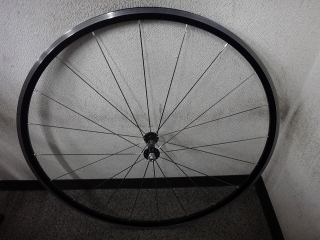
It hadn't been that long since I handed it over,
but it got caught in a grating and developed a wobble.
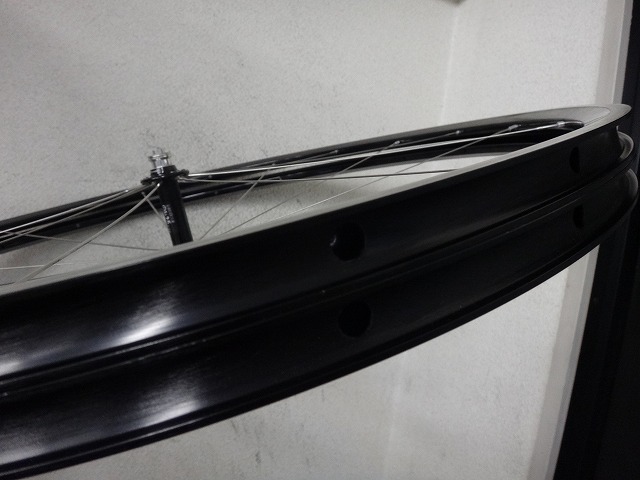
They were hoping the rim hadn't been damaged... but
it was clearly a potato-chip type wobble. I gave spoke truing a quick try,
but determined that rim replacement was necessary.

I completely released the spoke tension,
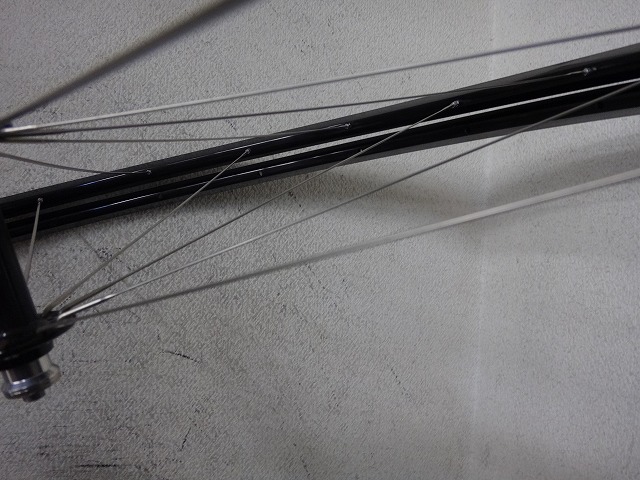
and when I seated the new rim at a certain phase
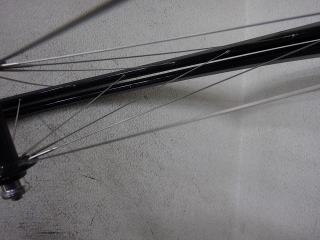
↑there were phases where gaps like this appeared.
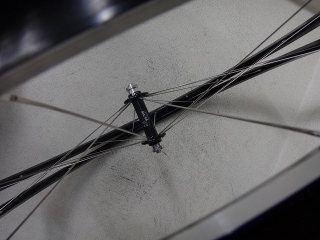
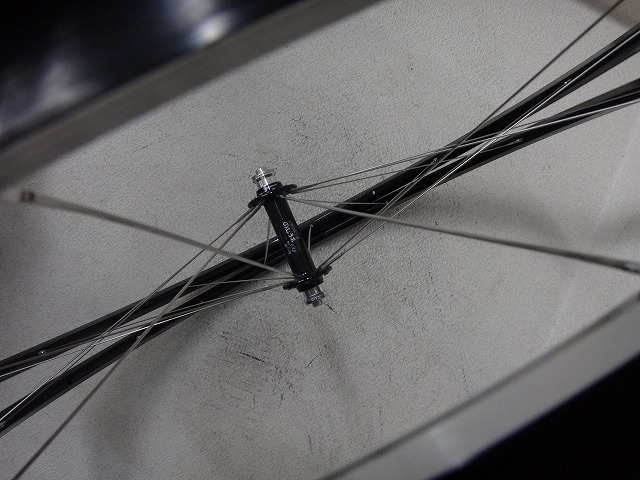
Rim migration in progress...
This time I went with the approach of "alternating across the rim holes,
threading spokes into the new rim at the side farther from one flange."
Maybe someday rim migration styles will get names
like the tricks in cat's cradle.
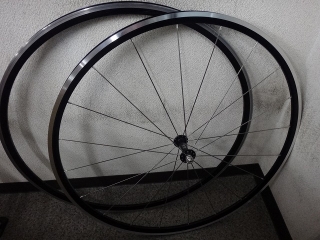
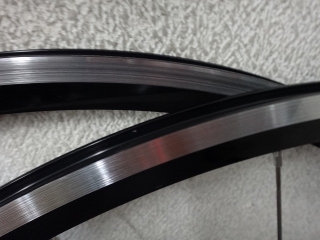
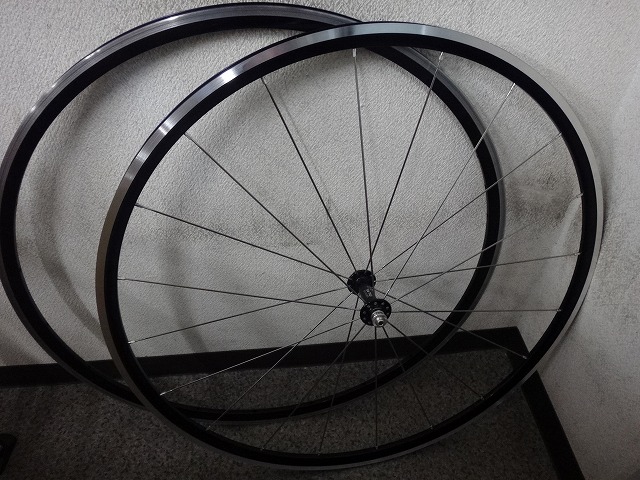
It's built.
Whoever decided this—rim migration, or really any work where
the rim and hub aren't completely separated,
doesn't count as "Wheel Day (abbreviated)" according to the rules.
Jobs like yesterday's ZIPP, which start from loose components,
take longer than this rim migration,
but those don't count as "Wheel Day" either.
So anyway, another "Wheel Day (abbreviated)".
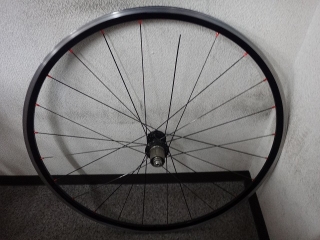
A customer brought in the rear wheel of Nomu Lab Wheel No. 5.
It's from a different customer than the front wheel above,
but they both have the Nomu Lab sticker on the hub shell in common.
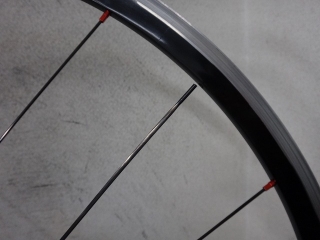
One spoke on the non-freewheel side has stripped threads at the beginning of the threads.
This time, instead of just replacing that one, I'm doing a complete spoke replacement.
I want to reuse the rim, but
after releasing the tension, I cut the spokes and check against a glass surface plate—
if there's even the slightest warp, I replace it.
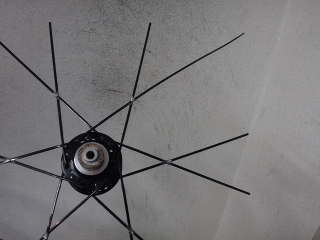
I've separated the rim. The one spoke that looks longer in the image
is the one that was originally damaged.
The rim had a faint warp.
I could've reused it, but I'm replacing it.
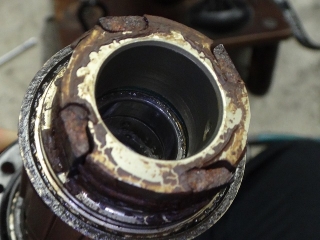
The rear hub rotation was rough,
but became smooth when I removed the freewheel body and tested
just the hub bearings, so
it's confirmed that only the freewheel body bearings are damaged.
The freewheel body has two 15267 bearings, and since
the cost of replacing those bearings plus labor roughly equals the cost of a new freewheel body,
unless one outer bearing is extremely damaged,
I often go with a full freewheel body replacement instead of just bearing replacement.
This time, on top of that, the ratchet pawls are rusted and
have poor engagement.
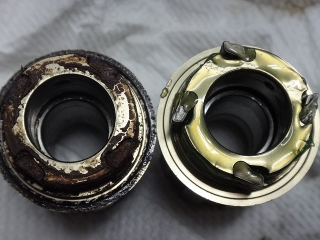
↑Lined it up next to a new one.
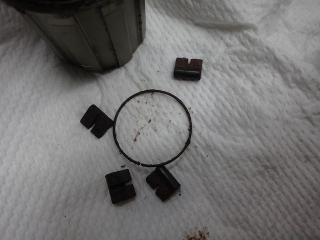
The pawl return spring hadn't broken.
Actually, unlike Campagnolo, I've never seen one of these break.
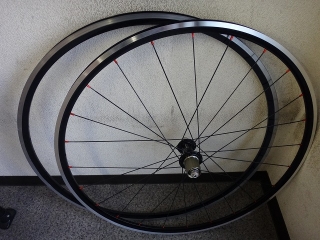
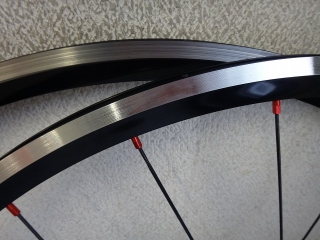
It's built.
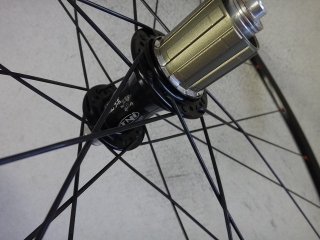
Same as the original—24H black semi-comp four-cross lacing with red aluminum nipples.
Tying off comes later.
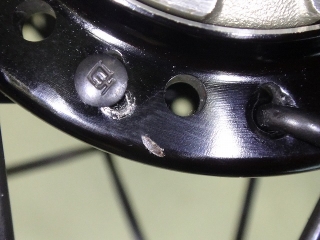
↑Freewheel side
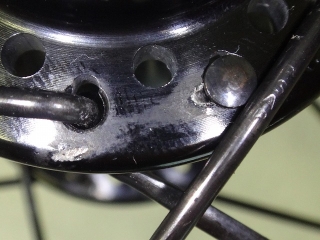
↑Non-freewheel side
I usually rebuild wheels without changing the relationship between inpoke and outpoke lacing at the hub holes, but this time I changed it.
There are traces of inpoke lacing on the outpoke heads on the outside of both flanges.

It hadn't been that long since I handed it over,
but it got caught in a grating and developed a wobble.
They were hoping the rim hadn't been damaged... but
it was clearly a potato-chip type wobble. I gave spoke truing a quick try,
but determined that rim replacement was necessary.
I completely released the spoke tension,
and when I seated the new rim at a certain phase
↑there were phases where gaps like this appeared.
Rim migration in progress...
This time I went with the approach of "alternating across the rim holes,
threading spokes into the new rim at the side farther from one flange."
Maybe someday rim migration styles will get names
like the tricks in cat's cradle.
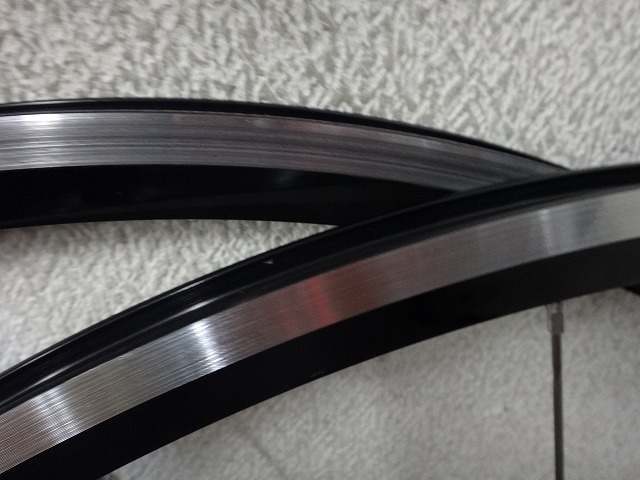
It's built.
Whoever decided this—rim migration, or really any work where
the rim and hub aren't completely separated,
doesn't count as "Wheel Day (abbreviated)" according to the rules.
Jobs like yesterday's ZIPP, which start from loose components,
take longer than this rim migration,
but those don't count as "Wheel Day" either.
So anyway, another "Wheel Day (abbreviated)".
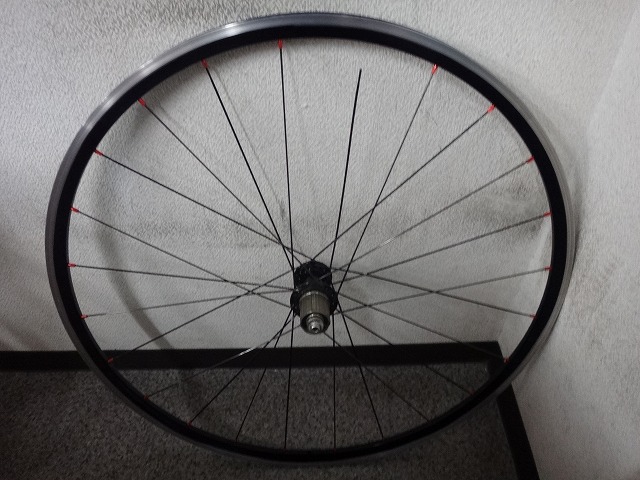
A customer brought in the rear wheel of Nomu Lab Wheel No. 5.
It's from a different customer than the front wheel above,
but they both have the Nomu Lab sticker on the hub shell in common.
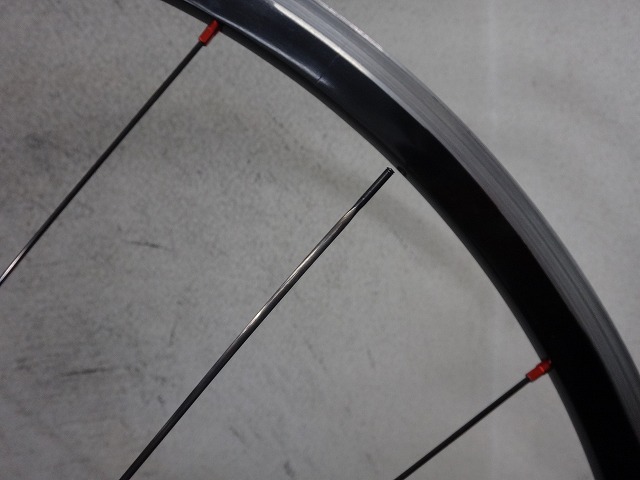
One spoke on the non-freewheel side has stripped threads at the beginning of the threads.
This time, instead of just replacing that one, I'm doing a complete spoke replacement.
I want to reuse the rim, but
after releasing the tension, I cut the spokes and check against a glass surface plate—
if there's even the slightest warp, I replace it.
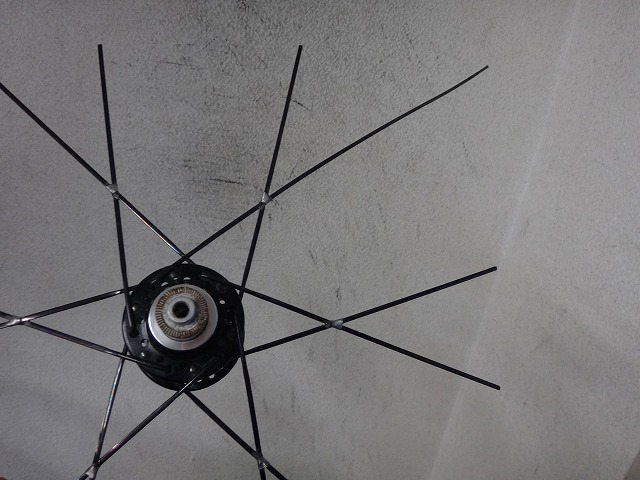
I've separated the rim. The one spoke that looks longer in the image
is the one that was originally damaged.
The rim had a faint warp.
I could've reused it, but I'm replacing it.

The rear hub rotation was rough,
but became smooth when I removed the freewheel body and tested
just the hub bearings, so
it's confirmed that only the freewheel body bearings are damaged.
The freewheel body has two 15267 bearings, and since
the cost of replacing those bearings plus labor roughly equals the cost of a new freewheel body,
unless one outer bearing is extremely damaged,
I often go with a full freewheel body replacement instead of just bearing replacement.
This time, on top of that, the ratchet pawls are rusted and
have poor engagement.

↑Lined it up next to a new one.

The pawl return spring hadn't broken.
Actually, unlike Campagnolo, I've never seen one of these break.
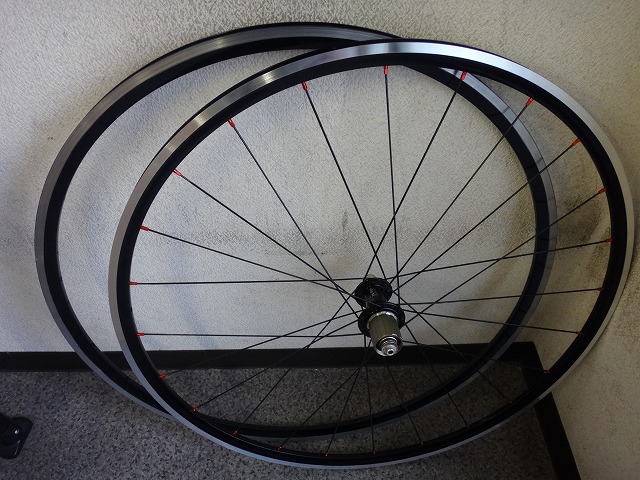
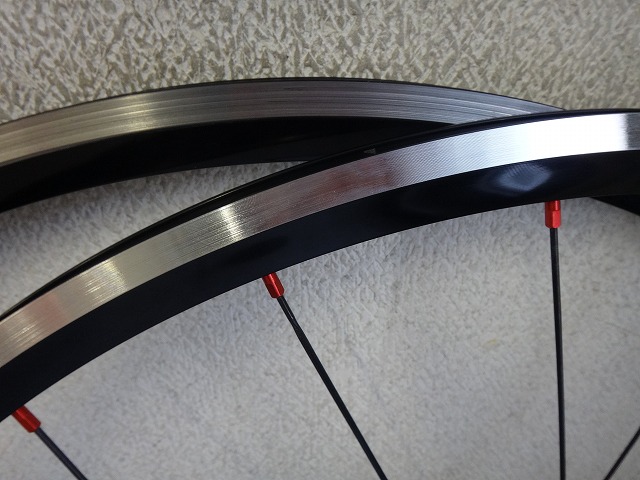
It's built.

Same as the original—24H black semi-comp four-cross lacing with red aluminum nipples.
Tying off comes later.
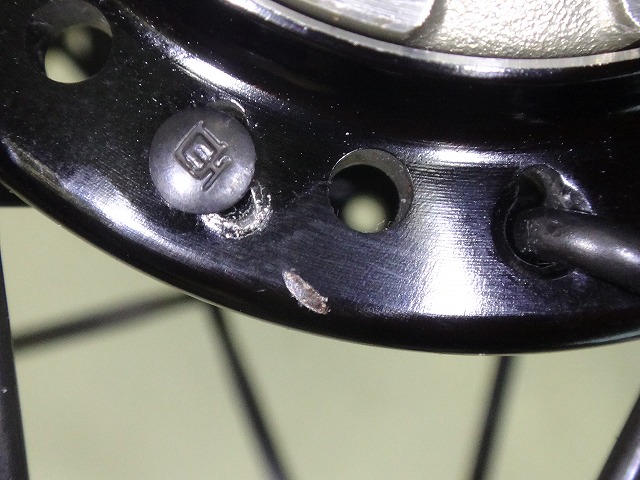
↑Freewheel side
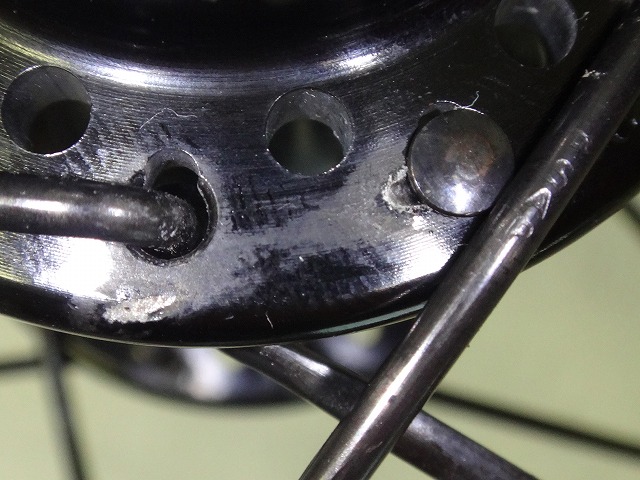
↑Non-freewheel side
I usually rebuild wheels without changing the relationship between inpoke and outpoke lacing at the hub holes, but this time I changed it.
There are traces of inpoke lacing on the outpoke heads on the outside of both flanges.