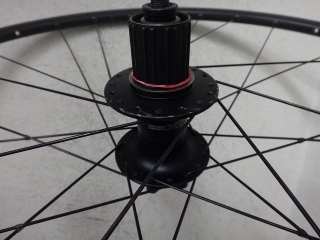
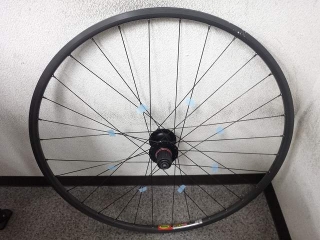
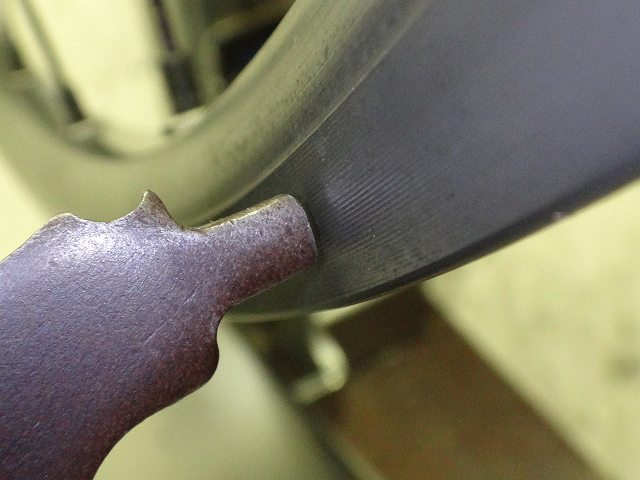
A customer brought in a rear wheel built with an Open Pro CD rim.
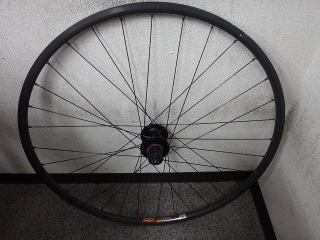
They said it had been used for cyclocross.
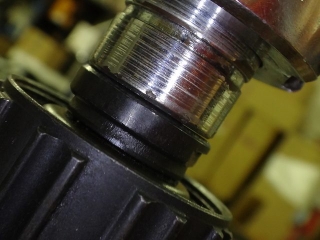
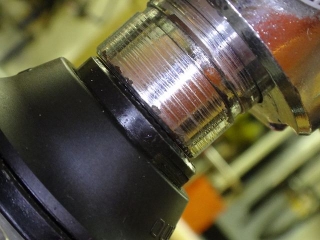
The rim is covered all the way to the rim side with hard anodizing—
this "CD" spec means
even if you use it as a disc brake rim,
you don't get white corrosion weeping out
like you would on a typical bare aluminum rim side.
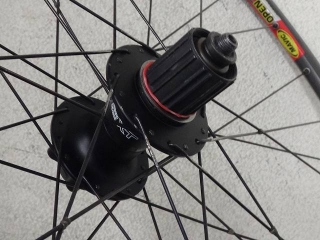
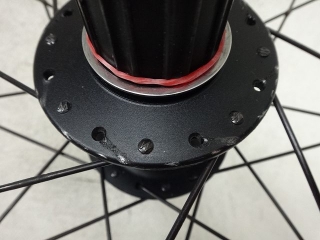
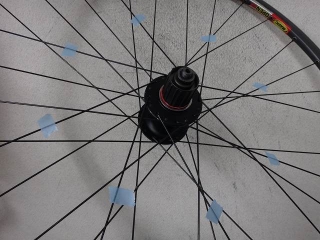
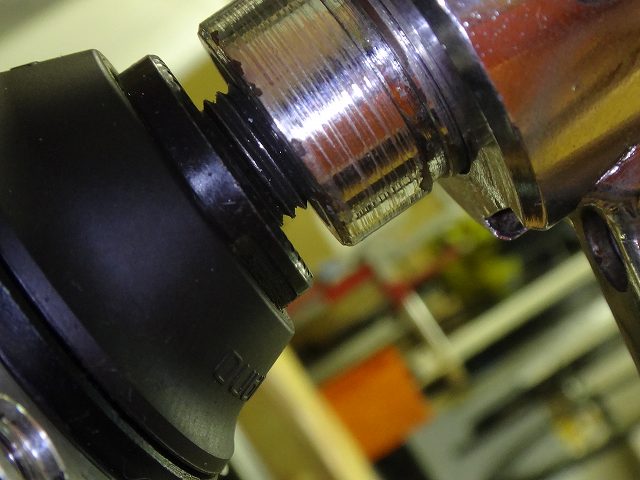
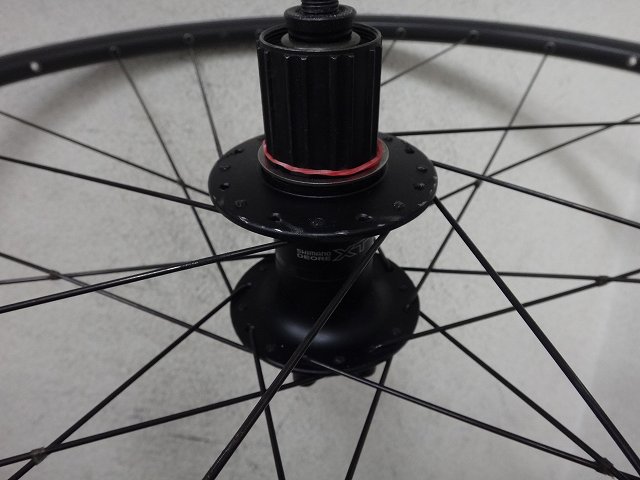
The hub is a Shimano XT FH-M755.
The "5" at the end of the 750-series XT means disc brake, and
this was Shimano's first disc brake hub.
Through-axles and centerlock specs didn't exist back then—
it's a quick-release design with a 135mm over-locknut dimension.
Built 32-hole JIS three-cross,

the spokes are Wheelsmith #15 Plain.
If this wheel was built around the same time as the rim and hub,
these spokes are manufactured by Asahi.
Wheelsmith is a brand that's particular about elbow bend angles—
their website even advertises a "specially designed elbow section
to maximize spoke fatigue life"—
but since they never had their own spoke production facilities,
they used Asahi in Japan as an OEM source back then.
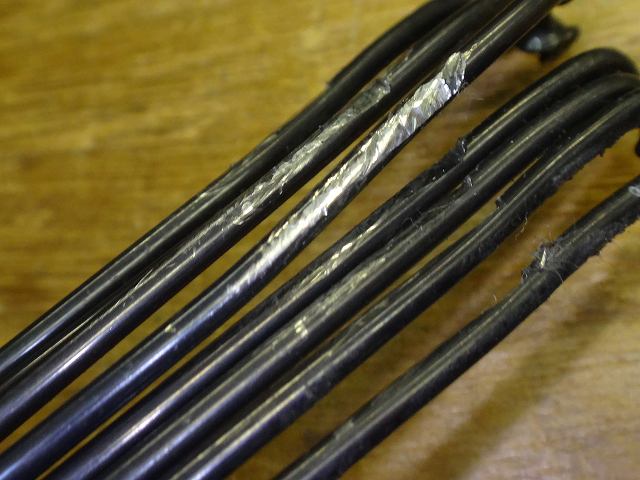
So why they brought it in:
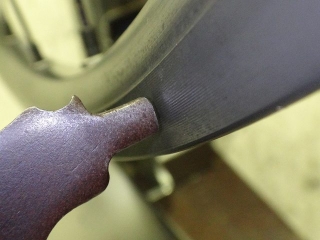
a chain drop damaged all 8 inpokes on the free side—
to varying degrees—and they wanted them replaced.
Strictly speaking, the decision to replace them was left to my judgment.
Two of them were pretty badly gouged, and
there were also bent spokes elsewhere, so
I did a full inpoke replacement.
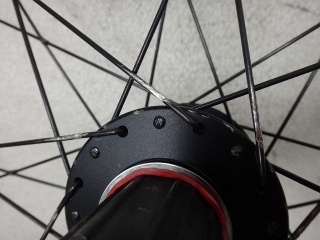
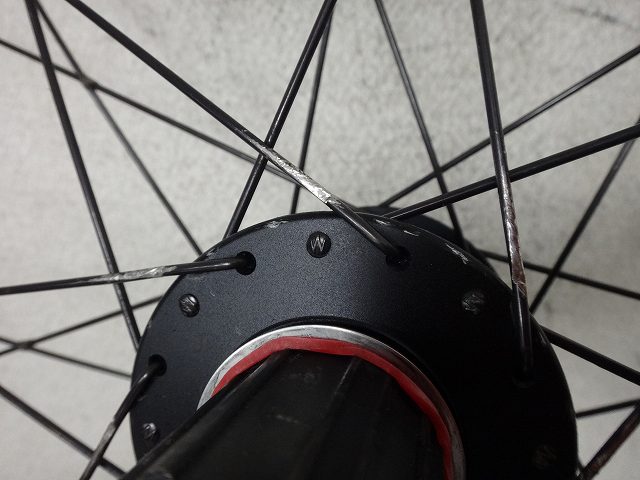
In JIS and Italian lacing patterns,
the free-side inpokes run in the porcupine direction, but
in reverse-JIS or reverse-Italian patterns,
they run counter-porcupine.
When free-side inpokes run counter-porcupine,
chain drop damage tends to be less severe
than in the porcupine direction—which is probably
why Americans build rear wheels in reverse-Italian lacing.
Being able to use the same lacing pattern for both rim brakes and disc brakes
might also reduce workshop fatigue.
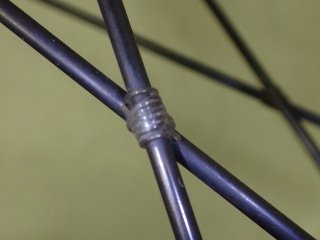
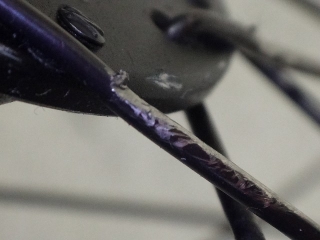
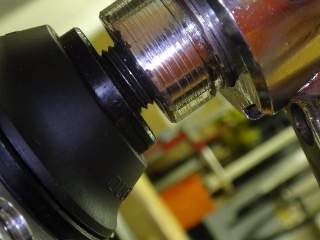
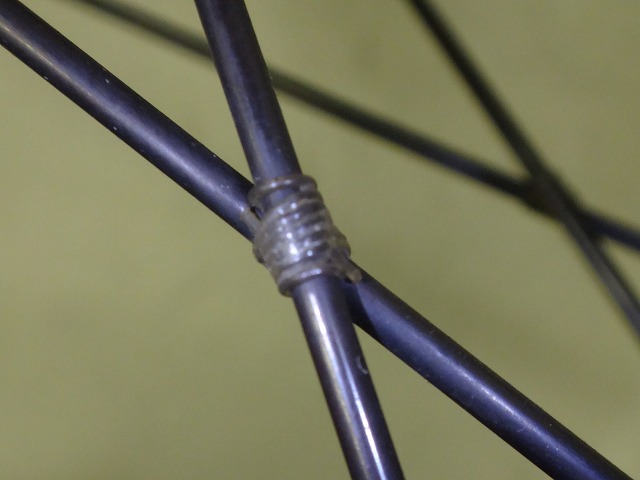
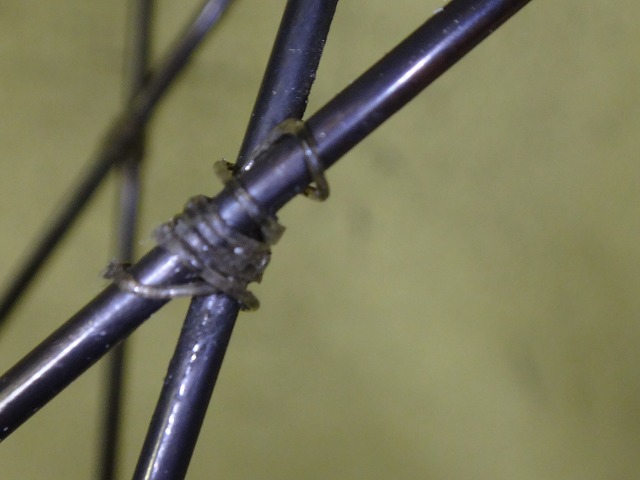
The final crosses on both sides were laced with fishing line (→here).
It was done as a proper knotted lacing.
Wire wrapping lacing is only truly fixed when you solder the wrapping,
so with fishing line you'd normally need to apply instant adhesive,
but this lacing had no adhesive used on it.
Actually, I suspect this wheel was sent to me
not so much for repair as for me to observe what I'd make of it.
When you squeeze the final cross, there's more wobble than wire wrapping,
but the binding is fixed enough to have a point.

Some places had come loose,
but even so, it was tied tight enough that squeezing it wouldn't make it snap apart.
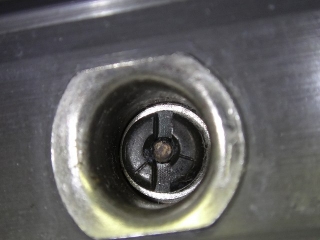
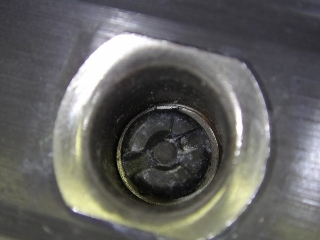
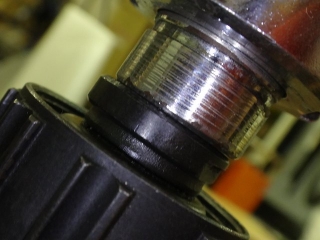
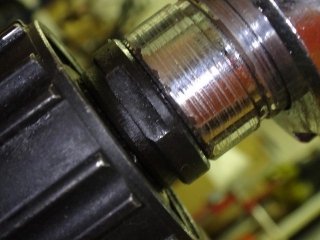
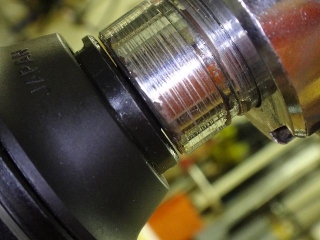
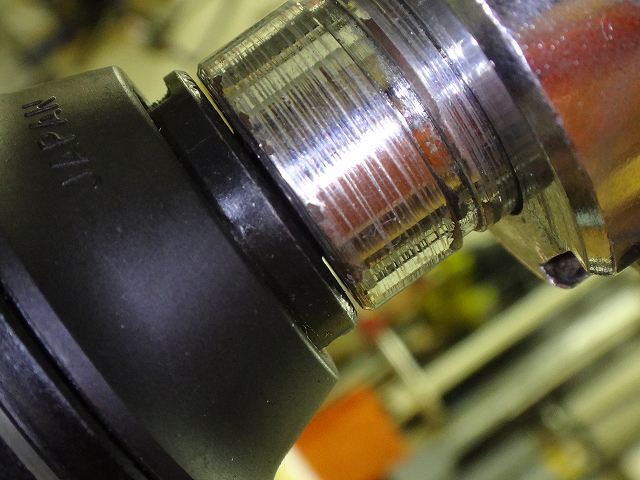
The spoke length is correct—flush with the nipple end face.
There's a line cut into the nipple end at 120° intervals
(one of them is erased by the nipple slot)
which marks this as a #15 nipple.

There was one noticeable lateral runout.
Setting up the truing stand gauge to touch the rim at that phase:
at all other phases there's this much clearance.
This provisional centering, unrelated to the runout, is:
↑this. It's shifted significantly toward the non-free side.
When you look at provisional centering at the runout phase,
the result changes from other phases, so
I found the phase with the largest lateral runout and avoided it.
The runout in that earlier image was toward the free side, so
if I deliberately checked provisional centering directly under the most runout phase,
this center-shift amount would reduce, but
it would still be shifted toward the non-free side regardless.

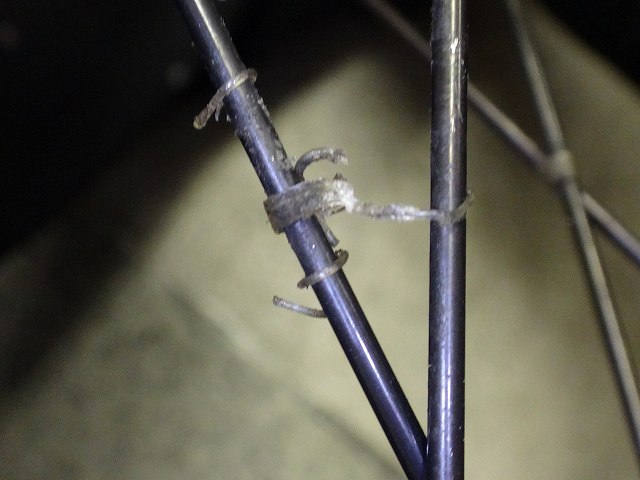
I cut the fishing line with nippers and worked on the final cross.
I pulled out all 8 inpokes.
↑counter-porcupine vortex
I replaced the 8 inpokes and trued the lateral runout by favoring the free-side tightening,
then tightened all free-side spokes exactly one full turn.
Since the original was slack, I was able to get centering through free-side tightening bias.
There's still a couple millimeters or so of runout, but.
On a finished wheel with decent tension,
you normally can't tighten the free side another full turn.
At least not on Nomunlab wheels.
I got the centering dialed in.
For the spokes, I used Sapim CX-Ray Black Leader #15.
Done.
By tensioning up, the spoke deformation on the free side reached the point
where it makes almost no difference whether the lacing is bound or not, so
I didn't do free-side lacing.


↑the replaced spokes

They said it had been used for cyclocross.
The rim is covered all the way to the rim side with hard anodizing—
this "CD" spec means
even if you use it as a disc brake rim,
you don't get white corrosion weeping out
like you would on a typical bare aluminum rim side.

The hub is a Shimano XT FH-M755.
The "5" at the end of the 750-series XT means disc brake, and
this was Shimano's first disc brake hub.
Through-axles and centerlock specs didn't exist back then—
it's a quick-release design with a 135mm over-locknut dimension.
Built 32-hole JIS three-cross,

the spokes are Wheelsmith #15 Plain.
If this wheel was built around the same time as the rim and hub,
these spokes are manufactured by Asahi.
Wheelsmith is a brand that's particular about elbow bend angles—
their website even advertises a "specially designed elbow section
to maximize spoke fatigue life"—
but since they never had their own spoke production facilities,
they used Asahi in Japan as an OEM source back then.
So why they brought it in:
a chain drop damaged all 8 inpokes on the free side—
to varying degrees—and they wanted them replaced.
Strictly speaking, the decision to replace them was left to my judgment.

Two of them were pretty badly gouged, and
there were also bent spokes elsewhere, so
I did a full inpoke replacement.
In JIS and Italian lacing patterns,
the free-side inpokes run in the porcupine direction, but
in reverse-JIS or reverse-Italian patterns,
they run counter-porcupine.
When free-side inpokes run counter-porcupine,
chain drop damage tends to be less severe
than in the porcupine direction—which is probably
why Americans build rear wheels in reverse-Italian lacing.
Being able to use the same lacing pattern for both rim brakes and disc brakes
might also reduce workshop fatigue.
The final crosses on both sides were laced with fishing line (→here).
It was done as a proper knotted lacing.
Wire wrapping lacing is only truly fixed when you solder the wrapping,
so with fishing line you'd normally need to apply instant adhesive,
but this lacing had no adhesive used on it.
Actually, I suspect this wheel was sent to me
not so much for repair as for me to observe what I'd make of it.
When you squeeze the final cross, there's more wobble than wire wrapping,
but the binding is fixed enough to have a point.
Some places had come loose,
but even so, it was tied tight enough that squeezing it wouldn't make it snap apart.


The spoke length is correct—flush with the nipple end face.
There's a line cut into the nipple end at 120° intervals
(one of them is erased by the nipple slot)
which marks this as a #15 nipple.

There was one noticeable lateral runout.
Setting up the truing stand gauge to touch the rim at that phase:
at all other phases there's this much clearance.
This provisional centering, unrelated to the runout, is:

↑this. It's shifted significantly toward the non-free side.
When you look at provisional centering at the runout phase,
the result changes from other phases, so
I found the phase with the largest lateral runout and avoided it.
The runout in that earlier image was toward the free side, so
if I deliberately checked provisional centering directly under the most runout phase,
this center-shift amount would reduce, but
it would still be shifted toward the non-free side regardless.
I cut the fishing line with nippers and worked on the final cross.

I pulled out all 8 inpokes.
↑counter-porcupine vortex

I replaced the 8 inpokes and trued the lateral runout by favoring the free-side tightening,
then tightened all free-side spokes exactly one full turn.
Since the original was slack, I was able to get centering through free-side tightening bias.
There's still a couple millimeters or so of runout, but.
On a finished wheel with decent tension,
you normally can't tighten the free side another full turn.
At least not on Nomunlab wheels.


I got the centering dialed in.
For the spokes, I used Sapim CX-Ray Black Leader #15.


Done.
By tensioning up, the spoke deformation on the free side reached the point
where it makes almost no difference whether the lacing is bound or not, so
I didn't do free-side lacing.

↑the replaced spokes