Since we're doing a partial disassembly and rebuild of the wheel
today is also a wheel— (and so on). I won't go into details.

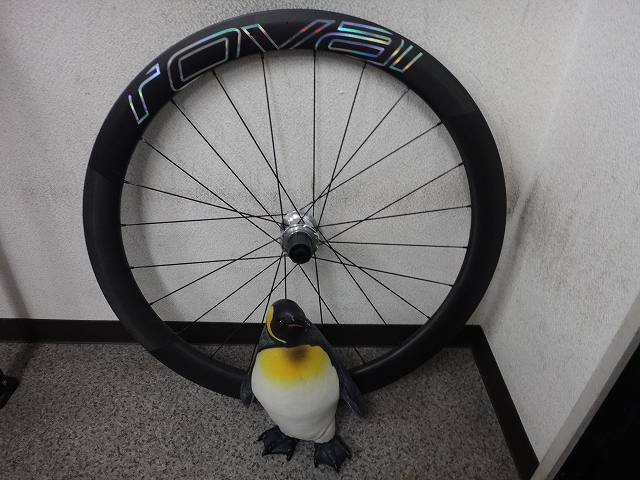
I took in a CLX50 disc brake rear wheel from a customer.
They said it felt sluggish, so they want me to rebuild it.
It's not just their imagination though.
There's a name written on the rim in hologram,
so my consideration kicked in automatically,
but I don't think it's the wheel owner's name.
That one is printed, so even if you scratch at it with your fingernail
it won't peel off—it's a durable finish—
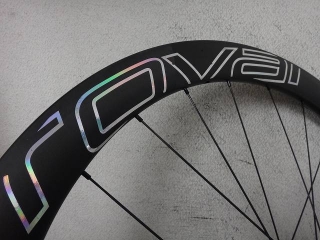
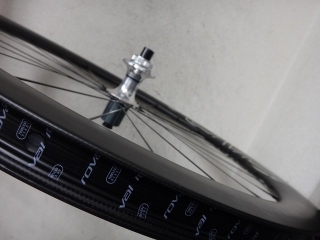
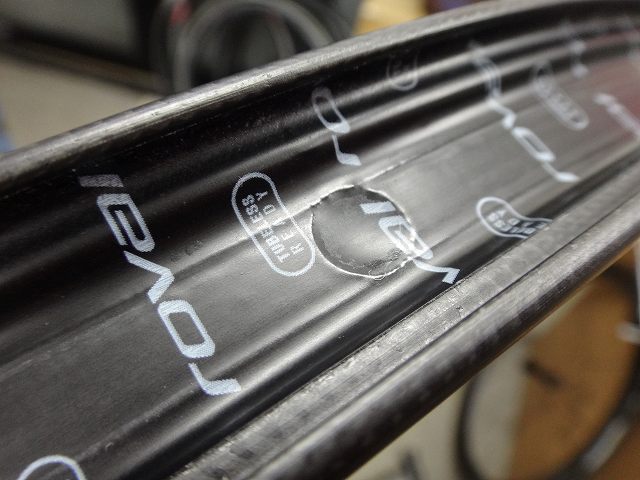
but the ROVAL logo is just a weak sticker,
so it's peeling off here and there.
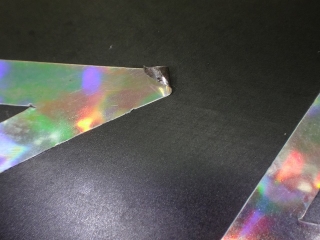
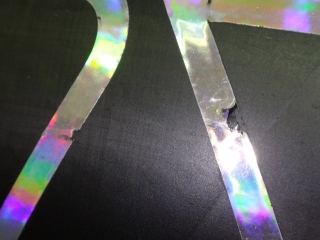
↑Something like this
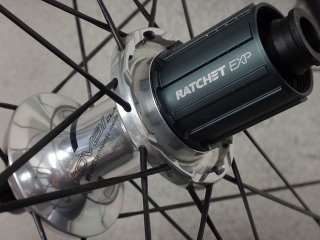
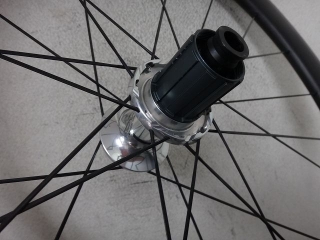
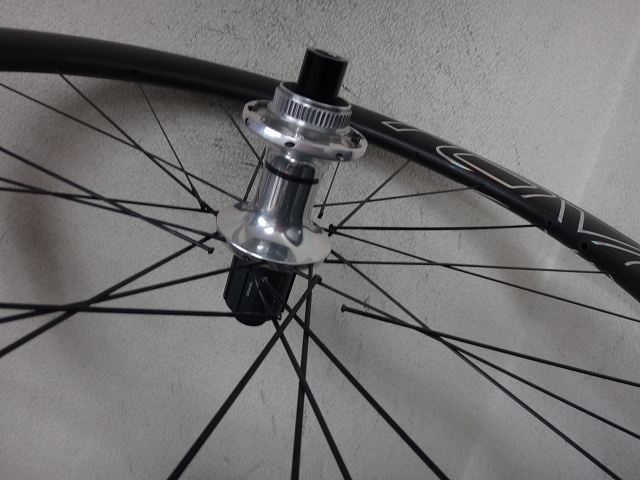
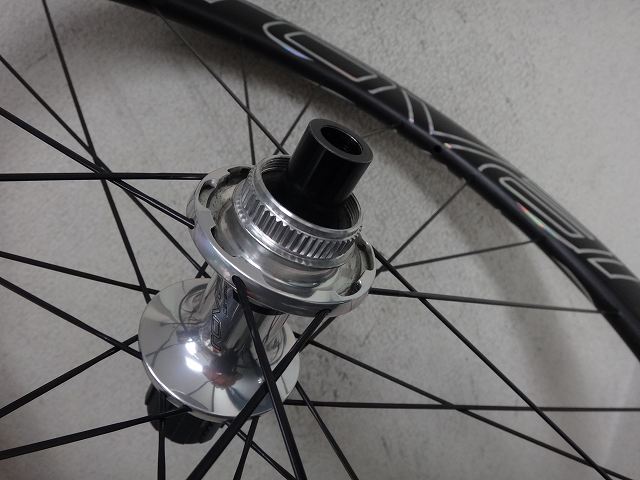
Perhaps because it's a special model,
it has a silver anodized hub instead of black,
and it's equipped with a DT Ratchet EXP freebody.
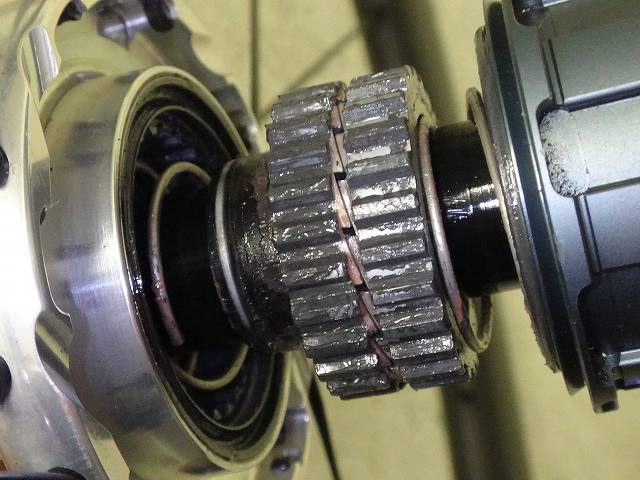
But strictly speaking, this is not actually a Ratchet EXP.
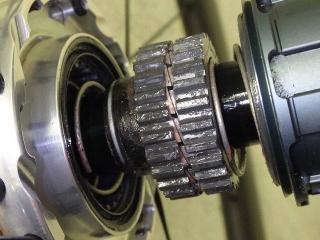
The old star ratchet used bamboo shoot-shaped springs
pressing flat ratchet parts from both sides,
but in the Ratchet EXP star ratchet, instead of bamboo shoot springs,
regular cylindrical springs with constant outer diameter
are installed only on the freebody side in a single-push design.
On this rear wheel, though, the old star ratchet internals remain
with bamboo shoot springs on both sides,
and only the freebody itself is the Ratchet EXP version.
When you pull the freebody from a Campagnolo or Fulcrum CULT rear hub,
the hub body ends up with bearings only—
a "front hub state."
In this state, as long as the bearings are broken in,
even a rear hub spins smoothly with ultra-low resistance
like a front hub would,
but once you install the freebody, when hand-spinning the hub axle under no load,
the freebody bearing resistance adds up,
making rotation feel heavier.
The DT new 240 rear hub with Ratchet EXP
sometimes requires some period-in use,
but when hand-spinning the hub axle it feels so light
you'd never think a freebody was installed.
Since this rear wheel didn't have that distinctive light feeling,
I pulled out the freebody to check.
The Ratchet EXP positions the bearing on the hub body's free side
further outward than the old star ratchet hub,
widening the bearing span,
but in a sense that prevents the space needed for dual-push springs,
so it uses single-push springs instead.
Actually the sequence is reversed—by switching to single-push,
extra space was left over which they filled with wider bearings.
Since this hub has dimensions compatible with the old star ratchet hub body,
you can't convert it to Ratchet EXP.

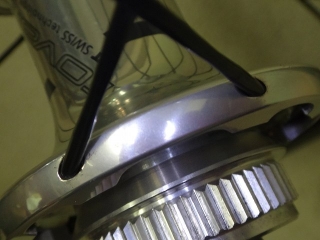
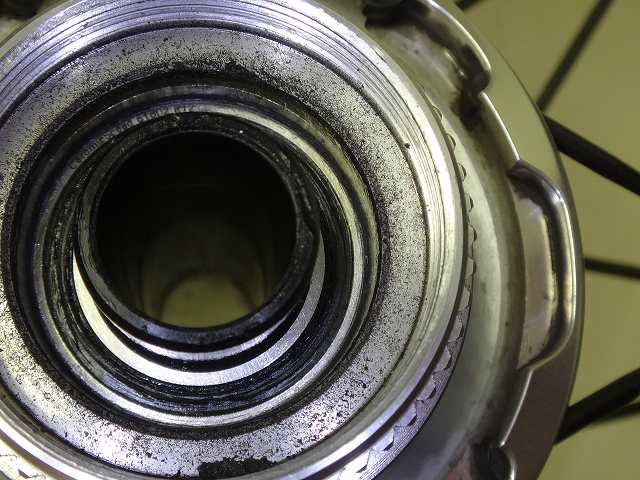
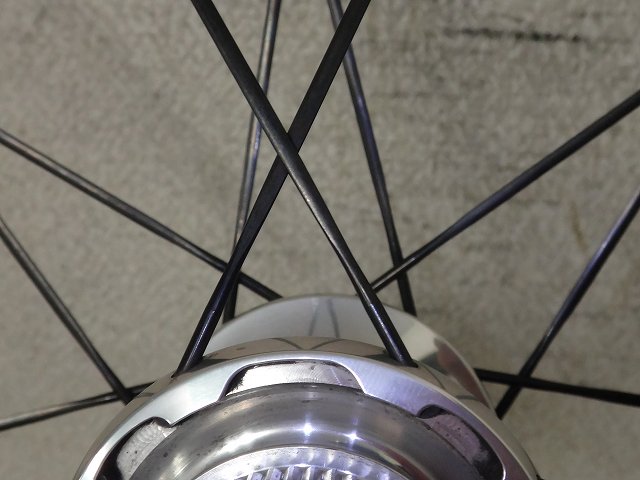
↑This is the bearing on the left side of the hub body,
and the size difference between the bearing diameter and the hub body
is so large it reminds me of how men's quartz watches
with large cases have their small movement
centered and the gap filled with white plastic.
Originally it was all-black Aerolight, 16+8H for 24H.
I'll replace only the non-drive side spokes with black CX Sprint
for reverse different-diameter lacing,
but since the drive side spoke angles are bad no matter what,
the rebuild requires re-lacing the drive side.

Since we're doing a partial disassembly and rebuild,
there's no need to peel off the rim tape.
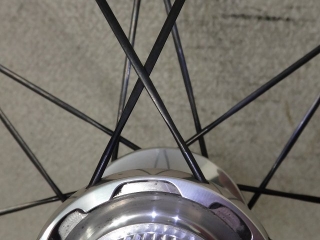
As you can see in the image above,
there are places where the rim tape doesn't fully cover the rim edges,
but since the customer runs this as a tubular (tubed tire),
it shouldn't be a problem.

The drive side flange holes have spoke holes on both sides that offset,
but the non-drive side flange doesn't.
So at the final cross (though it's the first cross),
I can choose which side's spokes go on top,
but I made it the same as the original.
This is equivalent to JIS lacing, so I support this overlap too.

I replaced the non-drive side spokes with black CX Sprint straight spokes.
To prevent the nipple from falling into the rim,
I screw it in before threading through the flange.
I didn't peel off the rim tape.

Built it up.
I'll do the final truing later.
For aluminum nipples like those on ROVAL CLX wheels,
it's better to adjust using the outer hexagon,
but the inner square is sharp enough that even under high tension
it can be turned,
so if you have the circumstance of "not wanting to peel off rim tape,"
it's possible to build a wheel using the inner square.
This wheel is CLX so it has aluminum nipples,
but the CL brass nipples have such high friction
it's better to turn them from the outside.
By the way, I have no intention of revealing
what the consideration at the beginning was for.

Sorry for the wait! Please take a look at this image!

It was a Saga signature model!
↑Stop it!
today is also a wheel— (and so on). I won't go into details.
I took in a CLX50 disc brake rear wheel from a customer.
They said it felt sluggish, so they want me to rebuild it.
It's not just their imagination though.
There's a name written on the rim in hologram,
so my consideration kicked in automatically,
but I don't think it's the wheel owner's name.
That one is printed, so even if you scratch at it with your fingernail
it won't peel off—it's a durable finish—

but the ROVAL logo is just a weak sticker,
so it's peeling off here and there.


↑Something like this

Perhaps because it's a special model,
it has a silver anodized hub instead of black,
and it's equipped with a DT Ratchet EXP freebody.
But strictly speaking, this is not actually a Ratchet EXP.
The old star ratchet used bamboo shoot-shaped springs
pressing flat ratchet parts from both sides,
but in the Ratchet EXP star ratchet, instead of bamboo shoot springs,
regular cylindrical springs with constant outer diameter
are installed only on the freebody side in a single-push design.
On this rear wheel, though, the old star ratchet internals remain
with bamboo shoot springs on both sides,
and only the freebody itself is the Ratchet EXP version.
When you pull the freebody from a Campagnolo or Fulcrum CULT rear hub,
the hub body ends up with bearings only—
a "front hub state."
In this state, as long as the bearings are broken in,
even a rear hub spins smoothly with ultra-low resistance
like a front hub would,
but once you install the freebody, when hand-spinning the hub axle under no load,
the freebody bearing resistance adds up,
making rotation feel heavier.
The DT new 240 rear hub with Ratchet EXP
sometimes requires some period-in use,
but when hand-spinning the hub axle it feels so light
you'd never think a freebody was installed.
Since this rear wheel didn't have that distinctive light feeling,
I pulled out the freebody to check.
The Ratchet EXP positions the bearing on the hub body's free side
further outward than the old star ratchet hub,
widening the bearing span,
but in a sense that prevents the space needed for dual-push springs,
so it uses single-push springs instead.
Actually the sequence is reversed—by switching to single-push,
extra space was left over which they filled with wider bearings.
Since this hub has dimensions compatible with the old star ratchet hub body,
you can't convert it to Ratchet EXP.
↑This is the bearing on the left side of the hub body,
and the size difference between the bearing diameter and the hub body
is so large it reminds me of how men's quartz watches
with large cases have their small movement
centered and the gap filled with white plastic.

Originally it was all-black Aerolight, 16+8H for 24H.
I'll replace only the non-drive side spokes with black CX Sprint
for reverse different-diameter lacing,
but since the drive side spoke angles are bad no matter what,
the rebuild requires re-lacing the drive side.
Since we're doing a partial disassembly and rebuild,
there's no need to peel off the rim tape.
As you can see in the image above,
there are places where the rim tape doesn't fully cover the rim edges,
but since the customer runs this as a tubular (tubed tire),
it shouldn't be a problem.

The drive side flange holes have spoke holes on both sides that offset,

but the non-drive side flange doesn't.
So at the final cross (though it's the first cross),
I can choose which side's spokes go on top,
but I made it the same as the original.
This is equivalent to JIS lacing, so I support this overlap too.
I replaced the non-drive side spokes with black CX Sprint straight spokes.
To prevent the nipple from falling into the rim,
I screw it in before threading through the flange.

I didn't peel off the rim tape.
Built it up.
I'll do the final truing later.
For aluminum nipples like those on ROVAL CLX wheels,
it's better to adjust using the outer hexagon,
but the inner square is sharp enough that even under high tension
it can be turned,
so if you have the circumstance of "not wanting to peel off rim tape,"
it's possible to build a wheel using the inner square.
This wheel is CLX so it has aluminum nipples,
but the CL brass nipples have such high friction
it's better to turn them from the outside.
By the way, I have no intention of revealing
what the consideration at the beginning was for.

Sorry for the wait! Please take a look at this image!

It was a Saga signature model!
↑Stop it!