A customer dropped off a fixed gear bike with me.

The fixing bolt washer was left in place,
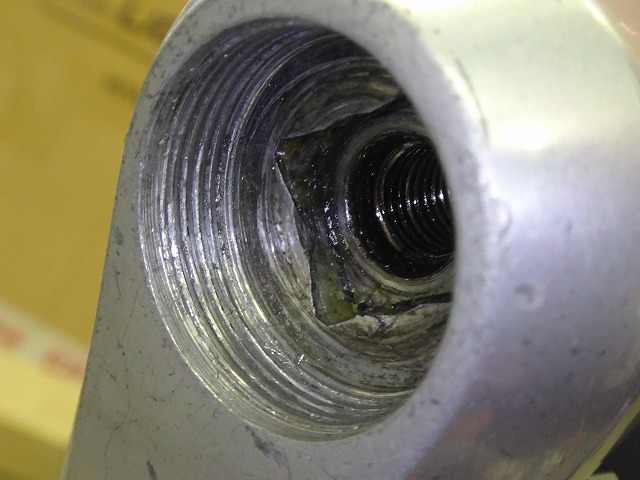
and when I used the cotterless crank puller tool, the thread engagement was shallow.
The tool slipped out before the crank arm could be pressed off,
which stripped the threads.
Even with the washer in place,
if I'd firmly fixed the cotterless crank puller tool with a wrench,
the crank would come out,
(not that I'm lazy and actually do things that way usually, just for the record),
but anyway, the threads are completely damaged.
I thought if the washer had been in, maybe the last couple threads would have survived,
but nope.
Even tightening the crank puller hard and trying to press it out,
the tool slips out first.
So this calls for rough measures.
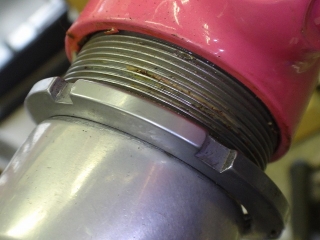
The BB is a traditional cup and cone type,
and fortunately it was the left crank I messed up,
so I removed the right crank and right cup, loosened the left lockring,
and the left cup without a flange on the frame
could be pulled straight out of the frame along with the BB axle.
I thought I might be able to knock out the square hole in this crank
with a punch slightly smaller in diameter than the square flat-to-flat,
but that didn't work.
With the crank completely fixed and almost no way for the force to escape,
I tried several times but it wouldn't budge.
Impact force alone didn't seem to work,
so I decided to shave down the aluminum crank (which is unusable anyway)
right to the edge of the axle
to reduce the contact pressure before hitting it.
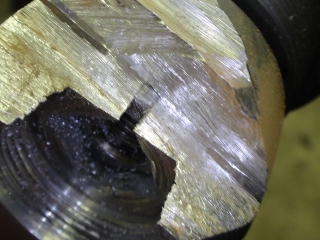
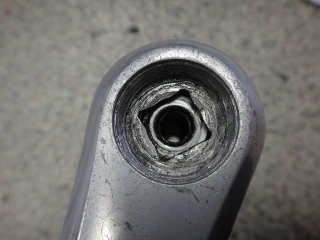
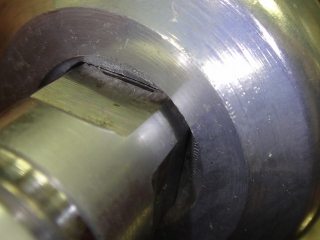
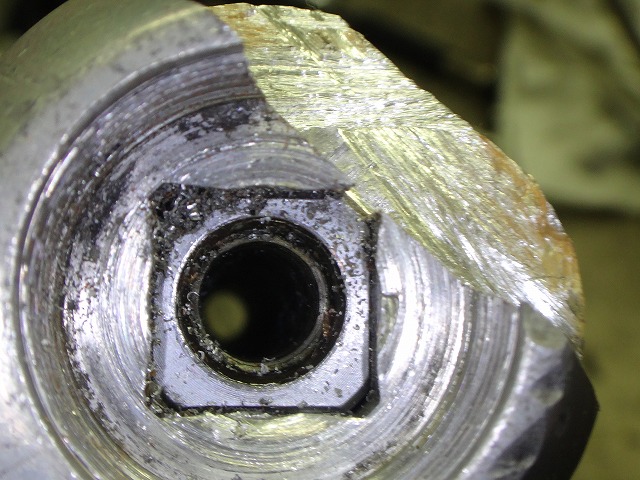
↑Stage 1.
First I cut with a hacksaw, leaving a little aluminum thickness,
and I was planning to use a grinder after that,
but the hacksaw cut was already pretty tight.
The axle has a taper, so
in stage 2 I need to cut a bit more to the outside.

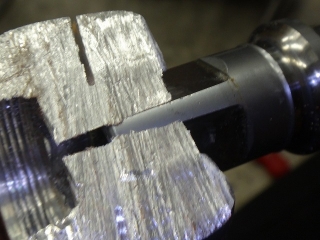
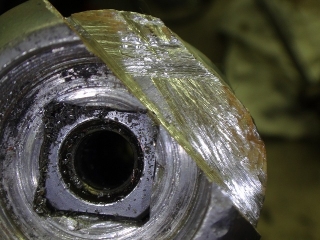
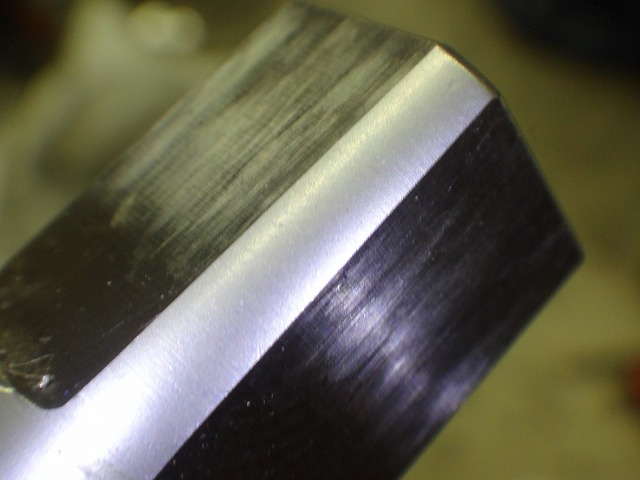
↑Stage 2 also got tight.
I ended up not using the grinder at all.
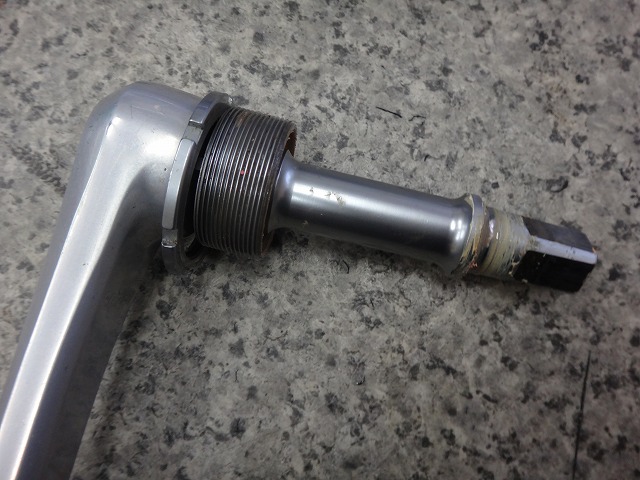
When I tapped the BB axle from the state in the image above, it came out with light force.
Strictly speaking, as you can tell from the absence of the left cup,
the image above is from after I pulled the axle out and re-inserted it for photos.
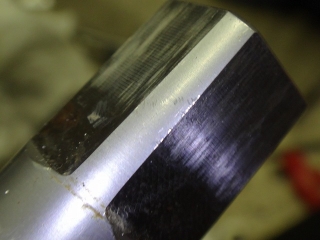
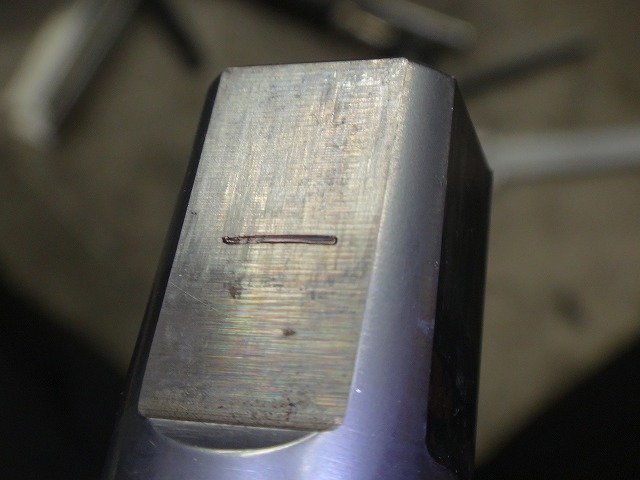
The BB axle is hard enough in material
that the hacksaw barely marks it.
The image above shows the same spot cut right to the crank edge,
there's a faint mark,
but it's still reusable.

↑On another side it looks like this

The customer asked if I had any replacement left crank arms,
so I did some research for that.
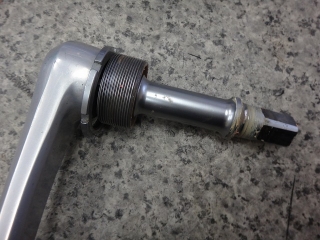
I pushed the original crank onto the BB axle
and pressed it in as far as I could by hand,
then drew a line with an oil pen as a mark.
Because the pen tip has thickness, the line is slightly before the crank's square hole.
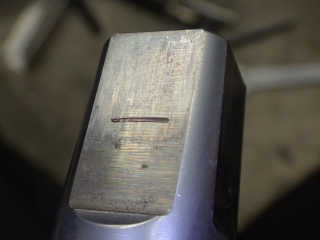
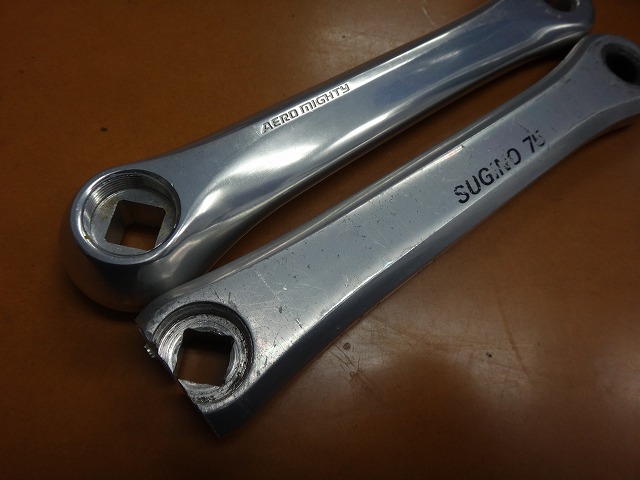
↑This one
The original crank is a Sugino 75,
and checking the press-fit condition of another Sugino crank under the same conditions,
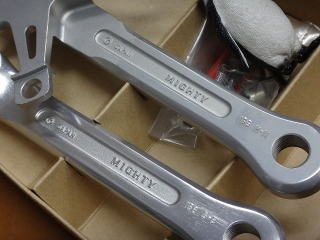
I found a suitable left crank arm to use as a replacement.

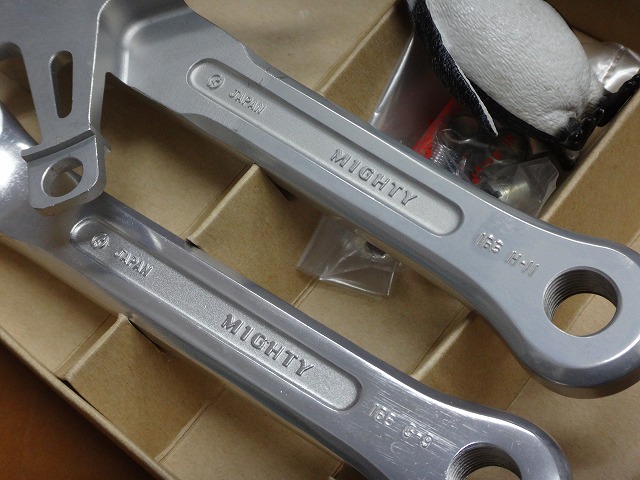
Same 165mm with NJS marking and...

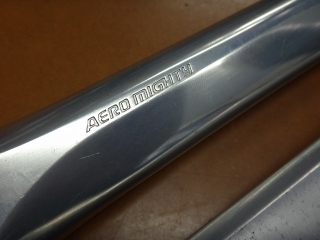
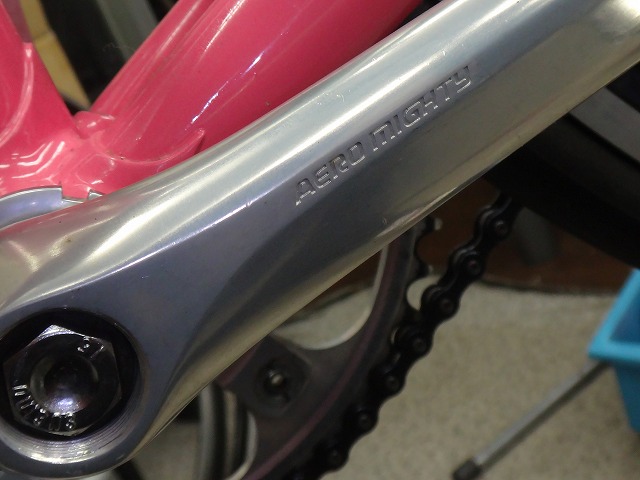
It's obvious from the title, but an Aero Mighty.

Glad I had the Aero Mighty.
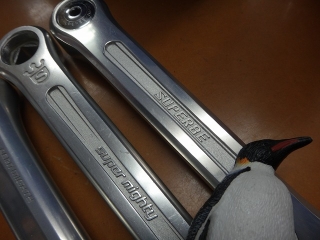
Hey, don't go casually mixing in Super Mighty and Superbe.
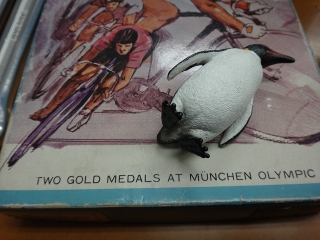
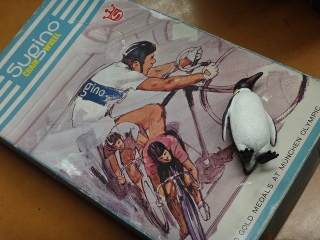
And here, while we're at it,
the version in the box saying
"Won 2 gold medals at the Munich Olympics (1972)"

Stop introducing the Mighty.

So anyway, the aero performance got upgraded (probably).
The fixing bolt washer was left in place,
and when I used the cotterless crank puller tool, the thread engagement was shallow.
The tool slipped out before the crank arm could be pressed off,
which stripped the threads.
Even with the washer in place,
if I'd firmly fixed the cotterless crank puller tool with a wrench,
the crank would come out,
(not that I'm lazy and actually do things that way usually, just for the record),
but anyway, the threads are completely damaged.
I thought if the washer had been in, maybe the last couple threads would have survived,
but nope.
Even tightening the crank puller hard and trying to press it out,
the tool slips out first.
So this calls for rough measures.

The BB is a traditional cup and cone type,
and fortunately it was the left crank I messed up,
so I removed the right crank and right cup, loosened the left lockring,
and the left cup without a flange on the frame
could be pulled straight out of the frame along with the BB axle.

I thought I might be able to knock out the square hole in this crank
with a punch slightly smaller in diameter than the square flat-to-flat,
but that didn't work.
With the crank completely fixed and almost no way for the force to escape,
I tried several times but it wouldn't budge.
Impact force alone didn't seem to work,
so I decided to shave down the aluminum crank (which is unusable anyway)
right to the edge of the axle
to reduce the contact pressure before hitting it.


↑Stage 1.
First I cut with a hacksaw, leaving a little aluminum thickness,
and I was planning to use a grinder after that,
but the hacksaw cut was already pretty tight.
The axle has a taper, so
in stage 2 I need to cut a bit more to the outside.

↑Stage 2 also got tight.
I ended up not using the grinder at all.
When I tapped the BB axle from the state in the image above, it came out with light force.
Strictly speaking, as you can tell from the absence of the left cup,
the image above is from after I pulled the axle out and re-inserted it for photos.

The BB axle is hard enough in material
that the hacksaw barely marks it.
The image above shows the same spot cut right to the crank edge,
there's a faint mark,
but it's still reusable.
↑On another side it looks like this

The customer asked if I had any replacement left crank arms,
so I did some research for that.
I pushed the original crank onto the BB axle
and pressed it in as far as I could by hand,
then drew a line with an oil pen as a mark.
Because the pen tip has thickness, the line is slightly before the crank's square hole.
↑This one

The original crank is a Sugino 75,
and checking the press-fit condition of another Sugino crank under the same conditions,
I found a suitable left crank arm to use as a replacement.
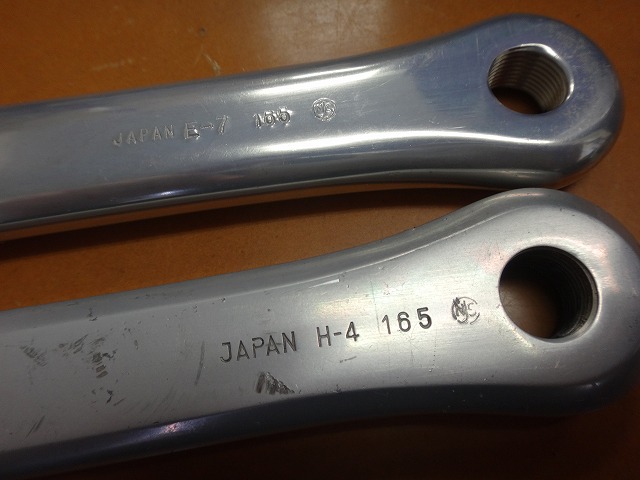
Same 165mm with NJS marking and...

It's obvious from the title, but an Aero Mighty.

Glad I had the Aero Mighty.

Hey, don't go casually mixing in Super Mighty and Superbe.


And here, while we're at it,
the version in the box saying
"Won 2 gold medals at the Munich Olympics (1972)"

Stop introducing the Mighty.
So anyway, the aero performance got upgraded (probably).