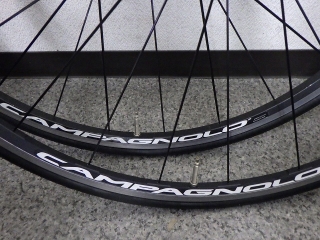
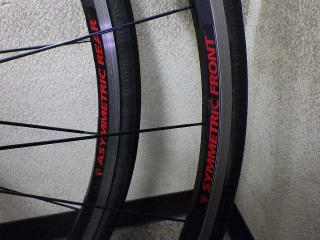
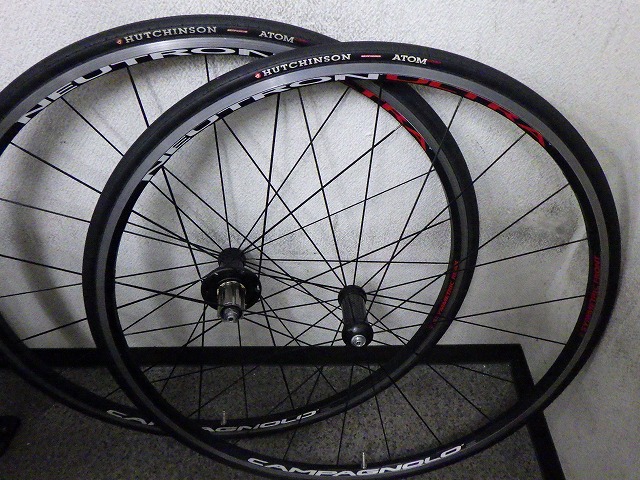
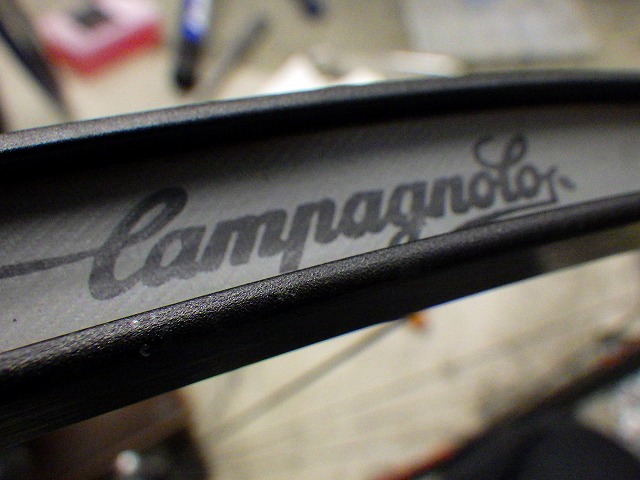
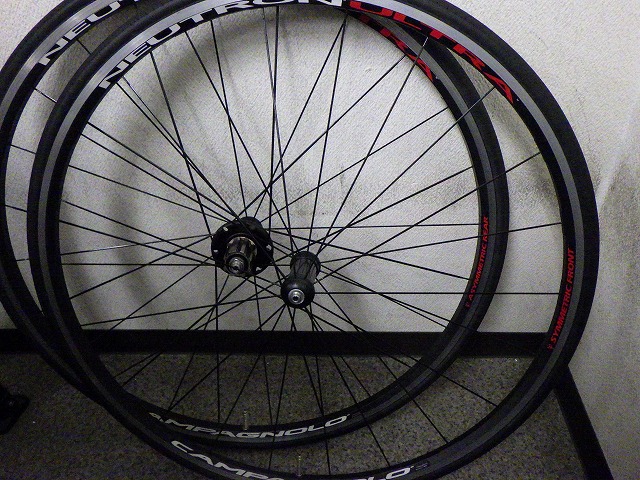
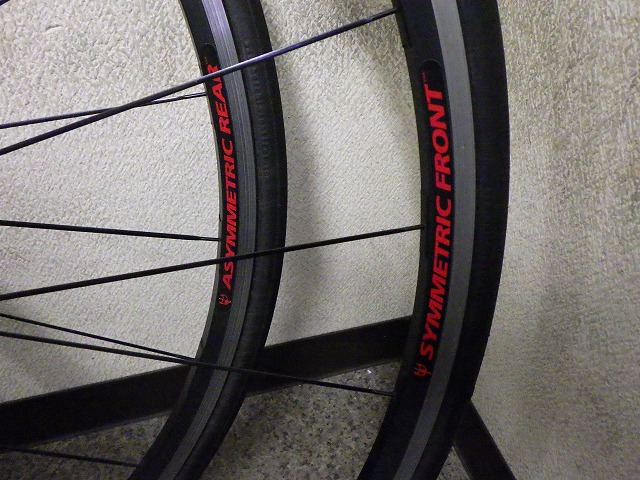
A customer brought in a pair of front and rear wheels for a Campagnolo
Neutron Ultra for me to work on.
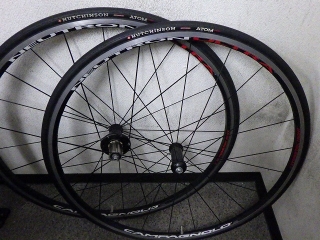
This is the WO rim version.
The customer wanted an inspection done.

Normally I align the center of the tire label with
the valve phase when mounting tires, but
with these wheels, the phase sticker near the valve is
Campagnolo branded, and
since the wheel lettering orientation is one-directional,
if I mount the tire on the Campagnolo sticker side,
the text orientation won't match between tire and rim stickers.
So instead I'm aligning the tire label with the model name sticker side.
This actually gives a more consistent appearance.
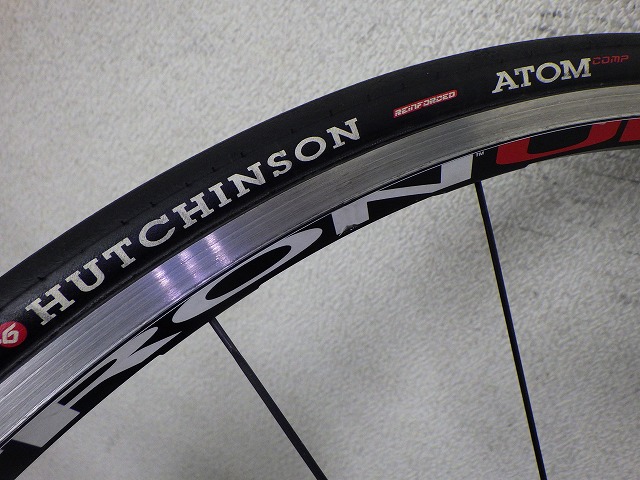
The tire is not a Hutchinson but a Hutchinson branded
back when the import distributor at the time called it "Yucchinton"—
it's an Atom Comp model.
As a predecessor to this, there was a tire model
simply called "Atom,"
This time the tire is 23C, but the original Atom's 20C,
when mounted on an Open Pro rim (which was neither particularly wide nor narrow for the time)
and pressurized to 7 bar, measured 18.5C when new
or close to it—limiting usage, it was the strongest performer in those specific conditions,
but in other situations had low cornering limits and weakness in wet conditions, making it
really terrible—it was a fun tire if used the right way.
This is just my opinion, but even now with Mavic and Pirelli tires,
I can't shake the feeling that "Atom is just fat."
Since the model name is Atom (the atom), there's an atom symbol in the tread,
and when these are on wheels named Proton (proton), Electron (electron), Nucleon (nucleon), or
Neutron (neutron), the origin of the model names are close to each other,
which is kind of nice.

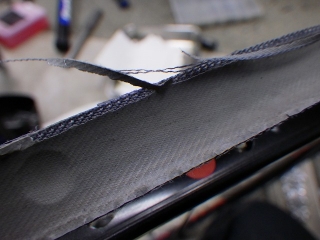
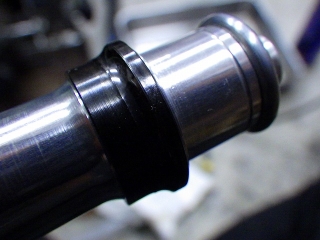
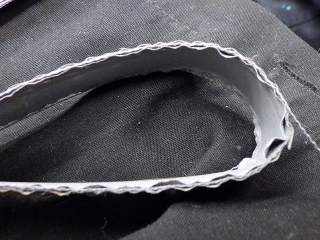
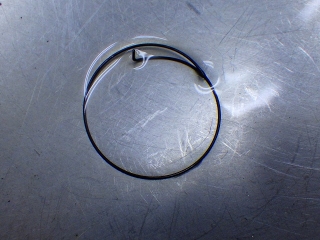
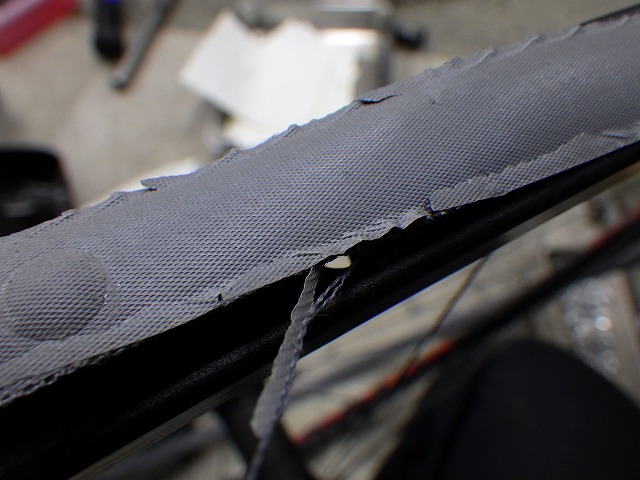
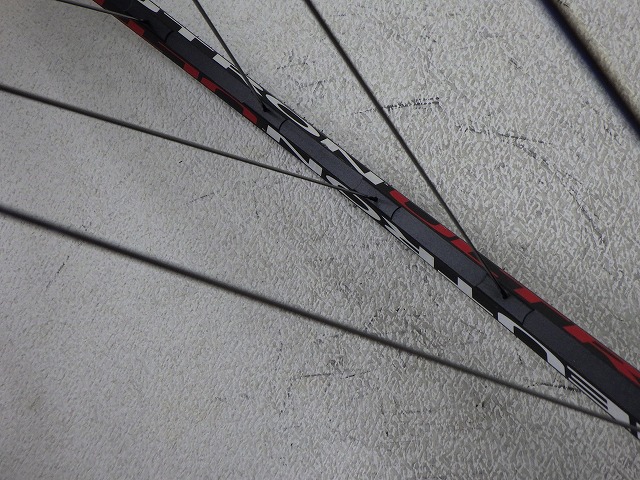
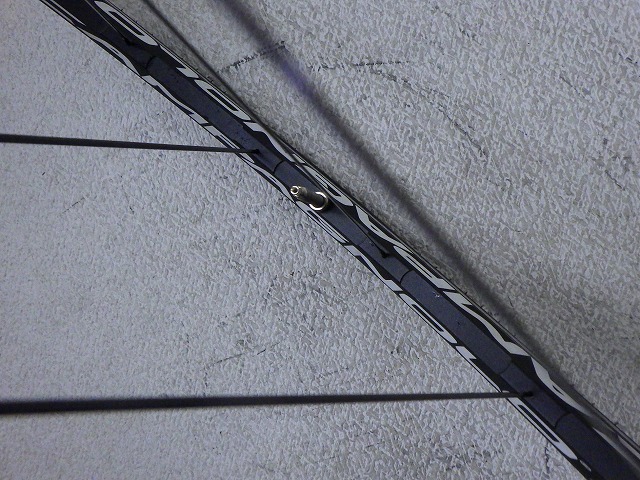
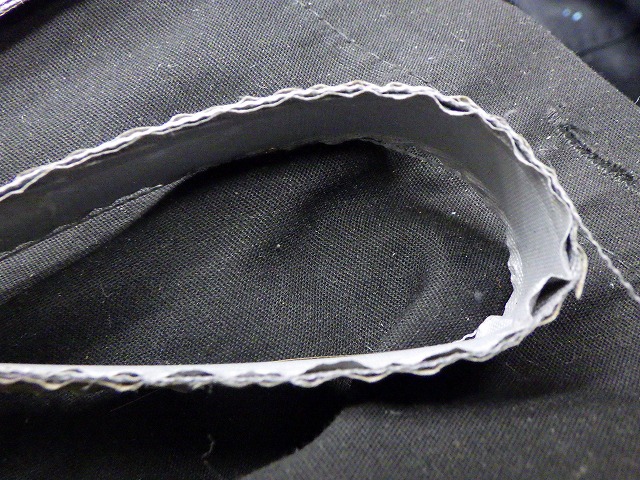
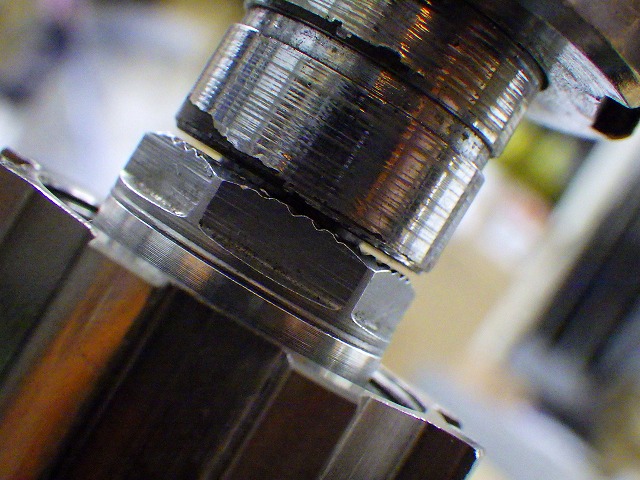
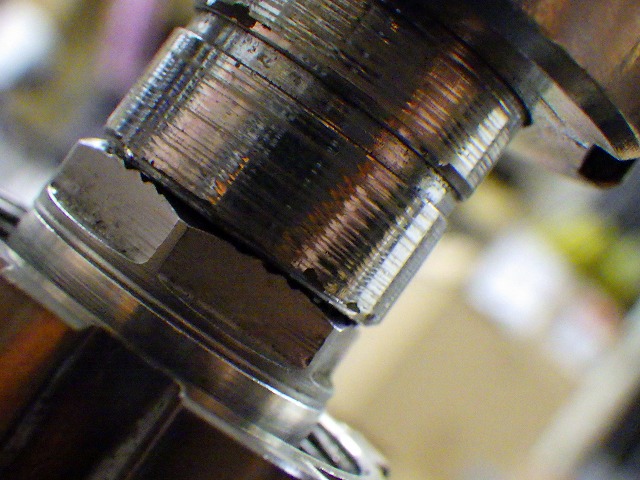
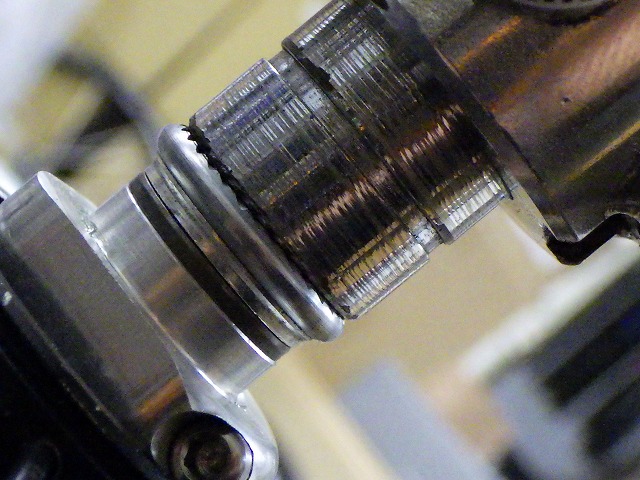
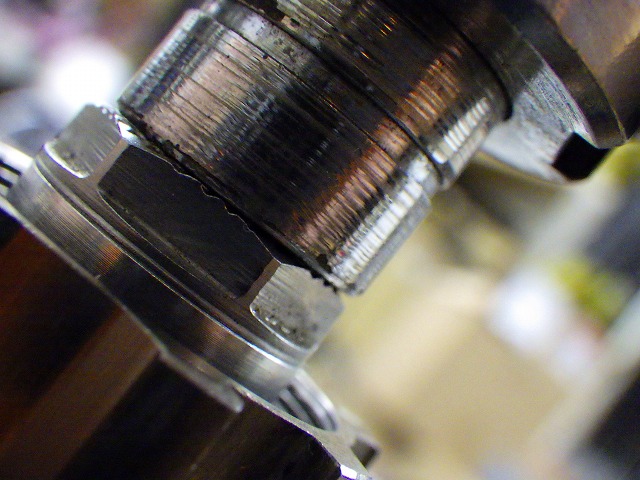
Since these have internal nipples, I need to peel back the rim tape, but
↑front side

↑back side
I tried to carefully remove the rim tape to reuse it if possible,
but it fell apart.
Starting with the front wheel.
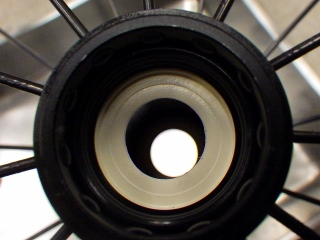
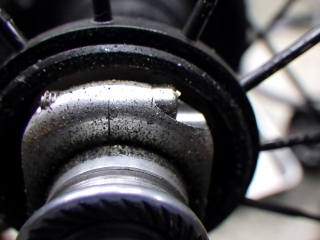
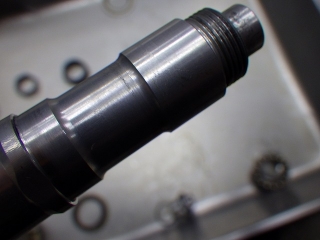
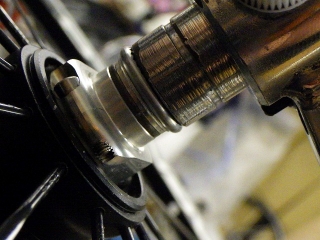
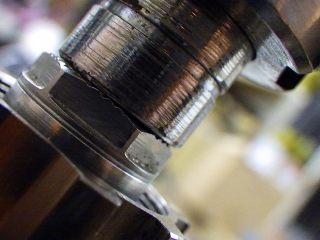
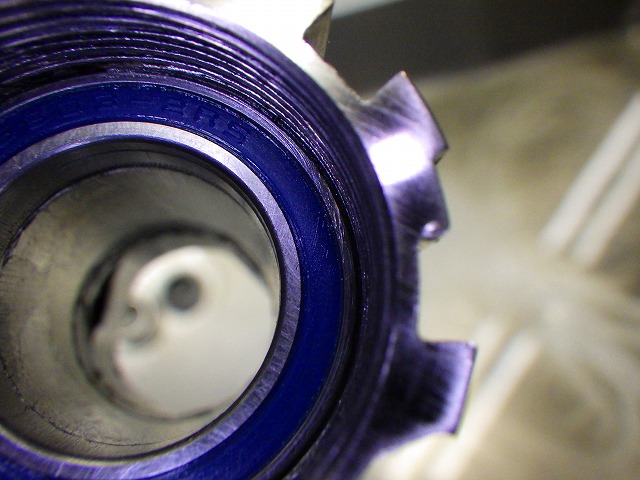
When I removed the dust cap, the bearing cone adjustment nut was loose,
and there was lateral play in the hub.
It wasn't just a little bit of play—
the hub was so sloppy it was unusable, so
I'm guessing someone started working on it but
gave up.
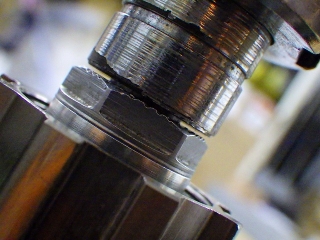
The ball bearings are from the black era,
and there's no pitting.
Since there aren't clean marks from the balls rolling,
based on the brake zones and freewheel spline conditions
it's definitely not new, but it's also clear it wasn't used much.
The races pressed into the hub shell showed no problems either.
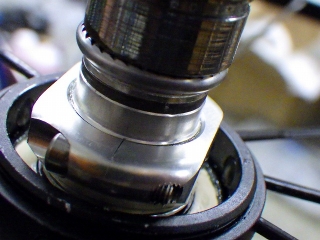
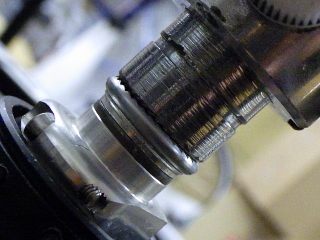
The image above is after cleaning.

↑after cleaning the cone
↑with the camera light off, it looks like this

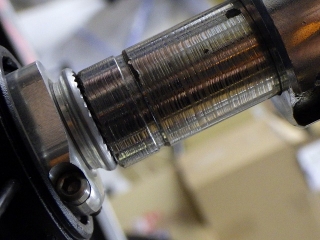
I did runout correction and centering.
The original condition wasn't that bad either.

Going back in the image timeline here,
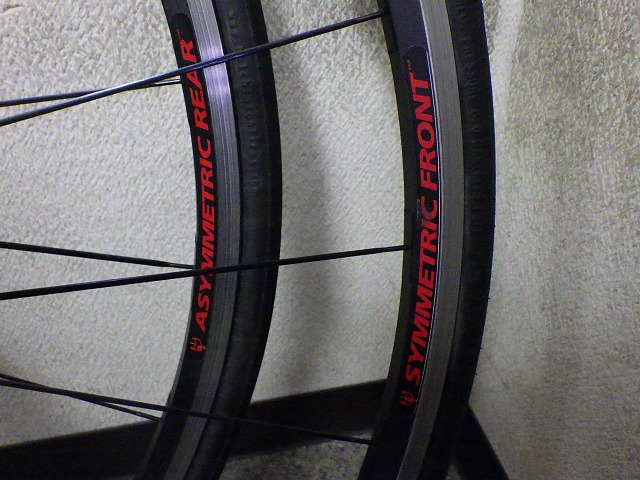
this Neutron Ultra has
a sticker on the opposite side of the model name
that's the same sticker rather than the manufacturer name,
like older Campagnolo rims.
So the side opposite the Campagnolo sticker
also has a Campagnolo sticker.
And when I orient the Campagnolo sticker and
position the valve hole straight down,

both wheels have a red text sticker at the 3 o'clock position
saying the front wheel is a non-offset rim and the rear wheel is an offset rim.

From here, if I flip the front wheel while keeping
the bottom position orientation,

the same sticker appears at the 3 o'clock position.
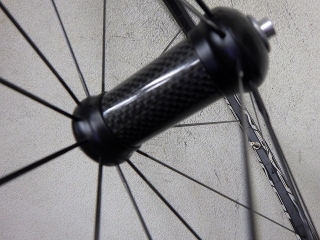
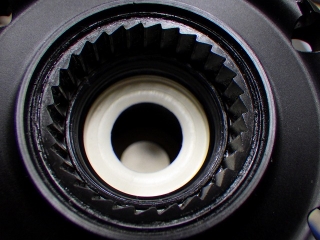
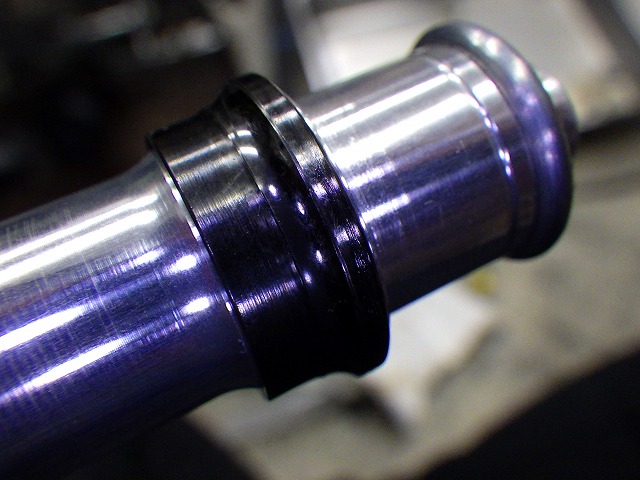
Also, the hub shell is made of carbon,
and unlike older hubs, there's no C-ring sealing the grease hole.
Also, whether it was removed or never there,
the orange WARNING sticker is not present on either side
of both wheels.
In other words, once I install both dust caps on the front wheel,
there's no way to identify which side is which.
The tire I'll be mounting after work (the Atom Comp from earlier)
has no directional tread pattern on either side,
so it has no left-right attributes either.
Since I don't have the quick release, I can't use that to distinguish
which side is which either.
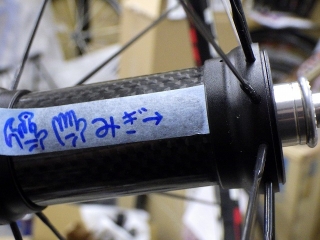
So before installing the dust caps, I put some tape on the hub shell.
Please remove the tape after installing the quick release or
securing it to the fork.
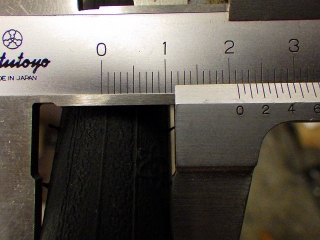
The Atom Comp tread is cracking in places, so it's definitely
not brand new, but it measured just over 21C actual width while claiming 23C.
The aluminum rim on Campagnolo complete wheels is
wider internally than rims from this era that didn't have the wide rim concept—
for example, wider than an Open Pro.
So if it were mounted on a slightly narrower rim that was more common at the time,
the tire width would be even narrower.
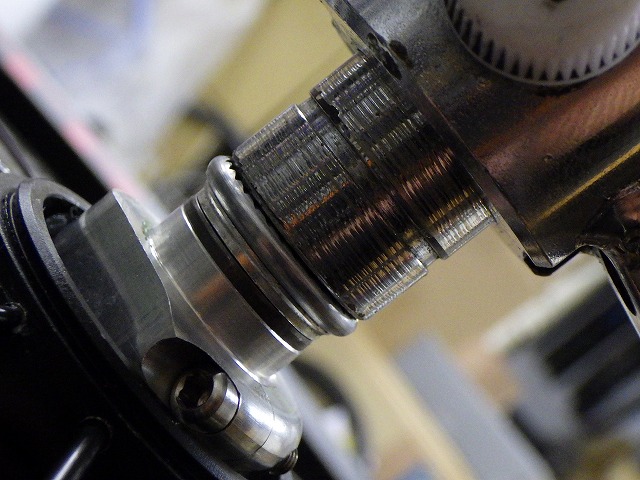
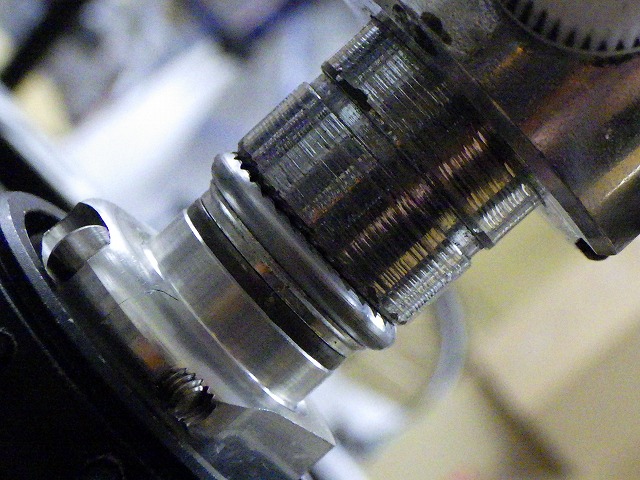
Now for the rear wheel.
The rim tape was even worse off than the front wheel.
I've replaced both with Vittoria rim tape.
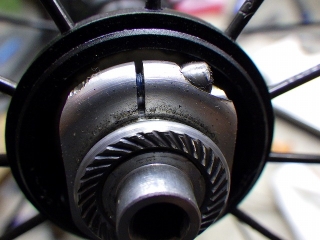
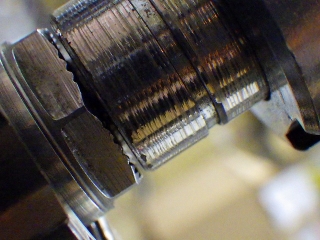
When I removed the left dust cap,
the cone adjustment bolt was tightened,
but there was slight lateral play.
↑skipping ahead in the timeline,
after cleaning and greasing

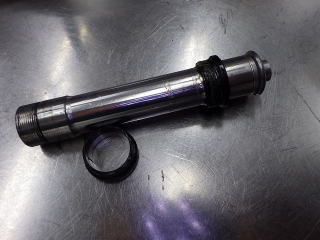
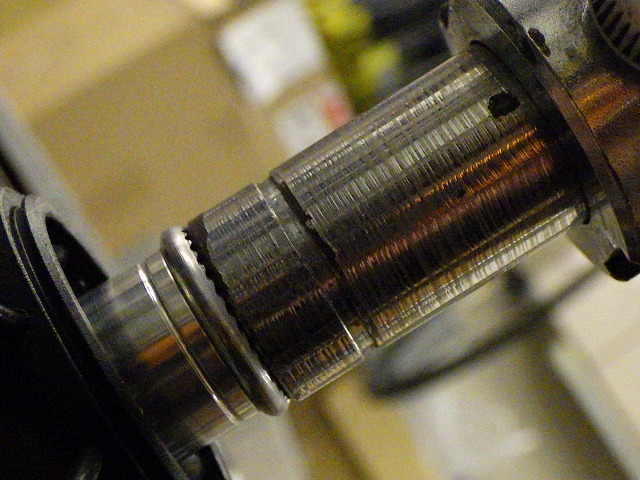
Around the outside bearing area of the hub axle
there was some rust bloom, and
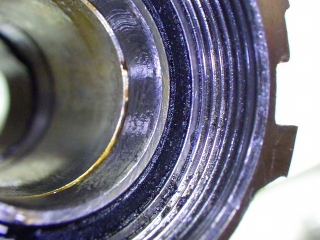
current spare bearings have seals on both sides, but
the ones in the freewheel from this period
definitely have seals on only one side.
Rust liquid seeping inward
is leaking through between the spacer,
which is visible here.
The rust bloom wasn't severe corrosion, so
when I wiped it with parts cleaner, it came right off.

I replaced the freewheel bearing.
The freewheel pawl return spring was badly deformed,
so I replaced it too.
I cleaned the hub interior as well.
After this I greased everything and reassembled the hub.
The rim appears to be shifted toward the freewheel side,
probably mostly just from age.


I did runout correction and centering.
The front wheel didn't seem to have slack spoke tension,
but the rear wheel either had loose tension from the start or it lost tension later—
it seemed like it could use some tightening, so
I first tightened the freewheel side and shifted the rim.
It's shifted more than my initial rough center,
but the difference is there's no lateral runout.
If I'd thought ahead and tightened the freewheel side more forcefully to shift it more,
I wouldn't have had to do this twice,
but there's no way to predict and shift the rim that precisely.

Then I tightened the non-freewheel side further and centered it.
I installed the left dust cap.
As for this part—I ran out of stock recently, so
I rushed to order more.
This time all three (the front wheel's left and right, and the rear wheel's left)
came through intact, so it's not relevant to this job.
Neutron Ultra for me to work on.
This is the WO rim version.
The customer wanted an inspection done.
Normally I align the center of the tire label with
the valve phase when mounting tires, but
with these wheels, the phase sticker near the valve is
Campagnolo branded, and
since the wheel lettering orientation is one-directional,
if I mount the tire on the Campagnolo sticker side,
the text orientation won't match between tire and rim stickers.
So instead I'm aligning the tire label with the model name sticker side.
This actually gives a more consistent appearance.

The tire is not a Hutchinson but a Hutchinson branded
back when the import distributor at the time called it "Yucchinton"—
it's an Atom Comp model.
As a predecessor to this, there was a tire model
simply called "Atom,"

This time the tire is 23C, but the original Atom's 20C,
when mounted on an Open Pro rim (which was neither particularly wide nor narrow for the time)
and pressurized to 7 bar, measured 18.5C when new
or close to it—limiting usage, it was the strongest performer in those specific conditions,
but in other situations had low cornering limits and weakness in wet conditions, making it
really terrible—it was a fun tire if used the right way.
I can't shake the feeling that "Atom is just fat."

Since the model name is Atom (the atom), there's an atom symbol in the tread,
and when these are on wheels named Proton (proton), Electron (electron), Nucleon (nucleon), or
Neutron (neutron), the origin of the model names are close to each other,
which is kind of nice.
Since these have internal nipples, I need to peel back the rim tape, but

↑front side
↑back side
I tried to carefully remove the rim tape to reuse it if possible,
but it fell apart.

Starting with the front wheel.
When I removed the dust cap, the bearing cone adjustment nut was loose,
and there was lateral play in the hub.
It wasn't just a little bit of play—
the hub was so sloppy it was unusable, so
I'm guessing someone started working on it but
gave up.

The ball bearings are from the black era,
and there's no pitting.
Since there aren't clean marks from the balls rolling,
based on the brake zones and freewheel spline conditions
it's definitely not new, but it's also clear it wasn't used much.

The races pressed into the hub shell showed no problems either.
The image above is after cleaning.
↑after cleaning the cone

↑with the camera light off, it looks like this

I did runout correction and centering.
The original condition wasn't that bad either.
Going back in the image timeline here,
this Neutron Ultra has
a sticker on the opposite side of the model name
that's the same sticker rather than the manufacturer name,
like older Campagnolo rims.
So the side opposite the Campagnolo sticker
also has a Campagnolo sticker.

And when I orient the Campagnolo sticker and
position the valve hole straight down,

both wheels have a red text sticker at the 3 o'clock position
saying the front wheel is a non-offset rim and the rear wheel is an offset rim.
From here, if I flip the front wheel while keeping
the bottom position orientation,
the same sticker appears at the 3 o'clock position.

Also, the hub shell is made of carbon,
and unlike older hubs, there's no C-ring sealing the grease hole.
Also, whether it was removed or never there,
the orange WARNING sticker is not present on either side
of both wheels.
In other words, once I install both dust caps on the front wheel,
there's no way to identify which side is which.
The tire I'll be mounting after work (the Atom Comp from earlier)
has no directional tread pattern on either side,
so it has no left-right attributes either.
Since I don't have the quick release, I can't use that to distinguish
which side is which either.

So before installing the dust caps, I put some tape on the hub shell.
Please remove the tape after installing the quick release or
securing it to the fork.

The Atom Comp tread is cracking in places, so it's definitely
not brand new, but it measured just over 21C actual width while claiming 23C.
The aluminum rim on Campagnolo complete wheels is
wider internally than rims from this era that didn't have the wide rim concept—
for example, wider than an Open Pro.
So if it were mounted on a slightly narrower rim that was more common at the time,
the tire width would be even narrower.
Now for the rear wheel.
The rim tape was even worse off than the front wheel.
I've replaced both with Vittoria rim tape.

When I removed the left dust cap,
the cone adjustment bolt was tightened,
but there was slight lateral play.

↑skipping ahead in the timeline,
after cleaning and greasing

Around the outside bearing area of the hub axle
there was some rust bloom, and

current spare bearings have seals on both sides, but
the ones in the freewheel from this period
definitely have seals on only one side.
Rust liquid seeping inward
is leaking through between the spacer,
which is visible here.

The rust bloom wasn't severe corrosion, so
when I wiped it with parts cleaner, it came right off.
I replaced the freewheel bearing.

The freewheel pawl return spring was badly deformed,
so I replaced it too.

I cleaned the hub interior as well.
After this I greased everything and reassembled the hub.

The rim appears to be shifted toward the freewheel side,
probably mostly just from age.
I did runout correction and centering.
The front wheel didn't seem to have slack spoke tension,
but the rear wheel either had loose tension from the start or it lost tension later—
it seemed like it could use some tightening, so

I first tightened the freewheel side and shifted the rim.
It's shifted more than my initial rough center,
but the difference is there's no lateral runout.
If I'd thought ahead and tightened the freewheel side more forcefully to shift it more,
I wouldn't have had to do this twice,
but there's no way to predict and shift the rim that precisely.
Then I tightened the non-freewheel side further and centered it.

I installed the left dust cap.
As for this part—I ran out of stock recently, so
I rushed to order more.
This time all three (the front wheel's left and right, and the rear wheel's left)
came through intact, so it's not relevant to this job.