This is my third article on this topic.
After someone saw my first post (→here), they asked me to do theirs,
which became the second one (→here), and now someone saw that and said "mine too."
The drill is screaming!
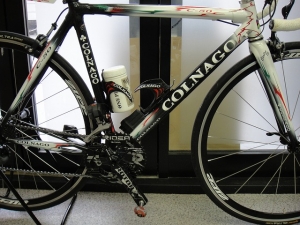
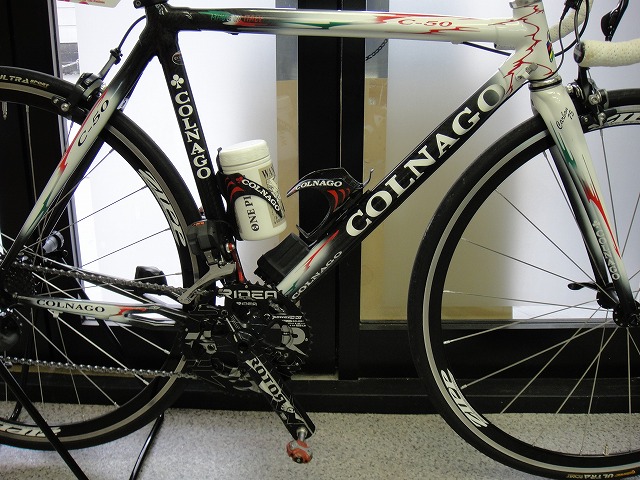
The bike is a C50HP.
It's from an era before electric assistance was even a word,
so the frame wasn't designed with internal wiring in mind,
and it's not particularly friendly to it either.
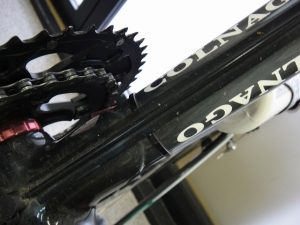
The theme is dealing with this wiring tape plastered on the back of the downtube.
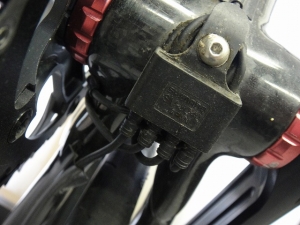
I'd also like to do something about the appearance of that sausage-like junction box at the lower end.
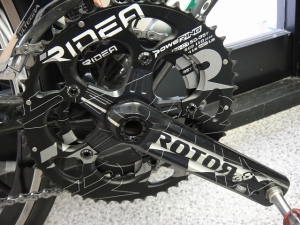
I just discovered that FSA makes chainrings for 5-arm cranks.
A 50-35T is pretty rare.
↑totally unrelated to internal wiring though
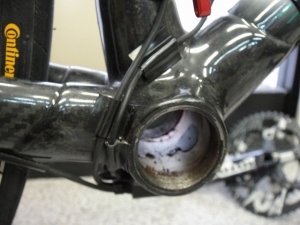
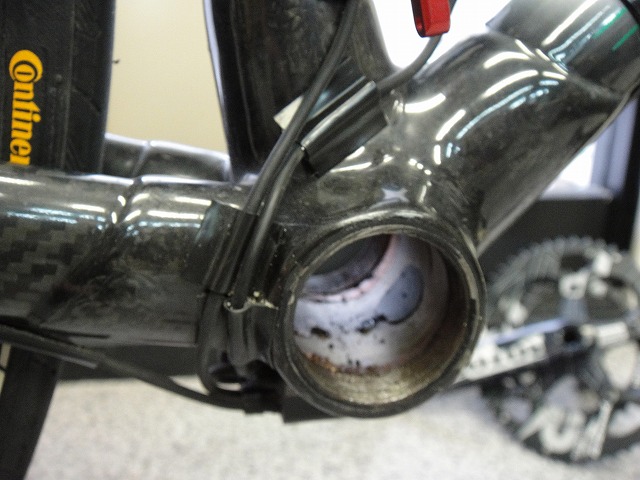
What I hate most about external wiring is this cable routing near the upper right of the derailleur hanger.
There have been cases where it snapped from chain drops, and more than anything, the looks are... not it.
And the tape peeling away doesn't help either.
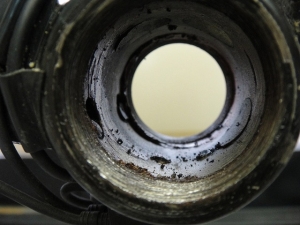
The C50HP's hanger hole doesn't go through to any other tubes.
It's a sealed chamber.
That's a problem.
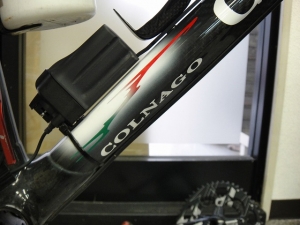
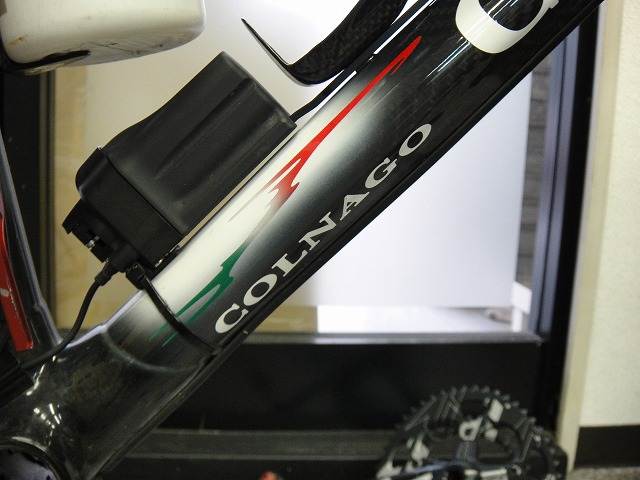
The battery is incredibly difficult to remove because of the bottle cage placement.
Since the bottle cage is Colnago too, I can't really recommend something else that would clear this space.
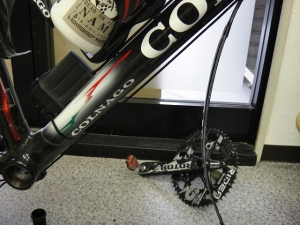
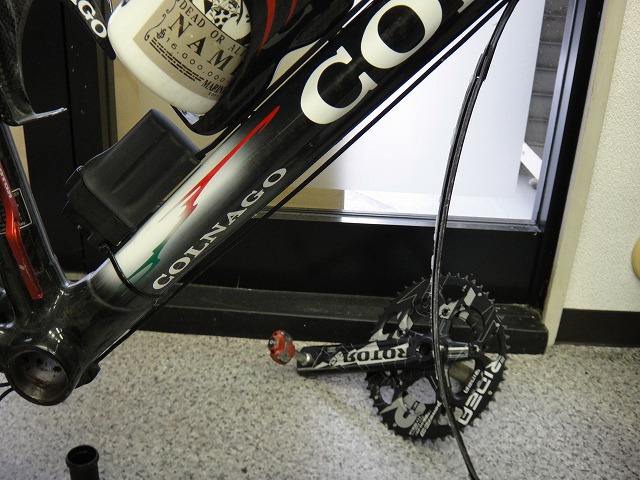
I peeled off the downtube tape.
This is Shimano OEM stuff, but the adhesive strength is just right.
If it were too strong when peeling, it could pull off the paint and damage the frame,
but if it's too weak, it peels off too easily.
It's that perfect balance—sticky enough to stay put, but easy to remove when you want to.
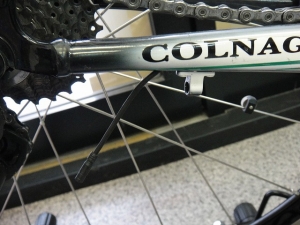
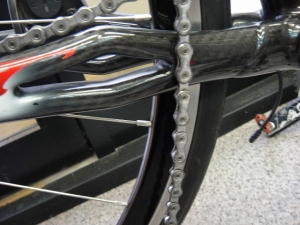
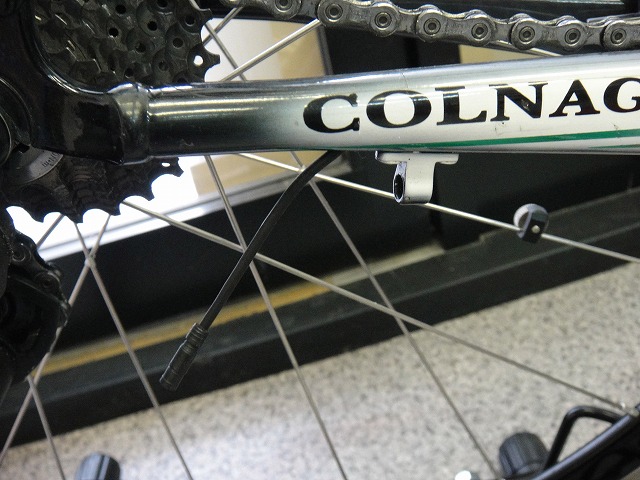
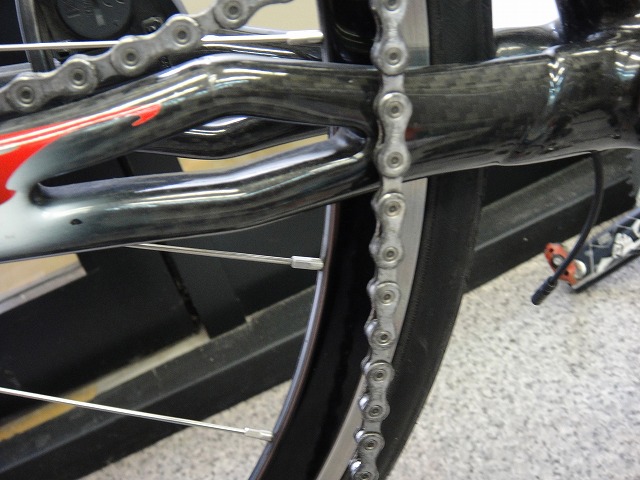
First, I routed the chainstay internally.
The HP chainstay splits into two legs, but the wiring is still live and working,
so electricity is flowing through one of them, but I can't tell which.
Based on feel during the work, I'd say the upper one, but
according to the Copenhagen interpretation,
both the state of going through the top and going through the bottom are superimposed,
so I can't determine which state it's actually in without literally cutting through the chainstay.
Well, in a macro case like this, it obviously doesn't work that way.
I could take an X-ray or use some non-destructive method to find out,
but I shouldn't go poking into that—or kill a cat at 50% probability.
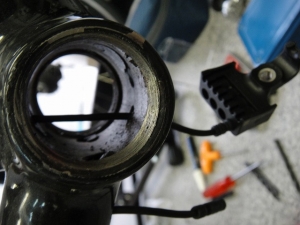
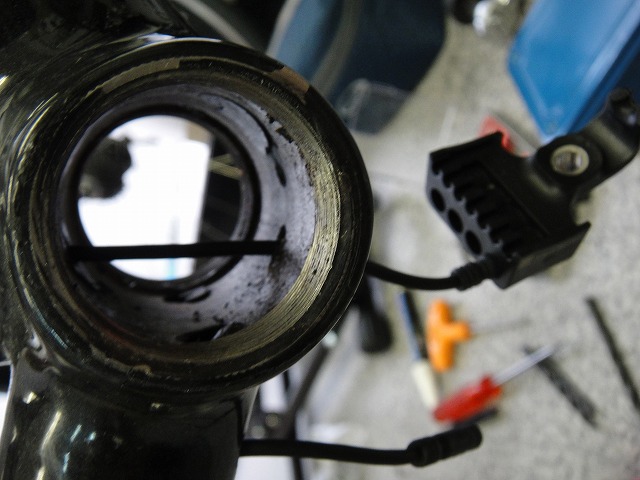
On the back of the hanger, there was a junction box mounting hole and a small drain hole,
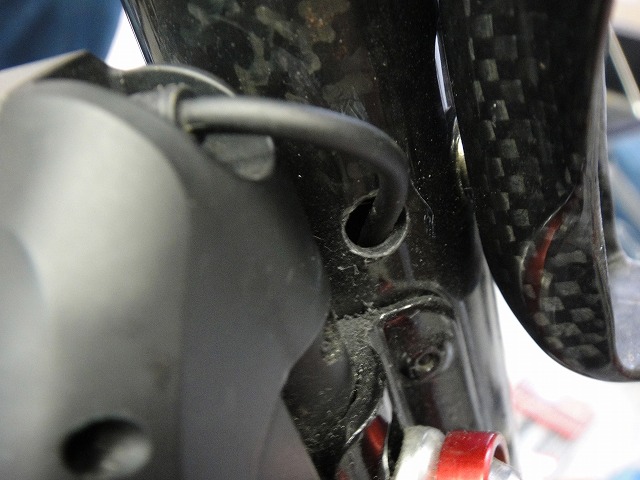
so I drilled through the drain hole to make a hole in the seat tube for the connector to pass through,
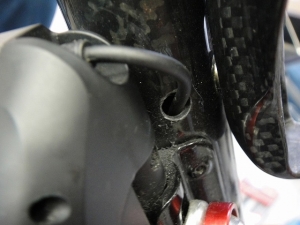
and routed it to come out here at the front derailleur.
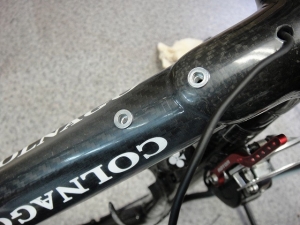
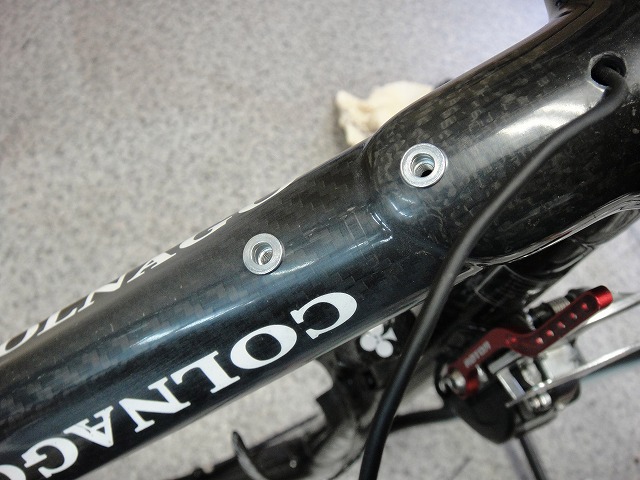
When I peeled back the downtube tape, there was an M4 bolt hole for an internal battery mount
(just kidding).
There's a step between the lug and tube, but one thin washer filled it.
The hole closer to the BB is the downtube's internal routing hole.
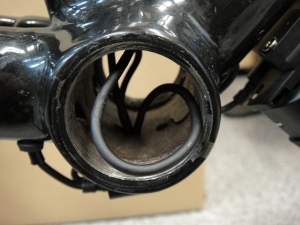
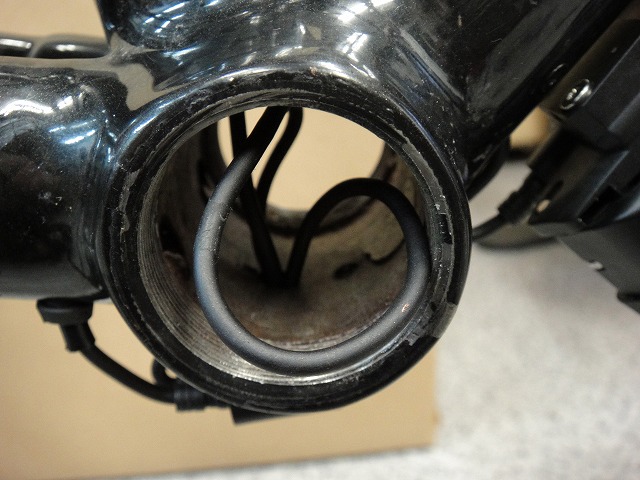
The battery cable was 300mm long.
That's the right length if you're doing external routing with the battery in the front triangle.
But in this case, it's too long.
I could cut it down to 150mm minimum, but I like to reuse what works.
To minimize wrapping excess cable around the junction, I ran the cord inside the hanger shell.
As I mentioned before, there's no hole from here to any other tube.
(Though I did drill a small hole through the seat tube for the front derailleur)
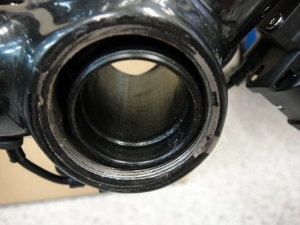
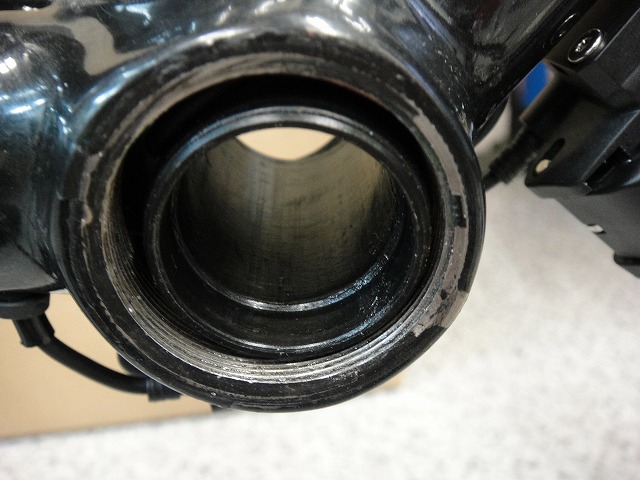
The BB's water seal goes through with the cord out of the way, so no problem there.
In this photo it looks off-center, but I'll make sure to install the BB straight
so it's properly aligned.
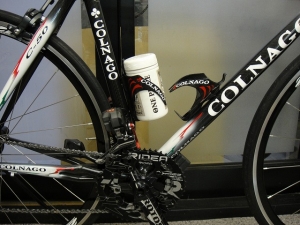
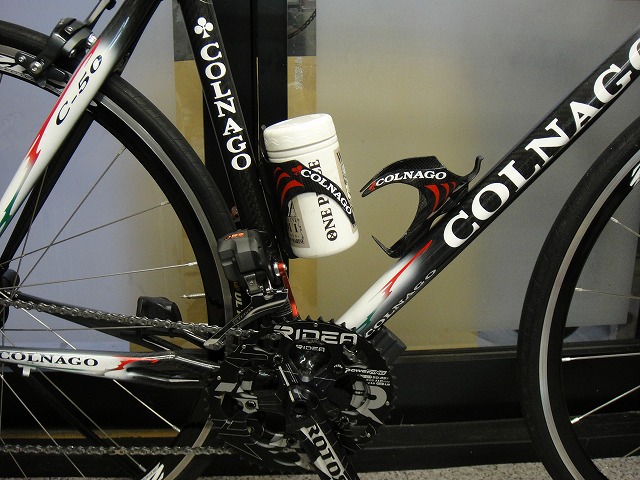
Done.
After the modification, I didn't use any cable retention tape at all.

Separately from this C50HP, I happened to have a C59 (already modified for internal routing) and
a C40HP at the shop, so looking at where holes could go on those was really helpful.
Without that reference, I probably couldn't have done it.
Please don't look at this article and think "I want to do semi-internal wiring too."
Really, don't. It shortens your lifespan when you do this.
After someone saw my first post (→here), they asked me to do theirs,
which became the second one (→here), and now someone saw that and said "mine too."
The drill is screaming!
The bike is a C50HP.
It's from an era before electric assistance was even a word,
so the frame wasn't designed with internal wiring in mind,
and it's not particularly friendly to it either.

The theme is dealing with this wiring tape plastered on the back of the downtube.

I'd also like to do something about the appearance of that sausage-like junction box at the lower end.

I just discovered that FSA makes chainrings for 5-arm cranks.
A 50-35T is pretty rare.
↑totally unrelated to internal wiring though
What I hate most about external wiring is this cable routing near the upper right of the derailleur hanger.
There have been cases where it snapped from chain drops, and more than anything, the looks are... not it.
And the tape peeling away doesn't help either.

The C50HP's hanger hole doesn't go through to any other tubes.
It's a sealed chamber.
That's a problem.
The battery is incredibly difficult to remove because of the bottle cage placement.
Since the bottle cage is Colnago too, I can't really recommend something else that would clear this space.
I peeled off the downtube tape.
This is Shimano OEM stuff, but the adhesive strength is just right.
If it were too strong when peeling, it could pull off the paint and damage the frame,
but if it's too weak, it peels off too easily.
It's that perfect balance—sticky enough to stay put, but easy to remove when you want to.
First, I routed the chainstay internally.
The HP chainstay splits into two legs, but the wiring is still live and working,
so electricity is flowing through one of them, but I can't tell which.
Based on feel during the work, I'd say the upper one, but
according to the Copenhagen interpretation,
both the state of going through the top and going through the bottom are superimposed,
so I can't determine which state it's actually in without literally cutting through the chainstay.
Well, in a macro case like this, it obviously doesn't work that way.
I could take an X-ray or use some non-destructive method to find out,
but I shouldn't go poking into that—or kill a cat at 50% probability.
On the back of the hanger, there was a junction box mounting hole and a small drain hole,
so I drilled through the drain hole to make a hole in the seat tube for the connector to pass through,
and routed it to come out here at the front derailleur.
When I peeled back the downtube tape, there was an M4 bolt hole for an internal battery mount
(just kidding).
There's a step between the lug and tube, but one thin washer filled it.
The hole closer to the BB is the downtube's internal routing hole.
The battery cable was 300mm long.
That's the right length if you're doing external routing with the battery in the front triangle.
But in this case, it's too long.
I could cut it down to 150mm minimum, but I like to reuse what works.
To minimize wrapping excess cable around the junction, I ran the cord inside the hanger shell.
As I mentioned before, there's no hole from here to any other tube.
(Though I did drill a small hole through the seat tube for the front derailleur)
The BB's water seal goes through with the cord out of the way, so no problem there.
In this photo it looks off-center, but I'll make sure to install the BB straight
so it's properly aligned.
Done.
After the modification, I didn't use any cable retention tape at all.
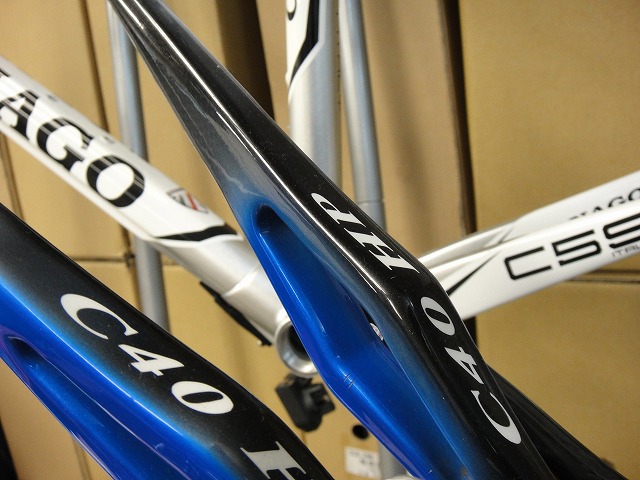
Separately from this C50HP, I happened to have a C59 (already modified for internal routing) and
a C40HP at the shop, so looking at where holes could go on those was really helpful.
Without that reference, I probably couldn't have done it.
Please don't look at this article and think "I want to do semi-internal wiring too."
Really, don't. It shortens your lifespan when you do this.