The drill is screaming!
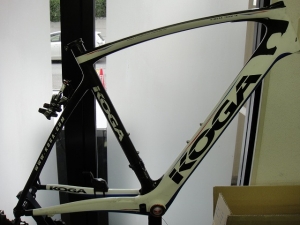
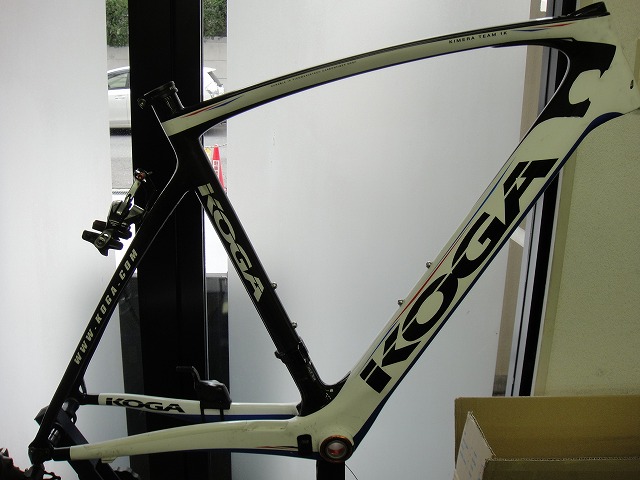
A customer brought in a Coga Chimera for me to work on.
It's a frame that's not compatible with electronic components,
but they're asking me to route it for internal wiring.

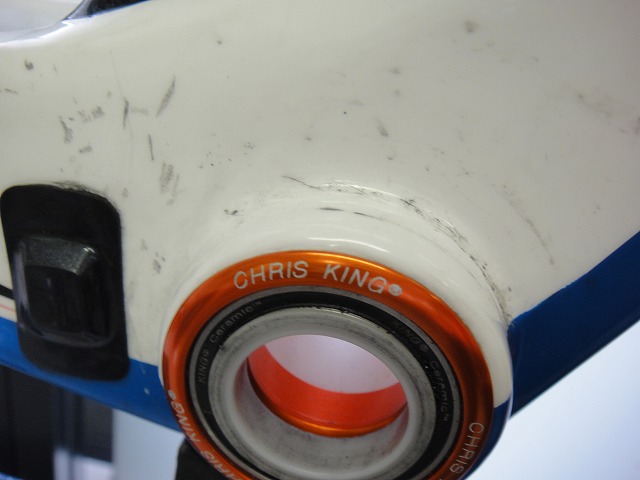
There are BB parts pressed in, but I'm not touching any of that.
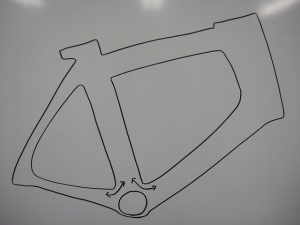
The reason is I know beforehand that the BB hole is a sealed chamber
that doesn't connect to anything else.

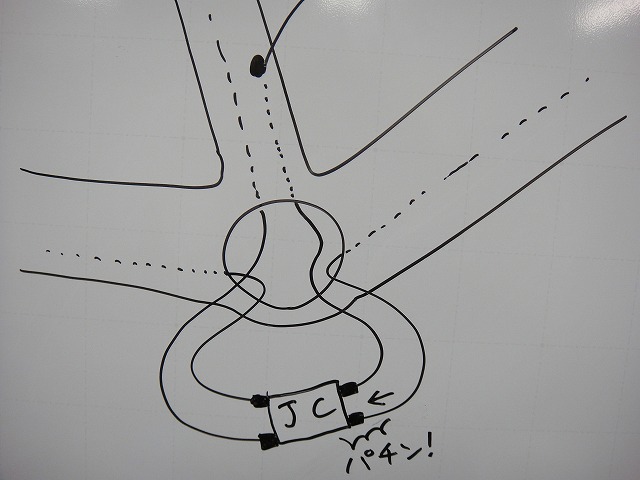
If the BB hole connects to each tube, internal wiring is simple.
You do need to click the cable into the internal junction,
but of course that can only be done outside the frame.
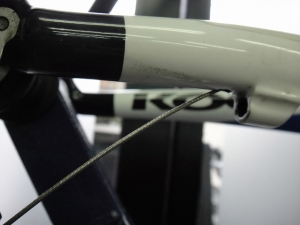
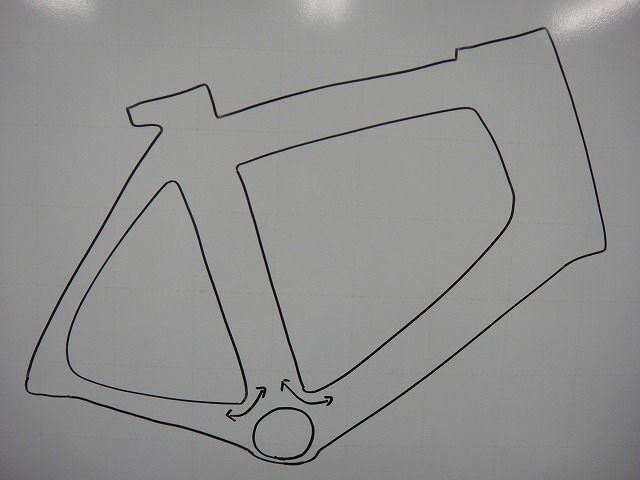
↑Even if the BB hole is sealed, as long as the cable can run from the seat tube
through to the down tube and right chainstay,
there's a possibility of doing the internal wiring work.
We actually did this job, and that gap was extremely narrow—it was rough going.
I can only say we got lucky.
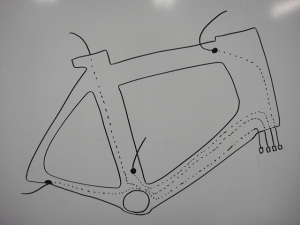
I threaded a guide wire through and pulled it out below the head tube,

then after wiring it up, I had to drag the junction into the down tube—
an incredibly tedious operation.
If they were all 1200mm cables, it would be simple,
but I wanted to work with the lengths the customer brought in,
so I set up the upper/lower JC connection at 1200mm, R derailleur at 650mm, F derailleur at 300mm,
and seat post battery at 700mm.
I could have used 700mm for the R derailleur too,
but if 650mm works, I thought it's better to make the battery routing easier,
so I went with 650mm.

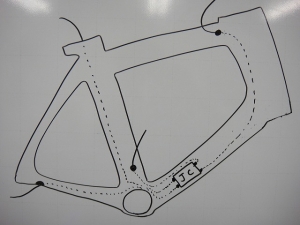
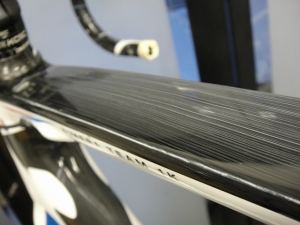
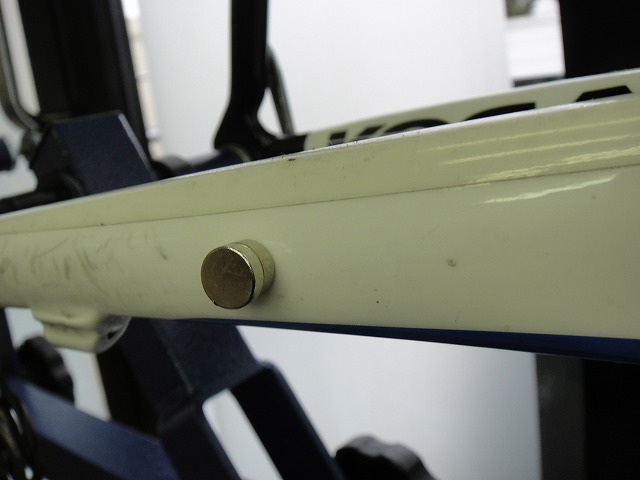
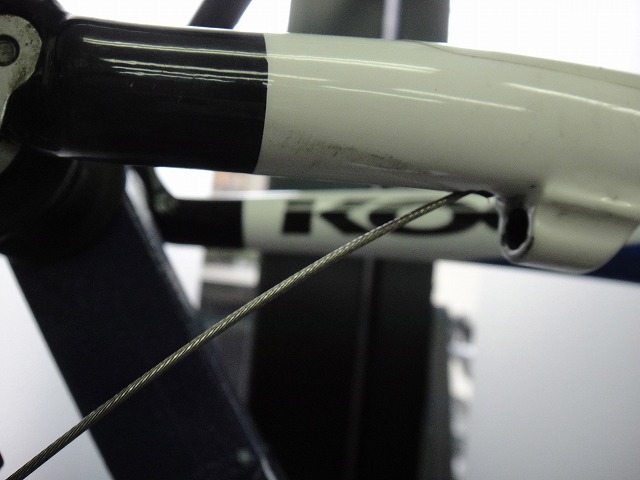
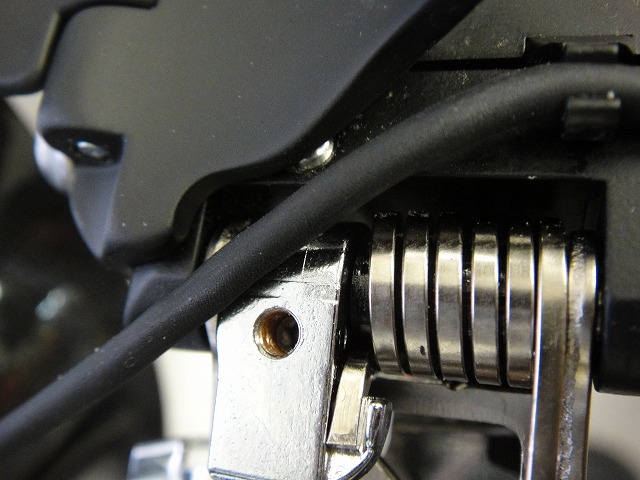
There's a magnet attached to the right chainstay—
that's because the guide wire runs through there.
Pull the wire out a little and the magnet drops off, so no doubt about it.
I was relieved.
This confirms the seat tube and right chainstay are connected.
The guide wire tip is nearly the same diameter as the electronic cable head,
so if the wire goes through, the cable will too.

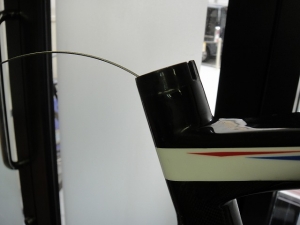
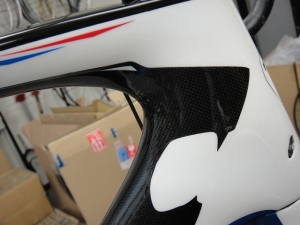
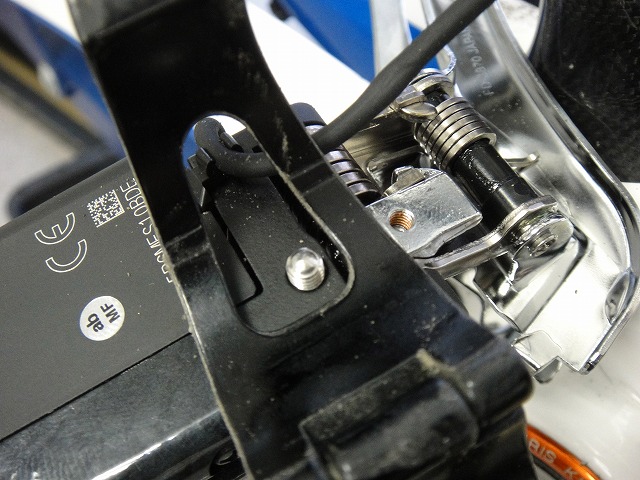
↑The drilling point will be here.
If I drill on top of the chainstay, the cable line curves nicely,
but depending on position, the chain might flap and interfere.
To avoid that, I'd need to drill more toward the dropout (rear side),
but I'm scared to do that.
In fact, the spot right above this hole is where the chainstay sticker is.
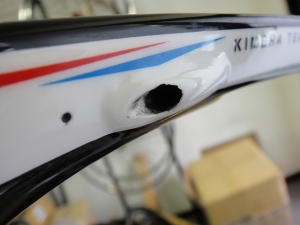
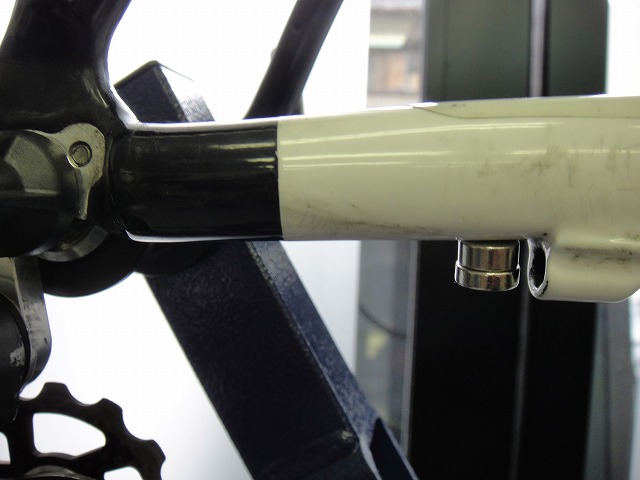
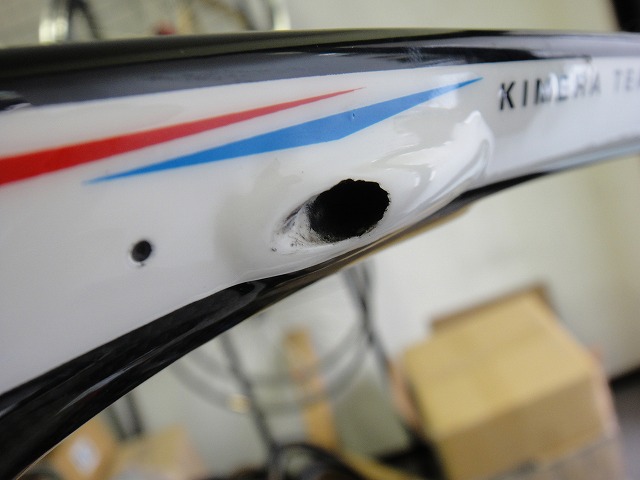
Drilled the hole.
I put the F derailleur here.
With 9070 and 6870 F derailleurs, you insert the cable from behind the body,
so I could position it further back to minimize the external cable length,
but I route the cable forward and secure it with the cable clip on the derailleur back
because that keeps the cable from floating or whipping around. This works better.
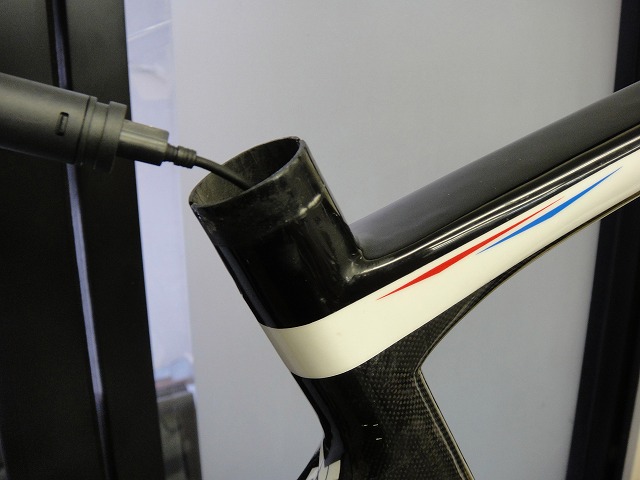
The seat post battery guide wire
just goes in from the seat tube.
Simple to say, but pulling the guide wire through is extremely difficult.
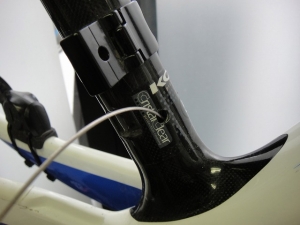
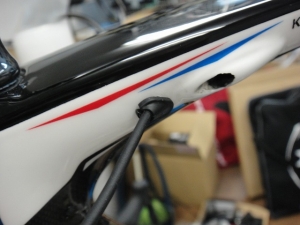
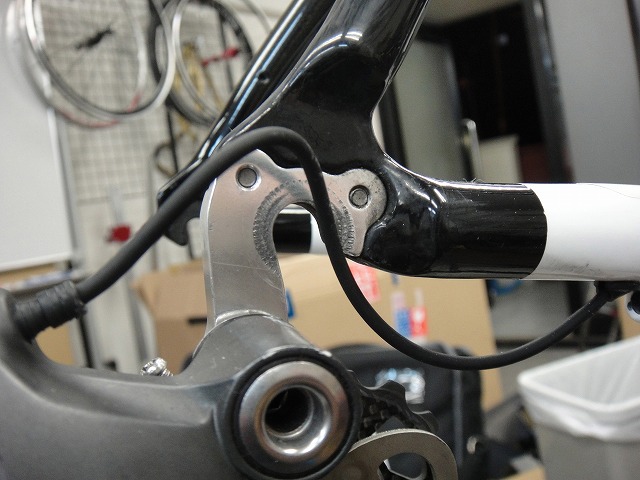
↑The drill has already marked the spot, but
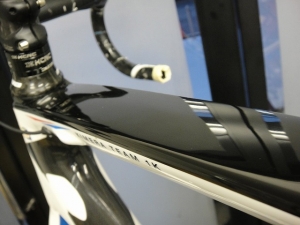
the cable to the upper junction will exit here—
just ahead of the brake cable stop on the left side of the top tube.
This way I can route the cable along the rear brake cable,
so the cable stays inconspicuous.

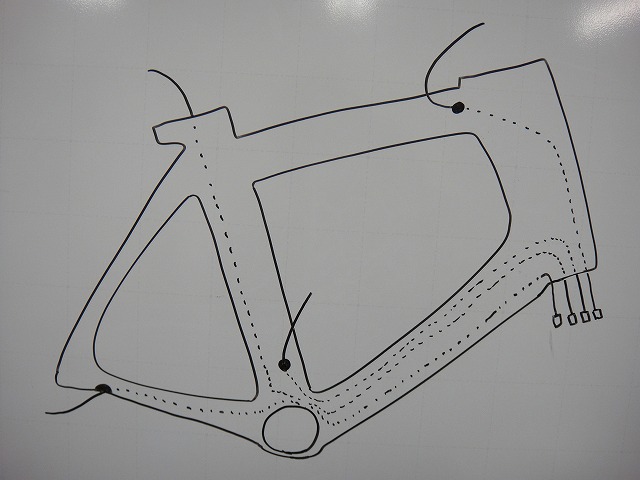
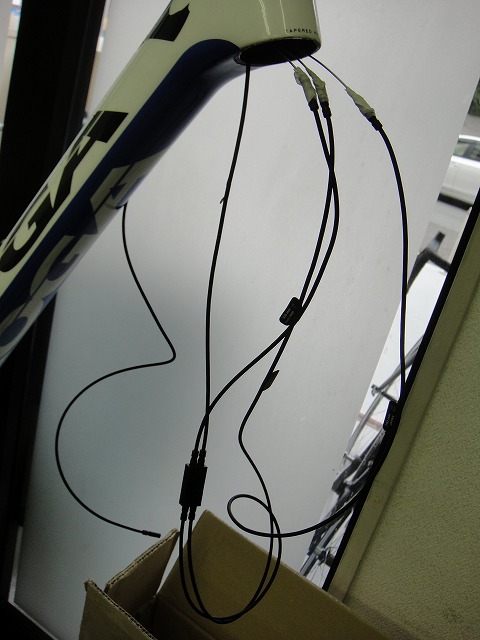
↑The wiring is done.
After I attach a cable tie-like part to prevent it from moving,
I'll pull the three guide wires (everything except the upper junction cable)
and drag the lower junction into the down tube.
↑Upper junction
I'll later route it along the brake cable and secure it with a cable tie.

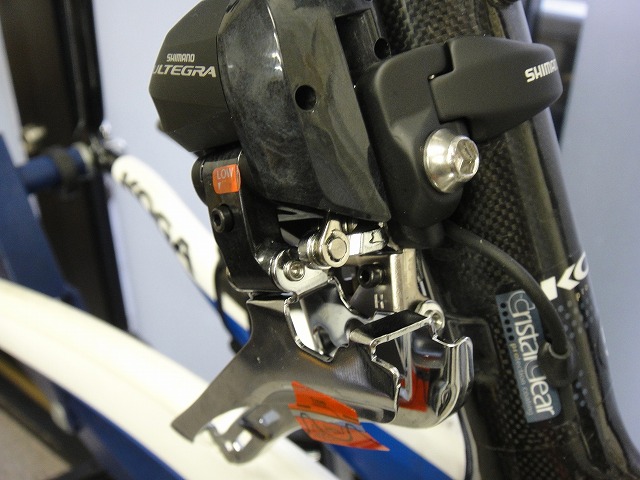
↑F derailleur
Considering rear wheel mud spray, drilling on the front side turned out to be the right call.

The BBB F derailleur band has clearance issues with the support bolt, so

I swapped it out for a Shimano band.
Some might think I could just put a metal plate under the support bolt tip and keep the original band,
but that's not the only reason. I won't go into it.

↑The R derailleur cable looks like it might interfere when you remove the wheel,
but it actually doesn't.
If the floating cable looks annoying,
you can just secure it in one spot with a cable tie or tape at the chainstay end—keeps it tidy.

The seat post battery is routed, but I haven't figured out the mounting method yet.


The frame had grime here and there that wouldn't come off with just a cloth wipe,
so I went ahead and washed it. ^ ^
To parents at home:
If ^ ^ looks like "trolling" to you,
you should take a hard look at how you interact with the internet.
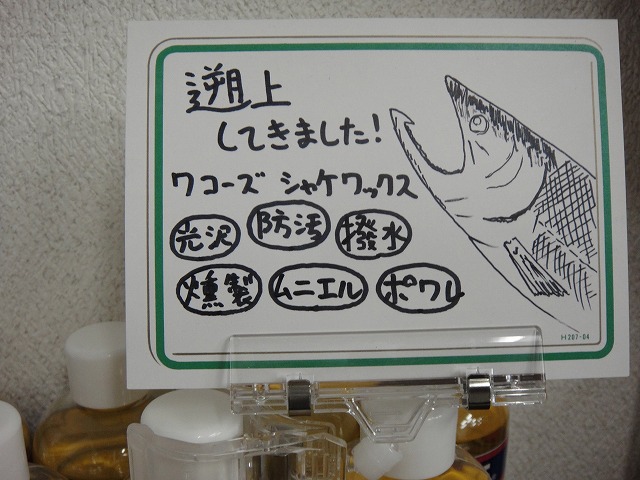
Then I finished it off silky-smooth with Wako's Shake Wax (シャケワックス),
though I can't say how long it'll last.
Premium coating made from the fat of Carnauba Salmon,
which return upstream to their native rivers to spawn,
creates a powerful protective film on the surface.
Commercial break incoming

The shine on this frame came from Shake Wax!

To parents at home:
No fish called "Carnauba Salmon" actually exists.
The Carnauba here refers to carnauba wax,
which is derived from the carnauba palm tree.
I ask that you encourage home learning habits
that don't just swallow internet information uncritically.
A customer brought in a Coga Chimera for me to work on.
It's a frame that's not compatible with electronic components,
but they're asking me to route it for internal wiring.
There are BB parts pressed in, but I'm not touching any of that.
The reason is I know beforehand that the BB hole is a sealed chamber
that doesn't connect to anything else.
If the BB hole connects to each tube, internal wiring is simple.
You do need to click the cable into the internal junction,
but of course that can only be done outside the frame.
↑Even if the BB hole is sealed, as long as the cable can run from the seat tube
through to the down tube and right chainstay,
there's a possibility of doing the internal wiring work.
We actually did this job, and that gap was extremely narrow—it was rough going.
I can only say we got lucky.
I threaded a guide wire through and pulled it out below the head tube,

then after wiring it up, I had to drag the junction into the down tube—
an incredibly tedious operation.

If they were all 1200mm cables, it would be simple,
but I wanted to work with the lengths the customer brought in,
so I set up the upper/lower JC connection at 1200mm, R derailleur at 650mm, F derailleur at 300mm,
and seat post battery at 700mm.
I could have used 700mm for the R derailleur too,
but if 650mm works, I thought it's better to make the battery routing easier,
so I went with 650mm.
There's a magnet attached to the right chainstay—
that's because the guide wire runs through there.
Pull the wire out a little and the magnet drops off, so no doubt about it.
I was relieved.
This confirms the seat tube and right chainstay are connected.
The guide wire tip is nearly the same diameter as the electronic cable head,
so if the wire goes through, the cable will too.
↑The drilling point will be here.
If I drill on top of the chainstay, the cable line curves nicely,
but depending on position, the chain might flap and interfere.
To avoid that, I'd need to drill more toward the dropout (rear side),
but I'm scared to do that.
In fact, the spot right above this hole is where the chainstay sticker is.
Drilled the hole.

I put the F derailleur here.
With 9070 and 6870 F derailleurs, you insert the cable from behind the body,
so I could position it further back to minimize the external cable length,
but I route the cable forward and secure it with the cable clip on the derailleur back
because that keeps the cable from floating or whipping around. This works better.

The seat post battery guide wire
just goes in from the seat tube.
Simple to say, but pulling the guide wire through is extremely difficult.
↑The drill has already marked the spot, but
the cable to the upper junction will exit here—
just ahead of the brake cable stop on the left side of the top tube.
This way I can route the cable along the rear brake cable,
so the cable stays inconspicuous.
↑The wiring is done.
After I attach a cable tie-like part to prevent it from moving,
I'll pull the three guide wires (everything except the upper junction cable)
and drag the lower junction into the down tube.

↑Upper junction
I'll later route it along the brake cable and secure it with a cable tie.
↑F derailleur
Considering rear wheel mud spray, drilling on the front side turned out to be the right call.
The BBB F derailleur band has clearance issues with the support bolt, so
I swapped it out for a Shimano band.
Some might think I could just put a metal plate under the support bolt tip and keep the original band,
but that's not the only reason. I won't go into it.
↑The R derailleur cable looks like it might interfere when you remove the wheel,
but it actually doesn't.
If the floating cable looks annoying,
you can just secure it in one spot with a cable tie or tape at the chainstay end—keeps it tidy.
The seat post battery is routed, but I haven't figured out the mounting method yet.
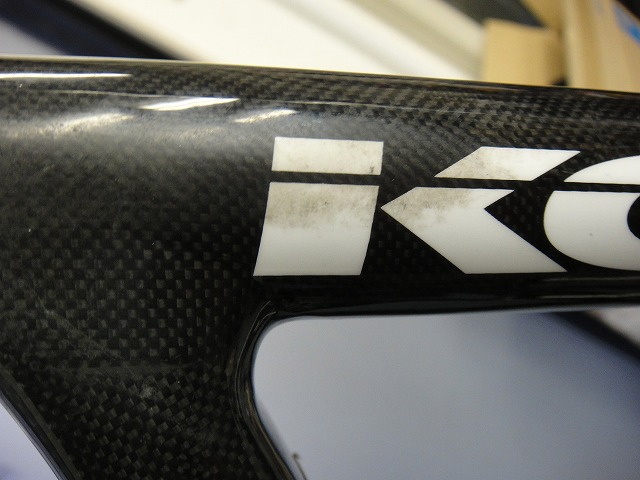

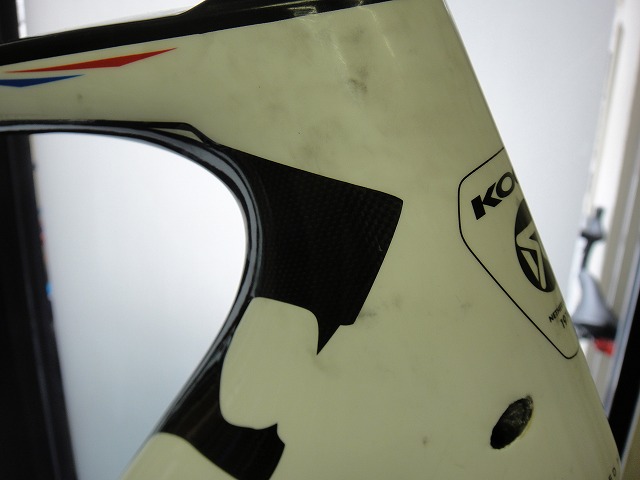

The frame had grime here and there that wouldn't come off with just a cloth wipe,
so I went ahead and washed it. ^ ^
To parents at home:
If ^ ^ looks like "trolling" to you,
you should take a hard look at how you interact with the internet.


Then I finished it off silky-smooth with Wako's Shake Wax (シャケワックス),
though I can't say how long it'll last.
Premium coating made from the fat of Carnauba Salmon,
which return upstream to their native rivers to spawn,
creates a powerful protective film on the surface.
Commercial break incoming

The shine on this frame came from Shake Wax!
To parents at home:
No fish called "Carnauba Salmon" actually exists.
The Carnauba here refers to carnauba wax,
which is derived from the carnauba palm tree.
I ask that you encourage home learning habits
that don't just swallow internet information uncritically.