The drill is screaming!

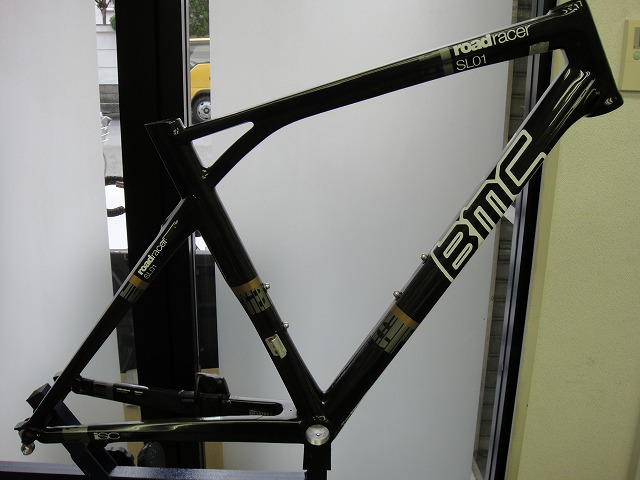
A customer left me a BMC frame (non e-bike compatible) to work on.
They wanted me to do internal cable routing for their electric Ultegra upgrade.
To judge whether it was possible,
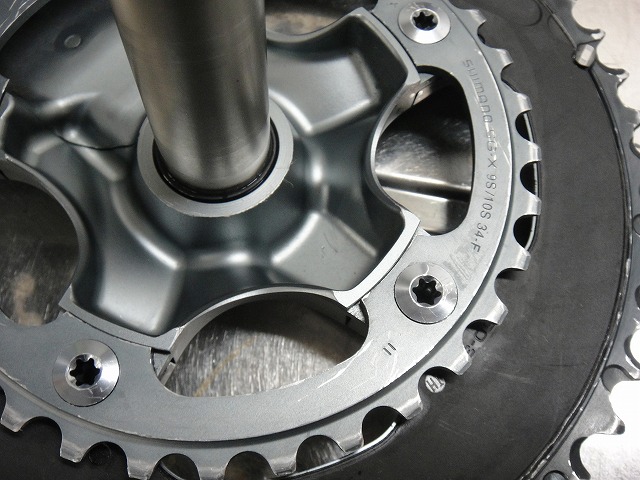
I removed the bottom bracket and seatpost to take a look, but it's not gonna happen.

After investigating,

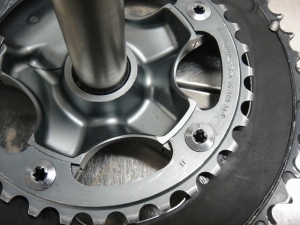
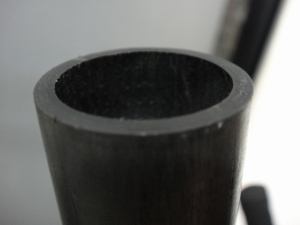
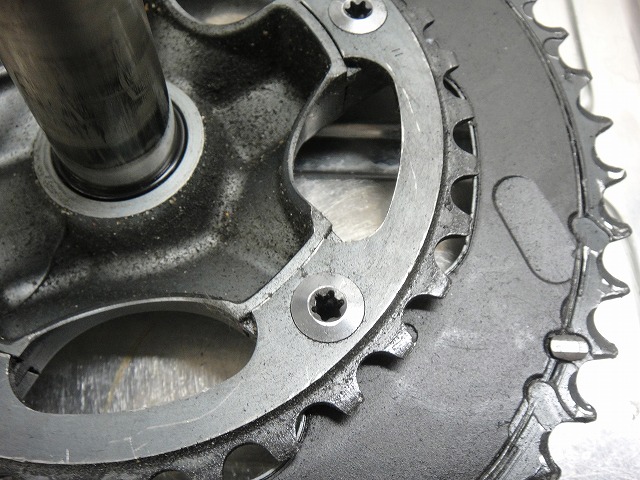
it turned out the bottom bracket shell was completely sealed.
If the internal routing had been possible, I was ready to have the customer send over the complete groupset,
but instead I had to call and turn them down.
Except I somehow ended up saying "I think I can probably make it work."
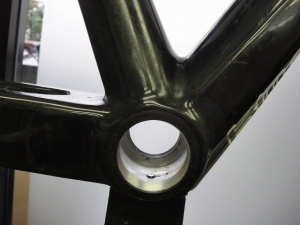
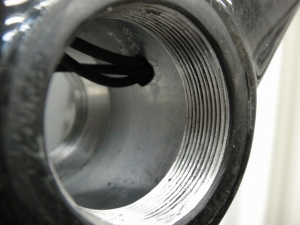
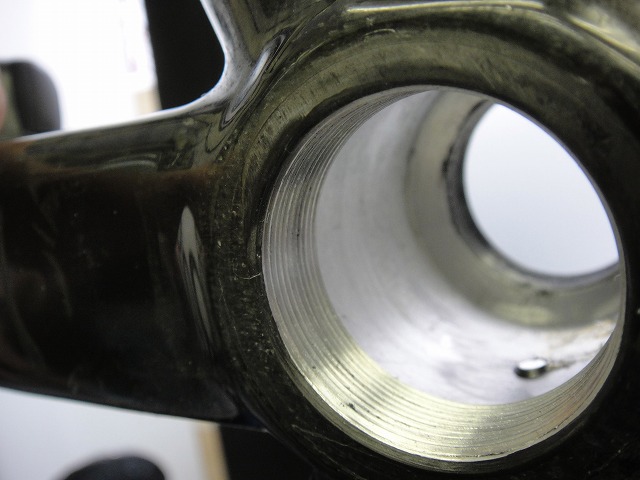
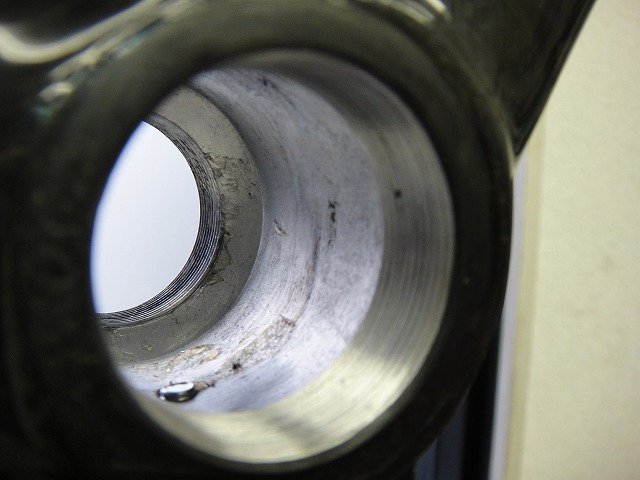
↑It's completely sealed.
If you remove the cable stop bolts, there are M5 threaded holes,
but aside from those, it's a sealed chamber.
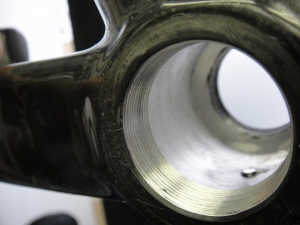
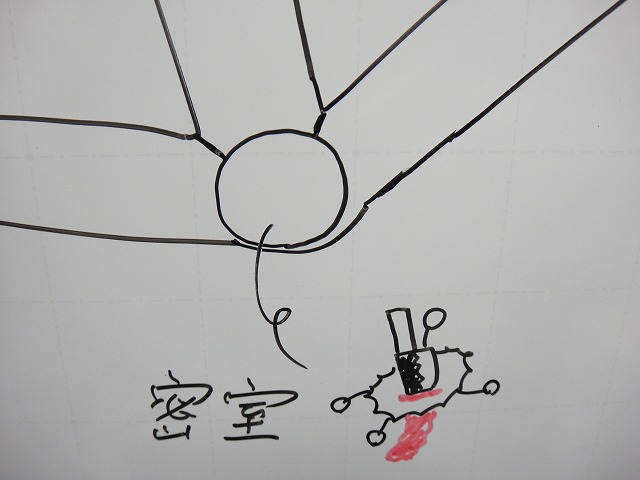
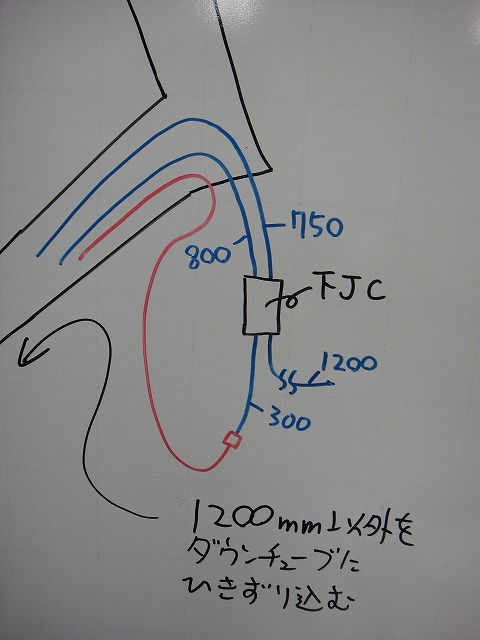
Further investigation revealed there's absolutely no passage between the seat tube, down tube, and right chainstay.
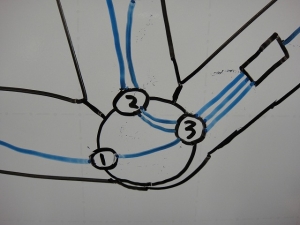
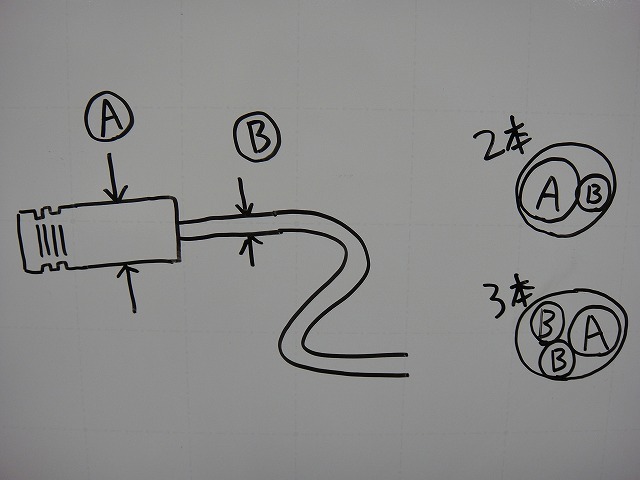
That means I'd have to drill holes from the BB shell to each of them.
The numbers in the diagram above show how many cables go through each hole.
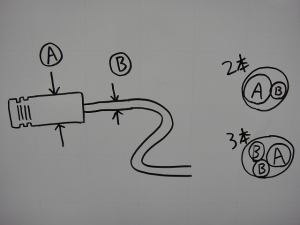
Since I need to pass two or more cables through everything except the right chainstay,
I'd need to drill elongated holes at minimum, like in the diagram above.
I can't back out now! Looking at the arrived groupset components, it's too late.
↑This is how it'll end up in the end.
It has an internal battery, which is because I'm the one who said it would probably work.
I'll write about this later,
but if the frame size is small, there's a good chance it won't be possible.
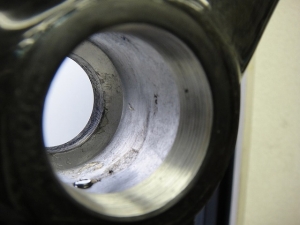
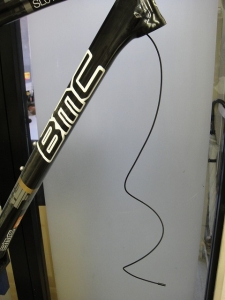
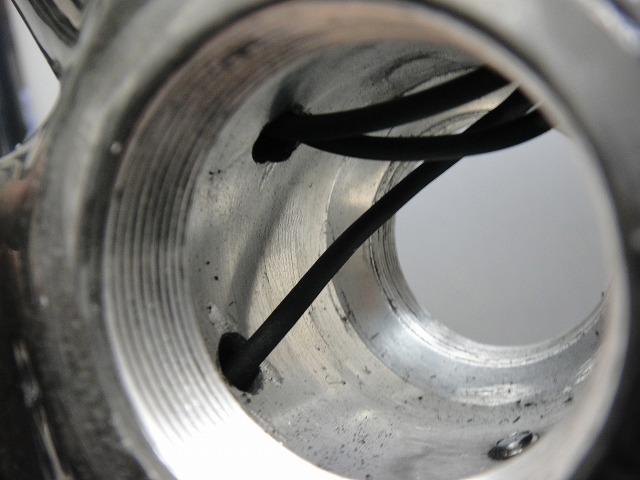
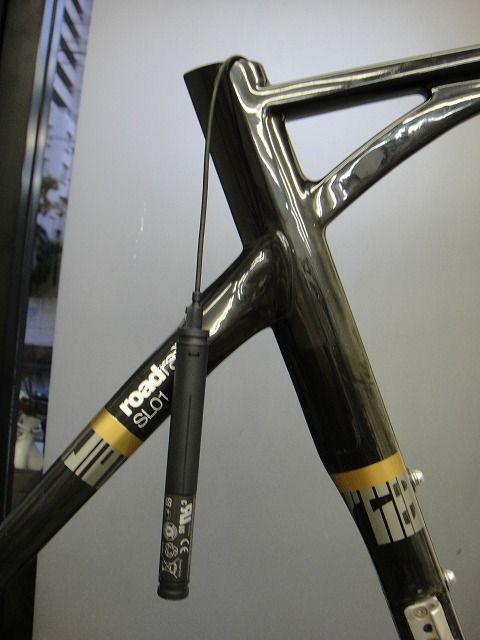
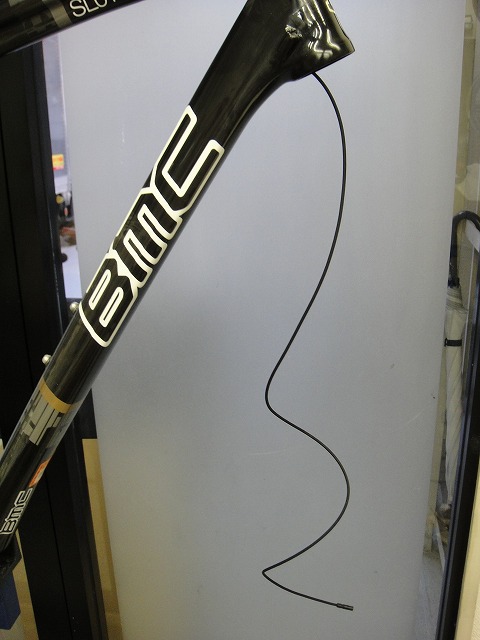
First, I drilled a hole in the right chainstay.
Then I threaded a probe cable through to check how far the hollow goes,
and whether a cable can pass through at all.
The result was OK.
This was my biggest concern.
There's a magnet stuck to the chainstay,
but it's responding to the cable.
When I pull the cable...

It slides right through smoothly.
(Don't even think about what happens with steel frames)

The customer had left the cable length up to me, so I got standard lengths.
Aside from two 350mm cables from the upper junction to the left and right levers,
I got one each of 1200mm, 800mm, 750mm, and 300mm.
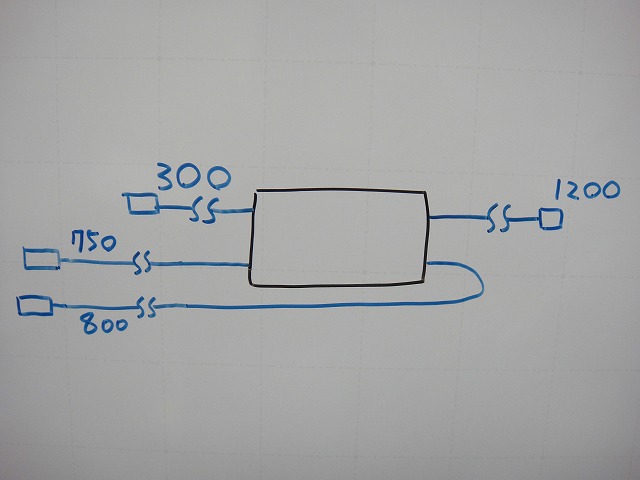
The 1200mm is definitely for connecting the upper and lower junctions,
and the 300mm is definitely for the front derailleur.
The 800mm and 750mm will be assigned based on how things layout.
For the internal routing, I need to snap the cables into the lower junction,
but that only works outside the frame since I can't fit the lower junction through the BB.
So, as usual, I'll do it at the head tube, then drag it into the down tube.
At that point, since the 300mm cable is shorter than the down tube,
I'll attach a guide cable for it.
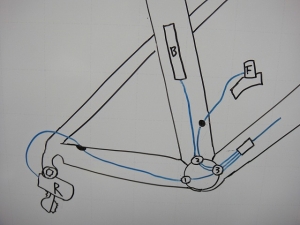
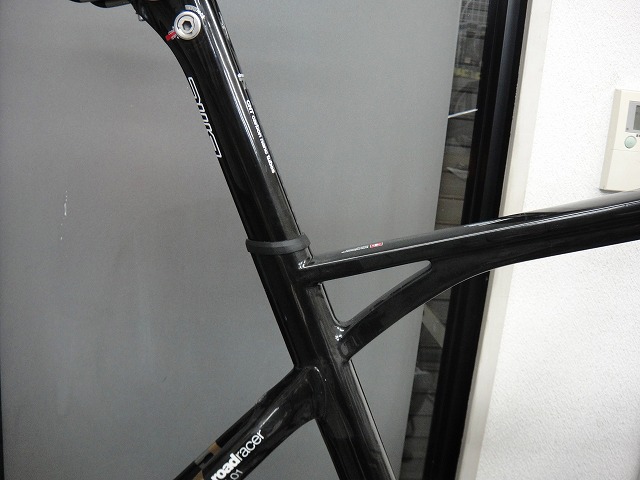
I threaded it through the down tube.
Then I split it to run through the right chainstay and seat tube.
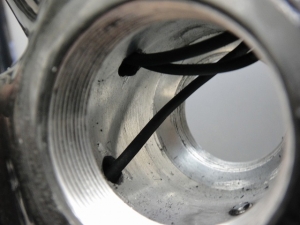
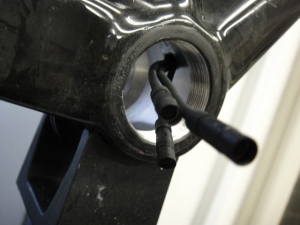
↑Something like this
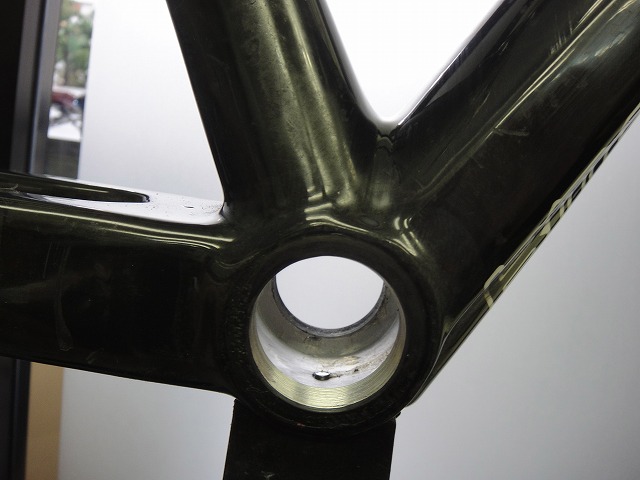
Fortunately, the BB shell interior was ovalized,
so I could easily avoid interference with the BB water seal (the waterproof tube).
It's possible even without oversizing (→here),
but in that case it gets a bit tricky.
Out of chronological order, but here are the 750mm and 800mm cables pulled out to full length and laid side by side.
There's no way you can see a 50mm difference.

That's because, due to how the lower junction connects,
one of the three cables (besides the 1200mm) has to be routed back on itself.
After thinking it through, I figured this was the best arrangement,
but whether the length would be enough...


Tons of slack.

I drilled the rear derailleur hole on the upper side of the chainstay.
The chainstay has a wedge-shaped cross-section with a sharp point on the bottom, so I can only drill on the side or top.
I didn't want to drill on top due to chain slap interference,
and there were reasons not to drill on the side either, so I went with this.
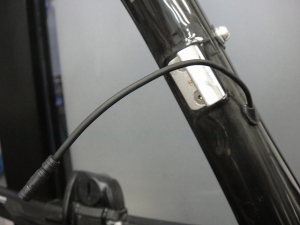
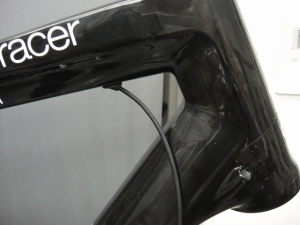
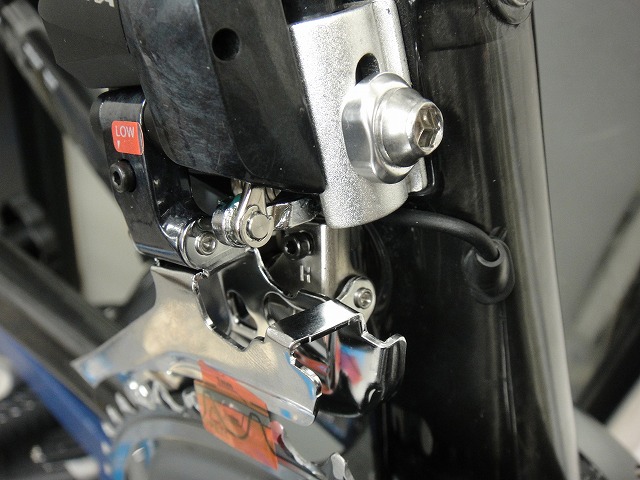
The cable gets routed further into the chainstay.

I drilled the front derailleur hole on the front of the seat tube.
As I've written before, this location prevents the cable from floating or moving around compared to drilling on the back.
Support bolts and brackets can easily pinch or crush the cable, so that's something to watch out for.
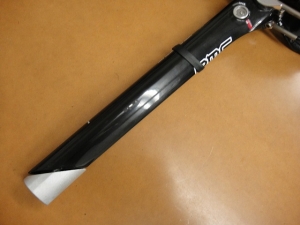
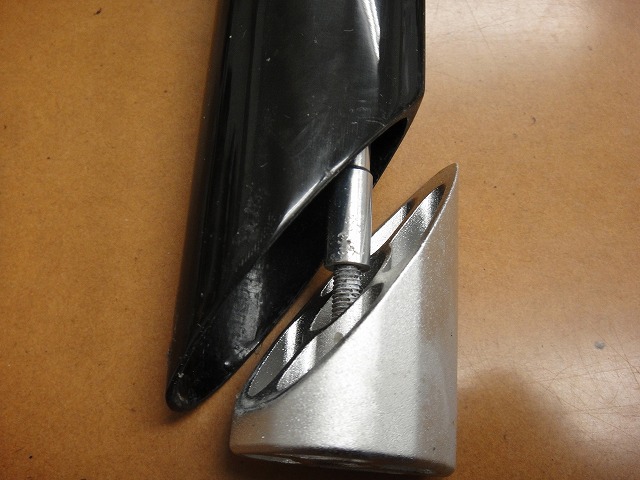
The internal battery in the seat tube is the next problem.
The frame's included seatpost is quite long,
and can't be cut.

If I cut the seatpost at the same angle as the seat lug and remake the pull-up rod to match, that's a different story...
but that's not impossible, just a major hack job, so I'll keep it as a last resort.
Fitting the battery inside the seatpost itself was dimensionally impossible.

The internal battery was getting hung up on something inside the seat tube.
Even pushing the seatpost in from the top barely fit.
It was in that state, but I made it work somehow.
I can't write about the "somehow."
If the frame size were even one size smaller, it probably would've been impossible.
If it doesn't fit, the next steps would be to ask the customer and then either machine the seatpost,
fit the battery into the down tube,
or give up and go with an external battery.
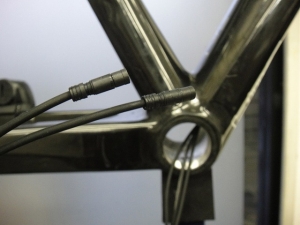
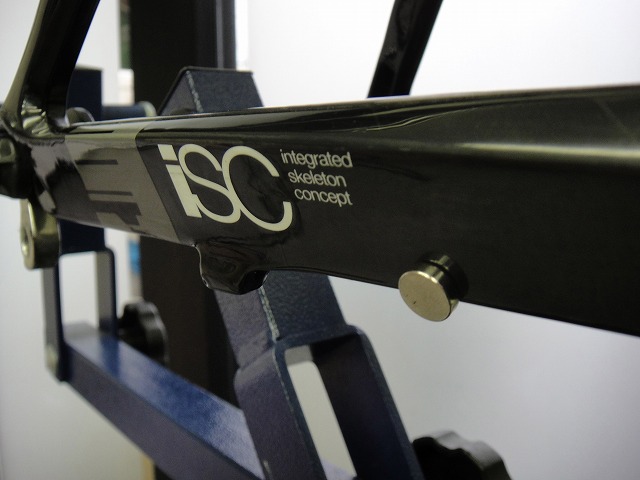
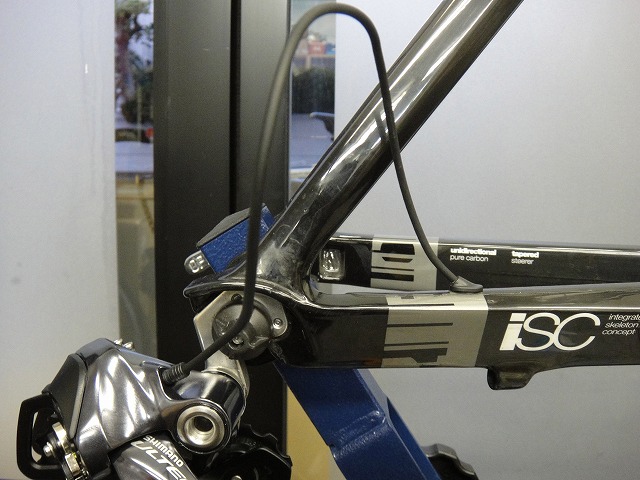
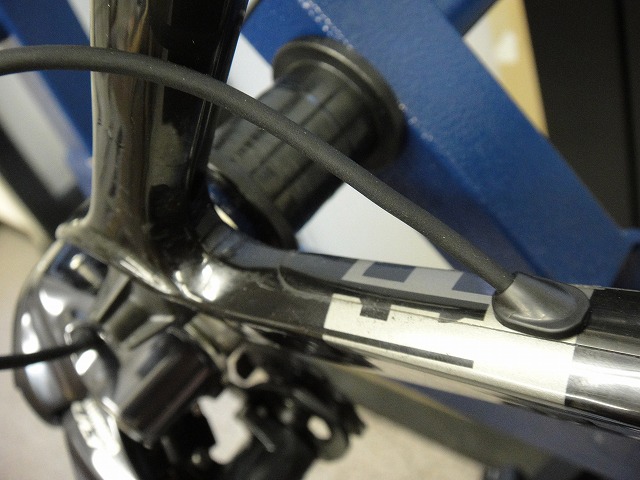
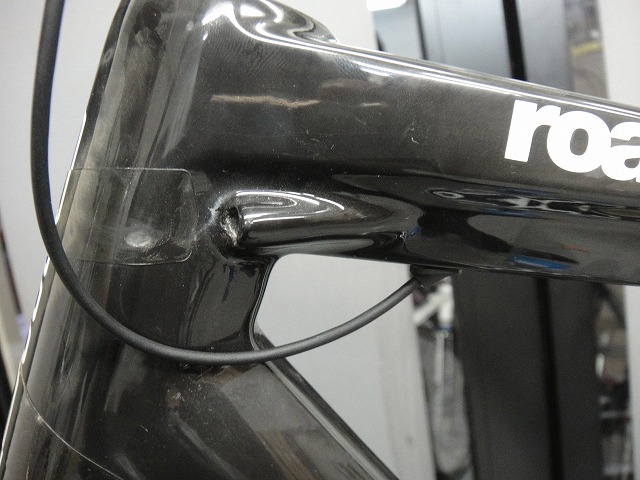
The 1200mm cable that connects the upper and lower junctions
gets a cable tray attached,
then
exits here. The location is at the customer's request, but
this is an extremely difficult spot to drill.
(The reason the text got bigger is unclear)
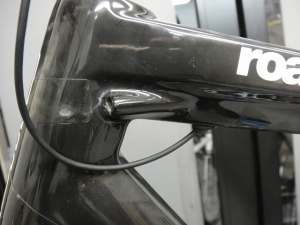
It's an ideal location for routing along the rear brake housing.
Actually, that's precisely why I chose this spot.

I washed all the removed parts,
whether or not they'd be reinstalled right away.
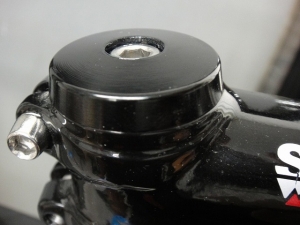
About the BMC top cap,
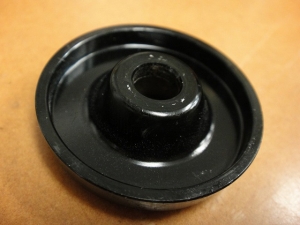
it has a measurement tolerance stamped on the back.
Thanks to this, you can apply pressure to the headset even if the top of the steerer tube is flush with the stem,
or even if it sticks out 1mm.
I guess they're trying to demonstrate this,
because the steerer length on their completed bikes is cut exactly flush too.
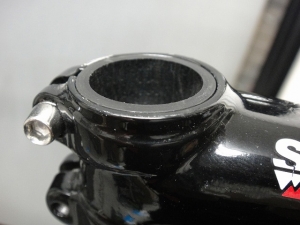
Most top caps can't apply pressure in this situation.
Also, the end face of the steerer tube on the completed bike is finished abnormally cleanly.
They must be using some quality tools.
Though "tools" might be too modest a word—it's probably something more substantial.
A customer left me a BMC frame (non e-bike compatible) to work on.
They wanted me to do internal cable routing for their electric Ultegra upgrade.
To judge whether it was possible,
I removed the bottom bracket and seatpost to take a look, but it's not gonna happen.

After investigating,
it turned out the bottom bracket shell was completely sealed.
If the internal routing had been possible, I was ready to have the customer send over the complete groupset,
but instead I had to call and turn them down.
Except I somehow ended up saying "I think I can probably make it work."
↑It's completely sealed.
If you remove the cable stop bolts, there are M5 threaded holes,
but aside from those, it's a sealed chamber.

Further investigation revealed there's absolutely no passage between the seat tube, down tube, and right chainstay.
That means I'd have to drill holes from the BB shell to each of them.
The numbers in the diagram above show how many cables go through each hole.
Since I need to pass two or more cables through everything except the right chainstay,
I'd need to drill elongated holes at minimum, like in the diagram above.
I can't back out now! Looking at the arrived groupset components, it's too late.

↑This is how it'll end up in the end.
It has an internal battery, which is because I'm the one who said it would probably work.
I'll write about this later,
but if the frame size is small, there's a good chance it won't be possible.

First, I drilled a hole in the right chainstay.
Then I threaded a probe cable through to check how far the hollow goes,
and whether a cable can pass through at all.
The result was OK.
This was my biggest concern.
There's a magnet stuck to the chainstay,
but it's responding to the cable.
When I pull the cable...
It slides right through smoothly.
(Don't even think about what happens with steel frames)
The customer had left the cable length up to me, so I got standard lengths.
Aside from two 350mm cables from the upper junction to the left and right levers,
I got one each of 1200mm, 800mm, 750mm, and 300mm.
The 1200mm is definitely for connecting the upper and lower junctions,
and the 300mm is definitely for the front derailleur.
The 800mm and 750mm will be assigned based on how things layout.
For the internal routing, I need to snap the cables into the lower junction,
but that only works outside the frame since I can't fit the lower junction through the BB.
So, as usual, I'll do it at the head tube, then drag it into the down tube.
At that point, since the 300mm cable is shorter than the down tube,
I'll attach a guide cable for it.

I threaded it through the down tube.

Then I split it to run through the right chainstay and seat tube.
↑Something like this
Fortunately, the BB shell interior was ovalized,
so I could easily avoid interference with the BB water seal (the waterproof tube).
It's possible even without oversizing (→here),
but in that case it gets a bit tricky.

Out of chronological order, but here are the 750mm and 800mm cables pulled out to full length and laid side by side.
There's no way you can see a 50mm difference.
That's because, due to how the lower junction connects,
one of the three cables (besides the 1200mm) has to be routed back on itself.
After thinking it through, I figured this was the best arrangement,
but whether the length would be enough...

Tons of slack.
I drilled the rear derailleur hole on the upper side of the chainstay.
The chainstay has a wedge-shaped cross-section with a sharp point on the bottom, so I can only drill on the side or top.
I didn't want to drill on top due to chain slap interference,
and there were reasons not to drill on the side either, so I went with this.
The cable gets routed further into the chainstay.
I drilled the front derailleur hole on the front of the seat tube.
As I've written before, this location prevents the cable from floating or moving around compared to drilling on the back.
Support bolts and brackets can easily pinch or crush the cable, so that's something to watch out for.

The internal battery in the seat tube is the next problem.
The frame's included seatpost is quite long,
and can't be cut.
If I cut the seatpost at the same angle as the seat lug and remake the pull-up rod to match, that's a different story...
but that's not impossible, just a major hack job, so I'll keep it as a last resort.
Fitting the battery inside the seatpost itself was dimensionally impossible.
The internal battery was getting hung up on something inside the seat tube.
Even pushing the seatpost in from the top barely fit.
It was in that state, but I made it work somehow.
I can't write about the "somehow."
If the frame size were even one size smaller, it probably would've been impossible.
If it doesn't fit, the next steps would be to ask the customer and then either machine the seatpost,
fit the battery into the down tube,
or give up and go with an external battery.
The 1200mm cable that connects the upper and lower junctions
gets a cable tray attached,
then

exits here. The location is at the customer's request, but
this is an extremely difficult spot to drill.
(The reason the text got bigger is unclear)
It's an ideal location for routing along the rear brake housing.
Actually, that's precisely why I chose this spot.
I washed all the removed parts,
whether or not they'd be reinstalled right away.

About the BMC top cap,

it has a measurement tolerance stamped on the back.

Thanks to this, you can apply pressure to the headset even if the top of the steerer tube is flush with the stem,
or even if it sticks out 1mm.
I guess they're trying to demonstrate this,
because the steerer length on their completed bikes is cut exactly flush too.
Most top caps can't apply pressure in this situation.

Also, the end face of the steerer tube on the completed bike is finished abnormally cleanly.
They must be using some quality tools.
Though "tools" might be too modest a word—it's probably something more substantial.