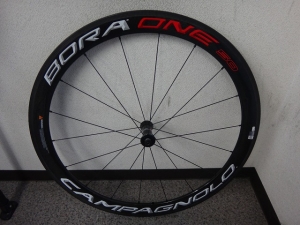
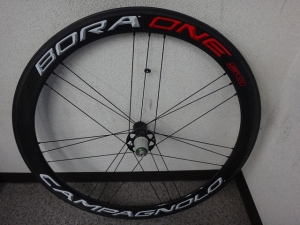
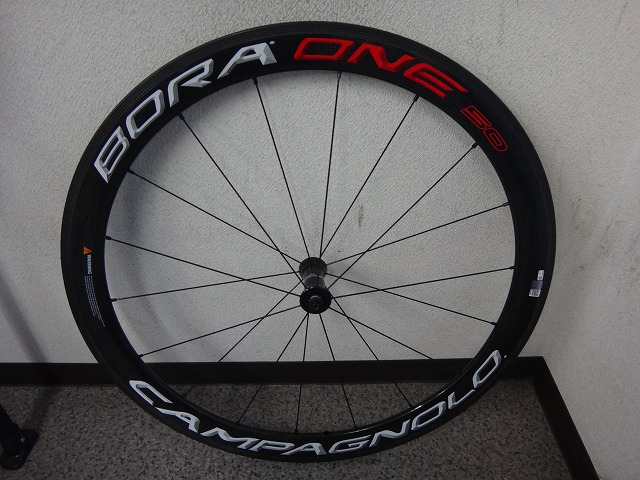
I received a Bora One (Campagnolo high-end wheelset) from a customer.
I fixed some minor runout and centering issues with a bit of work,
but there were quite a few nastier problems lurking underneath.

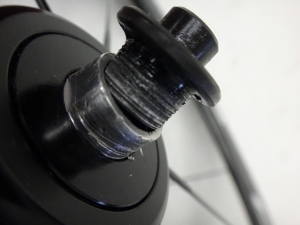
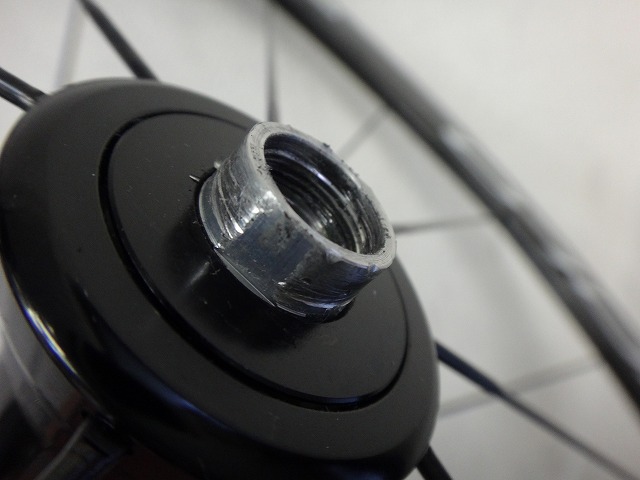
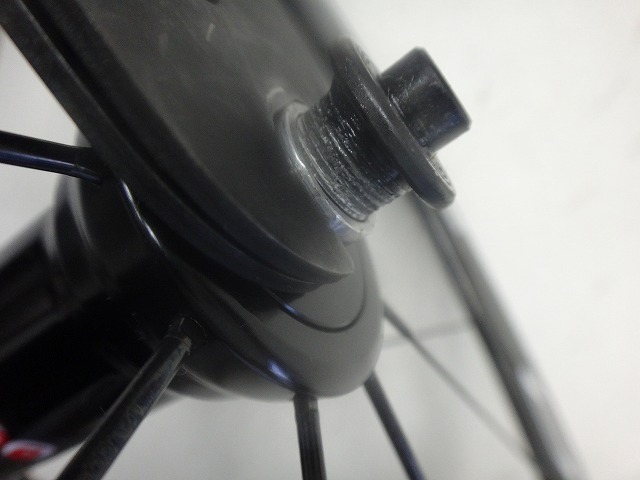
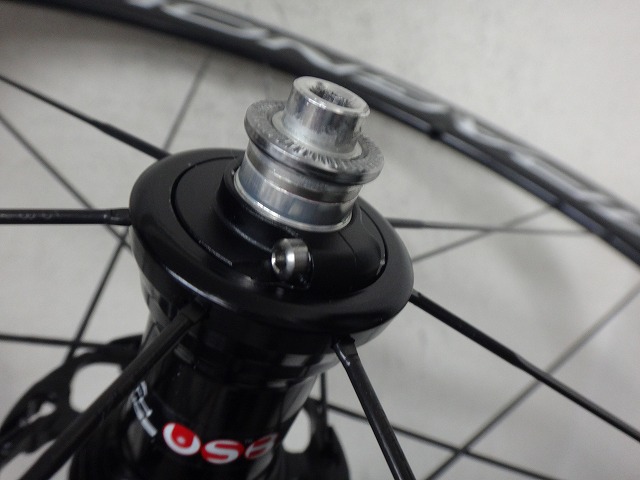
↑First, the front hub's right end hollow bolt had come loose.
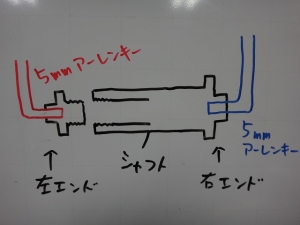
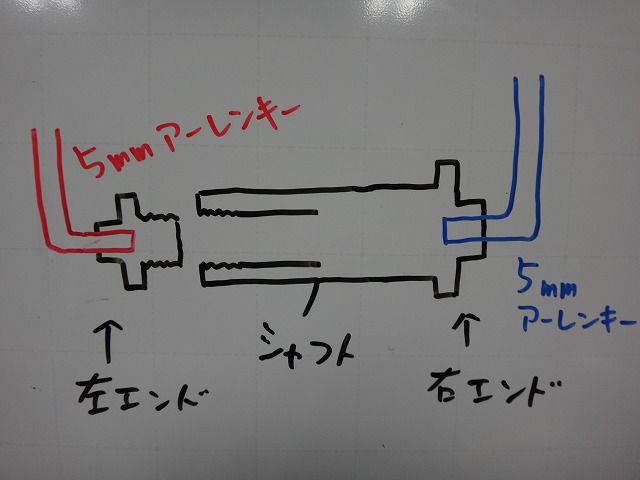
On traditional Campagnolo and Fulcrum front hub shafts,
the right end was integral with the shaft.
You tighten and loosen these by inserting an Allen key into the 5mm hex sockets on both ends and turning.
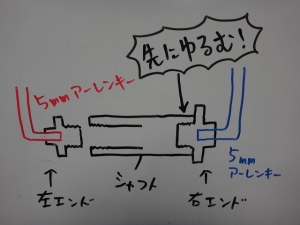
However, on the newer front hubs where the bearing diameter isn't uniform front-to-back and is smaller than before,
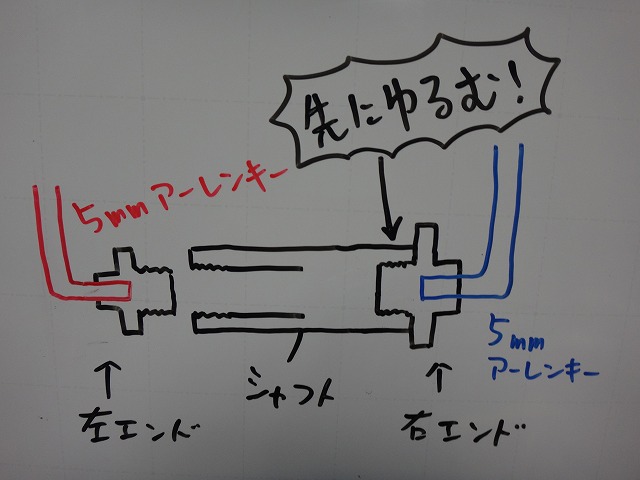
the right end and shaft are now separate pieces, so the right end has a tendency to loosen first.
This is a design flaw—basically a defect—in the new front hub, and
unless the structure is redesigned, I expect we'll see many more of these problems going forward.
I've already fixed over five instances of this exact issue.
I've even had to replace the shaft itself on Racing Zero Nites.
You really need to be extremely careful when working on this.
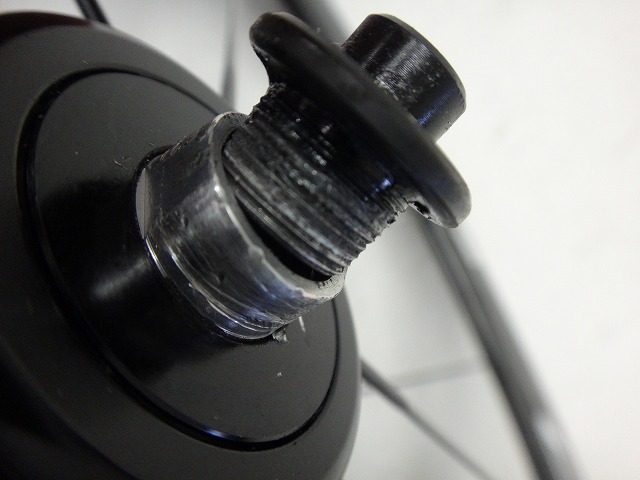
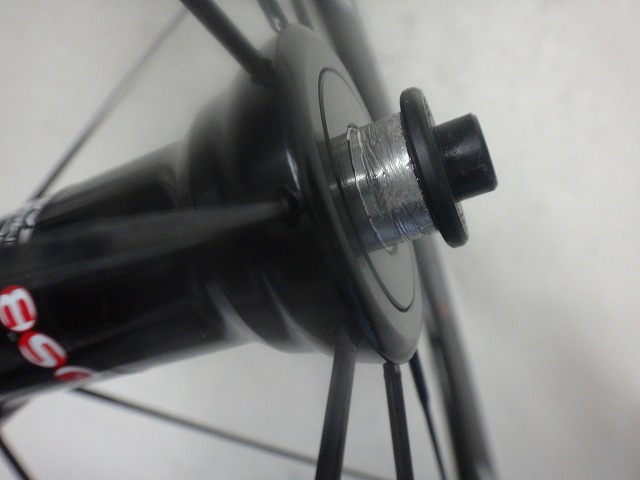
Thread-locking compound has been applied to the right end's threads,
but the left end often gets the same treatment and is usually tightened excessively,
so there's a high chance that side will loosen first too.
The fix would be simple enough—just reseat everything properly—but
the hub wrench grip area is aluminum.
It's not wide enough to fit a thin, non-bike-specific wrench,

so you need to use two hub wrenches stacked to hold it steady.
With just one wrench, you'll probably round it out or slip and leave scratches.
I've had to fix cases where the customer fiddled with it so much that it became completely rounded off,
using a specialized vise to grip the shaft.
If you start wrong, you're in for a world of hurt.

I threaded it back in.
I applied thread-locking compound at adhesive strength,
greased the left end before tightening,
and made sure not to over-tighten,
so it should be fine going forward.

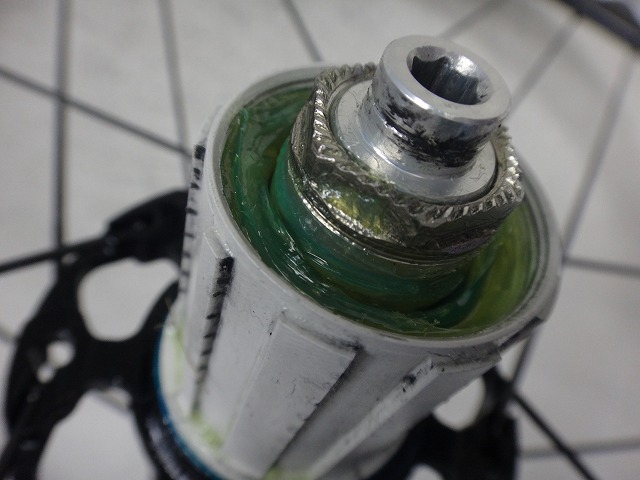
The customer wanted to quiet down the freebody noise,
so someone had packed Dura-Ace grease everywhere thick and heavy.
I completely cleaned it out and re-greased everything properly.
Just from handling it during work, though I'm sure it wasn't intentional,
grease had gotten all over the hub flanges too.
Non-emulsifying Dura grease doesn't come off easily even with parts cleaner.
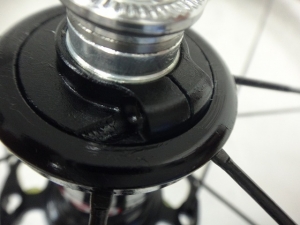
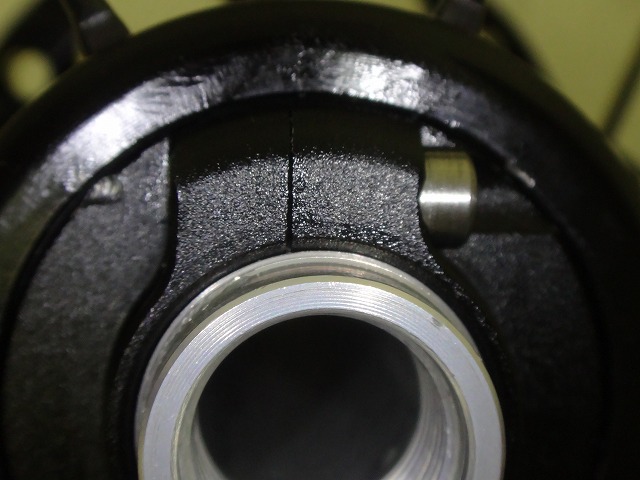
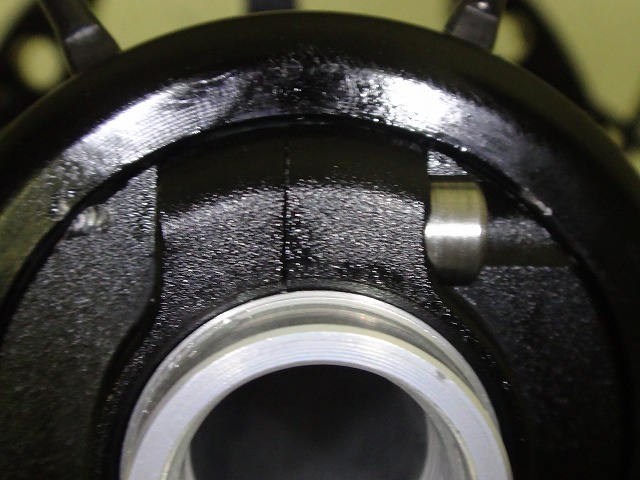
The locking screw on the rear hub's bearing preload locknut had been snapped off.
Actually, this was the main issue the customer brought it in for.
I wonder if I can recover it...?

I recovered it.
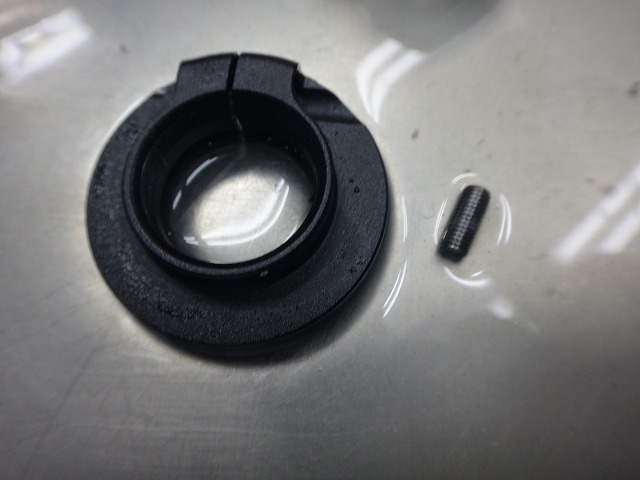
Campagnolo doesn't sell the screw as a separate spare part—
it only comes as a set with the slotted locknut cap shown in the image above.
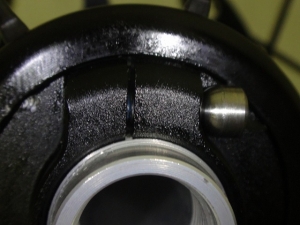
This screw isn't just a simple M3 bolt—
it has a special shape with a rounded neck section.
Over-tighten it and it snaps off just like that.
The trick to avoiding that is

to tighten it gradually...

and stop the moment the slot closes flush. That's it.
You can keep turning—it'll go in easy—but
before you complete another full rotation it'll snap with a little pop (probably).

This time I managed with a spare screw I had on hand,
but if you need to buy the entire slotted adjustment locknut assembly, parts alone run several thousand yen.

I fixed some minor runout and centering issues with a bit of work,
but there were quite a few nastier problems lurking underneath.
↑First, the front hub's right end hollow bolt had come loose.
On traditional Campagnolo and Fulcrum front hub shafts,
the right end was integral with the shaft.
You tighten and loosen these by inserting an Allen key into the 5mm hex sockets on both ends and turning.
However, on the newer front hubs where the bearing diameter isn't uniform front-to-back and is smaller than before,
the right end and shaft are now separate pieces, so the right end has a tendency to loosen first.
This is a design flaw—basically a defect—in the new front hub, and
unless the structure is redesigned, I expect we'll see many more of these problems going forward.
I've already fixed over five instances of this exact issue.
I've even had to replace the shaft itself on Racing Zero Nites.
You really need to be extremely careful when working on this.
Thread-locking compound has been applied to the right end's threads,
but the left end often gets the same treatment and is usually tightened excessively,
so there's a high chance that side will loosen first too.
The fix would be simple enough—just reseat everything properly—but
the hub wrench grip area is aluminum.
It's not wide enough to fit a thin, non-bike-specific wrench,
so you need to use two hub wrenches stacked to hold it steady.
With just one wrench, you'll probably round it out or slip and leave scratches.
I've had to fix cases where the customer fiddled with it so much that it became completely rounded off,
using a specialized vise to grip the shaft.
If you start wrong, you're in for a world of hurt.
I threaded it back in.
I applied thread-locking compound at adhesive strength,
greased the left end before tightening,
and made sure not to over-tighten,
so it should be fine going forward.
The customer wanted to quiet down the freebody noise,
so someone had packed Dura-Ace grease everywhere thick and heavy.
I completely cleaned it out and re-greased everything properly.
Just from handling it during work, though I'm sure it wasn't intentional,
grease had gotten all over the hub flanges too.
Non-emulsifying Dura grease doesn't come off easily even with parts cleaner.

The locking screw on the rear hub's bearing preload locknut had been snapped off.
Actually, this was the main issue the customer brought it in for.
I wonder if I can recover it...?
I recovered it.
Campagnolo doesn't sell the screw as a separate spare part—
it only comes as a set with the slotted locknut cap shown in the image above.

This screw isn't just a simple M3 bolt—
it has a special shape with a rounded neck section.
Over-tighten it and it snaps off just like that.
The trick to avoiding that is
to tighten it gradually...
and stop the moment the slot closes flush. That's it.
You can keep turning—it'll go in easy—but
before you complete another full rotation it'll snap with a little pop (probably).
This time I managed with a spare screw I had on hand,
but if you need to buy the entire slotted adjustment locknut assembly, parts alone run several thousand yen.