The drill is screaming!
Note: This article is for industry professionals.
I doubt there are many industry colleagues reading this tiny, crappy blog,
but I'm writing this just in case.
If there were, I've figured out a precise way to measure
what percentage of total readership they represent.
I'll get to that later.
Right now our shop is building up a Pinarello Dogma F8 Disc,
but the frame hardware that comes with it doesn't fit no matter what,
so this morning I stopped by Pinarello Japan directly (10 minutes by bike from home)
and asked them about it. Thanks to that, we got it sorted,
so here's the story about that.

With the Pinarello Dogma F8 frame,
the F8 is the caliper brake version, and the F8 Disc is the disc brake version.
Both are compatible with three shifter types:
mechanical, Shimano electronic, and Campagnolo EPS.
These are accommodated by swapping out small hardware parts that come with the frame,
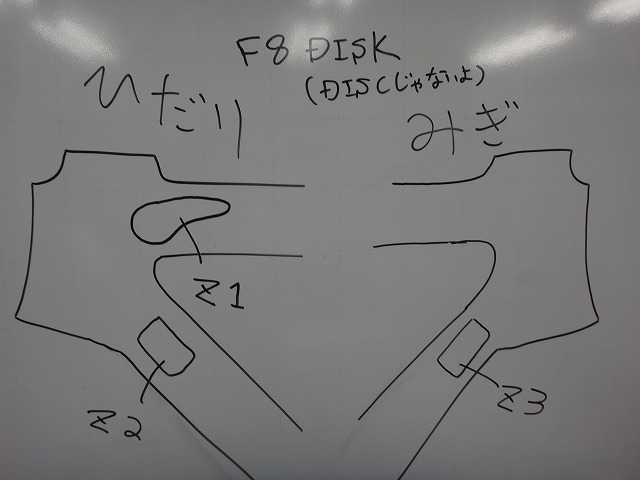
and the positions where you install them are designated as Zones 1 through 6.
Zone 1 is on the left top tube, Zone 2 is on the left down tube,
and Zone 3 is on the right down tube.

Zone 4 is on the back of the bottom bracket.
The cover differs depending on whether there's a cable guide or not.

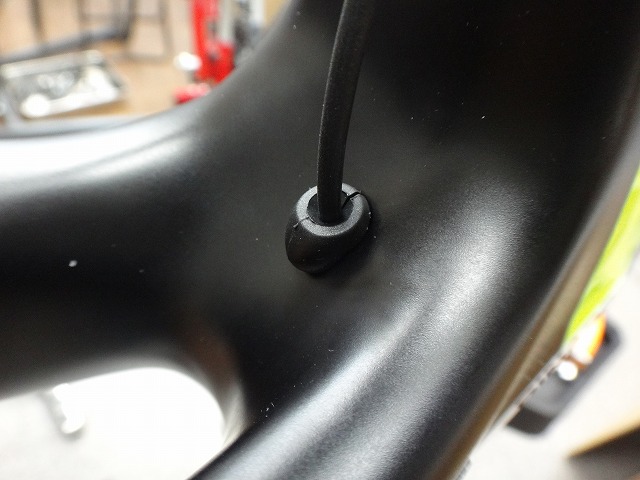
Zone 5 is for the rear derailleur,

Zone 6 is the hole for the front derailleur.
Since these are standard generic grommets, there's no problem with those.

With the F8 Disc frame,
since there's no need for a rear caliper brake cable stop,
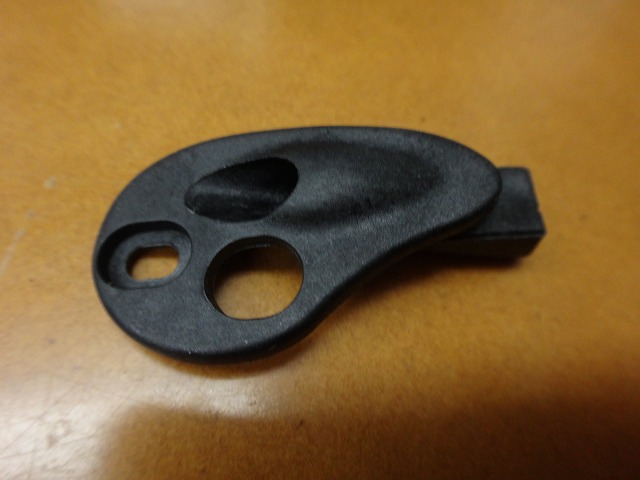
Zone 1 doesn't exist on the frame.

Therefore, the Zone 1 hardware that comes with it isn't used either.

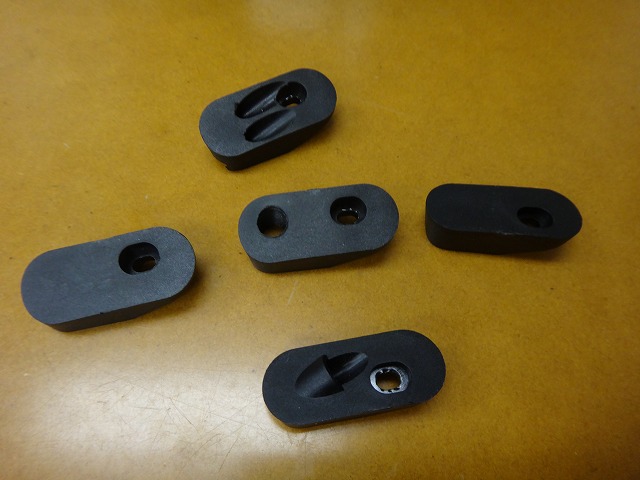
The remaining hardware pieces are for Zone 2 or Zone 3.
They have R or L markings on the back to indicate left or right.

↑That's it right there.

Four are marked R,

and one is marked L.

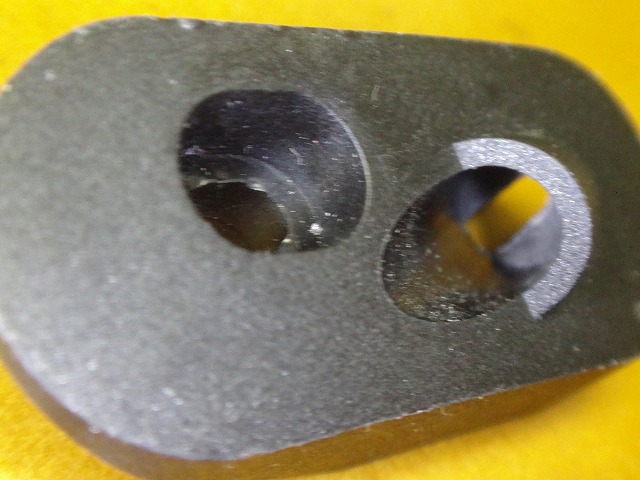
R, #1
This one has threads cut in it, so it's for the EPS connector.
So this is for EPS.

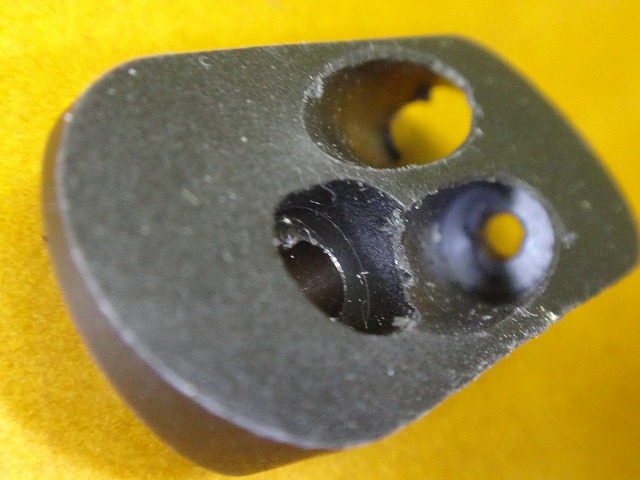
R, #2
This is a cable stop for mechanical components.

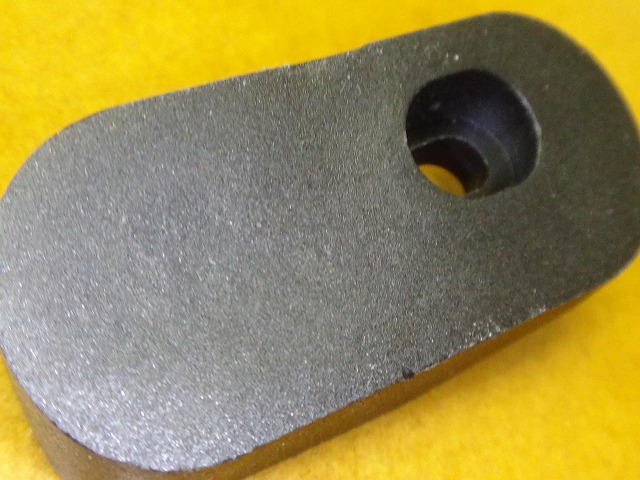
R, #3
This has a hole for the disc brake hydraulic hose (or mechanical disc outer)
and a cable stop for mechanical components.

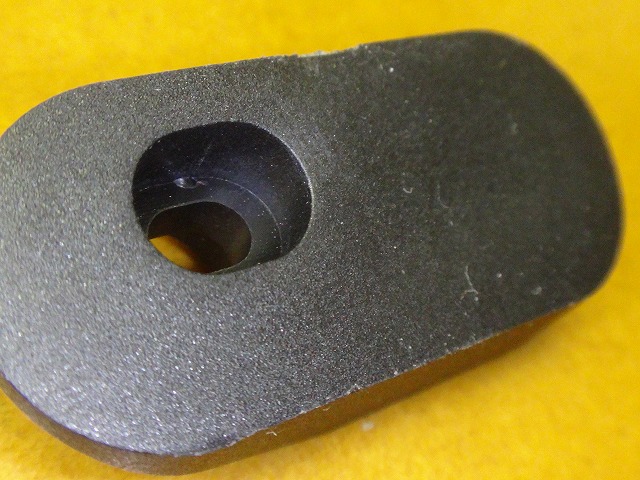
R, #4
Just a cover cap.

L
Just a cover cap.
This time I'm building it with Shimano electronic components and a hydraulic disc brake,
but no combination of these pieces works.

I put tape on them for clarity,
and wrote R on the R parts and L on the L parts in red.
What Pinarello Japan taught me today was that
these parts have a tapered shape,
with the narrow end on top and the wide end on bottom.

↑narrow side

↑flip it over like this and... wide side
... Huh?

Actually, these parts have sloppy mold work,
so the R and L markings are partially wrong.
I've corrected the wrong ones by writing in blue.
It's a trap because one of them is actually correct, not completely reversed.
But it seems Pinarello also realized this later, because

the manual says to use the part marked "R" on
Zone 2 (left side),

and the part marked "L" on
Zone 3 (right side).
So the corrections I made in blue are actually correct,
and the R part I didn't correct is actually wrong.
The conclusion is
"L goes on the right, R goes on the left. One of the Rs is actually L"—
a confusing mess. So instead of being fooled by the marking on the back,
just judge by one rule alone:
"The narrow end of the taper goes on top"—
and you won't make a mistake.

↑if you get it wrong, the part won't conform to the frame shape
and the screw hole positions won't line up either.
Apart from that, there's another problem with the Shimano electronic component + disc brake combination.

I threaded the hose through the only disc brake part available.
(We're not building this with XTR. I just used this one because it happened to be handy for the photo.)

↑but then the other hole becomes a cable stop for mechanical shifting.
Separate from the L/R issue, this was the real reason I thought "this won't work."
I got an answer(you could also call it a guarantee) about this today too.
They said it's okay to drill it out.
That alone would be simple, but to not rule out the possibility of building it with mechanical components,

↑I decided to add a hole here instead.
The image shows it at the drilling stage.

↑the main hole at 5mm, seen from the back.
The bottom of the taper is thick, so no problem there.

The electronic cable passes through too.

↑all done.
~To our fellow professionals~
Just drilling out the original hole would be simple,
but if a customer asks you to do it this way,
please do it for them.
One mistake and it's game over, so if you're not confident,
I'd say just pass on it ^_^ (※)
※This is a mistranslation of "I'd say just pass on it ^^"

The hole in Zone 3 (right side) is minimal and small,

but the hole in Zone 2 (left side) is quite large,
so I was able to drill a side hole in the part.

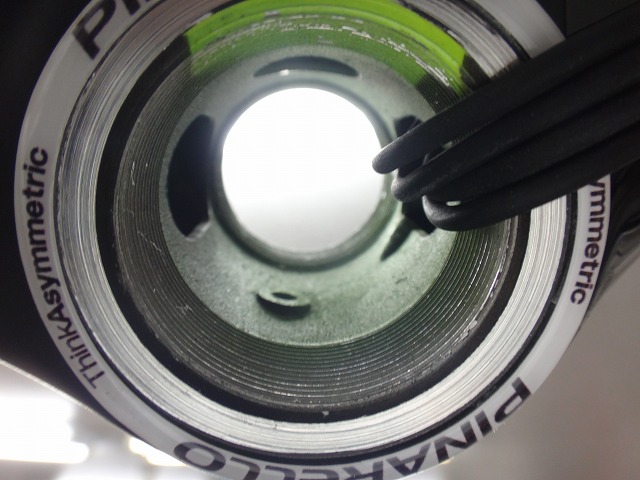
As for the BB hole, normally electronic cable routing
would go:
upper junction → down tube hole
internal battery → seat tube hole
rear derailleur → chain stay hole
front derailleur → seat tube or chain stay hole
to make assembly easier.
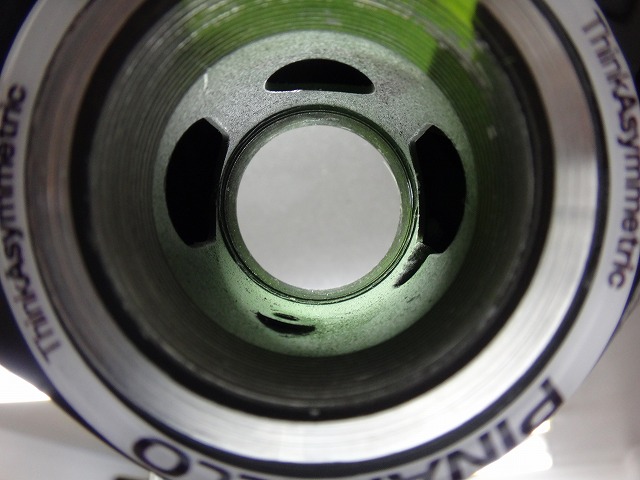
But by routing everything through the down tube,

I can keep the cable from running through the BB hole after assembly—
that was the structure, so that's what I did.
I'm not the only one, but I've heard of someone who jammed an Ultra-Torque crank in hard
and trashed an EPS cable in the BB hole,
so to avoid unnecessary trouble,
it's best to keep cables out of the BB hole as much as possible.
Regarding the applause button for this post,
please only press it if you're in the industry.
General readers, please refrain.
I mean it! Don't push it!
Update: ↓ Way too many industry professionals!!!
Note: This article is for industry professionals.
I doubt there are many industry colleagues reading this tiny, crappy blog,
but I'm writing this just in case.
If there were, I've figured out a precise way to measure
what percentage of total readership they represent.
I'll get to that later.
Right now our shop is building up a Pinarello Dogma F8 Disc,
but the frame hardware that comes with it doesn't fit no matter what,
so this morning I stopped by Pinarello Japan directly (10 minutes by bike from home)
and asked them about it. Thanks to that, we got it sorted,
so here's the story about that.
With the Pinarello Dogma F8 frame,
the F8 is the caliper brake version, and the F8 Disc is the disc brake version.
Both are compatible with three shifter types:
mechanical, Shimano electronic, and Campagnolo EPS.
These are accommodated by swapping out small hardware parts that come with the frame,
and the positions where you install them are designated as Zones 1 through 6.
Zone 1 is on the left top tube, Zone 2 is on the left down tube,
and Zone 3 is on the right down tube.

Zone 4 is on the back of the bottom bracket.
The cover differs depending on whether there's a cable guide or not.

Zone 5 is for the rear derailleur,
Zone 6 is the hole for the front derailleur.
Since these are standard generic grommets, there's no problem with those.

With the F8 Disc frame,
since there's no need for a rear caliper brake cable stop,
Zone 1 doesn't exist on the frame.
Therefore, the Zone 1 hardware that comes with it isn't used either.
The remaining hardware pieces are for Zone 2 or Zone 3.
They have R or L markings on the back to indicate left or right.
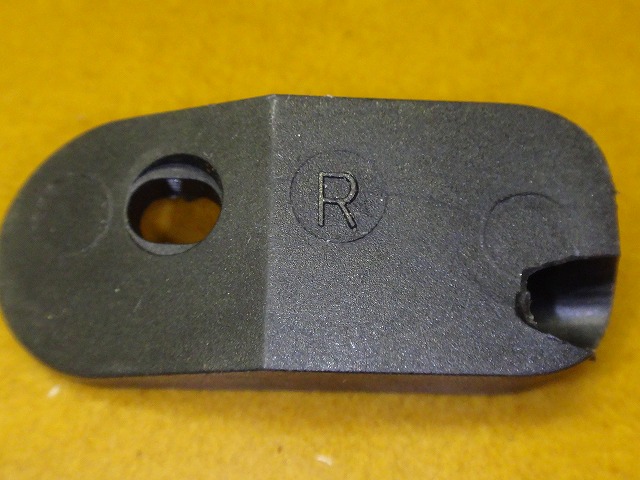
↑That's it right there.
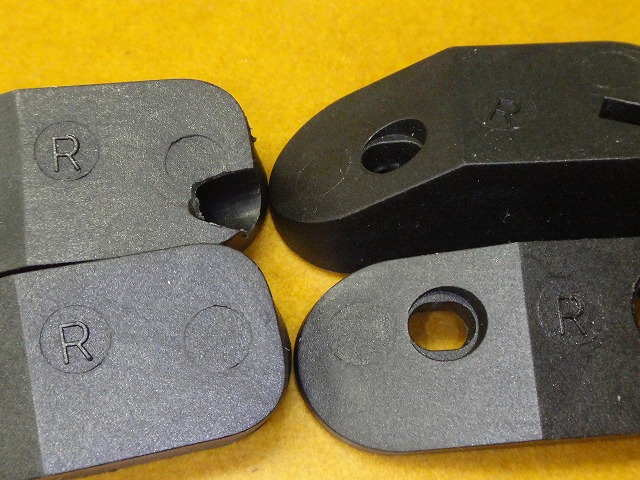
Four are marked R,
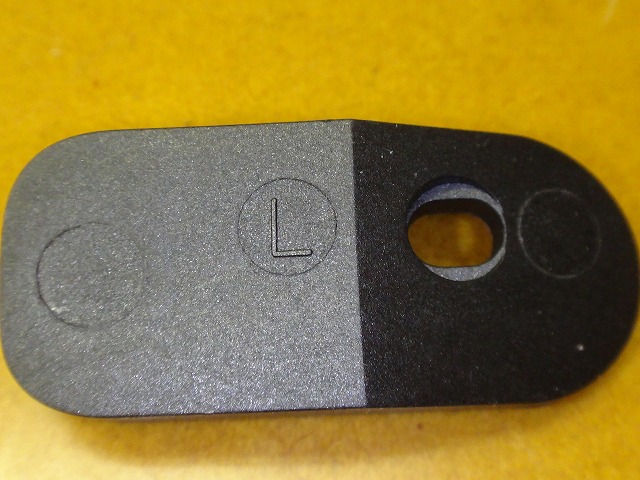
and one is marked L.
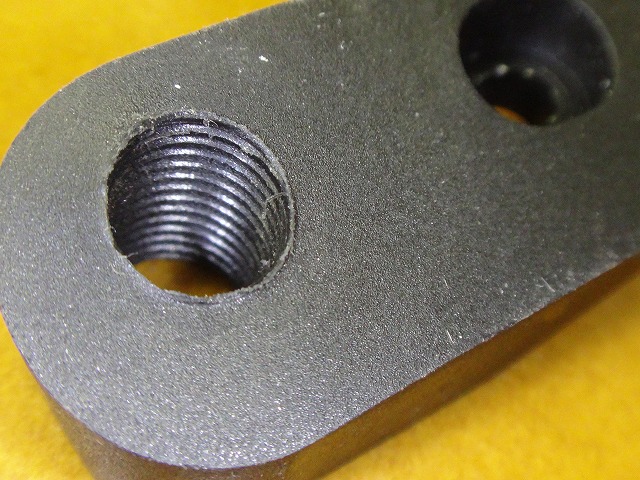
R, #1
This one has threads cut in it, so it's for the EPS connector.
So this is for EPS.
R, #2
This is a cable stop for mechanical components.
R, #3
This has a hole for the disc brake hydraulic hose (or mechanical disc outer)
and a cable stop for mechanical components.
R, #4
Just a cover cap.
L
Just a cover cap.
This time I'm building it with Shimano electronic components and a hydraulic disc brake,
but no combination of these pieces works.

I put tape on them for clarity,
and wrote R on the R parts and L on the L parts in red.
What Pinarello Japan taught me today was that
these parts have a tapered shape,
with the narrow end on top and the wide end on bottom.
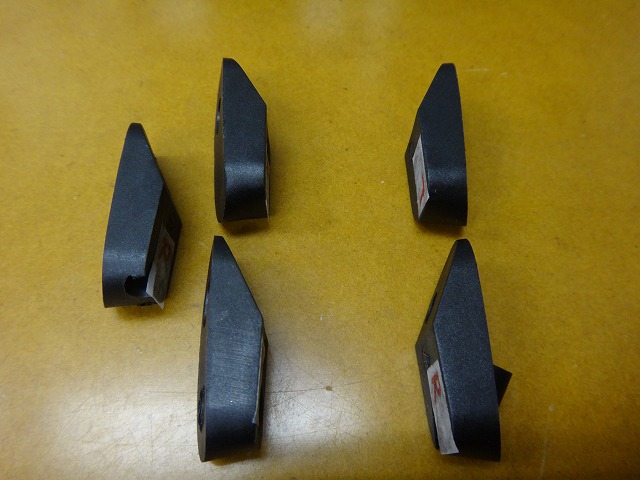
↑narrow side
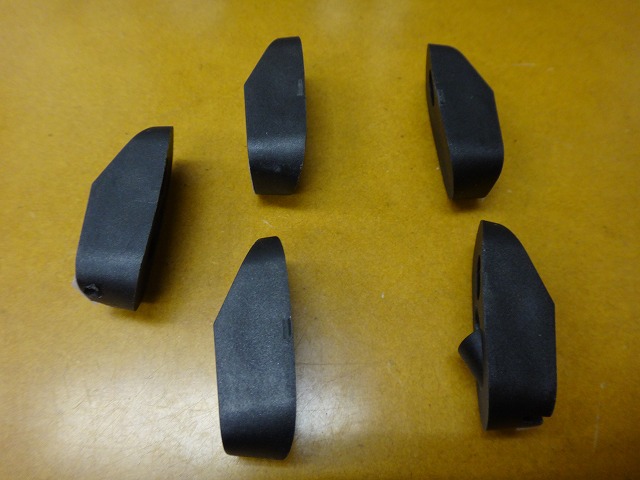
↑flip it over like this and... wide side
... Huh?
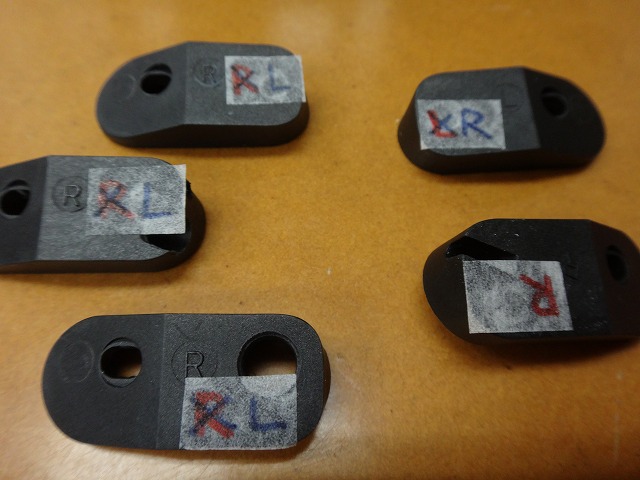
Actually, these parts have sloppy mold work,
so the R and L markings are partially wrong.
I've corrected the wrong ones by writing in blue.
It's a trap because one of them is actually correct, not completely reversed.
But it seems Pinarello also realized this later, because
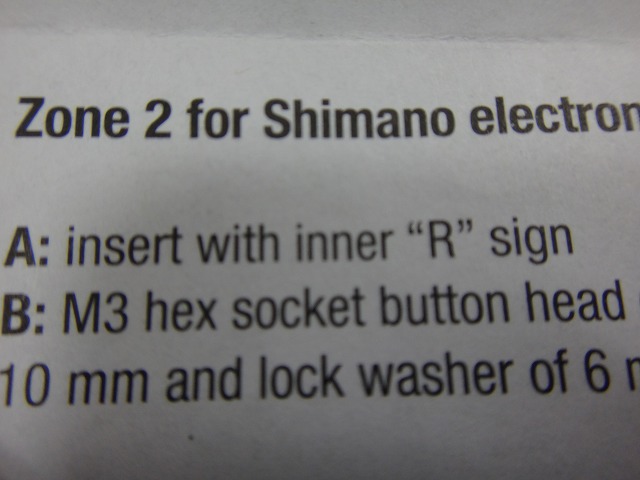
the manual says to use the part marked "R" on
Zone 2 (left side),
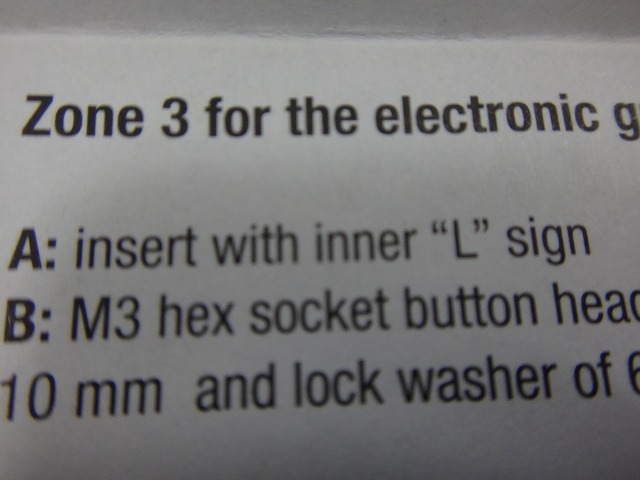
and the part marked "L" on
Zone 3 (right side).
So the corrections I made in blue are actually correct,
and the R part I didn't correct is actually wrong.
The conclusion is
"L goes on the right, R goes on the left. One of the Rs is actually L"—
a confusing mess. So instead of being fooled by the marking on the back,
just judge by one rule alone:
"The narrow end of the taper goes on top"—
and you won't make a mistake.
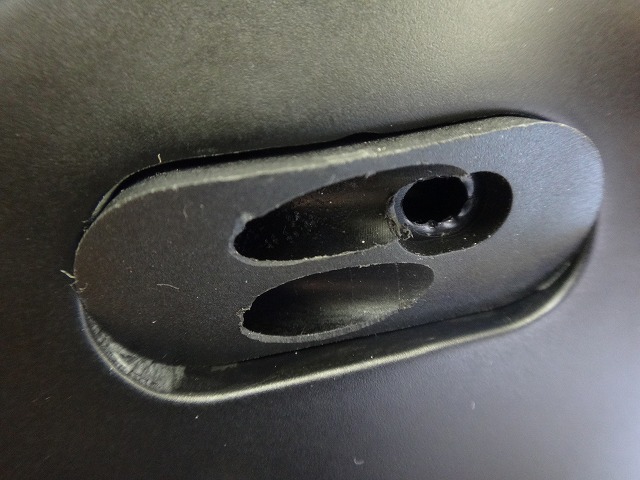
↑if you get it wrong, the part won't conform to the frame shape
and the screw hole positions won't line up either.
Apart from that, there's another problem with the Shimano electronic component + disc brake combination.
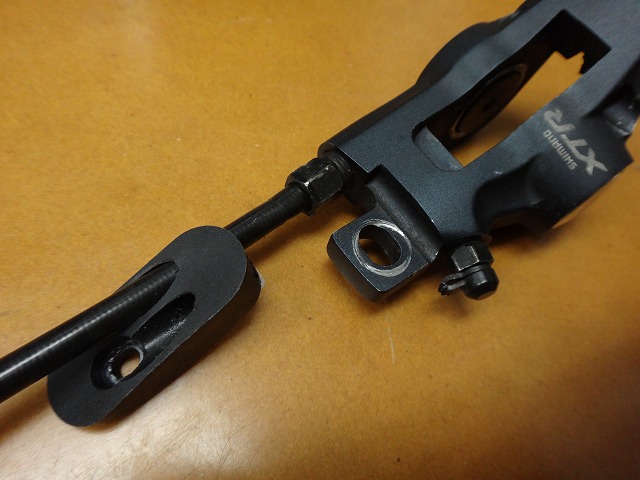
I threaded the hose through the only disc brake part available.
(We're not building this with XTR. I just used this one because it happened to be handy for the photo.)
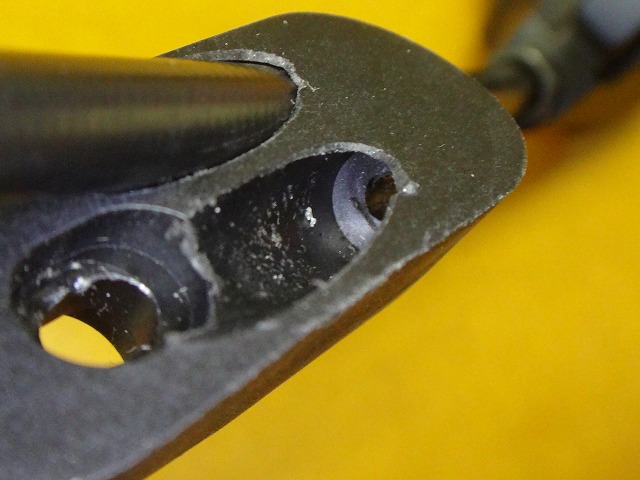
↑but then the other hole becomes a cable stop for mechanical shifting.
Separate from the L/R issue, this was the real reason I thought "this won't work."
I got an answer
They said it's okay to drill it out.
That alone would be simple, but to not rule out the possibility of building it with mechanical components,
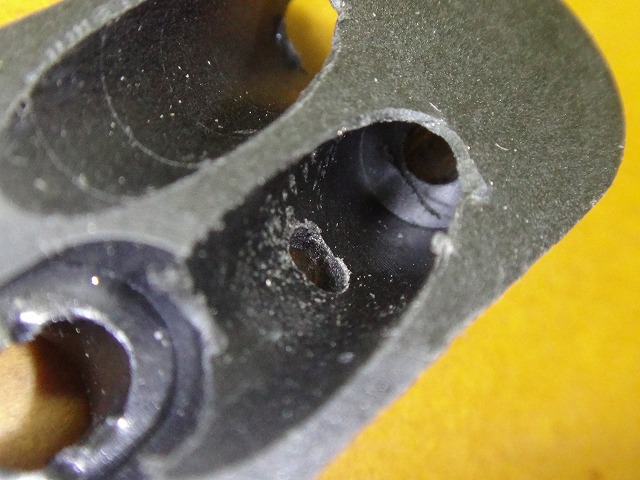
↑I decided to add a hole here instead.
The image shows it at the drilling stage.
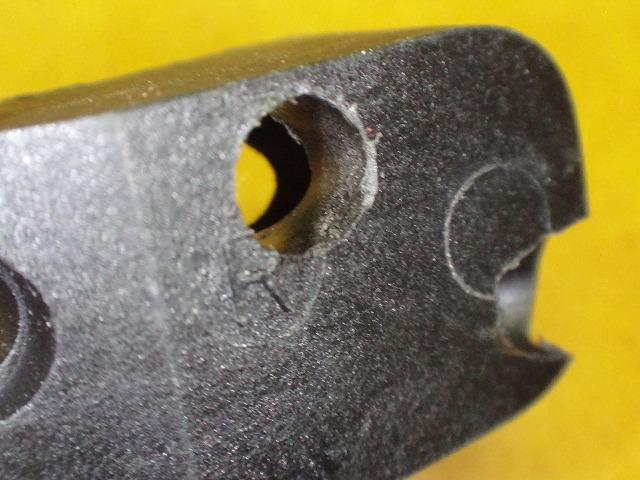
↑the main hole at 5mm, seen from the back.
The bottom of the taper is thick, so no problem there.
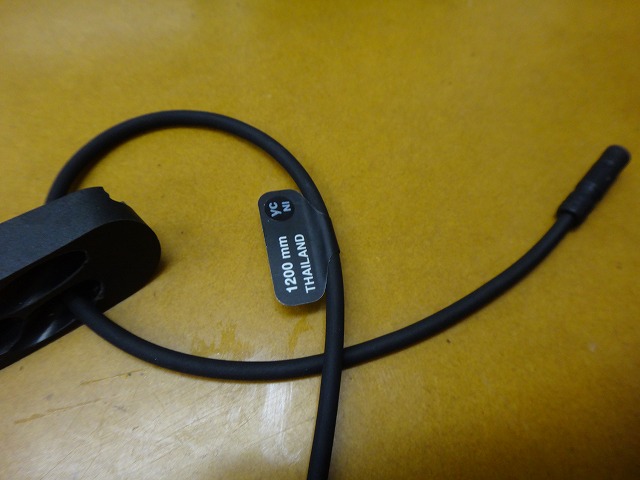
The electronic cable passes through too.

↑all done.
~To our fellow professionals~
Just drilling out the original hole would be simple,
but if a customer asks you to do it this way,
please do it for them.
One mistake and it's game over, so if you're not confident,
I'd say just pass on it
※This is a mistranslation of "I'd say just pass on it ^^"

The hole in Zone 3 (right side) is minimal and small,
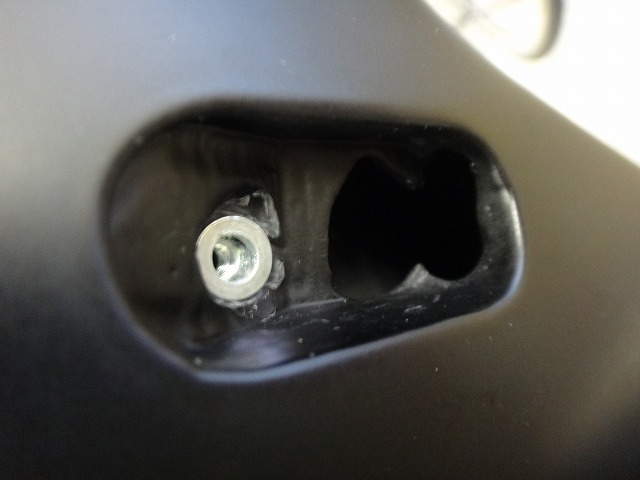
but the hole in Zone 2 (left side) is quite large,
so I was able to drill a side hole in the part.
As for the BB hole, normally electronic cable routing
would go:
upper junction → down tube hole
internal battery → seat tube hole
rear derailleur → chain stay hole
front derailleur → seat tube or chain stay hole
to make assembly easier.
But by routing everything through the down tube,
I can keep the cable from running through the BB hole after assembly—
that was the structure, so that's what I did.
I'm not the only one, but I've heard of someone who jammed an Ultra-Torque crank in hard
and trashed an EPS cable in the BB hole,
so to avoid unnecessary trouble,
it's best to keep cables out of the BB hole as much as possible.
Regarding the applause button for this post,
please only press it if you're in the industry.
General readers, please refrain.
I mean it! Don't push it!
Update: ↓ Way too many industry professionals!!!