Back to wheel work again (you know how it is).
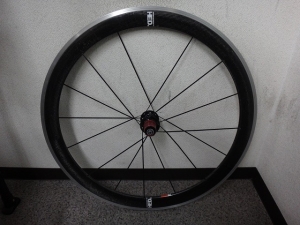
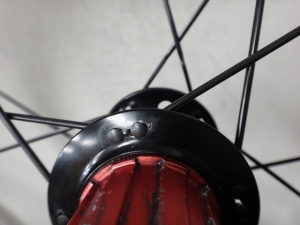
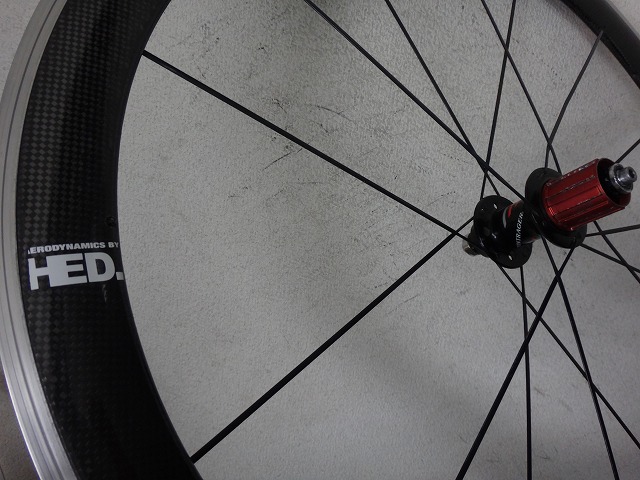
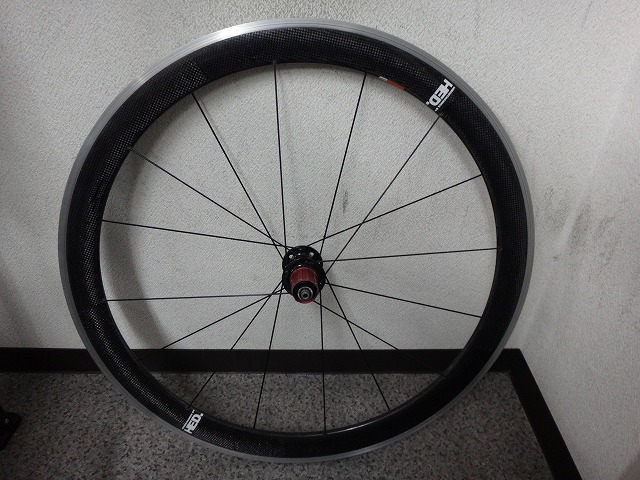
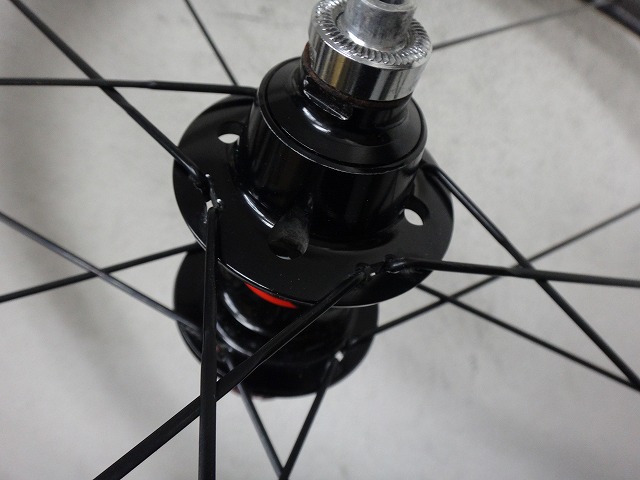
A customer brought in a Bontrager Aeolus rear wheel for me to work on.
Originally it came in for a routine inspection, but...
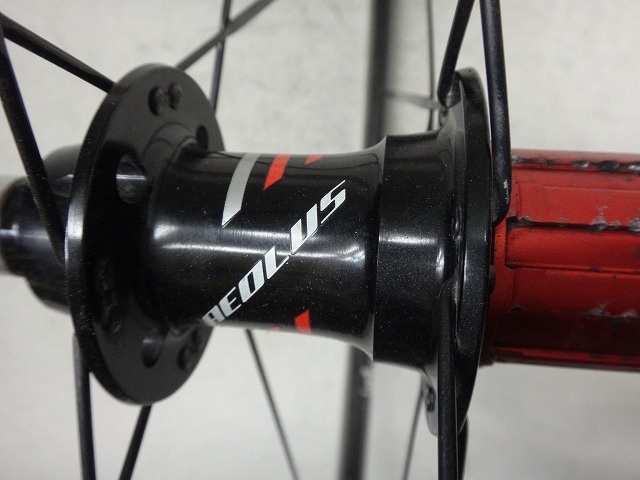
It's branded as Bontrager

Aeolus, but
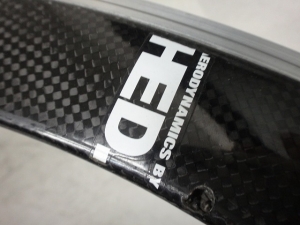
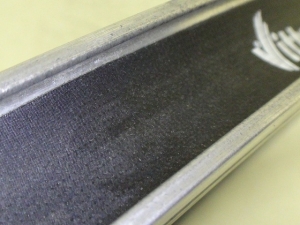
the rim is actually HED.
It has an aluminum rim with a carbon fairing, but this isn't the type where the carbon is so thin you can see the weave through it when you hold it up to the light—instead, it's filled with something like expanded polyurethane, so the rim sidewall doesn't flex and dent when you push on it with your finger.

There's a spoke missing—that's because I broke the nipple during my work.
I was just about to tell the customer, "The nipple is corroded and feels like it might snap off if I twist it," when—*crack*—it snapped right off in my hands.
Since all the nipples are probably corroded, I'm replacing them all.
While I'm at it, I'm upgrading the spokes to black half-comp as well.
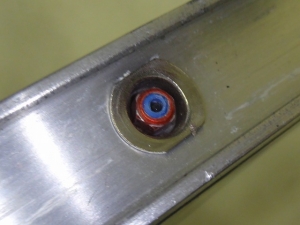
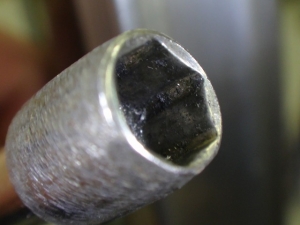
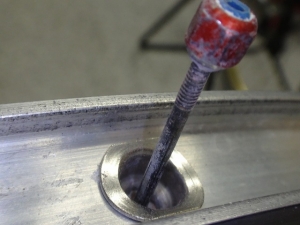
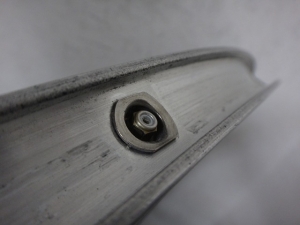
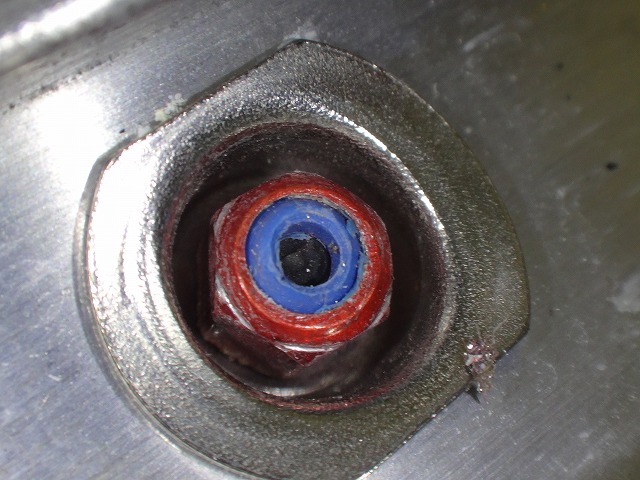
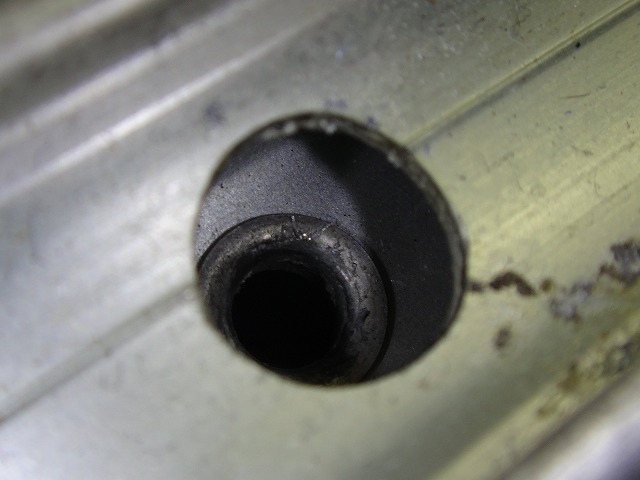
↑That's the nipple there (pretty obvious).

Hex nipples sit flush in the eyelets, but the spoke doesn't reach the blue threadlock resin on the inside.
That's actually correct in this case.
If I made the spoke length flush with the nipple end face, further tightening would pierce through the rim tape.
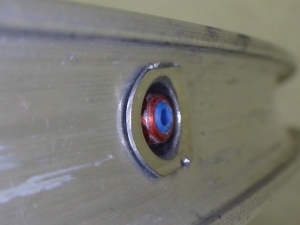
The nipple sticks out slightly proud of the rim tape surface, but that's fine once the tape goes on.
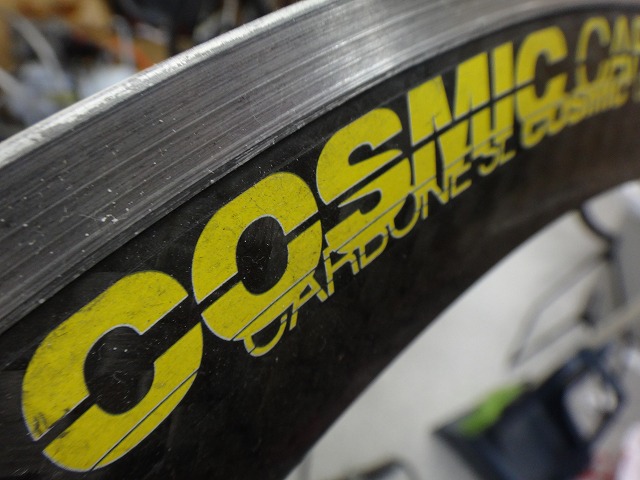
When nipples have a hex grip section, the flats come in four standard sizes:
4.76mm (3/16"), 5mm, 5.5mm, and 6mm.
This one is 5.5mm—the same size as Cosmic Carbons.

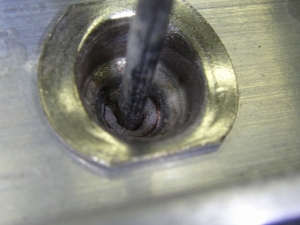
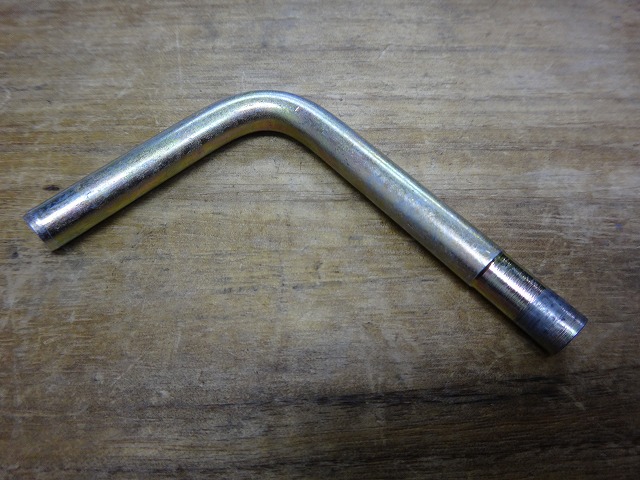
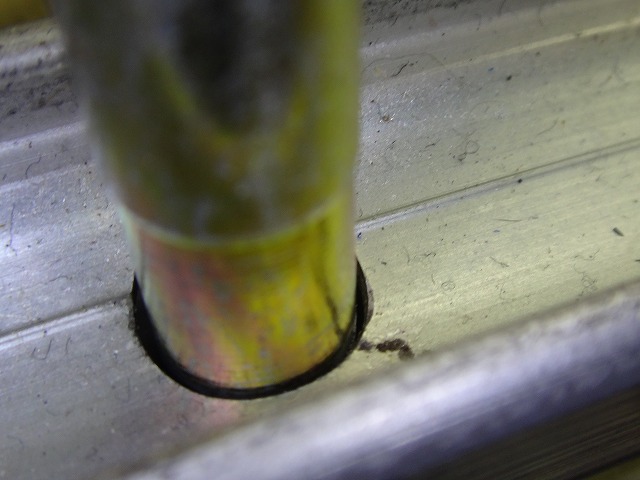
This is a Cosmic Carbon dedicated nipple wrench, and
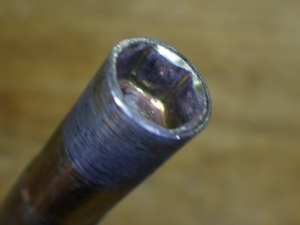
you can see scuff marks on the sides of the eyelets where the tool rubbed.
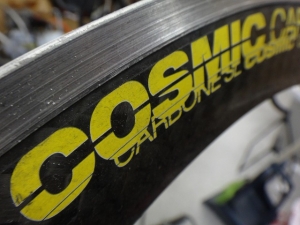
Cosmic Carbon SL and later models

switched to single eyelets, so
there's a bit of clearance around the tool.

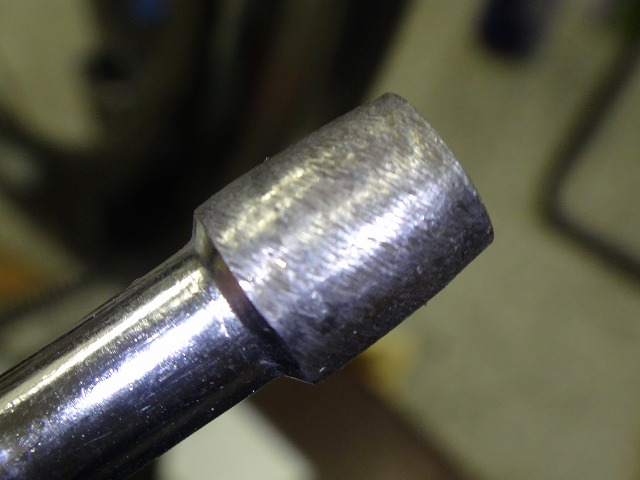
With a Park Tool driver-style nipple wrench for the 5.5mm hole, the tool head is too large to fit into double eyelets.
So I made one myself with the head trimmed down for double-eyelet use.
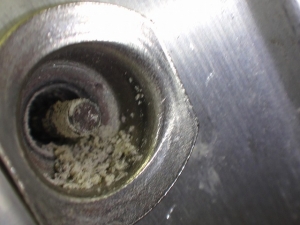
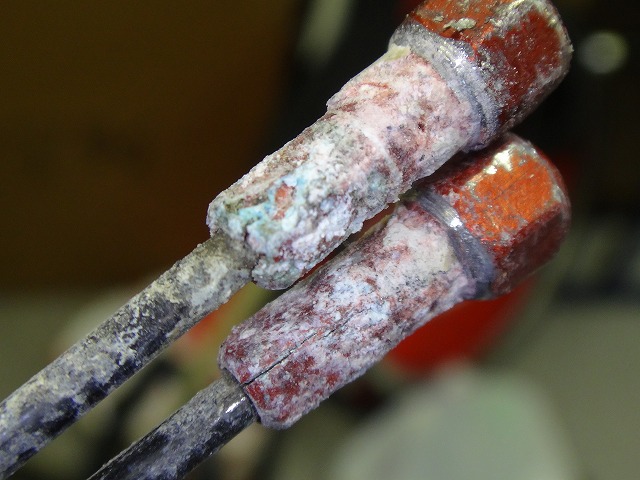
Loosening the nipples.
Salt-like rust particles packed in the gaps come pouring out.

Wow, heavily corroded.
Once I've loosened about half the wheel and released the tension, I cut the spokes and disassemble.
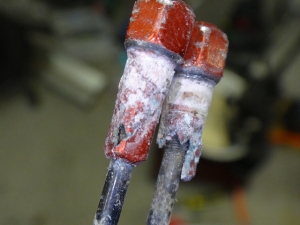
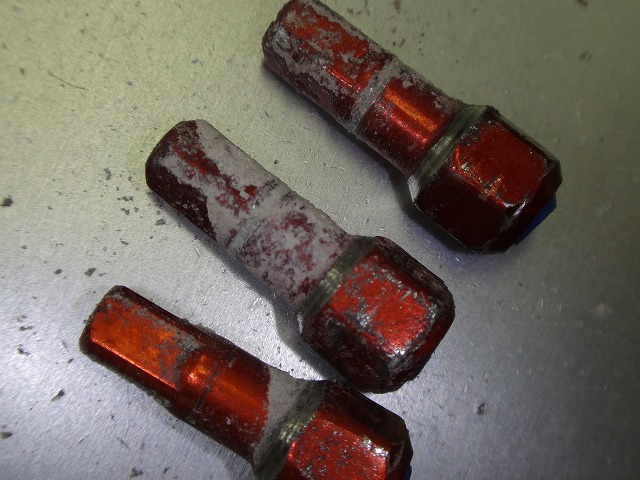
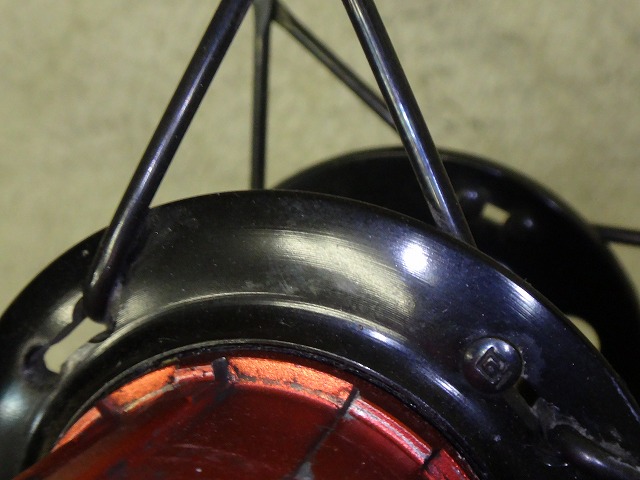
The corrosion was severe.
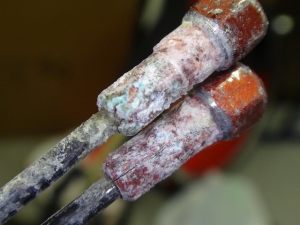
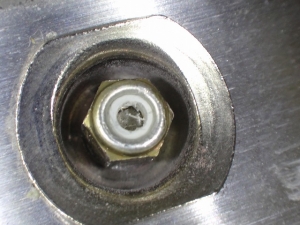
↑The nipple at the bottom of the image has cracks in it.
This nipple fractured when I pushed the spoke outward.
Or maybe it was already broken.
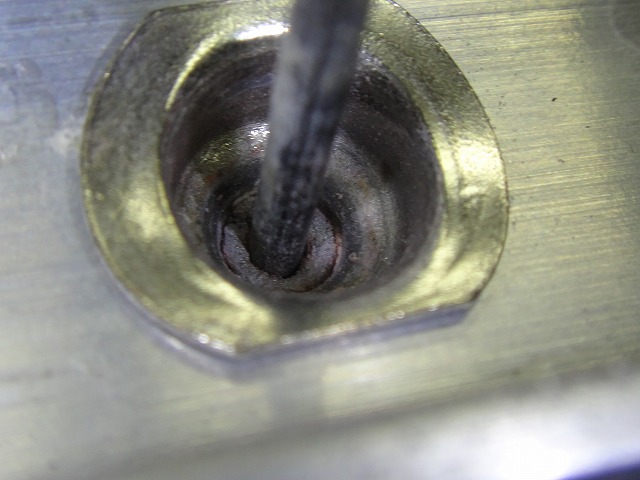
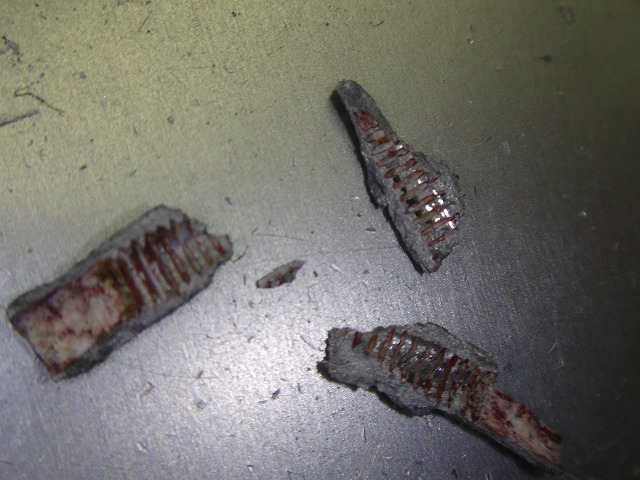
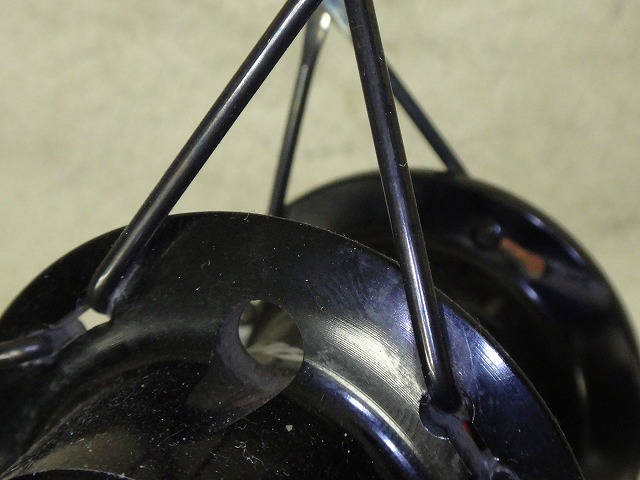
↑The remainder was stuck in the rim, but when I punched it from the inside
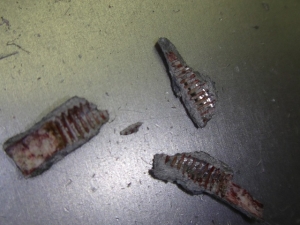
it came apart in pieces.
Good thing I pushed from the inside—if I'd gone from the outside, those fragments would've fallen into the rim. Close one.
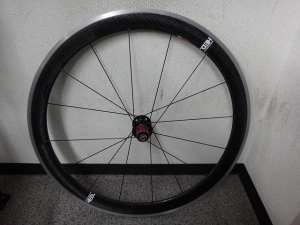
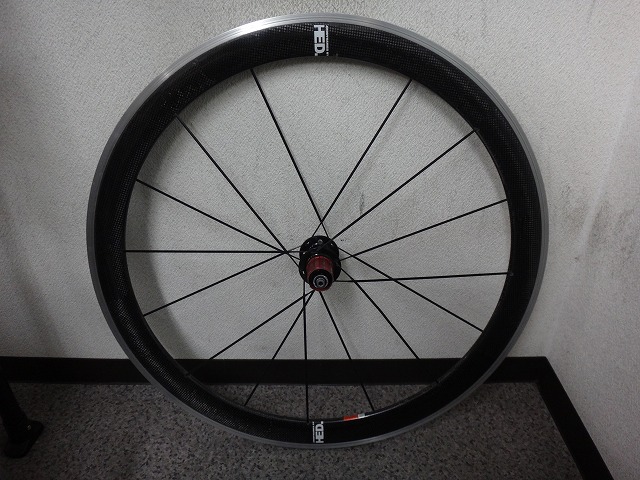
Built.
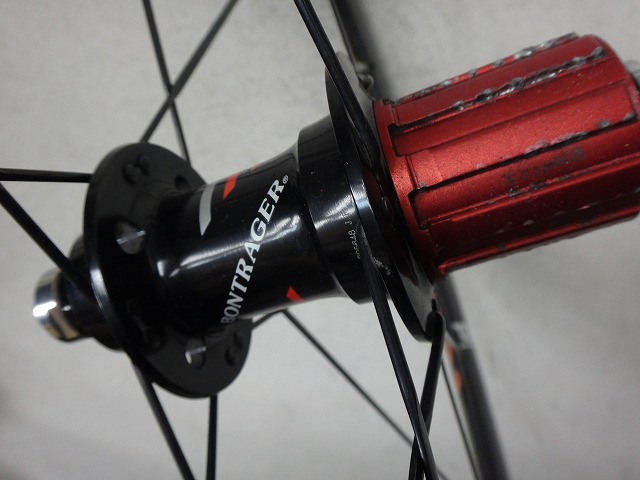
Free-body side: since it's a 16H rear wheel, I went with 14-spoke plain.
So it's not competition-grade.
The candidates were DT Champion, Sapim Leader, Wheelsmith SS14, and others, but this time I chose Leader.
I did all-outpoke two-cross on the free side specifically to avoid any possible derailleur interference.
I didn't want situations like "it hits when I stand up" or "it hits when I sprint" causing a wheel rebuild later.

The non-drive side is all-inpoke two-cross.
There are theoretically subtle differences in how you align the collar at the spoke crossing, but this time I oriented it so the porcupine-direction spoke is on the inside.
Here's why: it gives me the same collar alignment as the non-drive side of Italian lacing.
Italian and JIS lacing have the same free-body side but mirror-image non-drive sides. With wire brazing, the direction you wrap depends on the collar alignment, which is also mirrored.
In my case, I've got the Italian non-drive-side brazing motion in muscle memory, so that's fine, but with JIS rear wheels, every movement reverses, taking three times longer or more.
It's like a right-handed person trying to use chopsticks left-handed—clumsy doesn't begin to describe it.
That's why I hate doing disc-brake-hub non-drive-side brazing.
This wheel's final crossing (well, the first one) is close to the hub flange anyway, so brazing probably won't happen, but I set up the collar alignment to make it easier just in case.

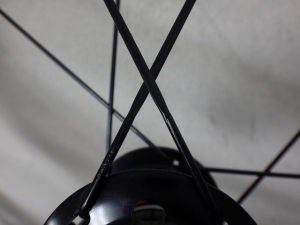
Before the rebuild, the free side had a reversed-Italian/reversed-JIS lacing pattern, and

the non-drive side (partially visible) was all-inpoke two-cross with the opposite collar alignment from the new build.
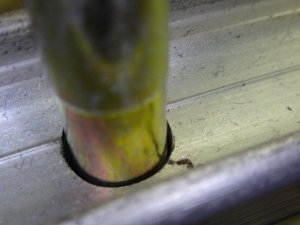
The new nipples—with future maintenance in mind, I went with
5mm flats.
The spoke not reaching the white resin is the same reason as before.

The nipple end faces stick out about 0.5mm more than before, so I double-checked with Vittoria rim tape, and
↑looks good.
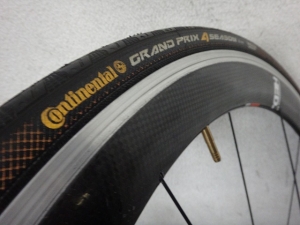
And there was something I wanted to verify, so I threw a tire on and took it for a quick spin.
A customer brought in a Bontrager Aeolus rear wheel for me to work on.
Originally it came in for a routine inspection, but...
It's branded as Bontrager
Aeolus, but

the rim is actually HED.
It has an aluminum rim with a carbon fairing, but this isn't the type where the carbon is so thin you can see the weave through it when you hold it up to the light—instead, it's filled with something like expanded polyurethane, so the rim sidewall doesn't flex and dent when you push on it with your finger.
There's a spoke missing—that's because I broke the nipple during my work.
I was just about to tell the customer, "The nipple is corroded and feels like it might snap off if I twist it," when—*crack*—it snapped right off in my hands.
Since all the nipples are probably corroded, I'm replacing them all.
While I'm at it, I'm upgrading the spokes to black half-comp as well.

↑That's the nipple there (pretty obvious).
Hex nipples sit flush in the eyelets, but the spoke doesn't reach the blue threadlock resin on the inside.
That's actually correct in this case.
If I made the spoke length flush with the nipple end face, further tightening would pierce through the rim tape.

The nipple sticks out slightly proud of the rim tape surface, but that's fine once the tape goes on.
When nipples have a hex grip section, the flats come in four standard sizes:
4.76mm (3/16"), 5mm, 5.5mm, and 6mm.
This one is 5.5mm—the same size as Cosmic Carbons.
This is a Cosmic Carbon dedicated nipple wrench, and

you can see scuff marks on the sides of the eyelets where the tool rubbed.
Cosmic Carbon SL and later models
switched to single eyelets, so
there's a bit of clearance around the tool.

With a Park Tool driver-style nipple wrench for the 5.5mm hole, the tool head is too large to fit into double eyelets.
So I made one myself with the head trimmed down for double-eyelet use.

Loosening the nipples.
Salt-like rust particles packed in the gaps come pouring out.
Wow, heavily corroded.
Once I've loosened about half the wheel and released the tension, I cut the spokes and disassemble.

The corrosion was severe.
↑The nipple at the bottom of the image has cracks in it.

This nipple fractured when I pushed the spoke outward.
Or maybe it was already broken.
↑The remainder was stuck in the rim, but when I punched it from the inside
it came apart in pieces.
Good thing I pushed from the inside—if I'd gone from the outside, those fragments would've fallen into the rim. Close one.
Built.

Free-body side: since it's a 16H rear wheel, I went with 14-spoke plain.
So it's not competition-grade.
The candidates were DT Champion, Sapim Leader, Wheelsmith SS14, and others, but this time I chose Leader.
I did all-outpoke two-cross on the free side specifically to avoid any possible derailleur interference.
I didn't want situations like "it hits when I stand up" or "it hits when I sprint" causing a wheel rebuild later.
The non-drive side is all-inpoke two-cross.

There are theoretically subtle differences in how you align the collar at the spoke crossing, but this time I oriented it so the porcupine-direction spoke is on the inside.
Here's why: it gives me the same collar alignment as the non-drive side of Italian lacing.
Italian and JIS lacing have the same free-body side but mirror-image non-drive sides. With wire brazing, the direction you wrap depends on the collar alignment, which is also mirrored.
In my case, I've got the Italian non-drive-side brazing motion in muscle memory, so that's fine, but with JIS rear wheels, every movement reverses, taking three times longer or more.
It's like a right-handed person trying to use chopsticks left-handed—clumsy doesn't begin to describe it.
This wheel's final crossing (well, the first one) is close to the hub flange anyway, so brazing probably won't happen, but I set up the collar alignment to make it easier just in case.
Before the rebuild, the free side had a reversed-Italian/reversed-JIS lacing pattern, and
the non-drive side (partially visible) was all-inpoke two-cross with the opposite collar alignment from the new build.

The new nipples—with future maintenance in mind, I went with

5mm flats.
The spoke not reaching the white resin is the same reason as before.

The nipple end faces stick out about 0.5mm more than before, so I double-checked with Vittoria rim tape, and

↑looks good.

And there was something I wanted to verify, so I threw a tire on and took it for a quick spin.