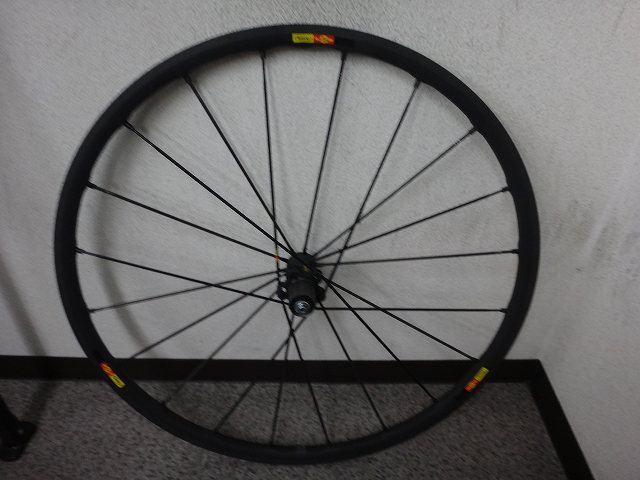
A customer brought in the rear wheel of an R-SYS SLR for service.
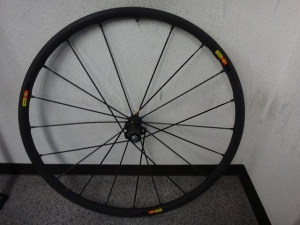
The front wheel is a Ksyrium SLR, but
the rear wheel is shared with the R-SYS SLR,
and since the label shows R-SYS SLR,
I went with that for the title.
One spoke was broken.
In cases like this, if you replace the spoke and then only tighten the nipple on just that new spoke
(without touching any other nipples at all),
you can usually get it "mostly corrected" with some minor lateral runout remaining.
But this time, nipples all over the place had been turned,
so that approach alone wasn't going to cut it.
This was a situation that required Rubik's Cube-style systematic troubleshooting.
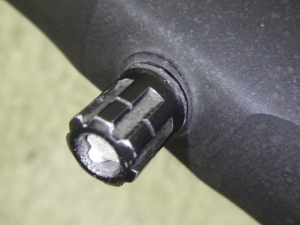
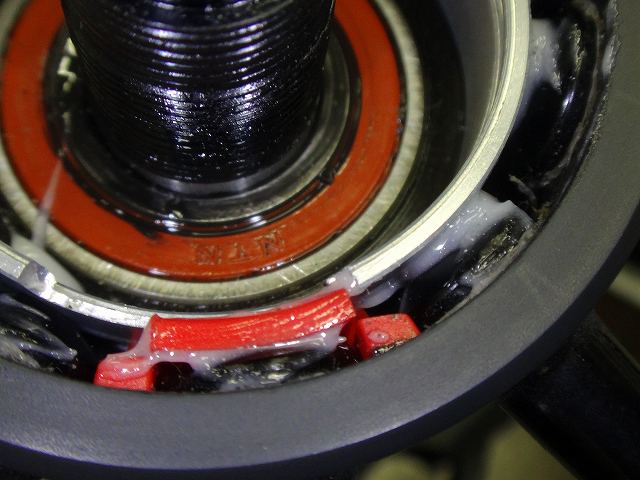
↑The freehub body is pressed on as-is,
and there were traces of someone turning nipples on the non-drive side.

The wear marks on the freehub body are pretty significant too.
The other day I built a wheel from scratch using an R-SYS SLR rim,
and this repair is taking about the same amount of time as it took from when I'd installed all the nipples on the rim
and had the wheel taking shape through to final completion.
In terms of work, it's practically a rebuild.
Since I was going to do it anyway, I dialed in the radial runout to a level you'd never see on a stock Mavic wheel.
Except for the manufacturing dimple in the rim joint across from the valve, it's come out really clean.

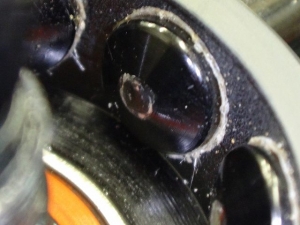
For the freehub body, you can actually press it back on
offset from the wear marks, even within the range of the keyway.
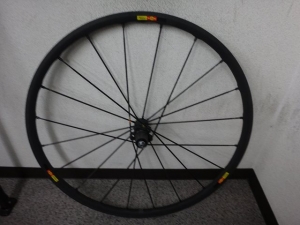
Fixed.

The front wheel is a Ksyrium SLR, but
the rear wheel is shared with the R-SYS SLR,
and since the label shows R-SYS SLR,
I went with that for the title.

One spoke was broken.
In cases like this, if you replace the spoke and then only tighten the nipple on just that new spoke
(without touching any other nipples at all),
you can usually get it "mostly corrected" with some minor lateral runout remaining.
But this time, nipples all over the place had been turned,
so that approach alone wasn't going to cut it.
This was a situation that required Rubik's Cube-style systematic troubleshooting.

↑The freehub body is pressed on as-is,
and there were traces of someone turning nipples on the non-drive side.

The wear marks on the freehub body are pretty significant too.
The other day I built a wheel from scratch using an R-SYS SLR rim,
and this repair is taking about the same amount of time as it took from when I'd installed all the nipples on the rim
and had the wheel taking shape through to final completion.
In terms of work, it's practically a rebuild.
Since I was going to do it anyway, I dialed in the radial runout to a level you'd never see on a stock Mavic wheel.
Except for the manufacturing dimple in the rim joint across from the valve, it's come out really clean.
For the freehub body, you can actually press it back on
offset from the wear marks, even within the range of the keyway.
Fixed.