A customer brought in a Racing Zero for me to work on.

Starting with the rear wheel.
The customer wanted this discontinued tubular version and managed to get one,
but both wheels were in pretty rough shape.
The current owner apparently never used it—they sent it to my shop before even riding it.
First thing I checked was that there were no buckling marks on the bead hook
and that the rim didn't show obvious warping.
I wanted to avoid discovering it's unrepairable after I've already dug in.
Since the hub is pretty gnarly, the customer requested a CULT conversion.
As for the feel of the rear hub's rotation... it's definitely in my bottom five worst hubs I've ever handled.

The sticker on the rim was just peeled off,
so there's adhesive residue all the way around the rim.

↑The phase alignment of the rim seam.
Depending on the rim joining method, the rim sticker usually serves
to hide the seam.

Cleaned it up nicely.
I did the same for the front rim.

Disassembled the hub.
The freewheel pawl return spring is bent, but

I'm swapping it out for an 11-speed freewheel body, so I won't replace the spring.
Once I took it apart, I figured out that a big cause of the rear hub's grinding
is deteriorated bearings on the outside of the freewheel body.
That said, the hub bearings themselves show wear too, even if there's no pitting.

Once I pulled the cone
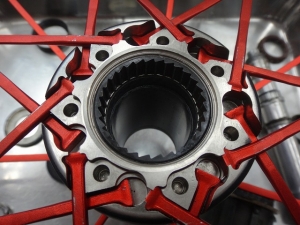
I washed out the hub.

One spoke is bent.
I'll replace it later.

Pressed in the CULT cone.
With CULT, you don't need the goldfish-scoop net film, but
the frame thickness of the film is needed inside the cone (→here).
I thought about tearing out just the film and leaving the frame,
but it turned out to be pretty sturdy—surprisingly tough to tear with just my fingers.
In the end, I pressed it back in as-is.

I'm putting in a fresh freewheel body, but

the grease is sticky, so when I press the pawls they stay flat.

One of them popped right back up.
I wiped off the grease and applied different grease to make sure they spring up smoothly.

Replaced the spoke.


Since I'll be replacing the cone, I didn't check the preliminary centering, but
at the time of hub overhaul, there was this much center offset.


I trued and centered the wheel.

Rear wheel repair is complete.

Now for the front wheel.
Style rating: ★★★★☆
One spoke is silver-colored, making it look like a fashion crime,
but since the rear wheel wasn't like that, I figured it was a temporary fix
and will replace it with a red spoke.
I was planning to return the silver spoke to the customer as a spare, but...

That silver spoke is bent.

The adjacent red spoke is also bent.
On the opposite side—past the silver spoke—the next spoke over is bent too.

Separate from those three bent spokes, I found another spoke with a deep gouge.

I ignore minor scratches, but this one needs replacing.

Near the root of the silver spoke

there's a whitened area on the rim side
with a dent noticeable to the touch.
Fortunately, the braking zone itself isn't dented.


Swapped in CULT bearings.
Ceramic bearing balls get dull if damaged.
New ones have a fresh, lustrous shine.
The silver spoke and the two adjacent ones show signs of forced adjustment despite being bent.
The wrong tools were used—the nipples bear marks of rough turning too.
It looks like they tried hard to remove lateral runout only by loosening,
which caused severe radial runout directly below those three spokes.

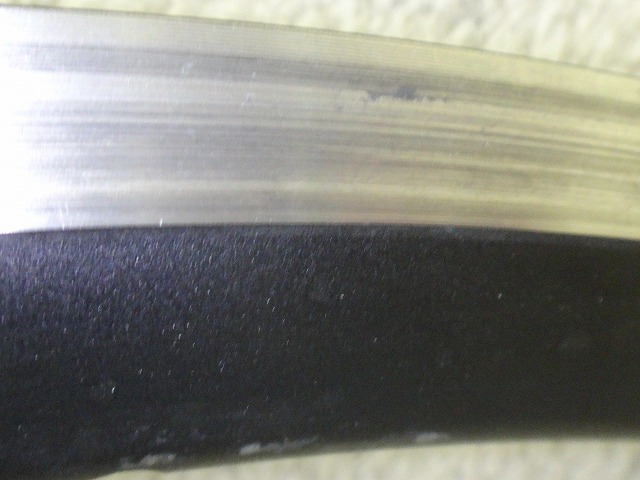
The brake marks

on the rim

look like this, but

directly under the silver spoke, it looks like this.
The wheel had radial runout and was used that way for a while.
After replacing the spokes and properly truing the radial runout,
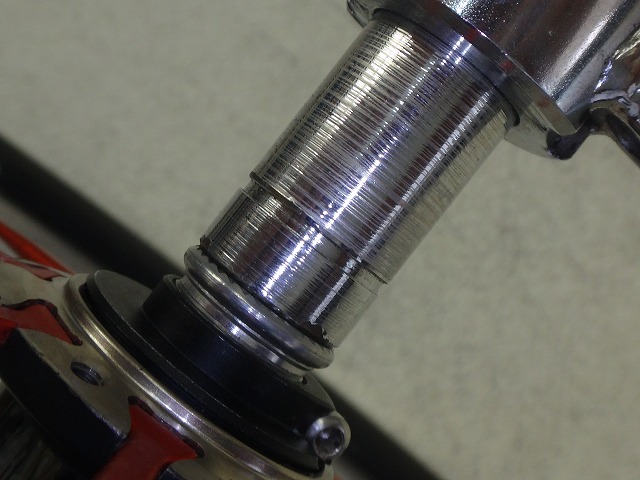
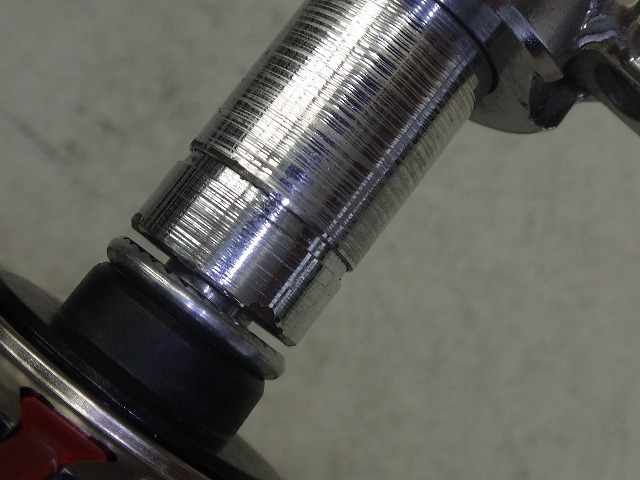
now you can see the brake marks' runout oscillating
in the brake zone of the spinning rim.


There's a noticeable center offset.


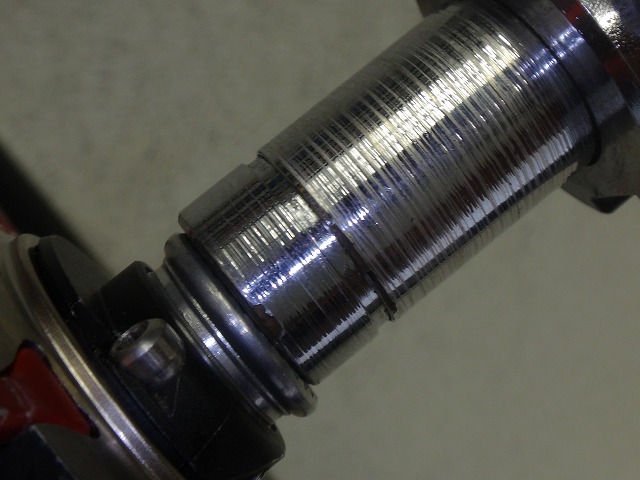
First center pass

A sheet of paper still isn't quite cleared (happens all the time).


Wheel center is set.
The radial and lateral runout were more work than that.
It barely took less time than building a wheel from scratch.

Front wheel repair is complete.
Style rating: ★★
Four spokes were replaced total.

↑gouged spoke

↑silver spoke crew
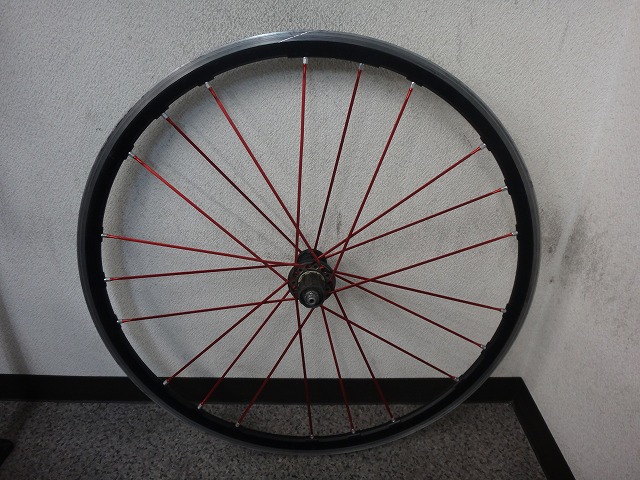
Starting with the rear wheel.
The customer wanted this discontinued tubular version and managed to get one,
but both wheels were in pretty rough shape.
The current owner apparently never used it—they sent it to my shop before even riding it.
First thing I checked was that there were no buckling marks on the bead hook
and that the rim didn't show obvious warping.
I wanted to avoid discovering it's unrepairable after I've already dug in.
Since the hub is pretty gnarly, the customer requested a CULT conversion.
As for the feel of the rear hub's rotation... it's definitely in my bottom five worst hubs I've ever handled.
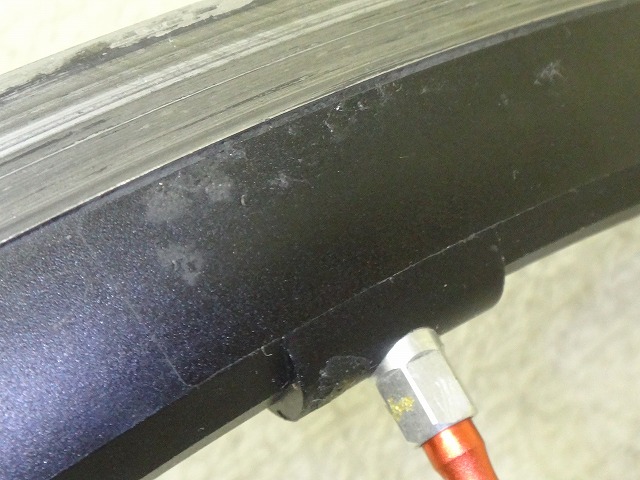
The sticker on the rim was just peeled off,
so there's adhesive residue all the way around the rim.

↑The phase alignment of the rim seam.
Depending on the rim joining method, the rim sticker usually serves
to hide the seam.

Cleaned it up nicely.
I did the same for the front rim.
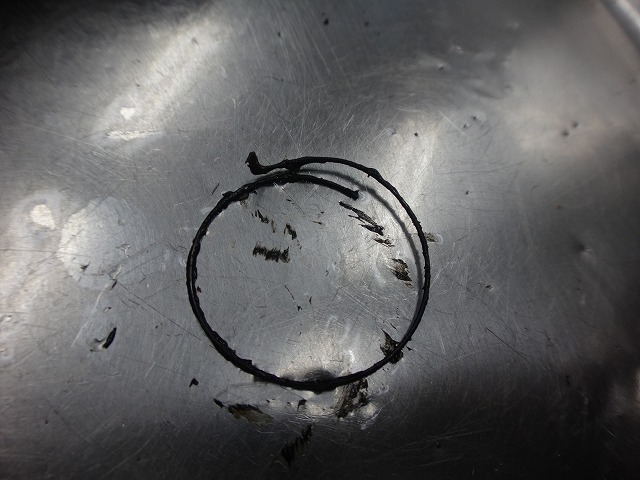
Disassembled the hub.
The freewheel pawl return spring is bent, but
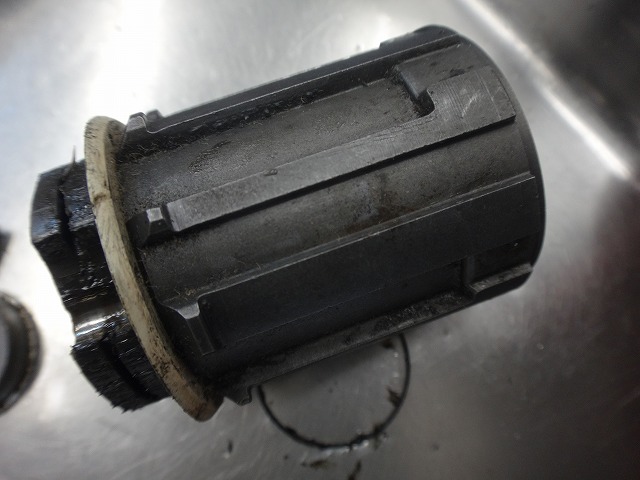
I'm swapping it out for an 11-speed freewheel body, so I won't replace the spring.
Once I took it apart, I figured out that a big cause of the rear hub's grinding
is deteriorated bearings on the outside of the freewheel body.
That said, the hub bearings themselves show wear too, even if there's no pitting.

Once I pulled the cone
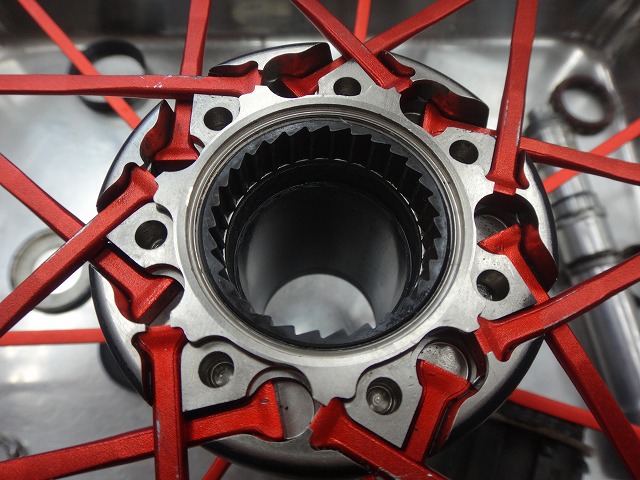
I washed out the hub.
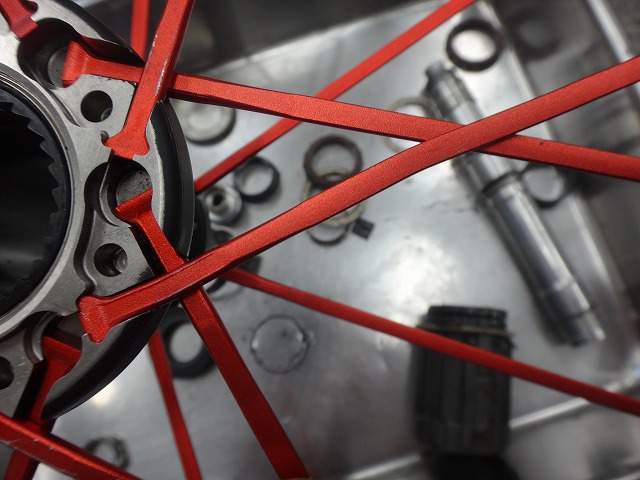
One spoke is bent.
I'll replace it later.
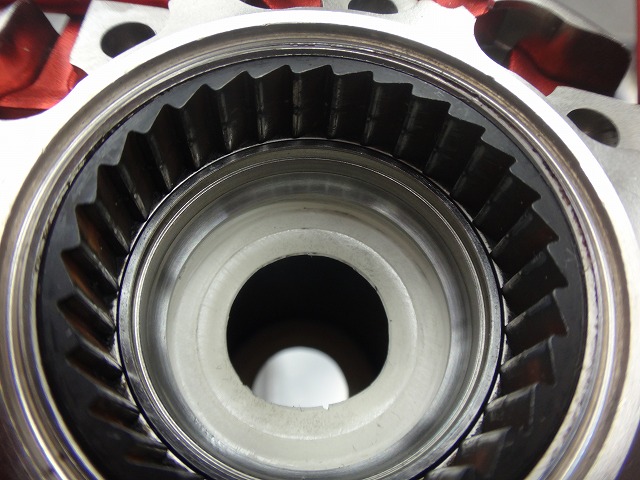
Pressed in the CULT cone.
With CULT, you don't need the goldfish-scoop net film, but
the frame thickness of the film is needed inside the cone (→here).
I thought about tearing out just the film and leaving the frame,
but it turned out to be pretty sturdy—surprisingly tough to tear with just my fingers.
In the end, I pressed it back in as-is.
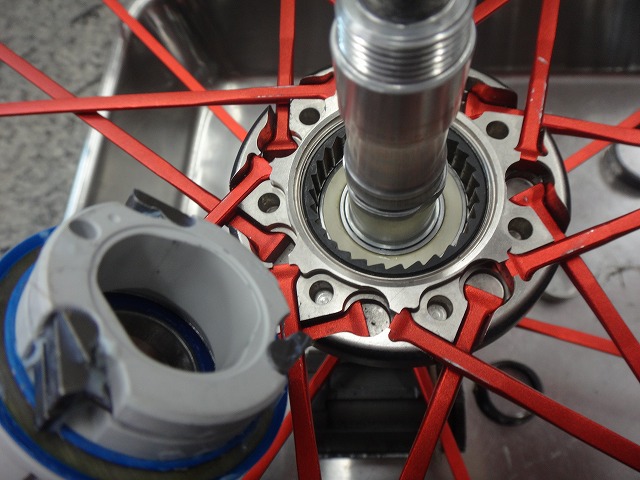
I'm putting in a fresh freewheel body, but
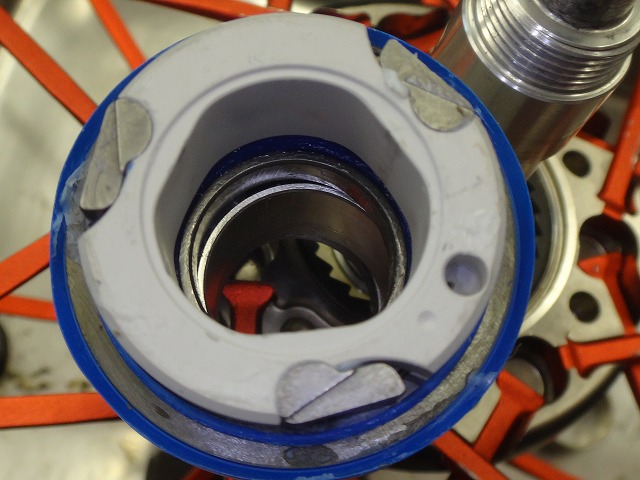
the grease is sticky, so when I press the pawls they stay flat.
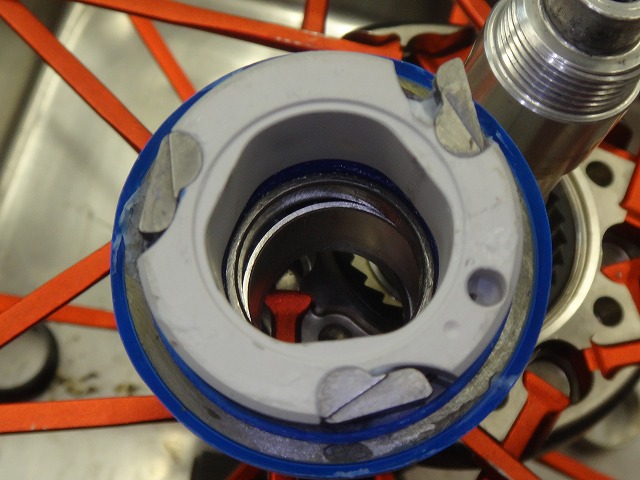
One of them popped right back up.
I wiped off the grease and applied different grease to make sure they spring up smoothly.
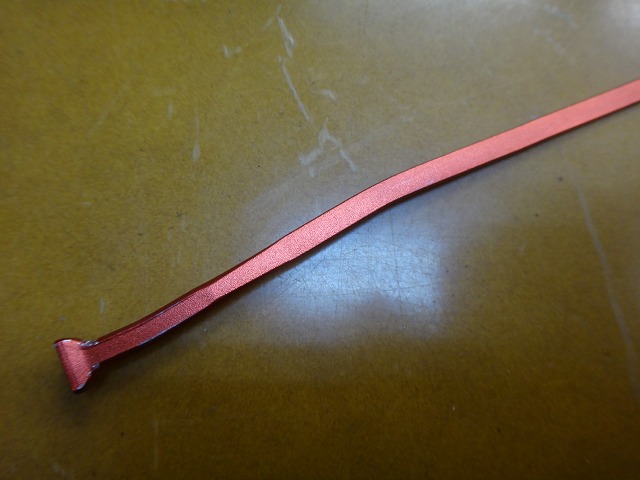
Replaced the spoke.

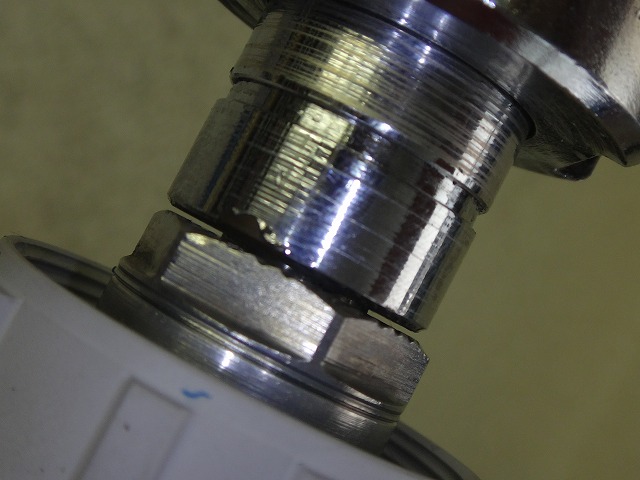
Since I'll be replacing the cone, I didn't check the preliminary centering, but
at the time of hub overhaul, there was this much center offset.
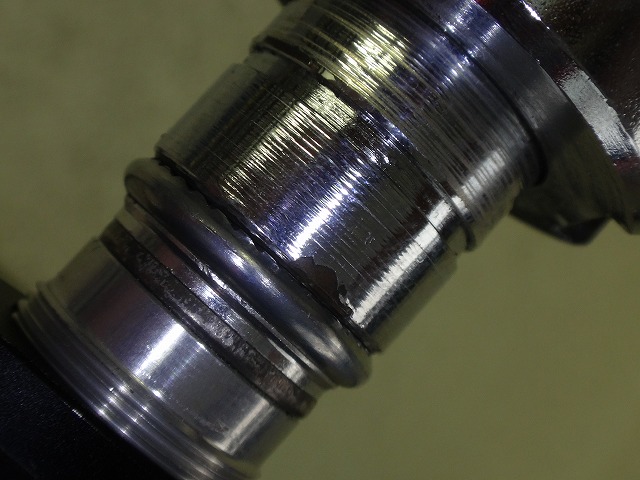
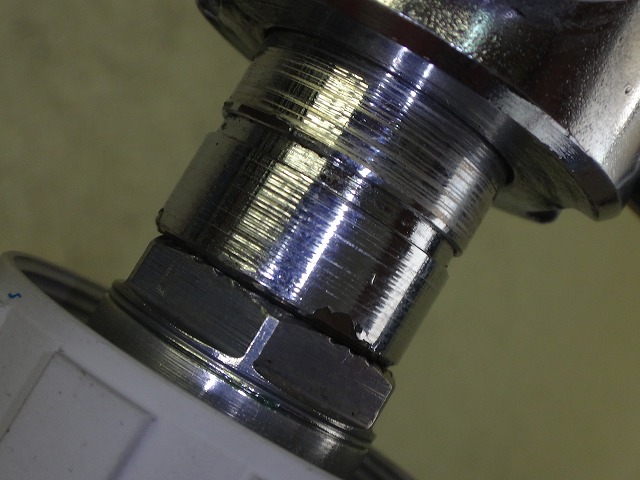
I trued and centered the wheel.
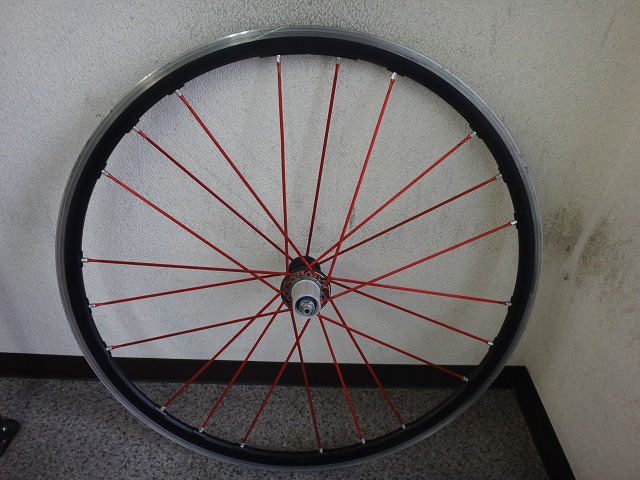
Rear wheel repair is complete.
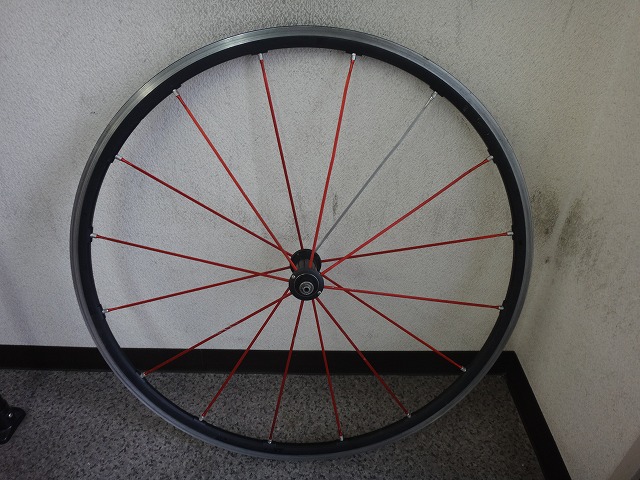
Now for the front wheel.
Style rating: ★★★★☆
One spoke is silver-colored, making it look like a fashion crime,
but since the rear wheel wasn't like that, I figured it was a temporary fix
and will replace it with a red spoke.
I was planning to return the silver spoke to the customer as a spare, but...

That silver spoke is bent.

The adjacent red spoke is also bent.
On the opposite side—past the silver spoke—the next spoke over is bent too.

Separate from those three bent spokes, I found another spoke with a deep gouge.

I ignore minor scratches, but this one needs replacing.
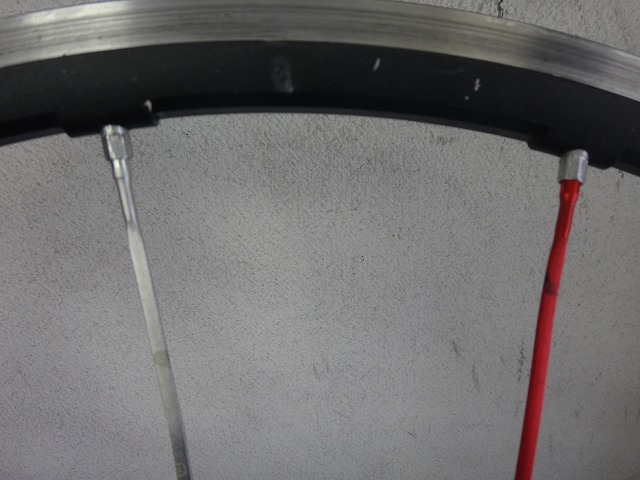
Near the root of the silver spoke
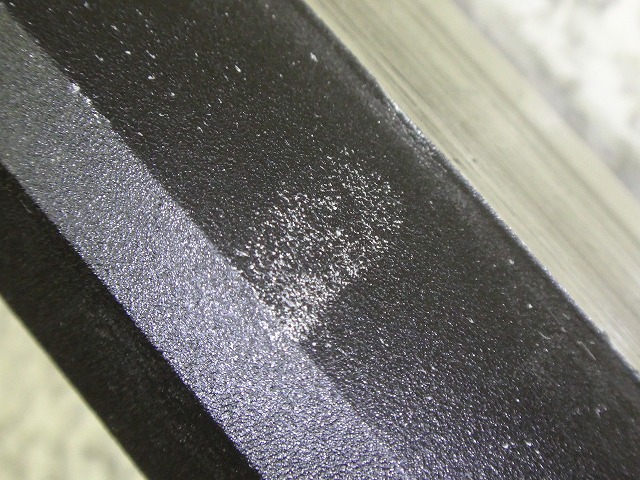
there's a whitened area on the rim side
with a dent noticeable to the touch.
Fortunately, the braking zone itself isn't dented.
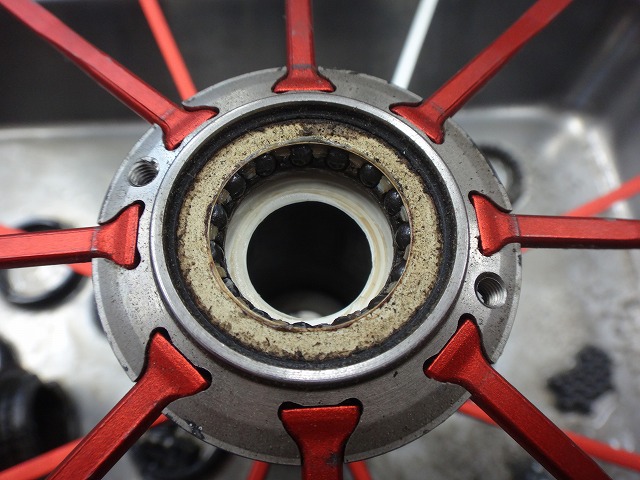
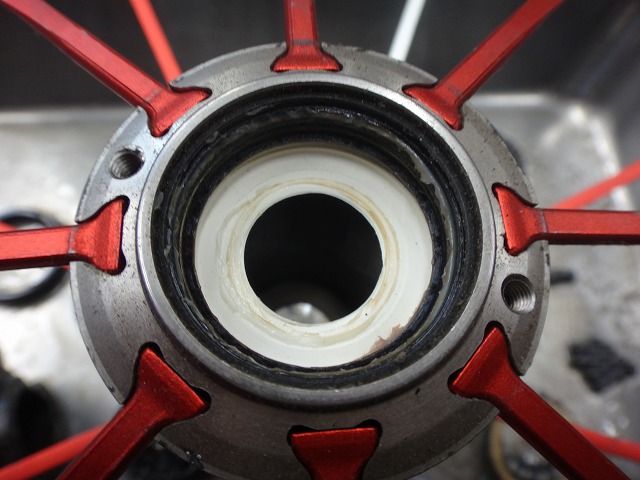
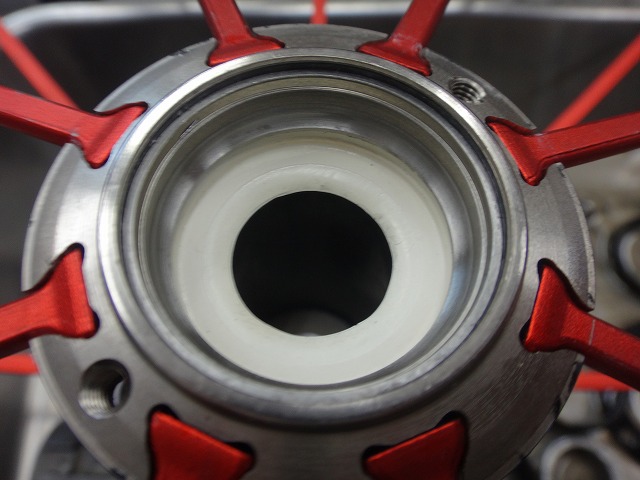

Swapped in CULT bearings.
Ceramic bearing balls get dull if damaged.
New ones have a fresh, lustrous shine.
The silver spoke and the two adjacent ones show signs of forced adjustment despite being bent.
The wrong tools were used—the nipples bear marks of rough turning too.
It looks like they tried hard to remove lateral runout only by loosening,
which caused severe radial runout directly below those three spokes.
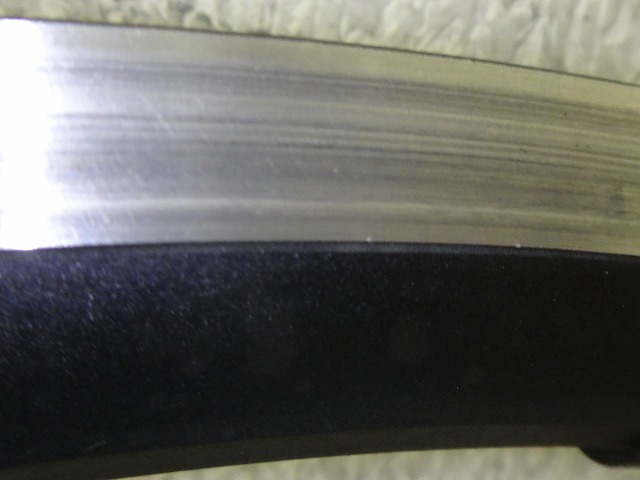
The brake marks
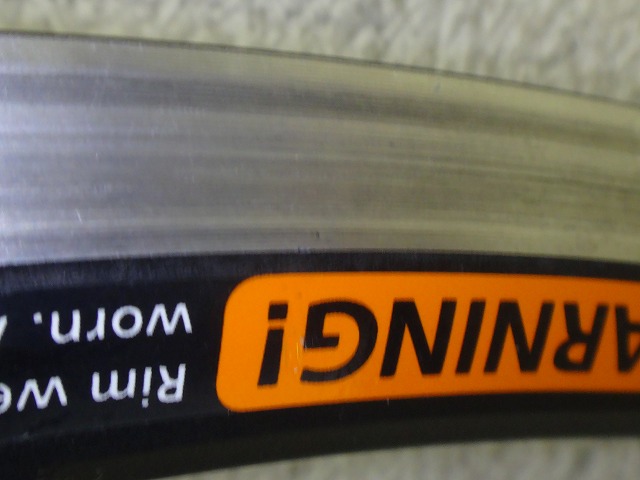
on the rim
look like this, but

directly under the silver spoke, it looks like this.
The wheel had radial runout and was used that way for a while.
After replacing the spokes and properly truing the radial runout,
now you can see the brake marks' runout oscillating
in the brake zone of the spinning rim.
There's a noticeable center offset.

First center pass
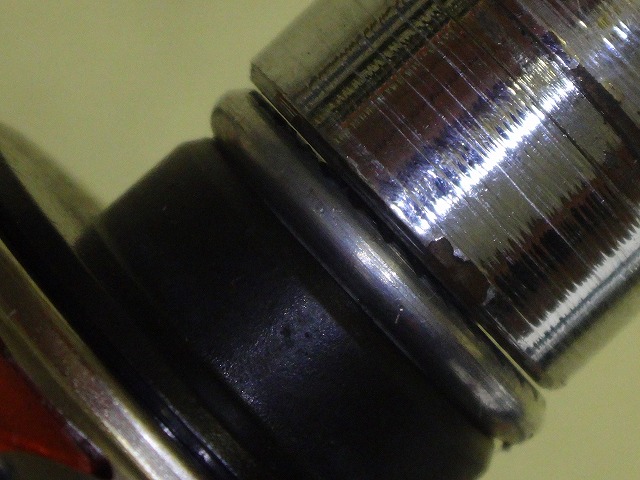
A sheet of paper still isn't quite cleared (happens all the time).
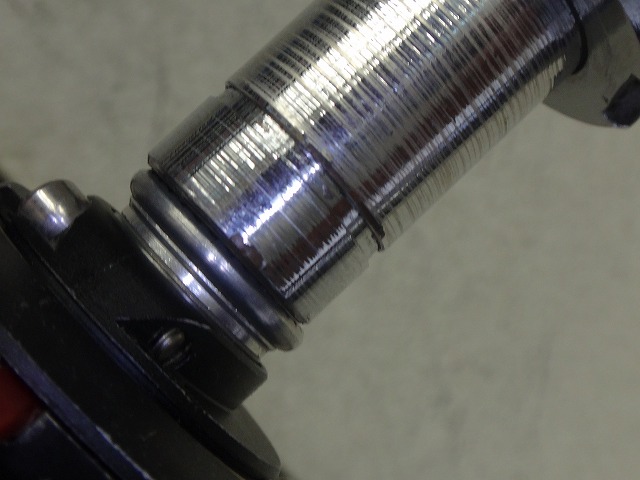
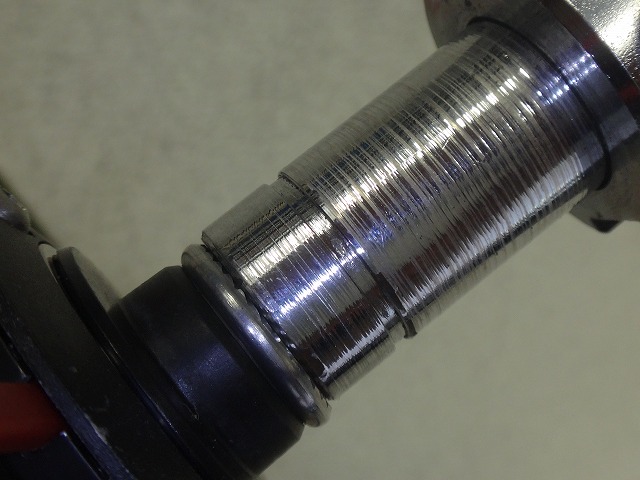
Wheel center is set.
The radial and lateral runout were more work than that.
It barely took less time than building a wheel from scratch.

Front wheel repair is complete.
Style rating: ★★
Four spokes were replaced total.
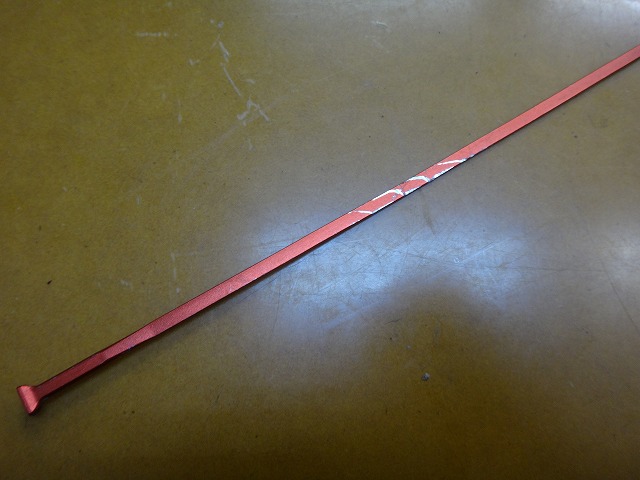
↑gouged spoke
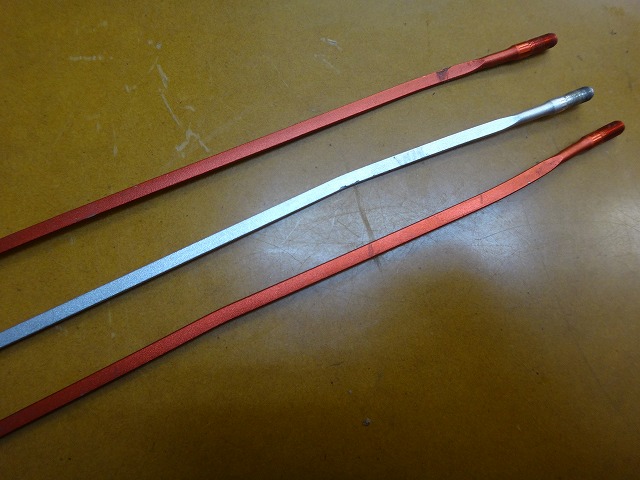
↑silver spoke crew