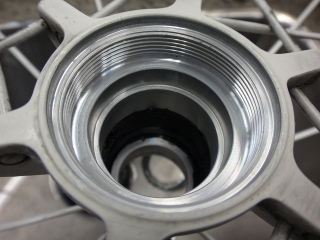
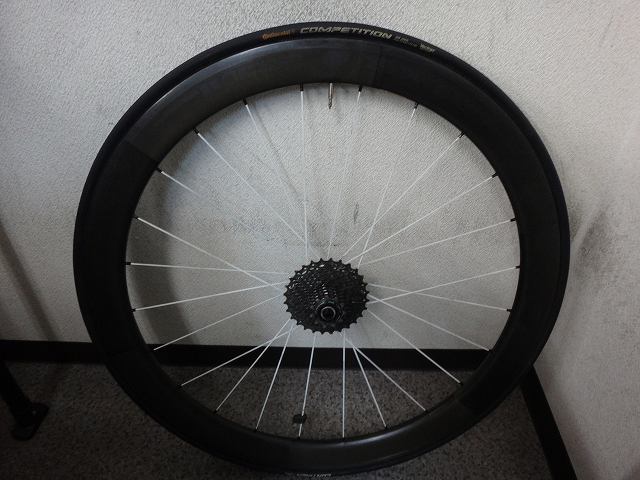
I received a Bontrager Aeolus 5 from a customer.


Compared to the same wheel that an acquaintance uses, it's clearly loose,
so they want me to tighten it if possible,
and also have the hub inspected.
The front wheel has almost no centering offset and the hub rotation isn't bad, so
I didn't just do some lateral trueing... I performed overall retightening separate from trueing.
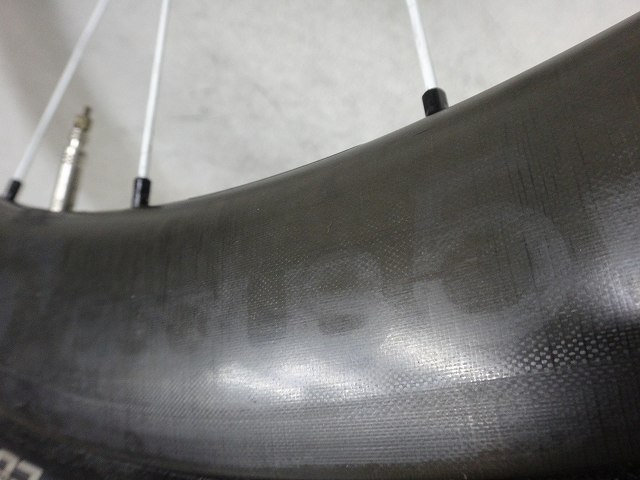
I know that if you remove the tire, you can access the nipple wrench from the outer edge,
but with the wide rim and the tire (22C) squeezed aside, I could apply the centering gauge,
so I didn't remove the tire for this work.

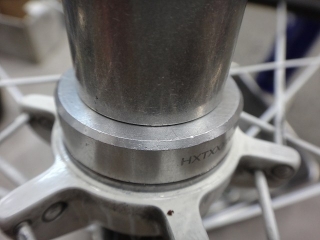
I could identify it as the Aeolus 5 because I could faintly read it.
After manufacturing the rim, a sticker is applied,
and this finish is achieved by either subjecting it to UV radiation so intense it would melt a vampire
or exposing it to sunlight for extended use before removing the sticker.
I don't know which method was used.
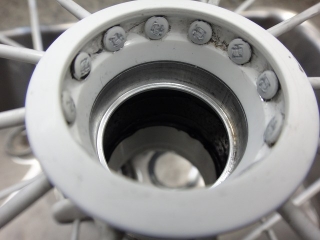
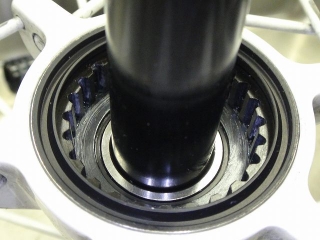
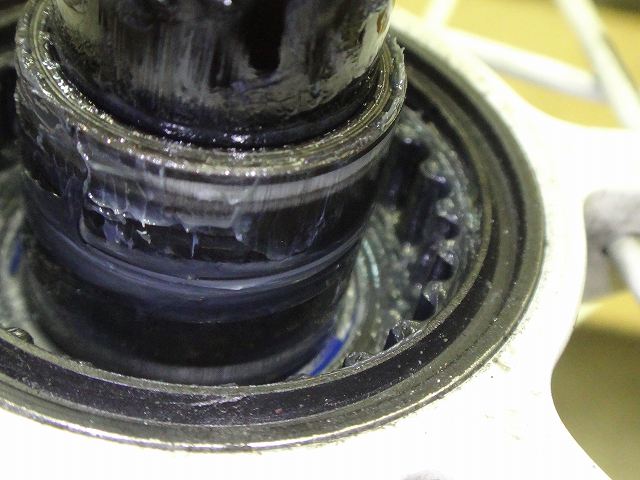
For the rear wheel, first, the hub rotation is rough.
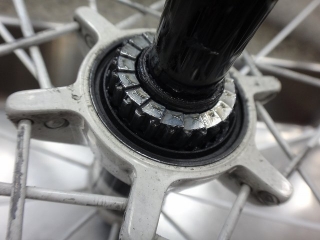
The star ratchet doesn't have proper dedicated grease applied to it.
Even with generous application, it breaks down quickly, so this is actually normal.

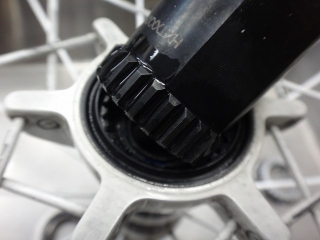
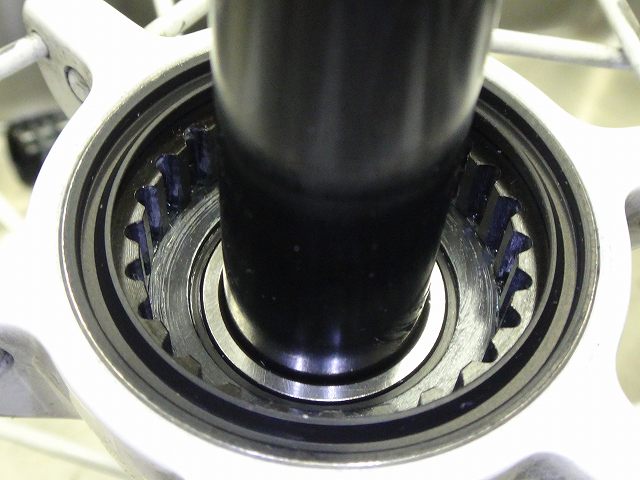
This hub is DT Swiss, but to remove the freewheel side bearing, you need to remove the ratchet ring.
The tool for removing the ratchet ring won't fit while the hub shaft is in place.
In other words, to replace the right bearing,
you need to remove the left bearing first.
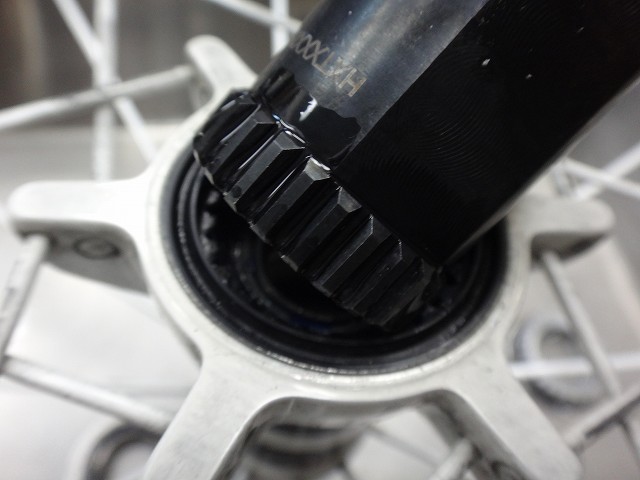
↑Ratchet ring tool (of course, a dedicated tool)

It looks like this
and it comes off.
Campagnolo (Fulcrum) hubs also have removable ratchet rings, but
in Campagnolo's case, both the ratchet ring and the dedicated tool
are only available through service centers,
so for replacements you have to send it to
the benevolent Campagnolo Japan, who kindly watches over
the questionable expressions in this crappy blog.
I met the person there the other day and was told that
the recent article (→here) was pretty rough too.
For some reason the ratchet ring is priced as a 3-piece set
on the price list, but they'll properly sell it to you at per-unit pricing.
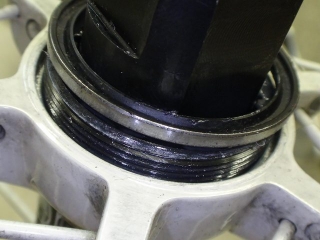
Behind the ratchet ring, there's a fairly thick steel washer
that prevents the star ratchet's spring tabs from engaging the bearing seal (probably).
I removed and cleaned the bearings.
The non-drive side bearing showed minimal wear, but
since it had steel balls instead of ceramic balls
and the customer is from out of town, I decided to replace it with new ones to be thorough.
So I replaced both the left and right hub body bearings.

Looking at the ratchet ring from the back,

there's a shoulder where the washer sits,
but tightening the ratchet ring doesn't guide it there automatically,
so after tightening to a certain point, you need to settle it here so it doesn't shift.
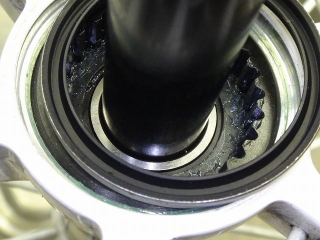
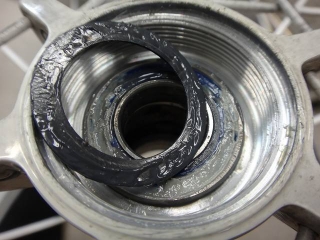
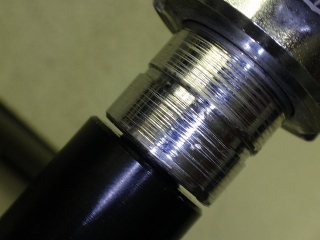
Next, I press-fit the dust seal,
but this part can't be installed just by finger pressure.
It's a press fit using a dedicated tool with impact loading to tap it in.
Using a dedicated tool that avoids the dust seal's recess,

it fits perfectly on the shaft's inner diameter so the strike force is straight and doesn't slip.
There's also another adapter needed for striking.
DT hubs require specialized tools for just about everything.
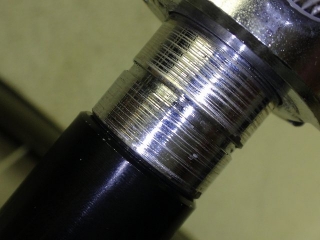
Got it in.

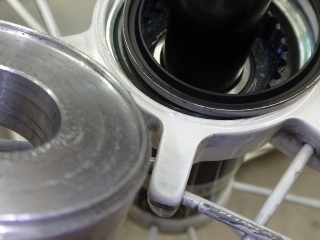
↑The dust seal is a structure of rubber bonded to a steel ring,
with the protrusions made of rubber.
In the image above, I'm pressing it with a flathead screwdriver.
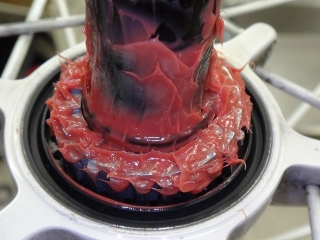
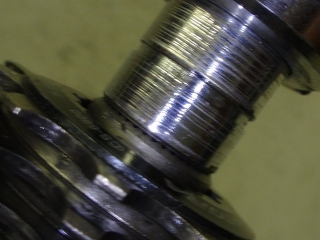
I applied a generous coating of star ratchet dedicated grease.
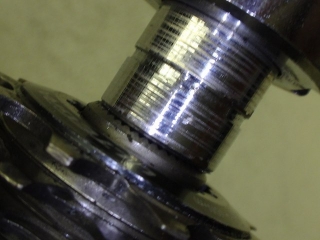
↑Hmm. The star ratchet press fit looks questionable.
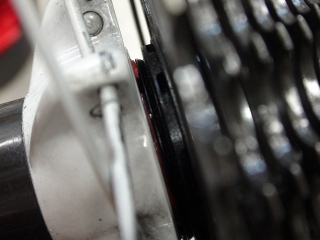
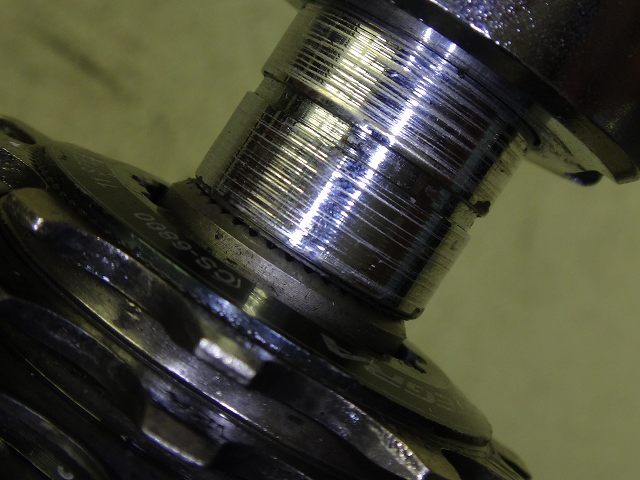
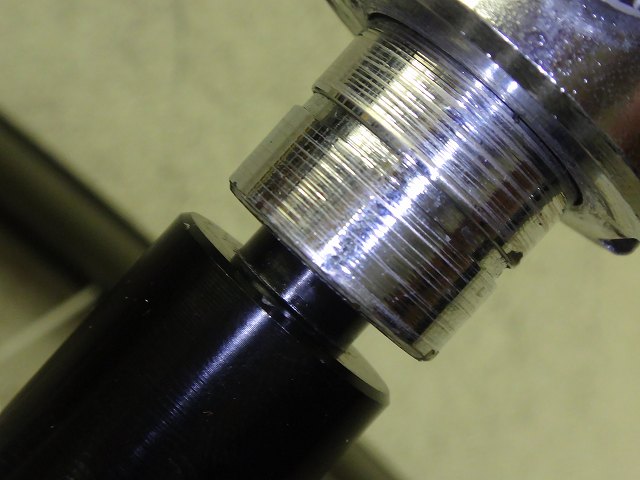
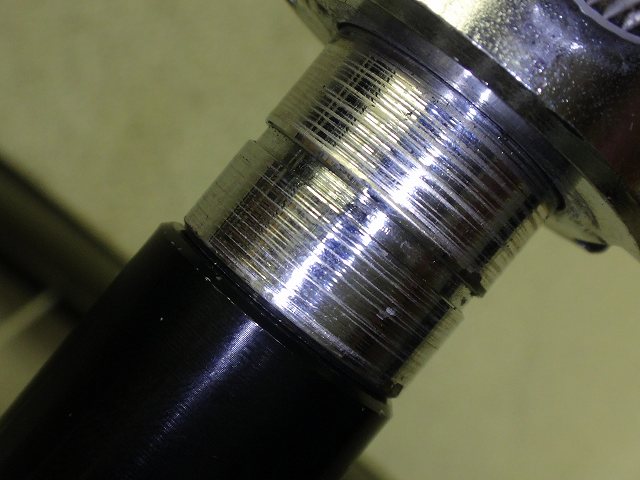
So I installed the quick release and firmly mounted it to the frame.
The DT free body's right end requires a snap fit
that won't go in just from hand pressure.
Installing it on the frame first is the reliable way.
Without doing this, you can't properly apply the centering gauge.


The center was seriously off.
From the amount and direction of the offset, I suspect this is acquired damage from when
the free body was changed from Shimano 10-speed to 11-speed.
Trek's official position says you shouldn't do center alignment on this,
but since that's what the customer wants, I'll do it.
If this were my wheel, I'd fix it too.
It's weird to say "you don't need to fix this."
Leaning heavily on tightening the freewheel side,
I attempted centering alongside lateral trueing
—attempt #3! (Skipping attempts 1 and 2)
Come on, still not right?
Finally got it.
Previously I'd measure the freewheel side dimensions with the centering gauge
and check the gap with the hub on the non-drive side,
but on the last one I reversed it—measuring the non-drive side dimension and applying it to the freewheel side.
If the center is correct, the result is the same either way.
I'm mostly doing retightening,
but because the rear hub dimensions and assembly conditions aren't ideal,
I have to admit the non-drive side is still looser
compared to rear wheels with better conditions.
I think there's a difference noticeable when riding, but...

Compared to the same wheel that an acquaintance uses, it's clearly loose,
so they want me to tighten it if possible,
and also have the hub inspected.
The front wheel has almost no centering offset and the hub rotation isn't bad, so
I didn't just do some lateral trueing... I performed overall retightening separate from trueing.
I know that if you remove the tire, you can access the nipple wrench from the outer edge,
but with the wide rim and the tire (22C) squeezed aside, I could apply the centering gauge,
so I didn't remove the tire for this work.
I could identify it as the Aeolus 5 because I could faintly read it.
After manufacturing the rim, a sticker is applied,
and this finish is achieved by either subjecting it to UV radiation so intense it would melt a vampire
or exposing it to sunlight for extended use before removing the sticker.
I don't know which method was used.
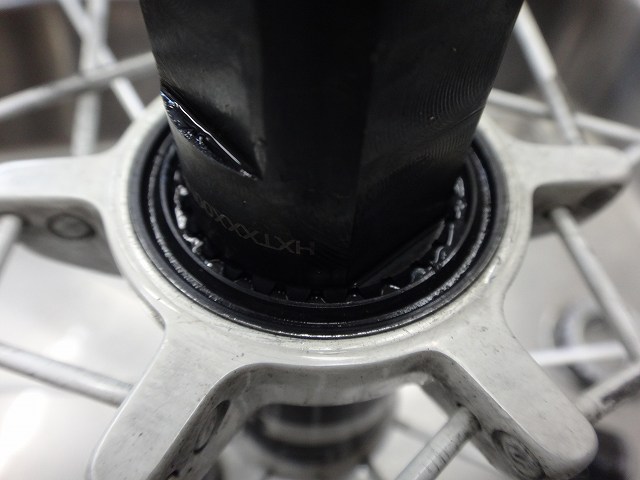
For the rear wheel, first, the hub rotation is rough.

The star ratchet doesn't have proper dedicated grease applied to it.
Even with generous application, it breaks down quickly, so this is actually normal.
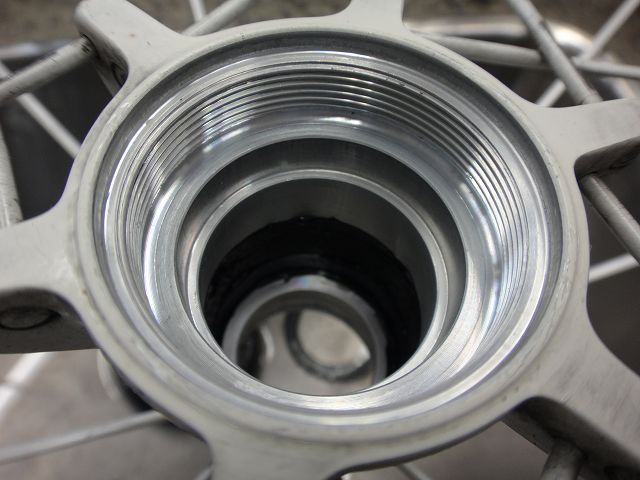
This hub is DT Swiss, but to remove the freewheel side bearing, you need to remove the ratchet ring.
The tool for removing the ratchet ring won't fit while the hub shaft is in place.
In other words, to replace the right bearing,
you need to remove the left bearing first.
↑Ratchet ring tool (of course, a dedicated tool)
It looks like this

and it comes off.
Campagnolo (Fulcrum) hubs also have removable ratchet rings, but
in Campagnolo's case, both the ratchet ring and the dedicated tool
are only available through service centers,
so for replacements you have to send it to
the benevolent Campagnolo Japan, who kindly watches over
the questionable expressions in this crappy blog.
I met the person there the other day and was told that
the recent article (→here) was pretty rough too.
For some reason the ratchet ring is priced as a 3-piece set
on the price list, but they'll properly sell it to you at per-unit pricing.

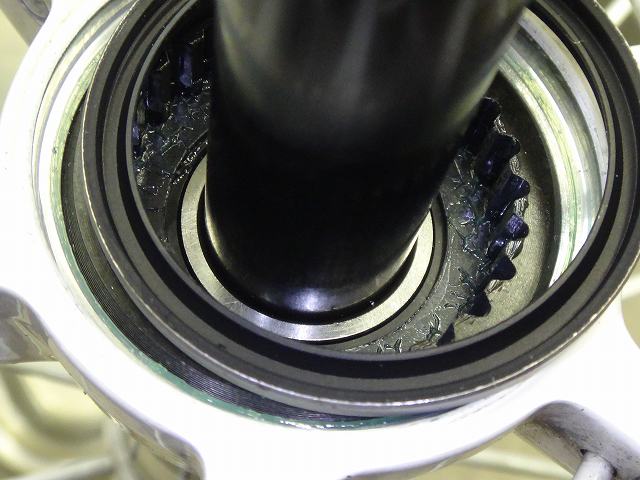
Behind the ratchet ring, there's a fairly thick steel washer
that prevents the star ratchet's spring tabs from engaging the bearing seal (probably).
I removed and cleaned the bearings.

The non-drive side bearing showed minimal wear, but
since it had steel balls instead of ceramic balls
and the customer is from out of town, I decided to replace it with new ones to be thorough.
So I replaced both the left and right hub body bearings.

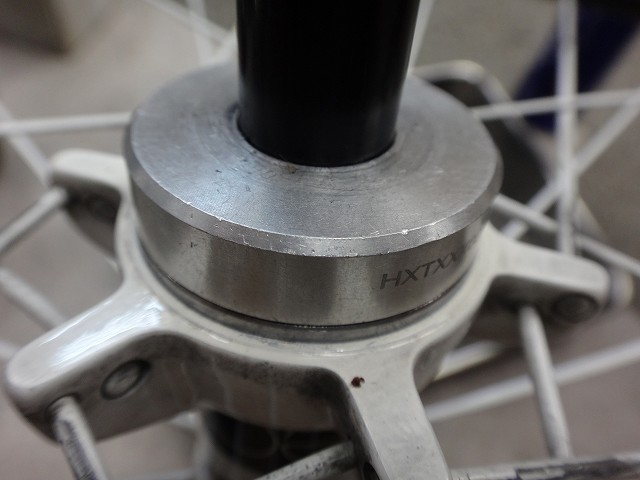
Looking at the ratchet ring from the back,

there's a shoulder where the washer sits,
but tightening the ratchet ring doesn't guide it there automatically,
so after tightening to a certain point, you need to settle it here so it doesn't shift.
Next, I press-fit the dust seal,
but this part can't be installed just by finger pressure.
It's a press fit using a dedicated tool with impact loading to tap it in.

Using a dedicated tool that avoids the dust seal's recess,
it fits perfectly on the shaft's inner diameter so the strike force is straight and doesn't slip.

There's also another adapter needed for striking.
DT hubs require specialized tools for just about everything.
Got it in.

↑The dust seal is a structure of rubber bonded to a steel ring,
with the protrusions made of rubber.
In the image above, I'm pressing it with a flathead screwdriver.

I applied a generous coating of star ratchet dedicated grease.

↑Hmm. The star ratchet press fit looks questionable.
So I installed the quick release and firmly mounted it to the frame.
The DT free body's right end requires a snap fit
that won't go in just from hand pressure.
Installing it on the frame first is the reliable way.
Without doing this, you can't properly apply the centering gauge.
The center was seriously off.
From the amount and direction of the offset, I suspect this is acquired damage from when
the free body was changed from Shimano 10-speed to 11-speed.
Trek's official position says you shouldn't do center alignment on this,
but since that's what the customer wants, I'll do it.
If this were my wheel, I'd fix it too.
It's weird to say "you don't need to fix this."


Leaning heavily on tightening the freewheel side,
I attempted centering alongside lateral trueing
—attempt #3! (Skipping attempts 1 and 2)
Come on, still not right?

Finally got it.
Previously I'd measure the freewheel side dimensions with the centering gauge
and check the gap with the hub on the non-drive side,
but on the last one I reversed it—measuring the non-drive side dimension and applying it to the freewheel side.
If the center is correct, the result is the same either way.
I'm mostly doing retightening,
but because the rear hub dimensions and assembly conditions aren't ideal,
I have to admit the non-drive side is still looser
compared to rear wheels with better conditions.
I think there's a difference noticeable when riding, but...