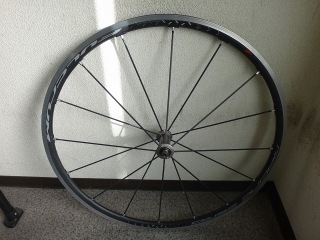
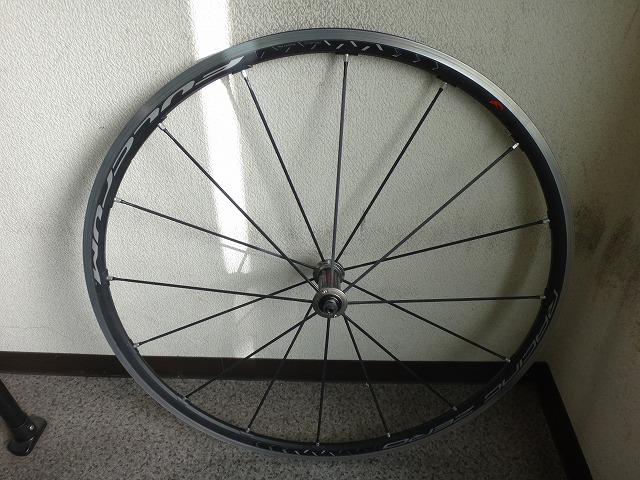
I received a Racing Zero from a customer.
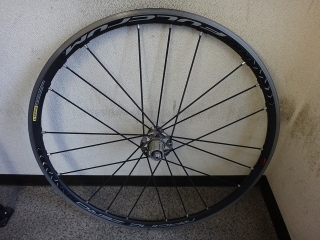
They tried to fix the rear wheel centering themselves,
but got confused and asked me to correct it.
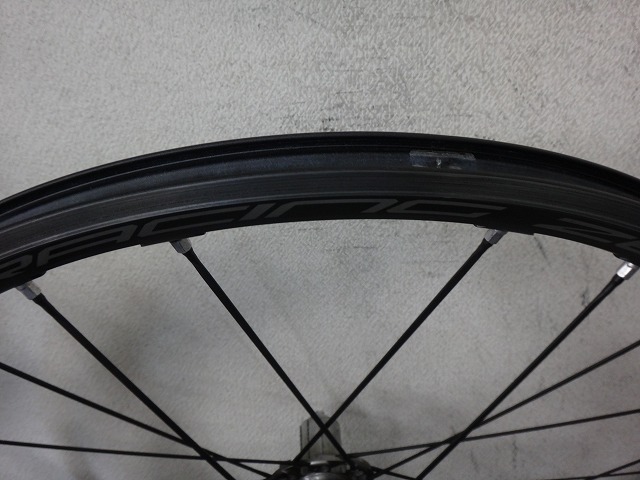
The rim is generally shifted toward the non-drive side.
If I looked harder, I might find an area with even more offset.
With Fulcrum rear wheels, the center is either spot-on
or slightly shifted toward the drive side in most cases,
and with age and use the shift also goes toward the drive side,
so there are virtually no stock units shifted toward the non-drive side like this.
Though to be fair, Mavic would probably pass this through quality inspection with ease.
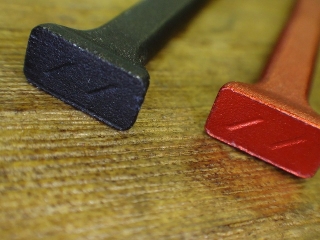
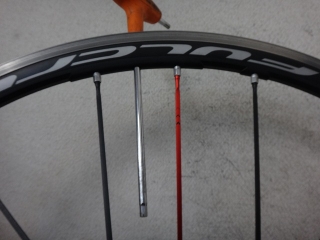
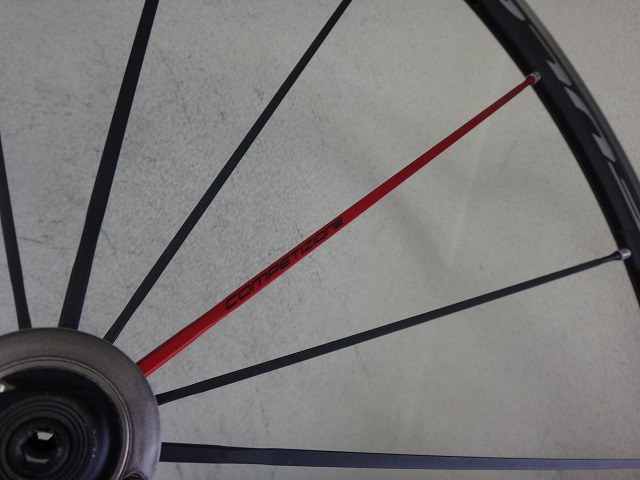
While truing the wheel, they asked me to make just one spoke red.
Is the designer thief trend catching on?

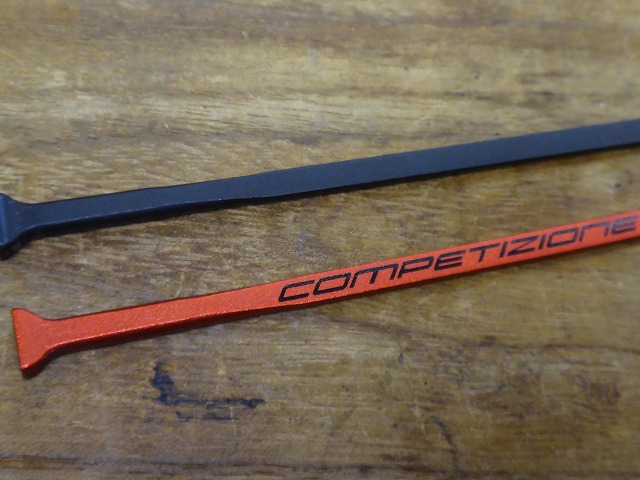
This Racing Zero is a 2015 model, but
if you want both front and rear wheels with red spokes,
you need to use red spokes from the Racing Zero Competizione.
The red spoke on the rear left uses the same length as the red spokes from earlier Racing Zero models, so it works,
but the 2015 Racing Zero has a new front hub with smaller bearings,
so the flange is also smaller and the spokes are slightly longer than on earlier models.
And the red spokes for the new front hub
only come from the Competizione.
The red spoke color is also slightly different, so if I use Competizione spokes on the front
and earlier red spokes on the rear, the appearance wouldn't match, so I avoided that.
The Shamal Mille designer thief from two posts ago
also has the new front hub with red spokes, so I used the Competizione ones.

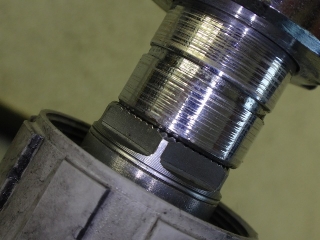
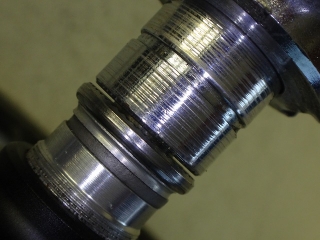
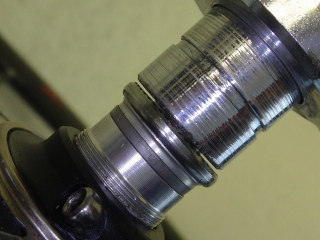
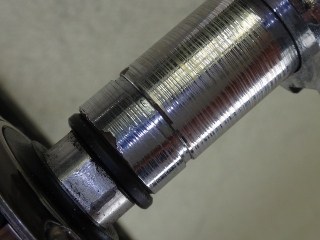
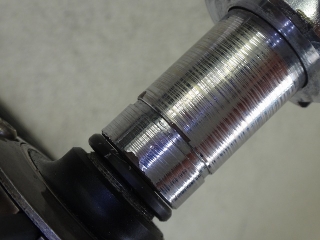
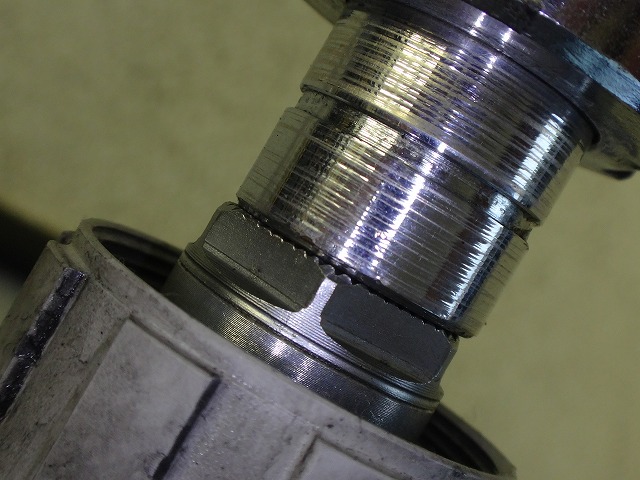
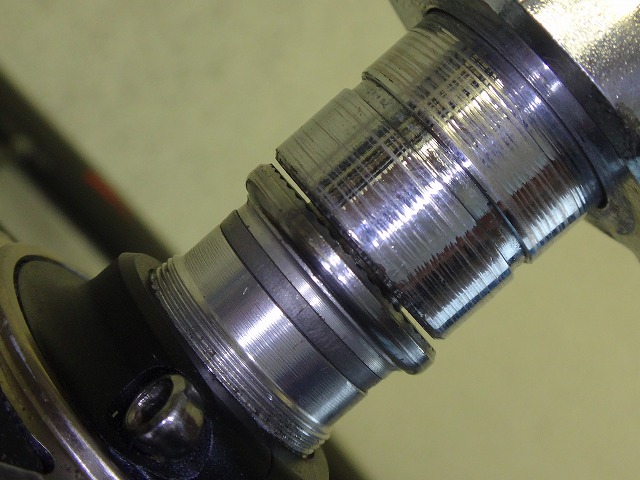
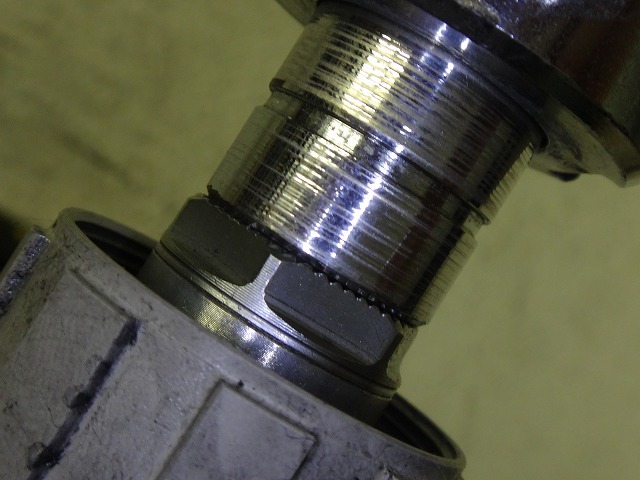
Some of the nipples were worn and needed replacing—
there was one that I judged definitely needed it (shown in the image above)—so I swapped it.
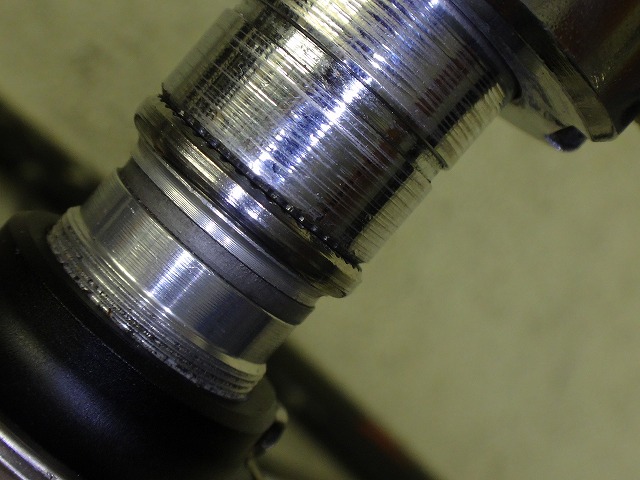
They struggled quite a bit with vertical truing in this spot, and the spoke shows a faint twist.
I reused the spoke.
There was radial runout along with center offset issues.
Campagnolo G3 and Fulcrum 2:1 have a structural characteristic where
directly below the phase where three spokes bunch together,
the rim contour is pulled inward by spoke tension, and
directly below the phase with no spokes, the rim contour is pushed outward.
In other words, there's some radial runout you can't eliminate,
but during actual riding the tire deformation at the contact patch is larger, so you can't feel it.
That said, you can't use this as an excuse to lower your truing standards—
on the truing stand, you need to get to the point where the gauge shows equal clearance at all seven spoke phases
and equal rubbing at all seven rest phases.
In the pre-work state, there were two spots among the seven where the rim was shifted outward despite being directly below a spoke phase,
and one spot among the seven where it was shifted inward despite being at a rest phase.

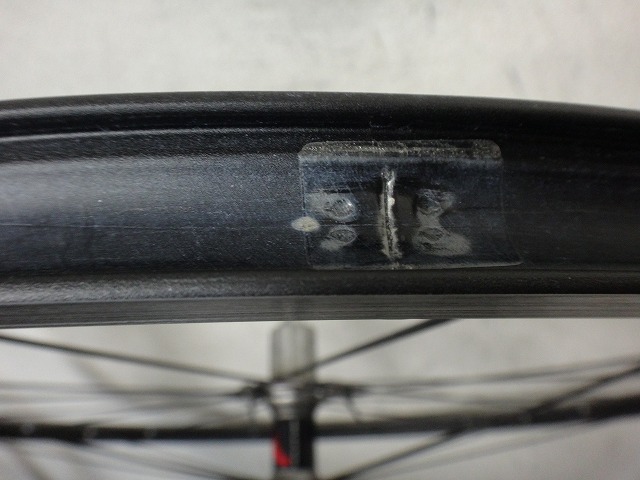
Separately, among the rest phases, only at the phase where the rim seam is located
is there radial runout that can't be eliminated, and only here
the rim extends slightly outward compared to the other six spots.
If I bring this in line with the other six spots, the two spoke phases on either side
of this rest phase would pull inward compared to the other five.

At the phase of the rim seam,
the greatest outward deflection isn't directly below the seam
but in the middle of the rest phase.
The reason the rim seam isn't in the middle of the rest phase is that
if it were,
the valve hole and the spoke phase on the non-drive side would overlap.

The reason I check the tentative center before work is
so I know which way it's offset beforehand and
can adjust while truing to reduce or eliminate the center offset.
It would be a waste of effort if the runout was fixed but the center offset got worse.
The images above show the state after replacing the worn nipples, adding the designer thief look,
and completing both radial and lateral truing.
It hasn't changed much, but considering all the work done,
at least it didn't get worse.


I centered it too.
Next, the front wheel.
Just barely offset.
I forgot to photograph after the work, but I did center it.

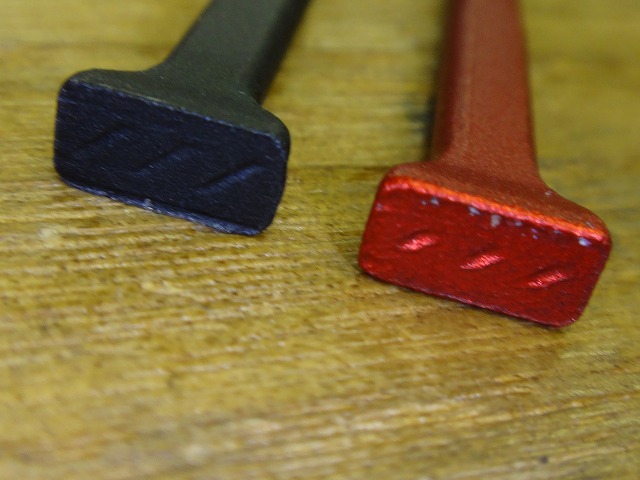
This time the spoke markings are "two diagonal lines" on the front and "three diagonal lines" on the rear left.
These spokes can be used as spares, so I gave them to the customer.
The spoke I mentioned earlier that had a faint twist on the rear wheel
is on the rear right, so it's marked "two horizontal lines with vertical," and it has a different length than the removed spokes.
If it had matched, I would have swapped the twisted spoke with the removed black spoke.

Done.

Designer thief complete.

They tried to fix the rear wheel centering themselves,
but got confused and asked me to correct it.

The rim is generally shifted toward the non-drive side.
If I looked harder, I might find an area with even more offset.
With Fulcrum rear wheels, the center is either spot-on
or slightly shifted toward the drive side in most cases,
and with age and use the shift also goes toward the drive side,
so there are virtually no stock units shifted toward the non-drive side like this.

While truing the wheel, they asked me to make just one spoke red.
Is the designer thief trend catching on?
This Racing Zero is a 2015 model, but
if you want both front and rear wheels with red spokes,
you need to use red spokes from the Racing Zero Competizione.
The red spoke on the rear left uses the same length as the red spokes from earlier Racing Zero models, so it works,
but the 2015 Racing Zero has a new front hub with smaller bearings,
so the flange is also smaller and the spokes are slightly longer than on earlier models.
And the red spokes for the new front hub
only come from the Competizione.
The red spoke color is also slightly different, so if I use Competizione spokes on the front
and earlier red spokes on the rear, the appearance wouldn't match, so I avoided that.
The Shamal Mille designer thief from two posts ago
also has the new front hub with red spokes, so I used the Competizione ones.

Some of the nipples were worn and needed replacing—
there was one that I judged definitely needed it (shown in the image above)—so I swapped it.
They struggled quite a bit with vertical truing in this spot, and the spoke shows a faint twist.
I reused the spoke.
There was radial runout along with center offset issues.
Campagnolo G3 and Fulcrum 2:1 have a structural characteristic where
directly below the phase where three spokes bunch together,
the rim contour is pulled inward by spoke tension, and
directly below the phase with no spokes, the rim contour is pushed outward.
In other words, there's some radial runout you can't eliminate,
but during actual riding the tire deformation at the contact patch is larger, so you can't feel it.
That said, you can't use this as an excuse to lower your truing standards—
on the truing stand, you need to get to the point where the gauge shows equal clearance at all seven spoke phases
and equal rubbing at all seven rest phases.
In the pre-work state, there were two spots among the seven where the rim was shifted outward despite being directly below a spoke phase,
and one spot among the seven where it was shifted inward despite being at a rest phase.
Separately, among the rest phases, only at the phase where the rim seam is located
is there radial runout that can't be eliminated, and only here
the rim extends slightly outward compared to the other six spots.
If I bring this in line with the other six spots, the two spoke phases on either side
of this rest phase would pull inward compared to the other five.
At the phase of the rim seam,
the greatest outward deflection isn't directly below the seam
but in the middle of the rest phase.
The reason the rim seam isn't in the middle of the rest phase is that
if it were,

the valve hole and the spoke phase on the non-drive side would overlap.

The reason I check the tentative center before work is
so I know which way it's offset beforehand and
can adjust while truing to reduce or eliminate the center offset.
It would be a waste of effort if the runout was fixed but the center offset got worse.
The images above show the state after replacing the worn nipples, adding the designer thief look,
and completing both radial and lateral truing.
It hasn't changed much, but considering all the work done,
at least it didn't get worse.
I centered it too.
Next, the front wheel.


Just barely offset.
I forgot to photograph after the work, but I did center it.
This time the spoke markings are "two diagonal lines" on the front and "three diagonal lines" on the rear left.
These spokes can be used as spares, so I gave them to the customer.
The spoke I mentioned earlier that had a faint twist on the rear wheel
is on the rear right, so it's marked "two horizontal lines with vertical," and it has a different length than the removed spokes.
If it had matched, I would have swapped the twisted spoke with the removed black spoke.

Done.
Designer thief complete.