Another day with wheels (and so on).
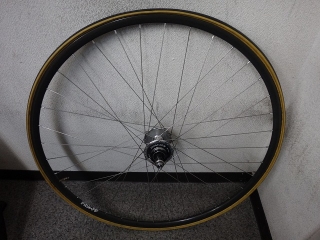
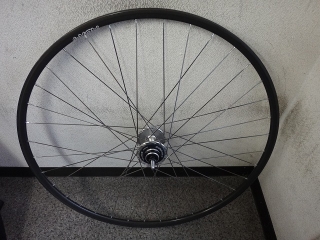
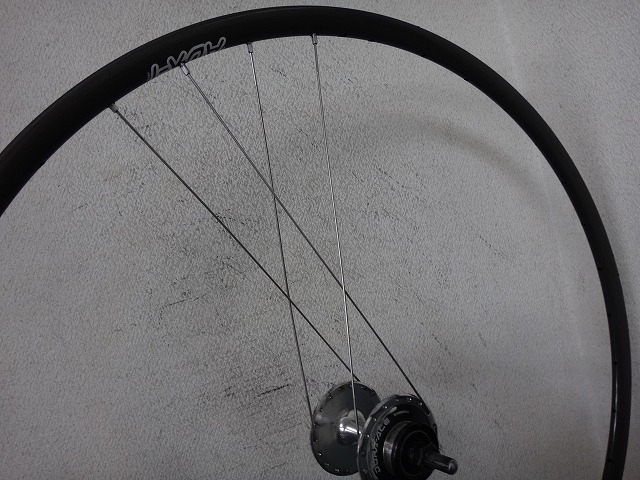
I received a fixed gear rear wheel assembled with an ADX1-S rim from a customer.

The rim says ADX-1, but
this is the later-generation model called ADX-1S.
Compared to traditional low-profile tubular rims,
there are triangular cross-section aero rims (which were reasonably aero-shaped for the time)
in three models: Aero 1, Aero 2, and Aero 4.
The catalog model names are each "ADX-〇,"
but on the rim labels they consistently read "AERO 〇."
The subsequent aero rim with a trapezoidal cross-section
has ADX-5 on the rim label, not AERO 5.
People familiar with these rims will understand if you call it Aero 5 informally.
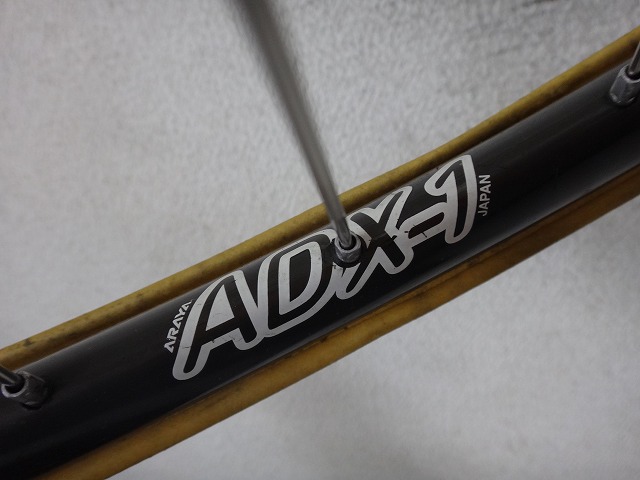
The ADX-1S rim with the white lettering label shown in the image above
no longer requires the kamaboko-shaped (half-round) washers that were necessary for Aero 1, 2, and 4.
It can handle higher tension than the older Aero 1,
but still can't be tensioned as tight as modern rims.
The kamaboko-shaped washers only add a few grams per 28 or 32 count,
so it's not a significant weight increase.
Comparing ADX-1S with an older Aero 1 with washers,
even the older one with washers is lighter.
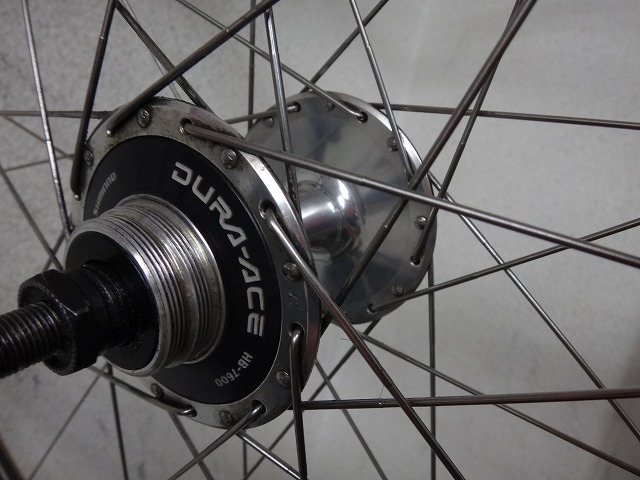
HB-7600 36-hole lacing,
but it's done in Italian threading style on a double-threaded hub.
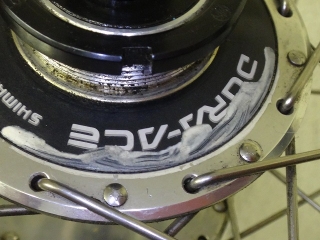
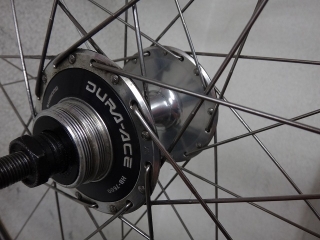
There was something like paint on
the right-side flange, so I wiped it off.
By right side, I don't mean the assumed right side in Italian lacing
(though it happens to work out that way),
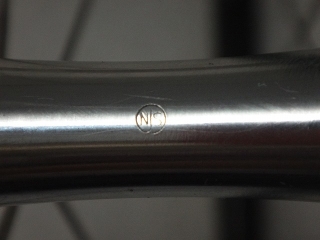
but rather based on the NJS stamp marking in the center of the hub shell,
that side was indeed the right side.

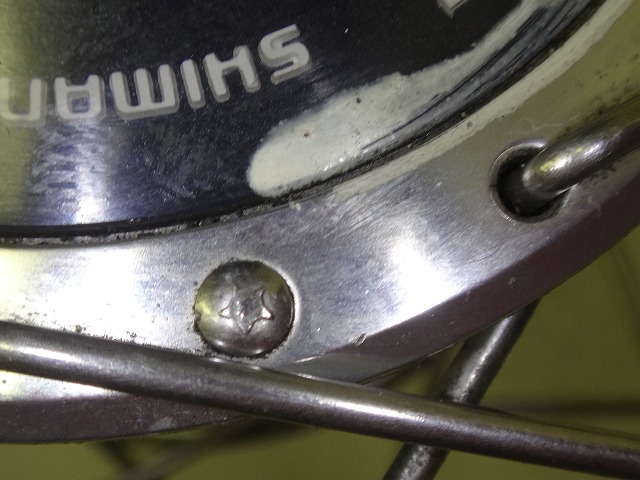
The spokes are 15-16 gauge butted,
and the spoke head has a star stamp marking,
so they should be "stainless" with no magnetic response,
but the magnet sticks faintly.
What I call "fake stainless."
In the case of fake Starbright, based on the magnetism,
the tensile strength must be lower than genuine Starbright,
so I also call it "crappy Starbright,"
but fake stainless is stronger than real stainless,
so I don't call it "crappy stainless."
That's my own arbitrary rule.

There's likely the factor of time having passed since assembly and the spokes being thin (15-gauge base),
but the spoke tension is slack.
The customer wanted me to increase the tension
and then lace it, but
given that it's using Italian lacing on a double-threaded hub,
I decided to replace the spokes and rebuild it.
In the end, tightening by degrees probably wasn't possible anyway.


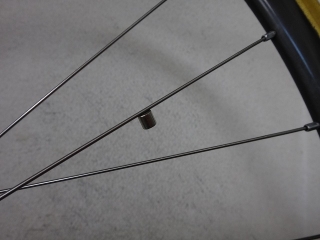
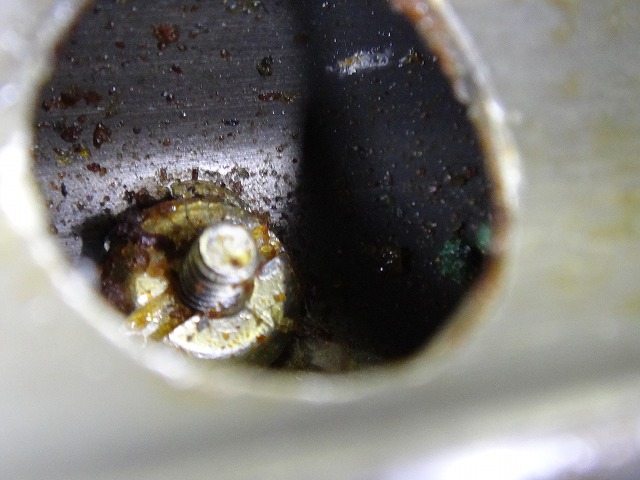
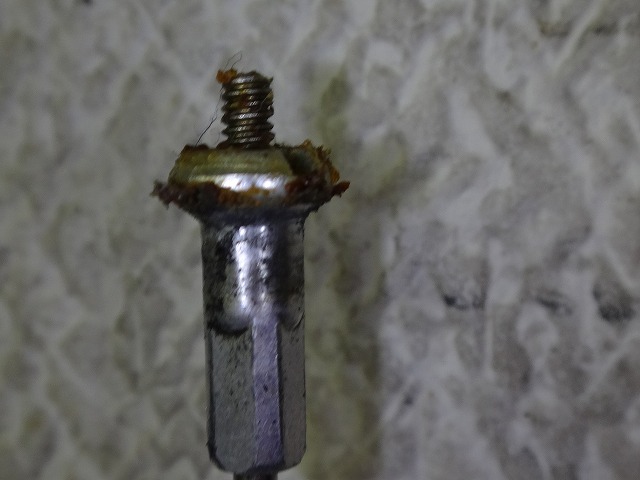
↑The spoke length is too long.
As usual, I disassembled only the four spokes
at the final crossing near the valve—one pair on each side—
without loosening them at all,

and pulled the nipples out from the rim.

↑Like this
Going back in the timeline, there was also centering issues.
Given the spoke length situation, I'm not even sure
if I could have re-centered it in the tightening direction.


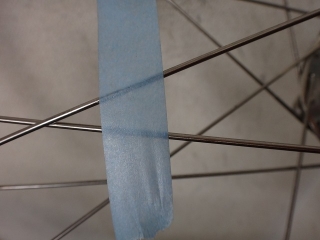
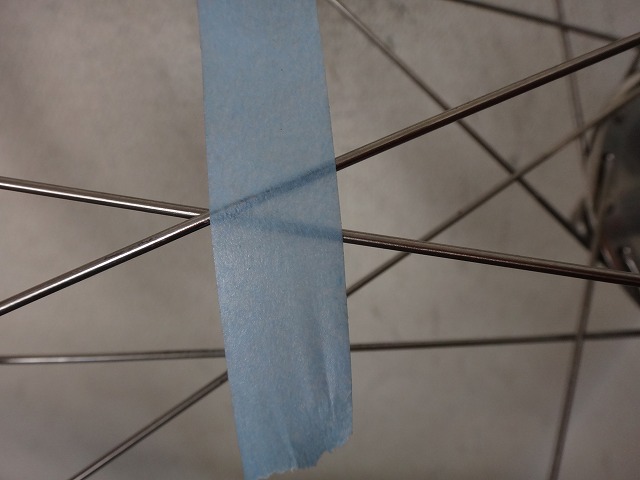
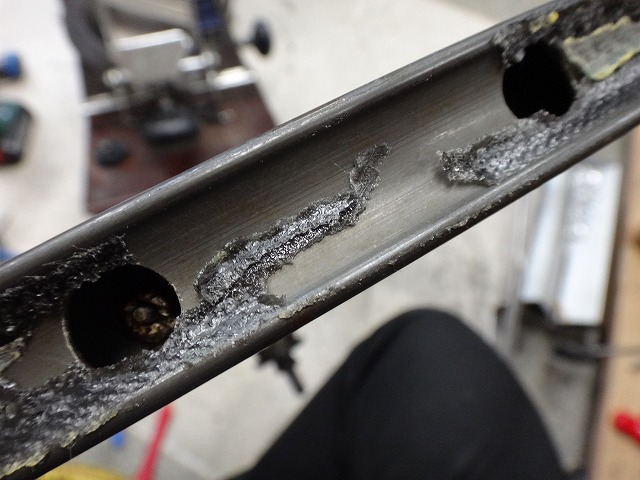
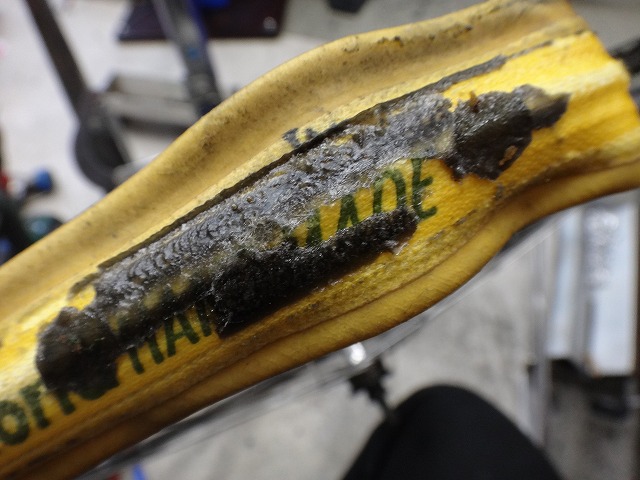
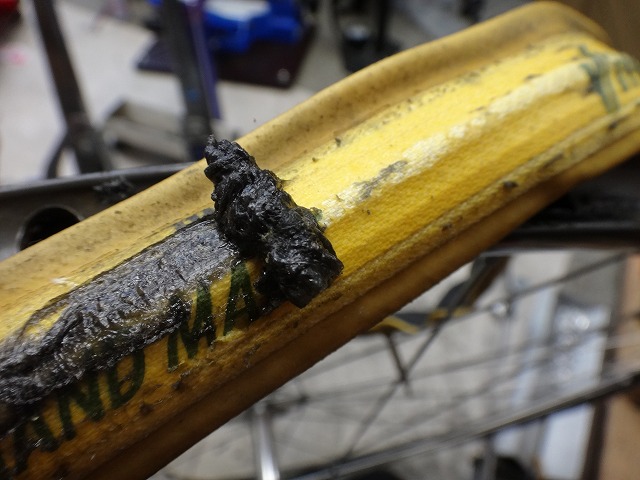
↑These two images show the same spot after peeling off the tubular tape.
You can see how the tape shape is inverted
between what remained on the rim and what remained on the tire.
German-made tires with black cotton underbars (except Continental Giro)
have strong adhesion to tubular tape,
and most of the tape stays on the tire side when peeled off.
This time, tape remained on both the rim and tire,
but the tape remaining on the rim can be removed fairly easily by rubbing it with your finger.

Vittoria and Veloflex tubular tires
have a wax-like coating on their underbars (and tire sides),
and while that wax is present, it flakes off
and the tape can be removed relatively easily.
In the image above, I'm also rubbing and rolling it with my finger,
and near the tire center and seam, the wax has worn away
and the cotton base color is showing.
When the wax is completely gone from the entire underbar,
the tape adhesion increases and becomes difficult to remove.
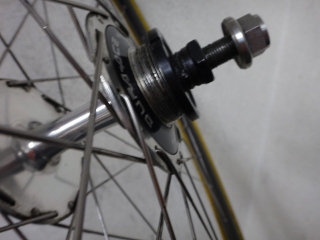
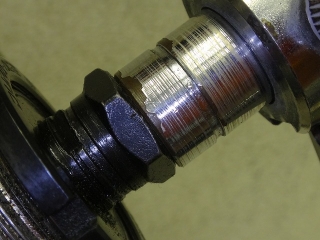
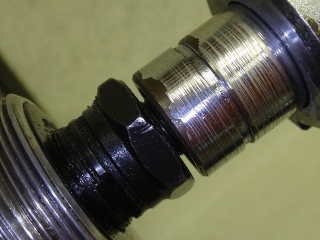
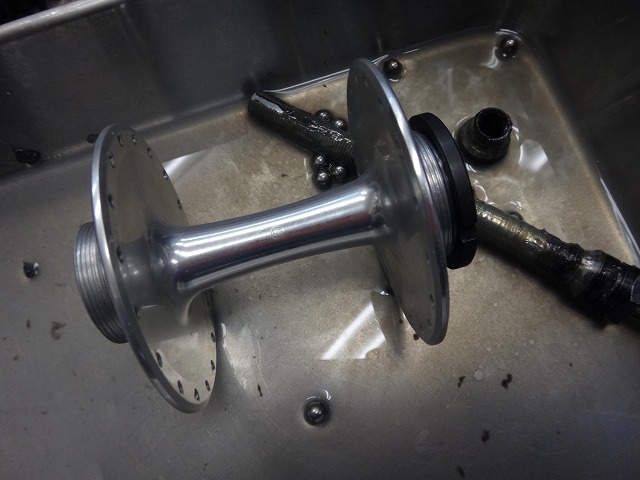
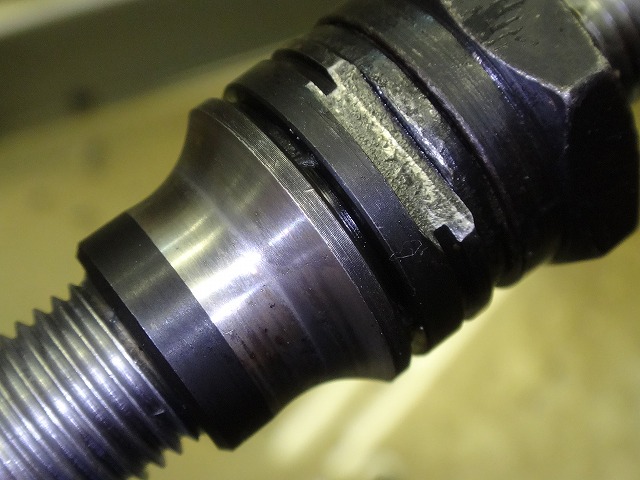
I also did a hub overhaul as requested.
I needed to keep the left and right ball sets separate,
so in the image above I'm using the hub axle as the divider.
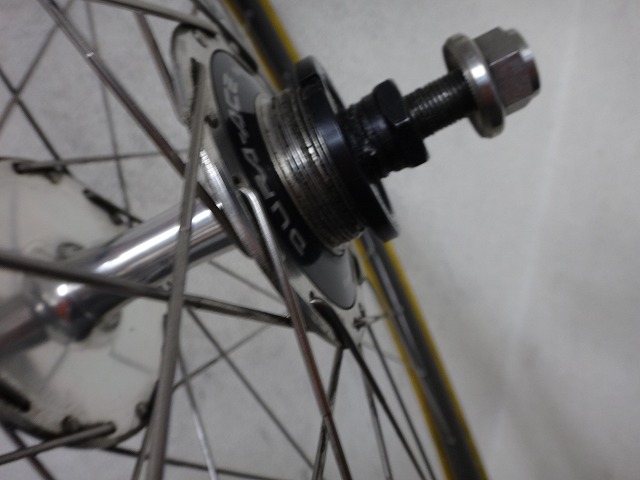
A large-flange cup-and-cone fixed gear hub
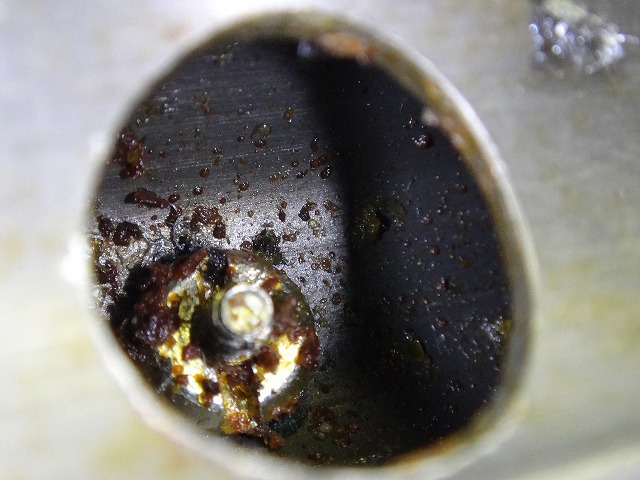
spins smoothly even by itself,
but this hub had the ball adjustment too tight—the axle wouldn't turn by hand—
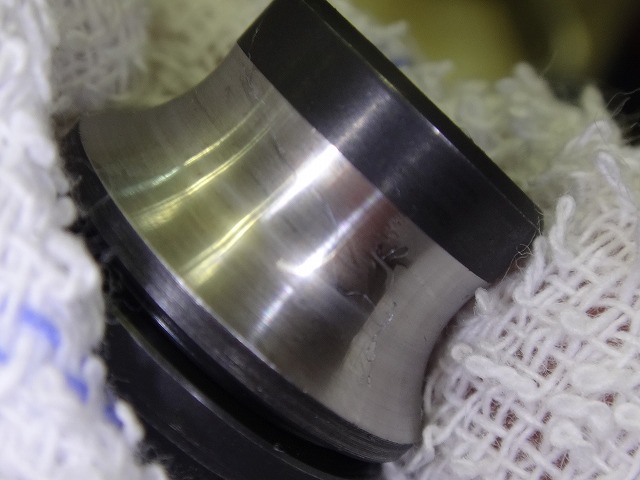
and there's no self-tightening, so the bearing preload had been over-tightened.
Using it in this state would quickly develop spalling,

but fortunately there was no damage.
The image above shows the left and right cone washers, and I also checked the balls one by one.

before

after
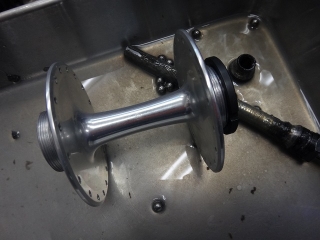
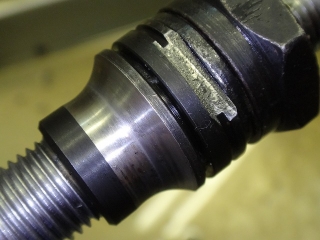
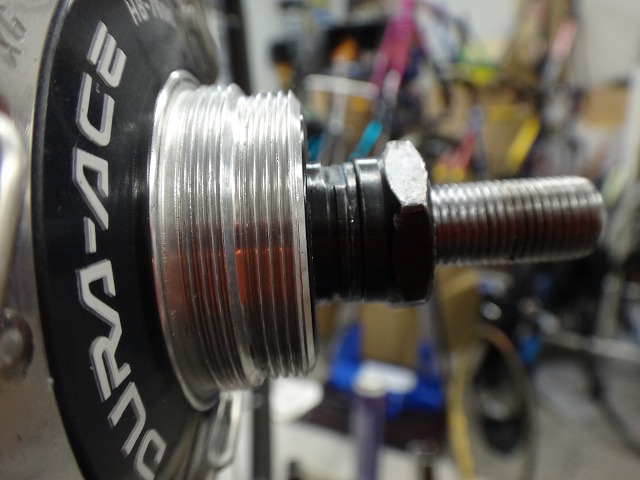
Since it was a good opportunity, I also cleaned the hub shell.
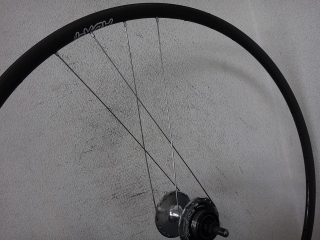
It's built up.
HB-7600 36-hole CX-RAY 888 JIS lacing.
I'll do the lacing later.
When the NJS stamp on the hub shell is pointing straight up
and reads correctly, the right side is on the right;
when the ADX-1 label on the rim reads correctly, that side is the right;
and the one lockring is currently installed on the right side.

I received a fixed gear rear wheel assembled with an ADX1-S rim from a customer.
The rim says ADX-1, but
this is the later-generation model called ADX-1S.
Compared to traditional low-profile tubular rims,
there are triangular cross-section aero rims (which were reasonably aero-shaped for the time)
in three models: Aero 1, Aero 2, and Aero 4.
The catalog model names are each "ADX-〇,"
but on the rim labels they consistently read "AERO 〇."
The subsequent aero rim with a trapezoidal cross-section
has ADX-5 on the rim label, not AERO 5.
People familiar with these rims will understand if you call it Aero 5 informally.
The ADX-1S rim with the white lettering label shown in the image above
no longer requires the kamaboko-shaped (half-round) washers that were necessary for Aero 1, 2, and 4.
It can handle higher tension than the older Aero 1,
but still can't be tensioned as tight as modern rims.
The kamaboko-shaped washers only add a few grams per 28 or 32 count,
so it's not a significant weight increase.
Comparing ADX-1S with an older Aero 1 with washers,
even the older one with washers is lighter.
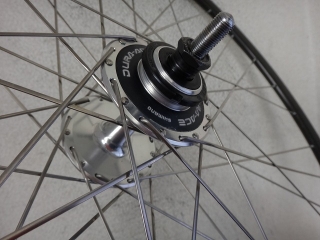
HB-7600 36-hole lacing,
but it's done in Italian threading style on a double-threaded hub.

There was something like paint on
the right-side flange, so I wiped it off.
By right side, I don't mean the assumed right side in Italian lacing
(though it happens to work out that way),

but rather based on the NJS stamp marking in the center of the hub shell,
that side was indeed the right side.
The spokes are 15-16 gauge butted,
and the spoke head has a star stamp marking,
so they should be "stainless" with no magnetic response,

but the magnet sticks faintly.
What I call "fake stainless."
In the case of fake Starbright, based on the magnetism,
the tensile strength must be lower than genuine Starbright,
so I also call it "crappy Starbright,"
but fake stainless is stronger than real stainless,
so I don't call it "crappy stainless."
That's my own arbitrary rule.
There's likely the factor of time having passed since assembly and the spokes being thin (15-gauge base),

but the spoke tension is slack.
The customer wanted me to increase the tension
and then lace it, but
given that it's using Italian lacing on a double-threaded hub,
I decided to replace the spokes and rebuild it.
In the end, tightening by degrees probably wasn't possible anyway.
↑The spoke length is too long.
As usual, I disassembled only the four spokes
at the final crossing near the valve—one pair on each side—
without loosening them at all,

and pulled the nipples out from the rim.
↑Like this


Going back in the timeline, there was also centering issues.
Given the spoke length situation, I'm not even sure
if I could have re-centered it in the tightening direction.
↑These two images show the same spot after peeling off the tubular tape.
You can see how the tape shape is inverted
between what remained on the rim and what remained on the tire.
German-made tires with black cotton underbars (except Continental Giro)
have strong adhesion to tubular tape,
and most of the tape stays on the tire side when peeled off.
This time, tape remained on both the rim and tire,
but the tape remaining on the rim can be removed fairly easily by rubbing it with your finger.
Vittoria and Veloflex tubular tires
have a wax-like coating on their underbars (and tire sides),
and while that wax is present, it flakes off
and the tape can be removed relatively easily.
In the image above, I'm also rubbing and rolling it with my finger,
and near the tire center and seam, the wax has worn away
and the cotton base color is showing.
When the wax is completely gone from the entire underbar,
the tape adhesion increases and becomes difficult to remove.
I also did a hub overhaul as requested.
I needed to keep the left and right ball sets separate,
so in the image above I'm using the hub axle as the divider.
A large-flange cup-and-cone fixed gear hub
spins smoothly even by itself,
but this hub had the ball adjustment too tight—the axle wouldn't turn by hand—
and there's no self-tightening, so the bearing preload had been over-tightened.
Using it in this state would quickly develop spalling,
but fortunately there was no damage.
The image above shows the left and right cone washers, and I also checked the balls one by one.

before
after
Since it was a good opportunity, I also cleaned the hub shell.

It's built up.

HB-7600 36-hole CX-RAY 888 JIS lacing.
I'll do the lacing later.
When the NJS stamp on the hub shell is pointing straight up
and reads correctly, the right side is on the right;
when the ADX-1 label on the rim reads correctly, that side is the right;
and the one lockring is currently installed on the right side.