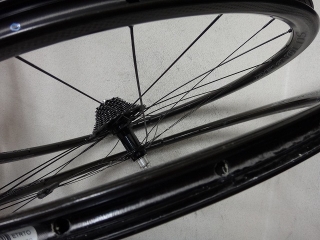
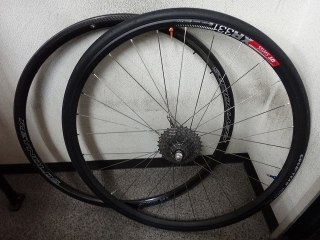
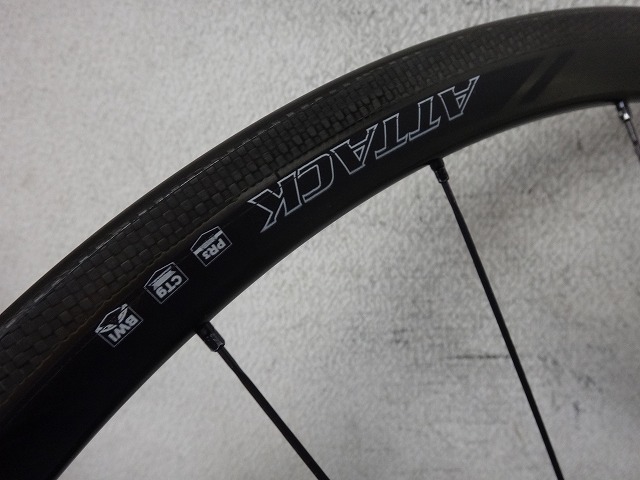
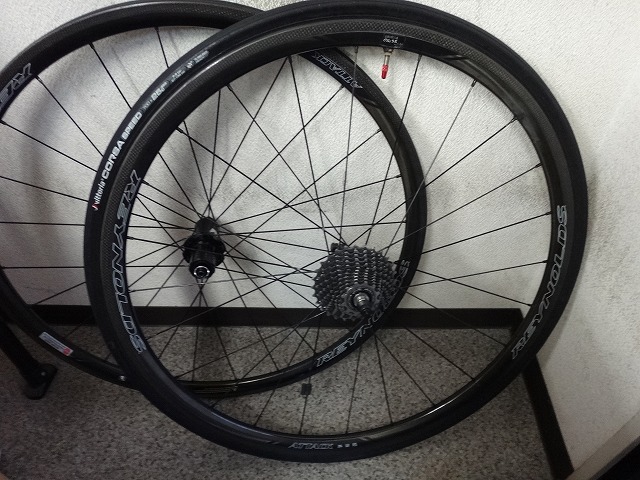
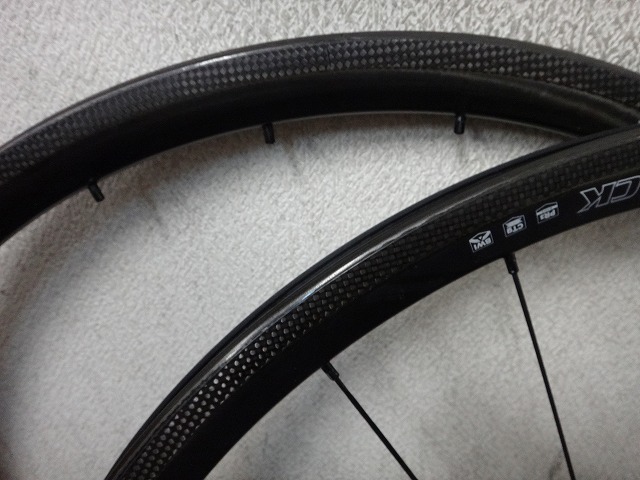
A customer dropped off a Reynolds Attack rear wheel for me.

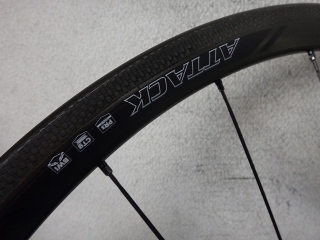
It's a standard stock rear wheel,
purchased at auction for a specific purpose.
All we really need is the rim.

This is the rear wheel I previously built myself
with an Attack rim and Evolite hub,
but when it was on top of a car and we drove under a low clearance,
it smashed hard into the frame—total loss—
and the wheel has a crack right through the rim holes, so it's done for.
So I'm going to rebuild it using the stock rim.

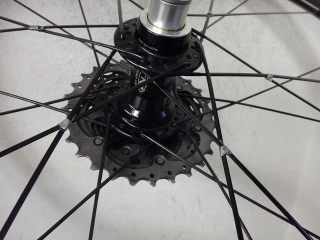
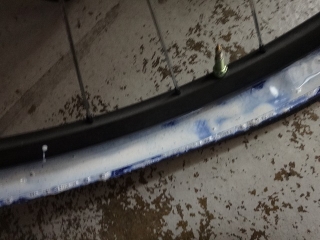
Near the valve hole on the stock wheel,
instead of Reynolds' blue rim tape,
there was Stans tape applied.
Man, what a sloppy job.
Doesn't look like it was ever used tubeless though.
Doesn't matter since I'm taking it apart anyway,
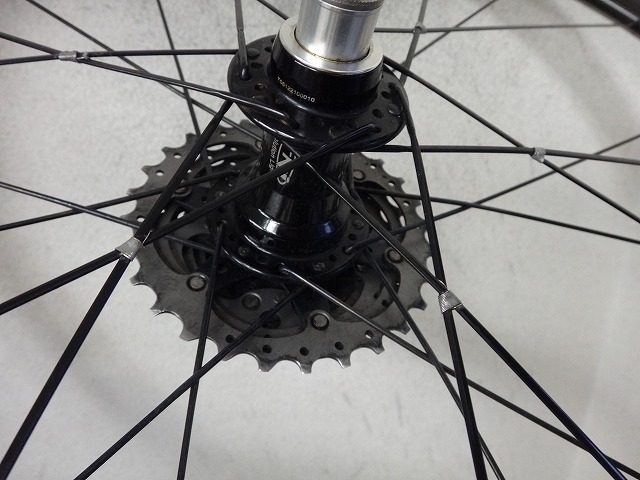
but the nipples—which are designed to be turned from the outer side—
show signs of being trued while grabbing from the inner side with less purchase,
and multiple nipples are totally stripped.
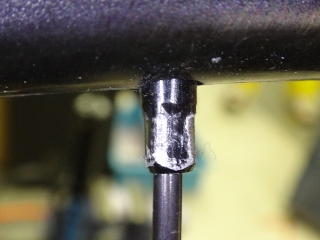
↑This nipple isn't a Reynolds original—it's a generic nipple.
The length protruding from the rim is different too.
Something went wrong and it was swapped for a generic nipple,
but that one is stripped as well and they just kept going.
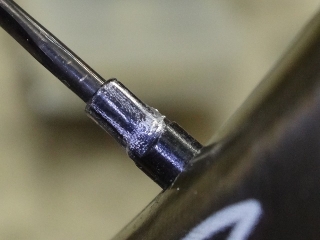
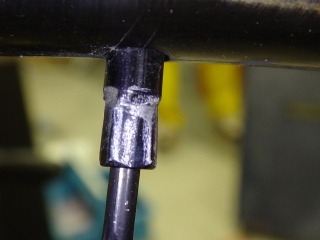
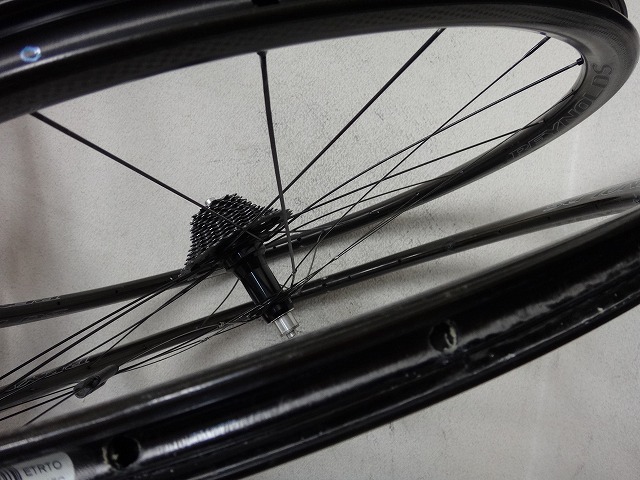
From another angle.
The grip area that should be a rounded square has become a rectangle.
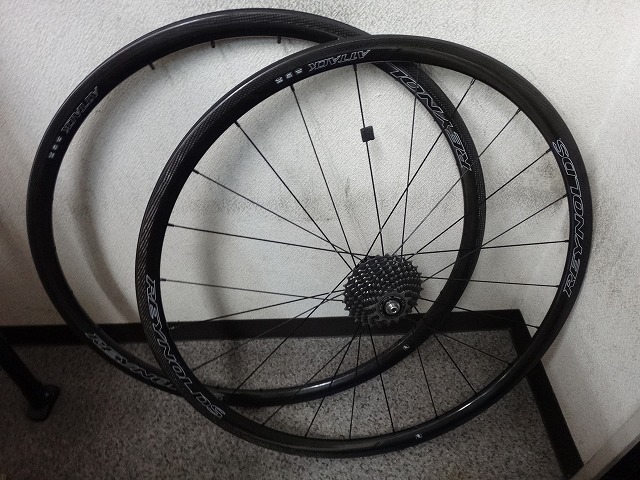
Rim transfer in progress…


All built up.
Since the rebuilt wheel never had a moment where the rim existed on its own,
I don't meet the conditions for the usual… well, you know.
Bonus
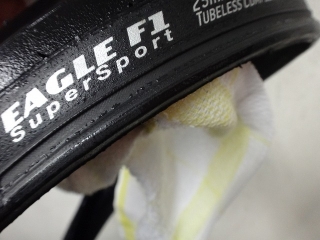
The customer uses Vittoria Corsa tubeless-ready tires,
but for a tubeless tire,
the bead on this tire is quite soft, and air loss from the bead area is severe.
You need to put in extra sealant to stop the air from leaking.
The sealant is Effetto Mariposa's Caffélatex,
but it's full of clumps.

The sealant lifted the rim tape.
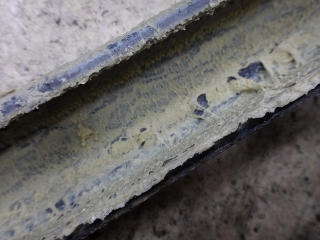
It's also caked on the tire side.
I scrubbed off the clumps around the bead pretty thoroughly with a sponge,
but couldn't get them completely clean.
Also, with age and use this tire's sidewall has become softer
and as a tubeless tire the bead doesn't want to seat as easily
(I did remount it, but getting the bead up took some work).
Here, to demonstrate to the customer that "Imejи sealant doesn't clump up,"
I brought out
my own rear wheel.

Last time I had a puncture with an IRC Formula Pro Tubeless Ready S-Lite on February 27th,
and replaced the tire the next day, so it's been about a month,
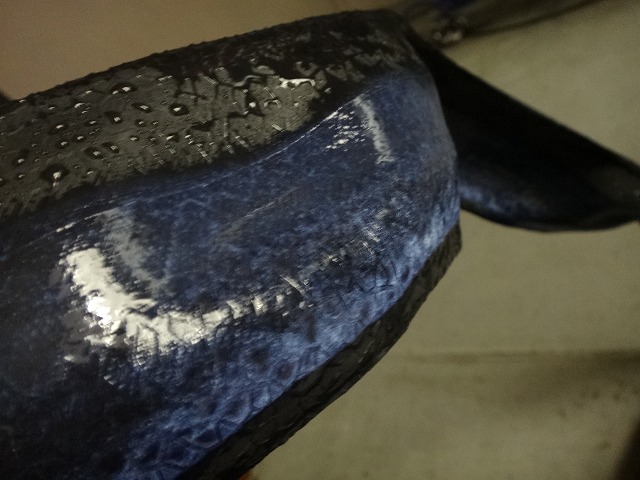
but the sealant on both the tire side and rim side was still in liquid form.

I just sprayed water with a regular garden shower head, not a pressure washer.
The sealant washed away completely.

The tire side, flipped over and just rinsed with water,
and the sealant is almost completely gone.
None remains around the bead either.
Compared to Stans or Caffélatex and such,
you need to put in slightly more sealant,
but the ease of cleanup and the fact that the tire gets thrown away anyway are bonuses—
the really excellent part is that almost no clumping remains on the rim side.
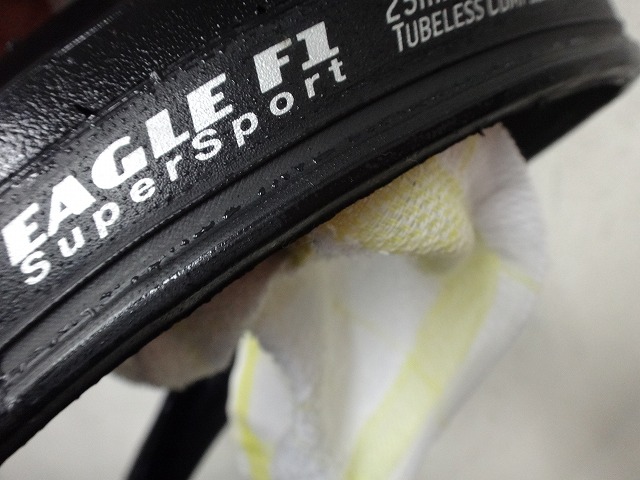
So I remounted the tire and first pumped it up without sealant.
I wanted to test whether a Goodyear tire loses the stiffness in its sidewall
after about a month of use and becomes harder to seat.
It seated right up, which was nice, but…
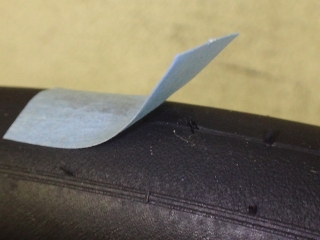
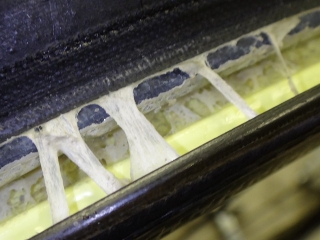
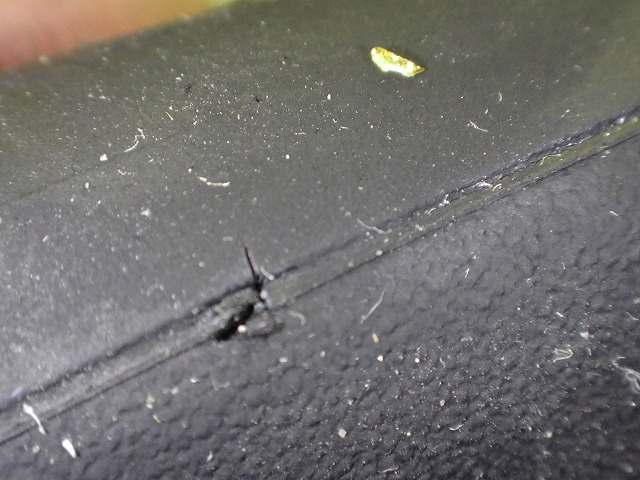
It was punctured.
Up until right before the demo, there were zero signs of air loss,
which means the sealant had sealed the puncture hole.
In the image above, you can see the tape being lifted by air pressure from the puncture hole.
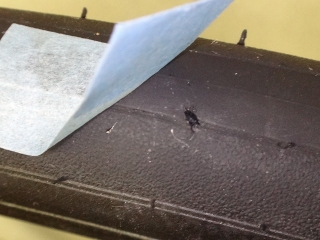
↑That.
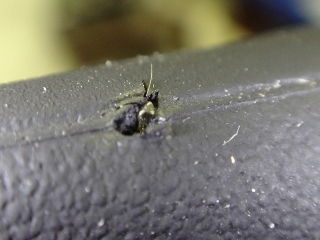
Separately, there was a piece of glass embedded,
so

I dug it out (the one in the upper right of the image).
I don't know if that one had caused a puncture.
Even for the puncture that did happen, even a regular sealant like Stans Race
without particularly high effectiveness could seal it and keep the tire usable, but
I replaced it without being stingy.
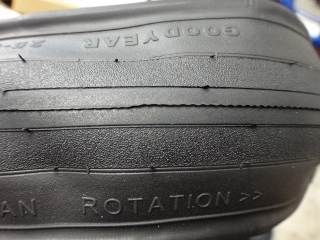
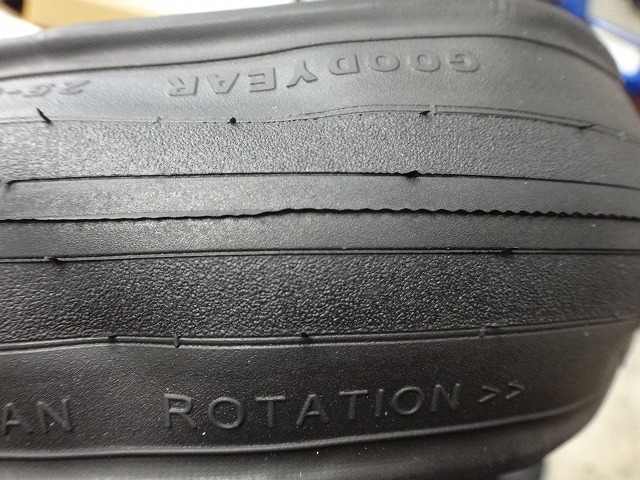
The tread pattern has no directional preference,
but there is a rotation direction indicated, so I follow it just in case.
I have the mindset of "it's cheaper than race tubular tires, whatever,"
and I replace tubeless tires as soon as a puncture is confirmed,
but in cases like this, I wonder how many people
keep using a sealed puncture with sealant instead of switching to tubed or replacing it.
Addendum:
I received a comment saying,
"I patch the back and seal it with adhesive and use it until the tread is worn smooth!"
That's a valid approach too, I think.
Currently I only run tubeless on the rear wheel,
but if I ever went tubeless front and rear,
if I were to repair and continue using a tire with a confirmed puncture,
I'd probably only do it on the rear.
If at high speed going downhill the tire suddenly pops and comes off the rim—
if it's the front wheel, you're dead.
I just don't trust it, honestly. There are still immature aspects to road tubeless, I think.

It's a standard stock rear wheel,
purchased at auction for a specific purpose.
All we really need is the rim.
This is the rear wheel I previously built myself
with an Attack rim and Evolite hub,
but when it was on top of a car and we drove under a low clearance,
it smashed hard into the frame—total loss—
and the wheel has a crack right through the rim holes, so it's done for.
So I'm going to rebuild it using the stock rim.

Near the valve hole on the stock wheel,
instead of Reynolds' blue rim tape,
there was Stans tape applied.
Man, what a sloppy job.
Doesn't look like it was ever used tubeless though.

Doesn't matter since I'm taking it apart anyway,
but the nipples—which are designed to be turned from the outer side—
show signs of being trued while grabbing from the inner side with less purchase,
and multiple nipples are totally stripped.

↑This nipple isn't a Reynolds original—it's a generic nipple.
The length protruding from the rim is different too.
Something went wrong and it was swapped for a generic nipple,
but that one is stripped as well and they just kept going.

From another angle.
The grip area that should be a rounded square has become a rectangle.
Rim transfer in progress…
All built up.
Since the rebuilt wheel never had a moment where the rim existed on its own,
I don't meet the conditions for the usual… well, you know.
Bonus

The customer uses Vittoria Corsa tubeless-ready tires,
but for a tubeless tire,
the bead on this tire is quite soft, and air loss from the bead area is severe.
You need to put in extra sealant to stop the air from leaking.
The sealant is Effetto Mariposa's Caffélatex,
but it's full of clumps.
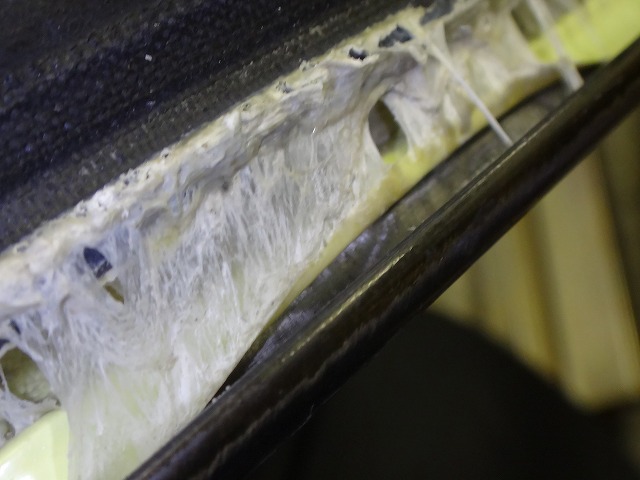
The sealant lifted the rim tape.

It's also caked on the tire side.
I scrubbed off the clumps around the bead pretty thoroughly with a sponge,
but couldn't get them completely clean.
Also, with age and use this tire's sidewall has become softer
and as a tubeless tire the bead doesn't want to seat as easily
(I did remount it, but getting the bead up took some work).
Here, to demonstrate to the customer that "Imejи sealant doesn't clump up,"
I brought out

my own rear wheel.

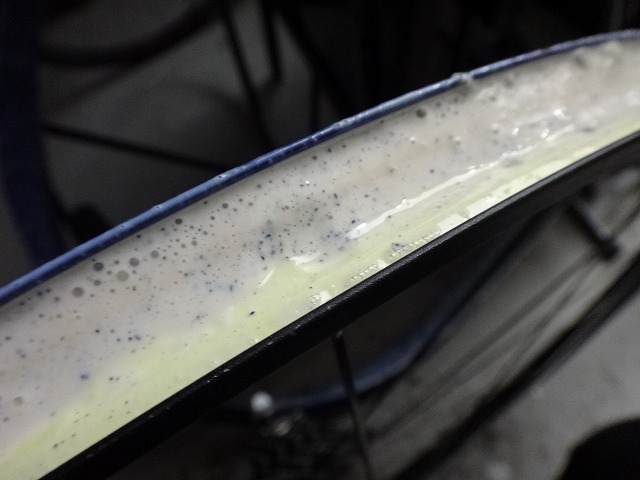
Last time I had a puncture with an IRC Formula Pro Tubeless Ready S-Lite on February 27th,
and replaced the tire the next day, so it's been about a month,
but the sealant on both the tire side and rim side was still in liquid form.
I just sprayed water with a regular garden shower head, not a pressure washer.
The sealant washed away completely.
The tire side, flipped over and just rinsed with water,
and the sealant is almost completely gone.
None remains around the bead either.
Compared to Stans or Caffélatex and such,
you need to put in slightly more sealant,
but the ease of cleanup and the fact that the tire gets thrown away anyway are bonuses—
the really excellent part is that almost no clumping remains on the rim side.
So I remounted the tire and first pumped it up without sealant.
I wanted to test whether a Goodyear tire loses the stiffness in its sidewall
after about a month of use and becomes harder to seat.
It seated right up, which was nice, but…

It was punctured.
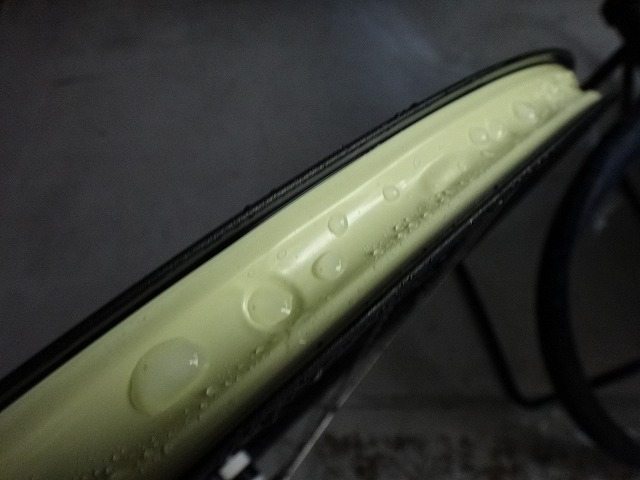
Up until right before the demo, there were zero signs of air loss,
which means the sealant had sealed the puncture hole.
In the image above, you can see the tape being lifted by air pressure from the puncture hole.

↑That.

Separately, there was a piece of glass embedded,
so
I dug it out (the one in the upper right of the image).
I don't know if that one had caused a puncture.
Even for the puncture that did happen, even a regular sealant like Stans Race
without particularly high effectiveness could seal it and keep the tire usable, but
I replaced it without being stingy.
The tread pattern has no directional preference,
but there is a rotation direction indicated, so I follow it just in case.
I have the mindset of "it's cheaper than race tubular tires, whatever,"
and I replace tubeless tires as soon as a puncture is confirmed,
but in cases like this, I wonder how many people
keep using a sealed puncture with sealant instead of switching to tubed or replacing it.
Addendum:
I received a comment saying,
"I patch the back and seal it with adhesive and use it until the tread is worn smooth!"
That's a valid approach too, I think.
Currently I only run tubeless on the rear wheel,
but if I ever went tubeless front and rear,
if I were to repair and continue using a tire with a confirmed puncture,
I'd probably only do it on the rear.
If at high speed going downhill the tire suddenly pops and comes off the rim—
if it's the front wheel, you're dead.
I just don't trust it, honestly. There are still immature aspects to road tubeless, I think.