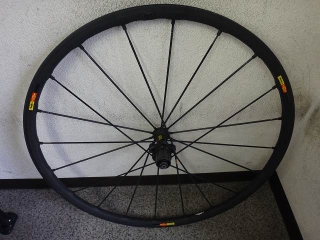
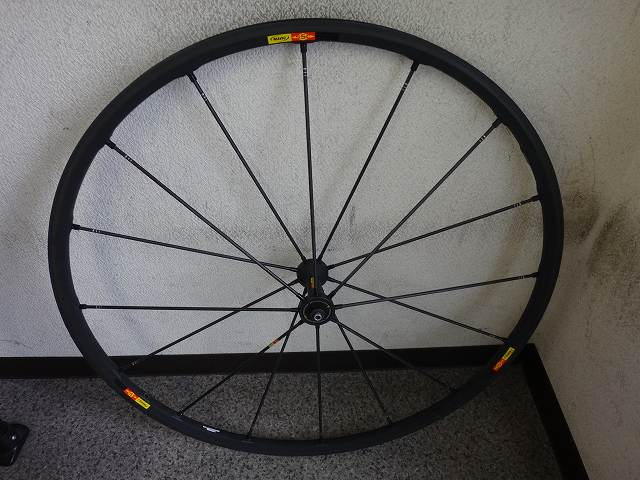
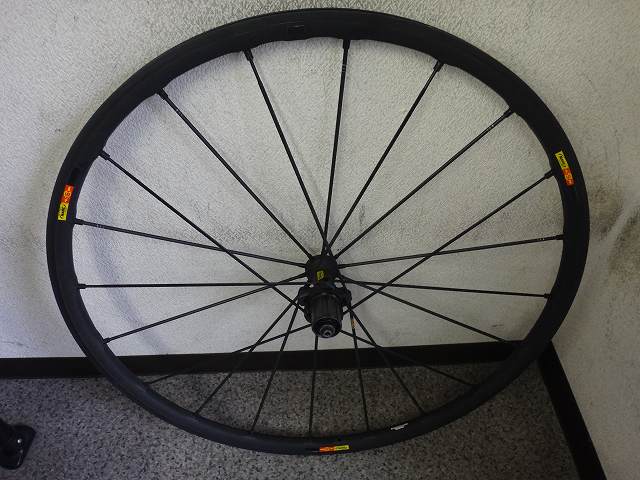
I received an R-SYS SLR from a customer.
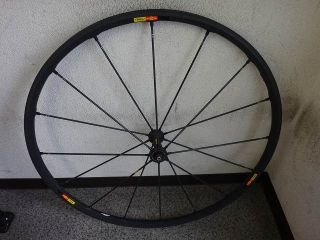
Starting with the front wheel.
The customer mentioned an odd noise when braking on descents,
and while the main issue is actually with the rear wheel,
they requested an inspection of the front wheel as well.
That squeaking sound when you brake on a downhill is caused by
loss of lubrication inside the freebody. With R-SYS specifically, if the hub area
creaks and pops during standing climbs, you can usually fix it by
tensioning the spokes, replacing the ratchet ring, and
packing some stiff grease between the spoke head and ratchet ring.
This time it seems to be just the lubrication issue.
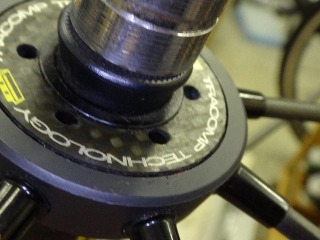
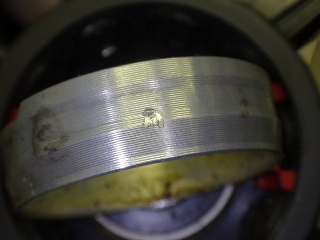
There was a slight center offset. The Mavic front wheel hubs with
six holes for bearing cone adjustment have the six-hole side on the left,
so using that as reference, the rim was shifted to the left.
(Strictly speaking, calling tightening the R-SYS carbon spoke nipples
"raising tension" isn't technically accurate,)
but the front wheel had generally low tension overall, so I felt it needed to be built up.
I snugged all the nipples slightly. There was also some runout,
and when I was gently adjusting both sides

the center offset amount was about the same or
even seemed to have increased slightly.
By the way, the direction of the offset was the same.

I centered it out.
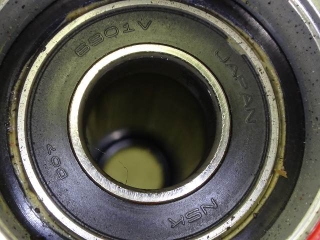
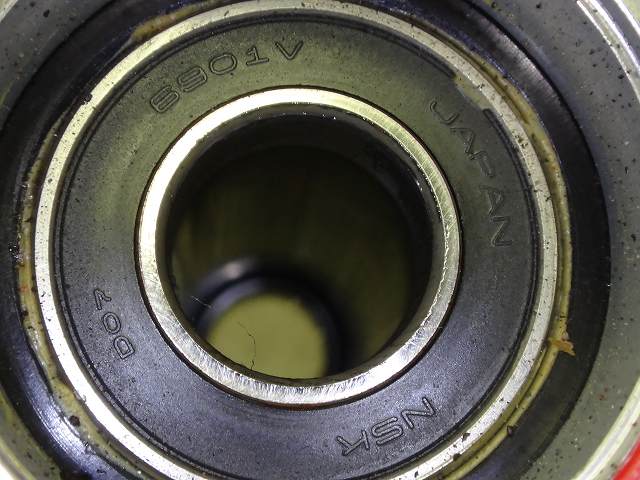
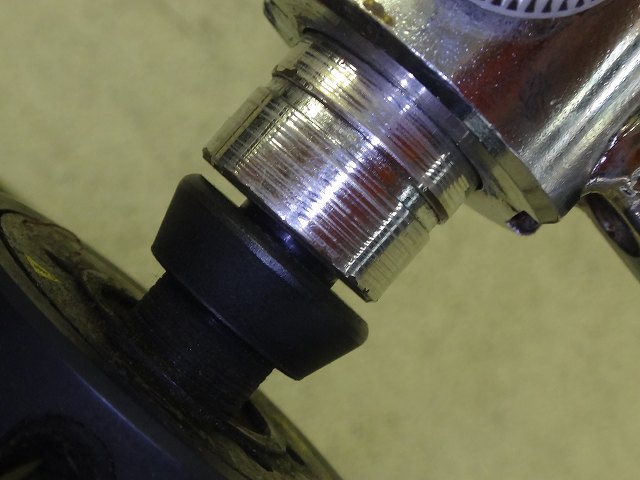
Going back in the timeline, the bearings had been swapped out for
Japanese brand non-contact seal type bearings.
Mavic basically adopts contact-type seals despite the added rotational resistance
because many of their hubs have minimal or nearly absent sealing upstream of the bearings,
making the bearing seal the final line of defense.

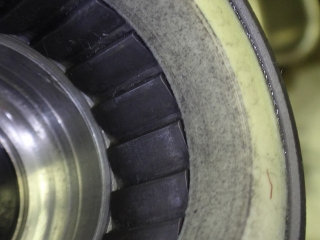
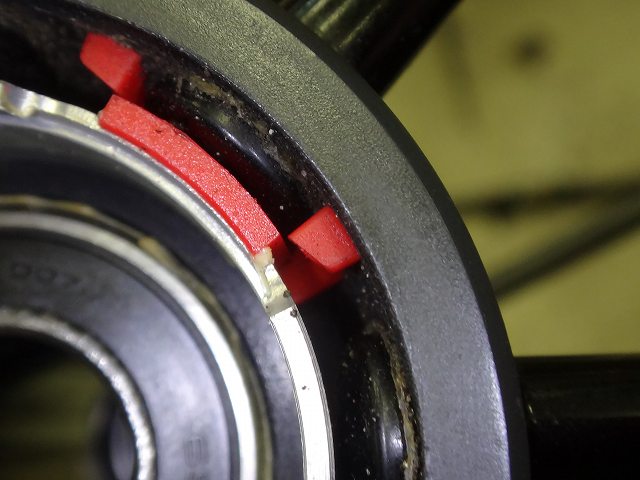
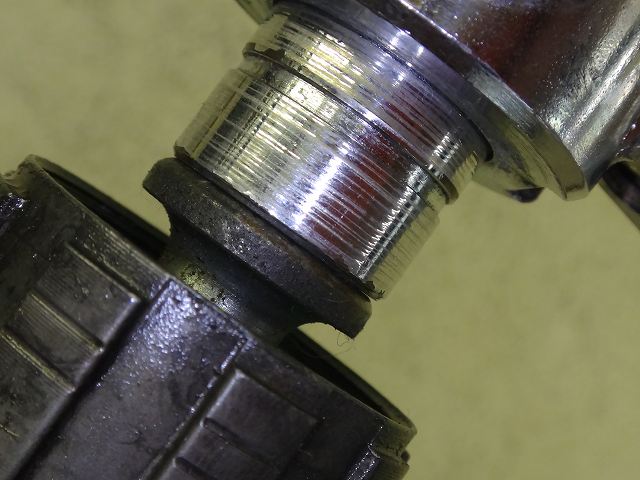
The red plastic retainer ring for the ratchet ring
is visible through the gap in the dust seal, indicating a pretty large clearance.

Also, the six holes on the left side seal are completely exposed inside.
If you absolutely never ride in the rain—and I mean absolutely,
not just basically—then non-contact seals might be acceptable.
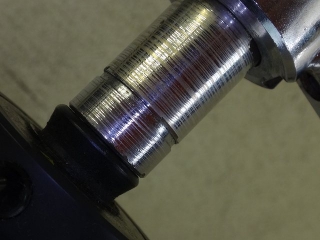
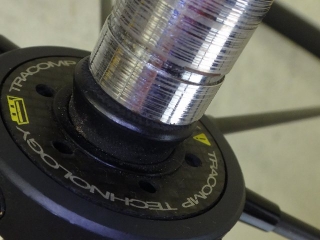
Now for the rear wheel.


This is the temporary center check before removing the ratchet ring,
in an untouched state.

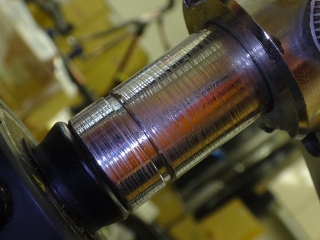
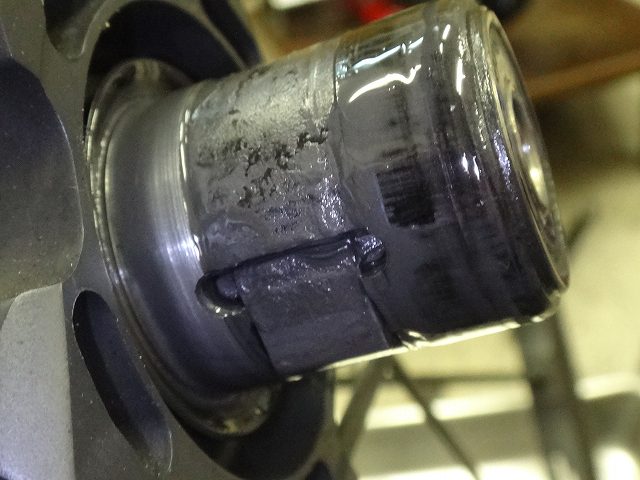
The freebody was both lubrication-starved and had contamination buildup.
I didn't replace the front wheel ratchet ring,
but I will replace the rear one.
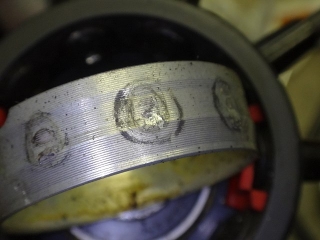
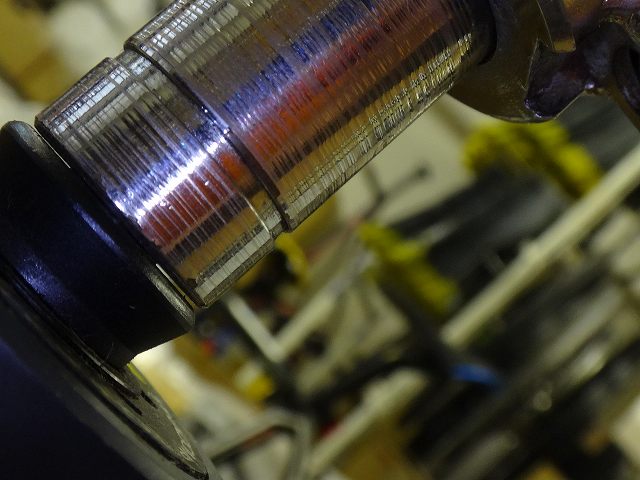
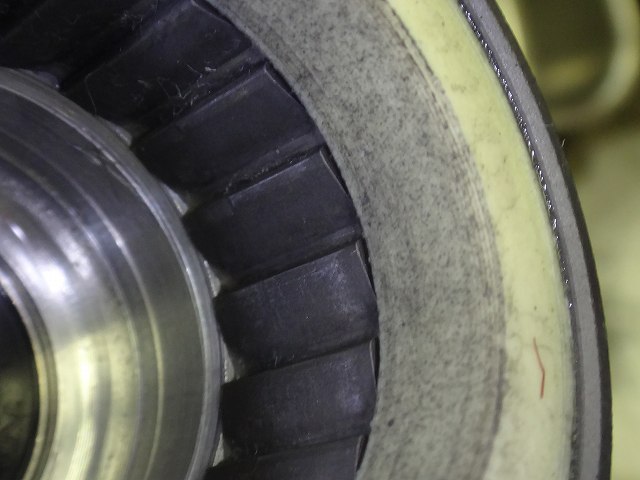
The contact point with the spoke head looks severely pitted,
but when wiped with my finger, it looks like this.
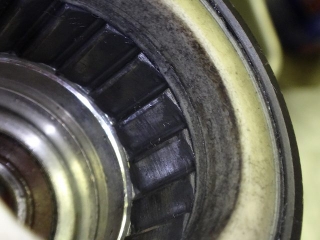
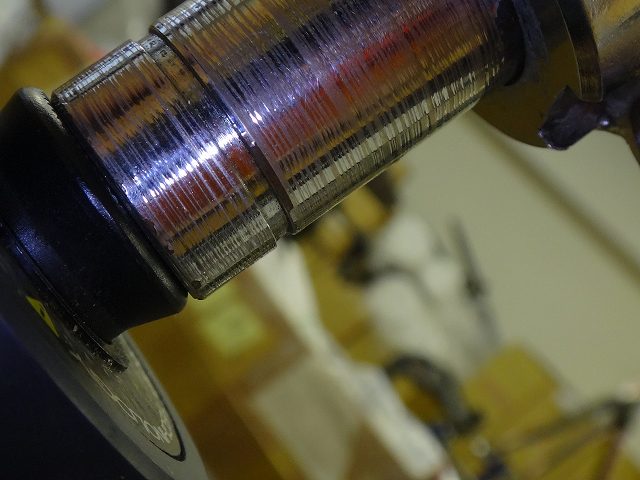
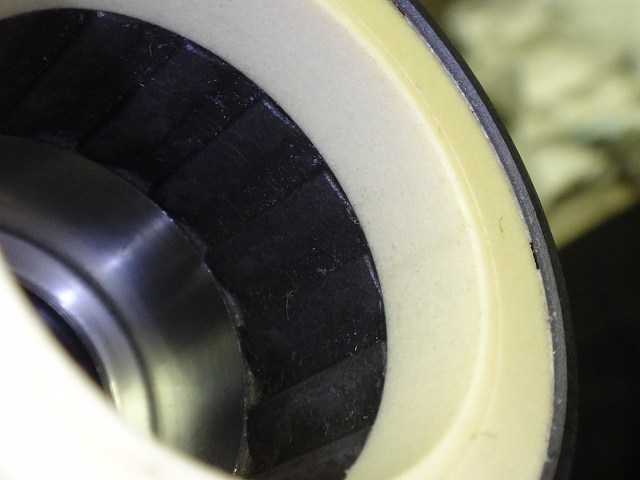
The FTS-L freebody has pawls on the hub shell side
and ratchet teeth on the freebody side. When the ratchet teeth wear down excessively,
even if everything else is brand new and properly lubricated,
the freebody can develop radial play.
The image above is from this R-SYS, and since the teeth weren't worn down enough
to warrant replacement, I didn't swap it out.
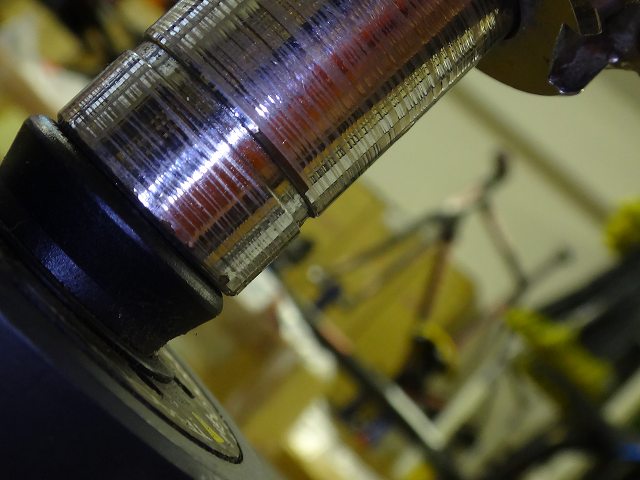
This is a reference freebody I keep in the shop that's definitely
"worn enough to need replacement."
The ratchet teeth are worn down, and when the freebody interior gets dirty
and traps fine sand, friction between the hub shell and the yellow delrin-like
interior surface creates wear marks on the hub shell.
This freebody also has damage on the delrin side.

↑This is new, for comparison

I cleaned all the hub shell components.
The silvery machining marks on the inside of the pawls aren't original—
they're from the indirect contact with the delrin I mentioned earlier.


For centering, even with the amount of offset we had,
I can center it easily by loosening the non-freewheel side just a bit.
Also, totally unrelated, but the top auto-convert suggestion
for "easy" was the Chinese city "Handan."
But I didn't want that, so I focused on tightening the freewheel side
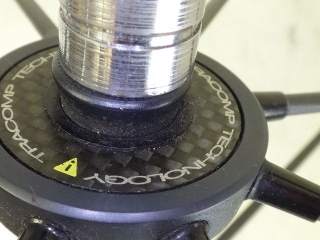
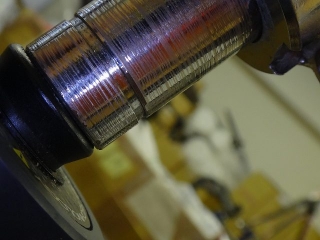
while also truing runout, and the image above shows
when lateral runout was completely eliminated.
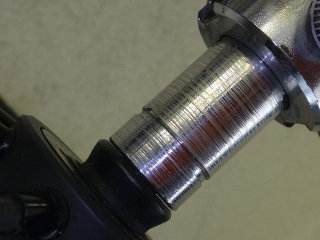
I can't tension the freewheel side any more than this,

so I loosened the non-freewheel side just slightly to center it out.
At the point of the image above, I've also pressed in the ratchet ring.
Starting with the front wheel.
The customer mentioned an odd noise when braking on descents,
and while the main issue is actually with the rear wheel,
they requested an inspection of the front wheel as well.
That squeaking sound when you brake on a downhill is caused by
loss of lubrication inside the freebody. With R-SYS specifically, if the hub area
creaks and pops during standing climbs, you can usually fix it by
tensioning the spokes, replacing the ratchet ring, and
packing some stiff grease between the spoke head and ratchet ring.
This time it seems to be just the lubrication issue.


There was a slight center offset. The Mavic front wheel hubs with
six holes for bearing cone adjustment have the six-hole side on the left,
so using that as reference, the rim was shifted to the left.
(Strictly speaking, calling tightening the R-SYS carbon spoke nipples
"raising tension" isn't technically accurate,)
but the front wheel had generally low tension overall, so I felt it needed to be built up.
I snugged all the nipples slightly. There was also some runout,
and when I was gently adjusting both sides

the center offset amount was about the same or
even seemed to have increased slightly.

By the way, the direction of the offset was the same.
I centered it out.
Going back in the timeline, the bearings had been swapped out for
Japanese brand non-contact seal type bearings.
Mavic basically adopts contact-type seals despite the added rotational resistance
because many of their hubs have minimal or nearly absent sealing upstream of the bearings,
making the bearing seal the final line of defense.
The red plastic retainer ring for the ratchet ring
is visible through the gap in the dust seal, indicating a pretty large clearance.
Also, the six holes on the left side seal are completely exposed inside.
If you absolutely never ride in the rain—and I mean absolutely,
not just basically—then non-contact seals might be acceptable.
Now for the rear wheel.
This is the temporary center check before removing the ratchet ring,
in an untouched state.
The freebody was both lubrication-starved and had contamination buildup.

I didn't replace the front wheel ratchet ring,
but I will replace the rear one.
The contact point with the spoke head looks severely pitted,

but when wiped with my finger, it looks like this.
The FTS-L freebody has pawls on the hub shell side
and ratchet teeth on the freebody side. When the ratchet teeth wear down excessively,
even if everything else is brand new and properly lubricated,
the freebody can develop radial play.
The image above is from this R-SYS, and since the teeth weren't worn down enough
to warrant replacement, I didn't swap it out.

This is a reference freebody I keep in the shop that's definitely
"worn enough to need replacement."
The ratchet teeth are worn down, and when the freebody interior gets dirty
and traps fine sand, friction between the hub shell and the yellow delrin-like
interior surface creates wear marks on the hub shell.
This freebody also has damage on the delrin side.
↑This is new, for comparison

I cleaned all the hub shell components.
The silvery machining marks on the inside of the pawls aren't original—
they're from the indirect contact with the delrin I mentioned earlier.

For centering, even with the amount of offset we had,
I can center it easily by loosening the non-freewheel side just a bit.
Also, totally unrelated, but the top auto-convert suggestion
for "easy" was the Chinese city "Handan."
But I didn't want that, so I focused on tightening the freewheel side
while also truing runout, and the image above shows
when lateral runout was completely eliminated.
I can't tension the freewheel side any more than this,


so I loosened the non-freewheel side just slightly to center it out.
At the point of the image above, I've also pressed in the ratchet ring.