The drill screams!

A customer brought me a SRAM FORCE right crank.
This is... no way...
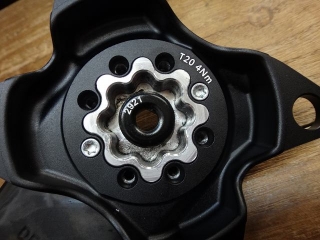
Out of eight M4 bolts securing the chainring, four of them are broken almost flush with the surface—could I extract them?
↑Except for the number, this is copy-pasted from my previous article (here).
The customer this time is someone I know well,
but after seeing my previous article,
probably thinking this was a similar case that I could fix,
a crank suddenly arrived at my door.
I'm sure this happens because I turn everything into blog posts like this.
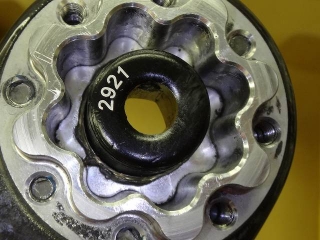
I'll number the broken bolts 1-4 from the left in the image above.
From left: 1, 2, 3,
and 4 is on the opposite side from 2.
As usual, they're all broken flush or below, and you can see blue thread-locking compound stuck on them too.

Whirrrr.
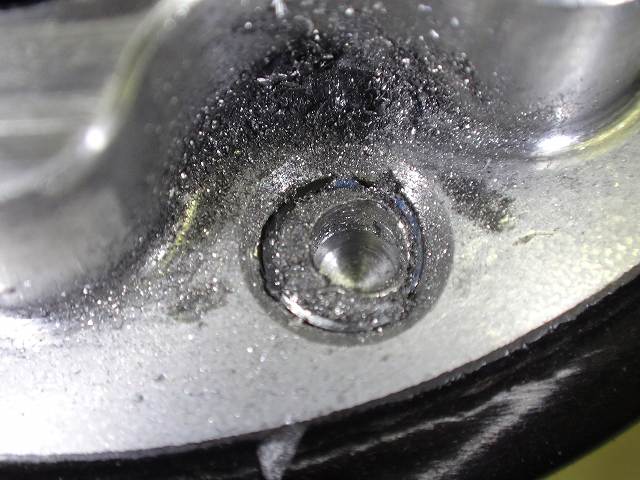
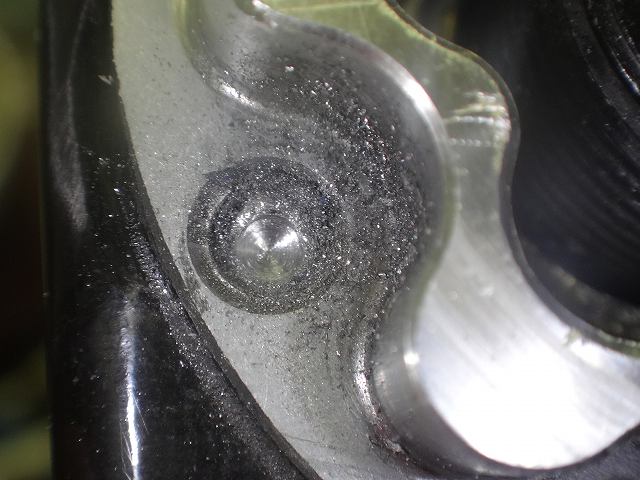
I drilled a partial hole into bolt 4.
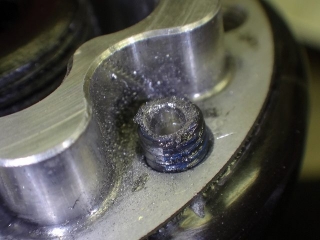
Using a custom-made tool I call the "Broken Stud Loosener," I grab it and apply counter-clockwise pressure to back the bolt out.

Got it out.
For details on the Broken Stud Loosener, please see the linked article with images.
The technique of drilling the partial hole and the design concept for the tool's tip shape are the two key points of this job.
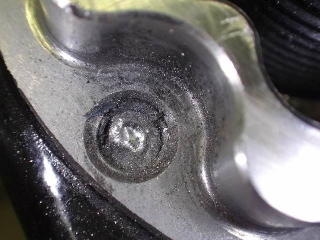
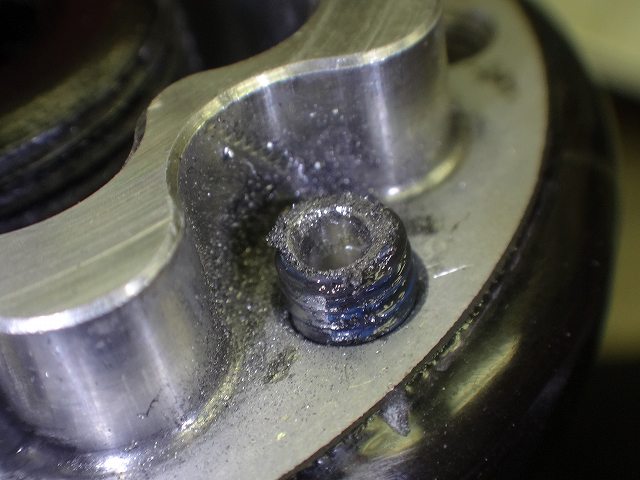
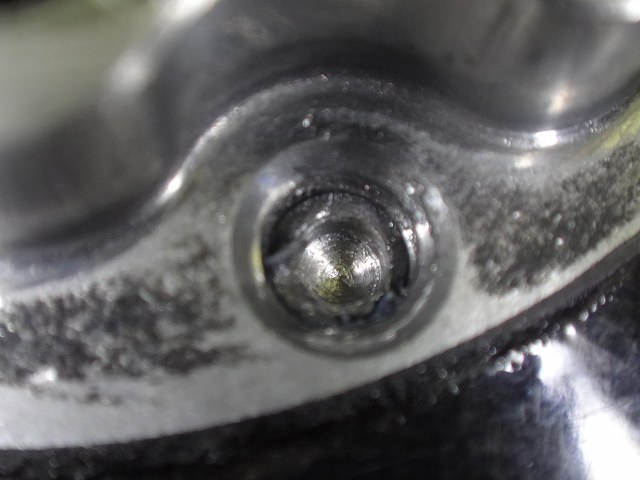
This is bolt 1, and in most cases the fracture surface isn't straight but angled.
If you just press a drill bit directly against it, it'll slip, so you need a guide hole from a center punch to at least make a shallow dimple.
But given how hard the bolt material is, a punch strike won't leave a mark, which makes this difficult.

I lightly cut a pilot hole with a drill bit at the guide mark.

A bit more open-pit mining.
Recovered.

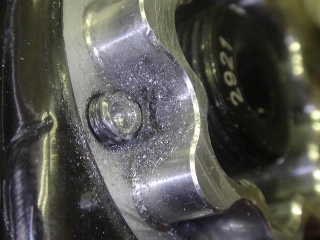
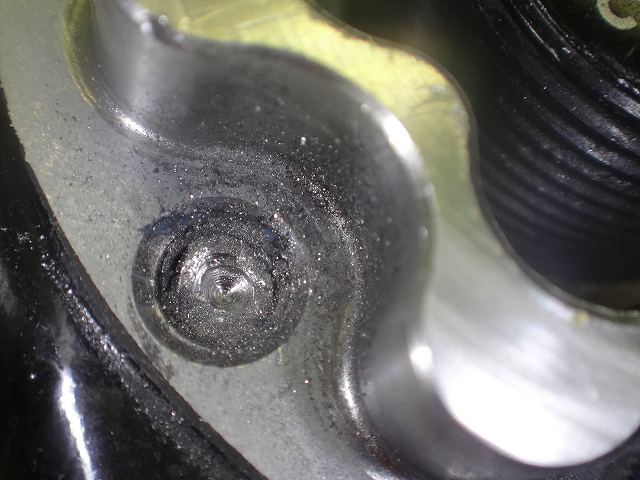
This is bolt 3,

and recovered (sloppy editing).

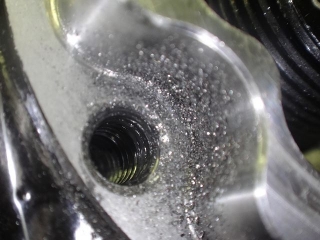
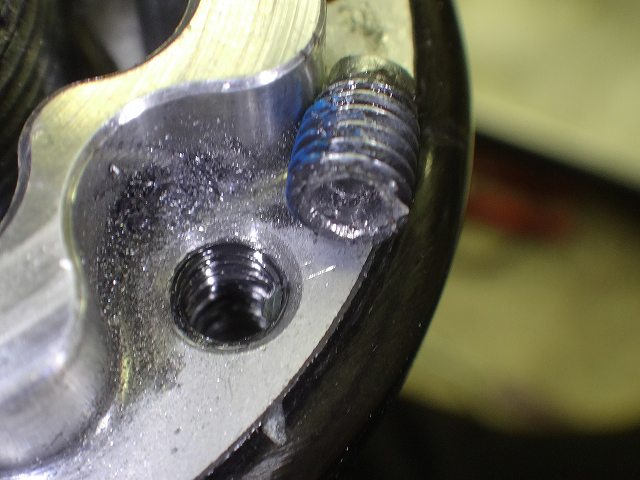
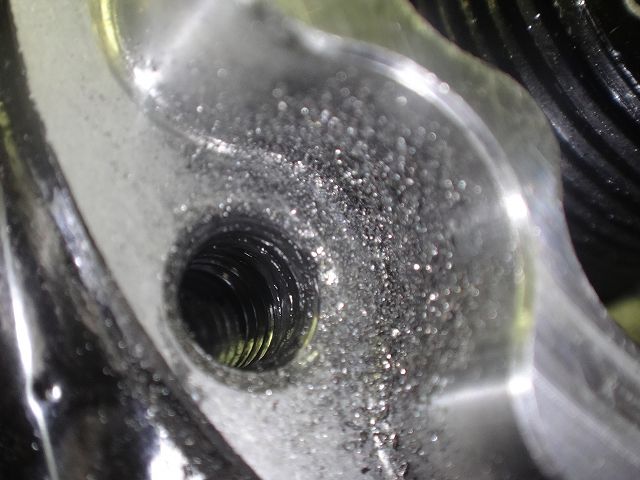
Bolt 2 had severe corrosion, so I had to resort to aggressive methods—it became a helicoil hole.
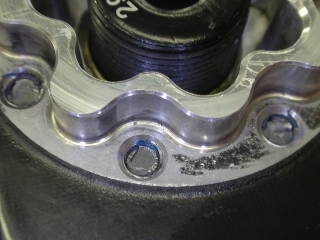
In the image above, I've installed bolts in holes 4 and 2, but just to verify that the helicoil hole is properly centered,
I sourced a genuine SRAM spider.
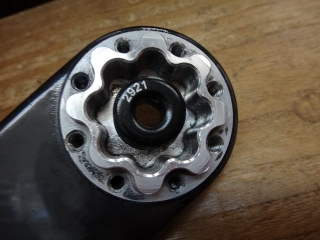
All bolts are now out.
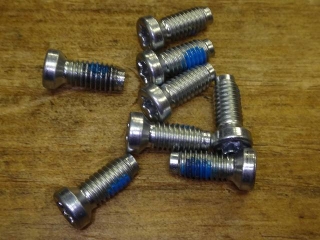
↑These are the bolts that came with the spider, and if cases like this keep happening,
I'm considering sourcing bolt-only sets (8-pack) and selling them at a per-bolt unit price.
Though realistically, the wholesaler probably doesn't have bolt inventory in stock right now anyway.
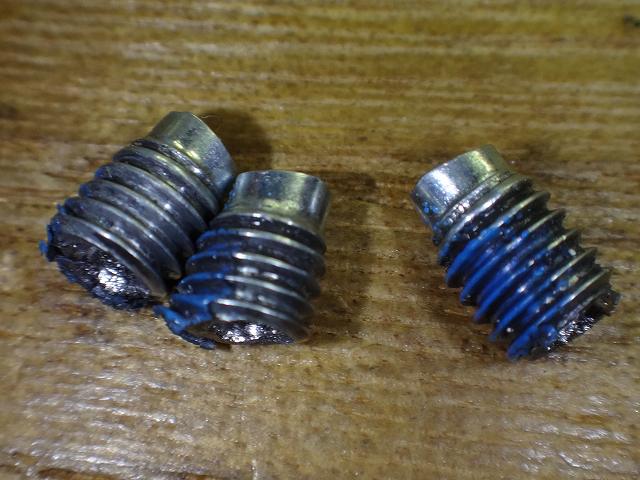
The recovered bolts (excluding 2).
I've lost track of which is which, though.
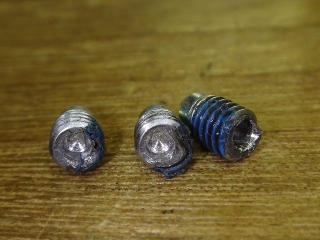
There are two different sizes for the partial holes—that is, two different drill bit sizes—and the Broken Stud Loosener handles both.
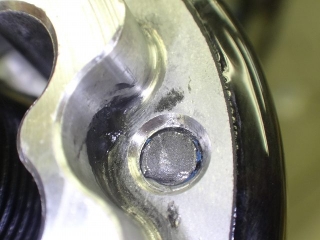
The partial hole isn't perfectly centered due to the angle of the fracture surface (my excuse).
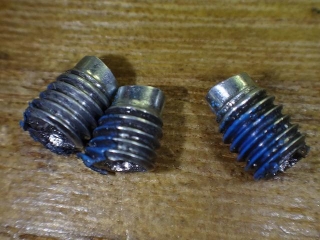
This time, aside from bolt 2 which I had to destroy with brute force,
all were handled with just partial holes.
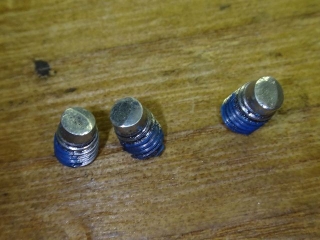
↑tip end
Well, what I want to show you is,
just how much the fracture surface is angled like this.

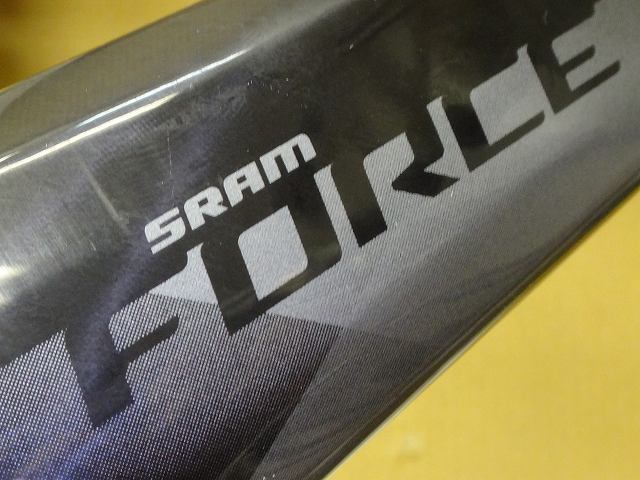
A customer brought me a SRAM FORCE right crank.
This is... no way...

Out of eight M4 bolts securing the chainring, four of them are broken almost flush with the surface—could I extract them?
↑Except for the number, this is copy-pasted from my previous article (here).
The customer this time is someone I know well,
but after seeing my previous article,
probably thinking this was a similar case that I could fix,
a crank suddenly arrived at my door.
I'm sure this happens because I turn everything into blog posts like this.
I'll number the broken bolts 1-4 from the left in the image above.

From left: 1, 2, 3,

and 4 is on the opposite side from 2.
As usual, they're all broken flush or below, and you can see blue thread-locking compound stuck on them too.
Whirrrr.
I drilled a partial hole into bolt 4.
Using a custom-made tool I call the "Broken Stud Loosener," I grab it and apply counter-clockwise pressure to back the bolt out.
Got it out.
For details on the Broken Stud Loosener, please see the linked article with images.
The technique of drilling the partial hole and the design concept for the tool's tip shape are the two key points of this job.

This is bolt 1, and in most cases the fracture surface isn't straight but angled.
If you just press a drill bit directly against it, it'll slip, so you need a guide hole from a center punch to at least make a shallow dimple.
But given how hard the bolt material is, a punch strike won't leave a mark, which makes this difficult.
I lightly cut a pilot hole with a drill bit at the guide mark.
A bit more open-pit mining.

Recovered.
This is bolt 3,

and recovered (sloppy editing).

Bolt 2 had severe corrosion, so I had to resort to aggressive methods—it became a helicoil hole.

In the image above, I've installed bolts in holes 4 and 2, but just to verify that the helicoil hole is properly centered,
I sourced a genuine SRAM spider.

All bolts are now out.

↑These are the bolts that came with the spider, and if cases like this keep happening,
I'm considering sourcing bolt-only sets (8-pack) and selling them at a per-bolt unit price.
Though realistically, the wholesaler probably doesn't have bolt inventory in stock right now anyway.

The recovered bolts (excluding 2).
I've lost track of which is which, though.
There are two different sizes for the partial holes—that is, two different drill bit sizes—and the Broken Stud Loosener handles both.
The partial hole isn't perfectly centered due to the angle of the fracture surface (my excuse).
This time, aside from bolt 2 which I had to destroy with brute force,
all were handled with just partial holes.

↑tip end
Well, what I want to show you is,

just how much the fracture surface is angled like this.