Another day of wheel work (and so on)... but first.
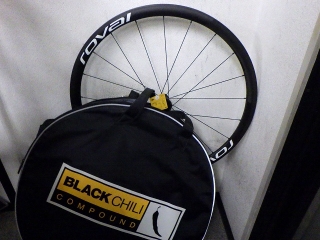
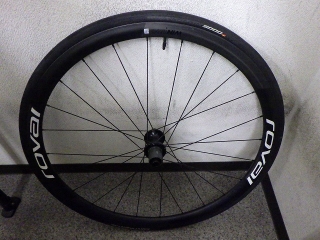
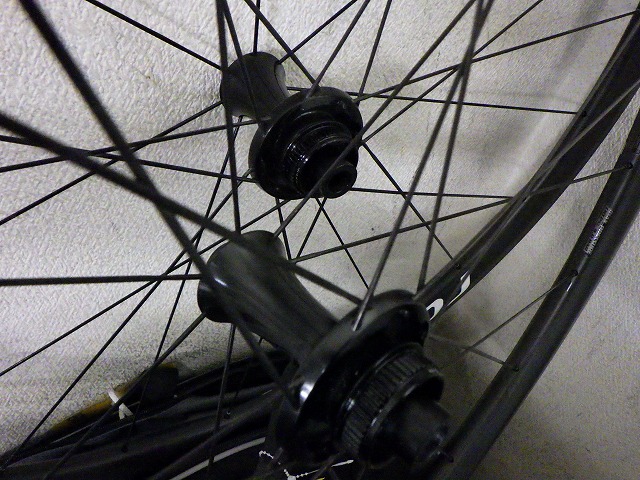
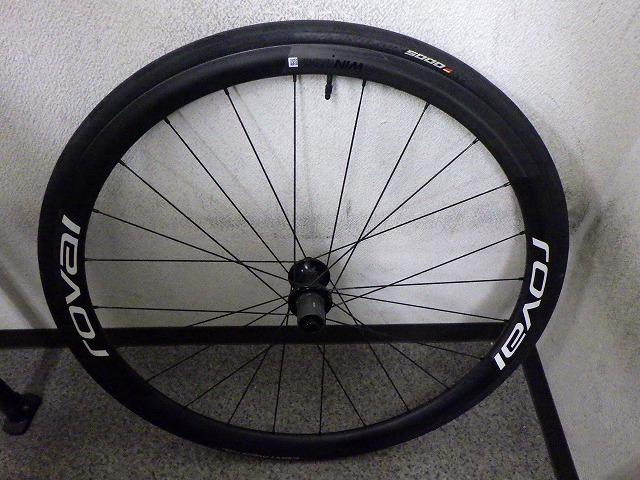
↑This is the front wheel of the Alpinist CLX that I rebuilt yesterday.
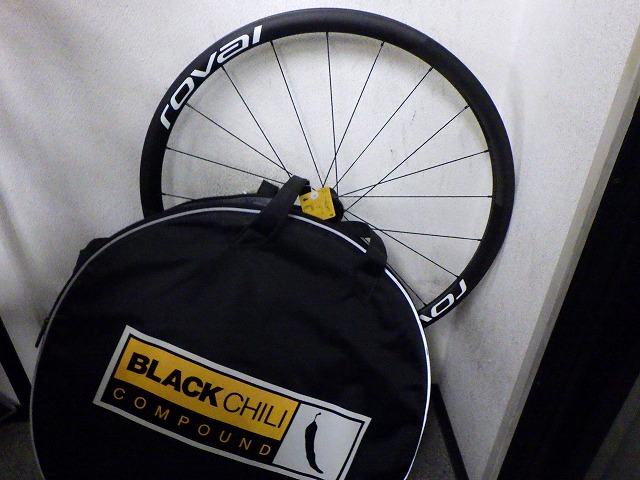
A customer called the other day asking "How's that Rovals wheel rebuild coming along—the one I sent in that Continental wheelie bag?" and since it was my turn in the queue, I got to work on it. But at that time, I made sure to ask whether it was a rim brake wheel, just to be safe.
The customer might have thought that was odd, but

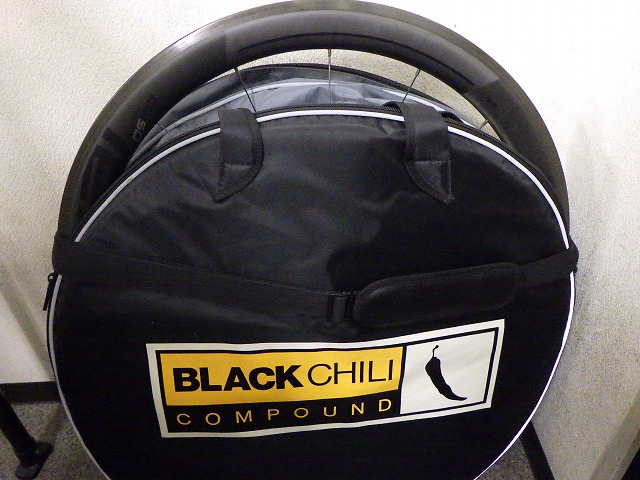
...it was actually for a completely different reason: we happen to have another "Rovals wheel in a Continental wheelie bag" here at the shop.

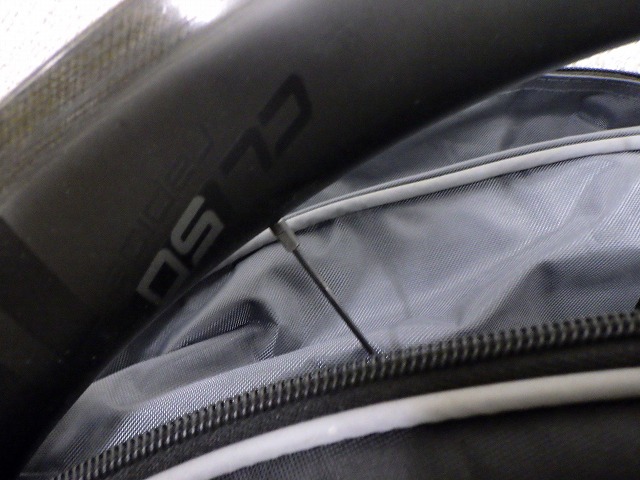
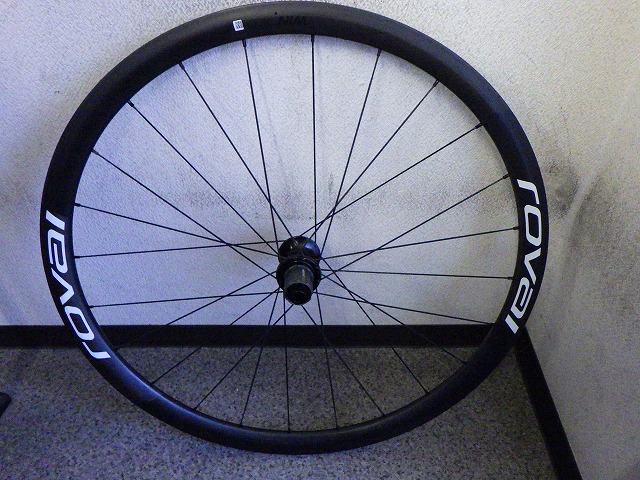
This one is a CL50 rim brake wheel.
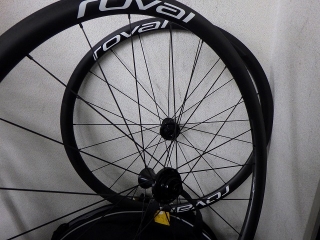
Separate from yesterday's Alpinist CLX, we're also holding a matching wheel for repair. The Alpinist CLX has a tendency to have spoke tension cranked up really tight compared to the CLX50, and when rebuilding, it's quite difficult to get it back to the original tension level. Even yesterday's front wheel—I thought I'd tensioned it quite a bit during the work, but when I measured it with a tension meter, it wasn't as tight as I thought. But since we happened to have another stock Alpinist CLX here at the shop, I was able to compare them, which really helped. The outcome probably wouldn't have changed either way, but being able to compare them gave me the confidence to tension without hesitation, which has actually shortened the work time.
↑Both are front wheels
Even comparing them in their untrued state, if you pick up these two front wheels side by side, I don't think anyone would choose the stock one. You might think, "Well, you could just tension it more from the stock state," and you'd have a point, but even with left-right equal spoke diameter and maintaining wheel center (of course), the stock wheel barely has any room left to tension. However, during the rebuild, I increased the spoke proportion on the low-spoke side, so the wheel's weight has actually gotten heavier. This means its appeal to the segment of buyers who only look at total wheel weight is actually weaker. The manufacturer probably targets customers who prioritize appearance on the scale over pure wheel performance, and chose to appeal to the majority by making it 1g lighter rather than optimizing actual wheel performance. I can only conclude the designers made this choice—otherwise, I'd have to assume the Rovals wheel designers got their priorities backwards and are just idiots.
The front wheel from yesterday has its rim tape removed due to work requirements, but the tape that was on it was not the original Rovals tape.
The original tape was a DT tubeless tape with just "Rovals" written on it—no "tubeless ready" marking—and this exact tape is probably unobtainable as a spare part.
Today, another wheel job (and so on).
I'm rebuilding the rear wheel of the Alpinist CLX.

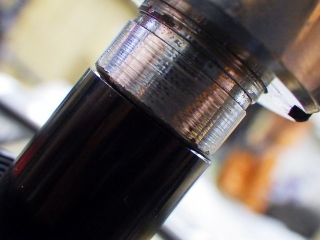
The tube in the front wheel was a polyurethane Tubolito, with even the plastic valve cap in orange, though someone had blacked it out with an oil-based marker. The rear wheel tube was also polyurethane but from a different maker—Revoloop. This type of tube has noticeably poor ride feel, just like everyone knows latex tubes have better ride quality. However, you can definitely feel how much lighter the wheel's outer circumference becomes, so if you're chasing lightweight performance, adopting it as a tradeoff is reasonable. Combined with the Alpinist CLX rim, even including the rim tape, the rim and tube come in well under 400g. This is a weight that's hard to achieve with clincher rims.

The rear wheel's rim tape was still the original. The tube is brown because it's aged and oxidized; new Revoloop tubes are a slightly translucent white.
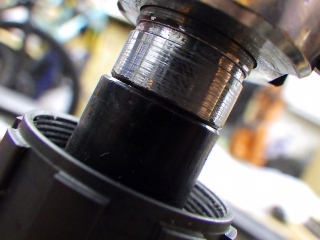
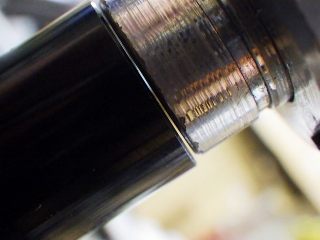
Before work, the rim was slightly off to the left.

Rebuilt. I'll do the truing later.
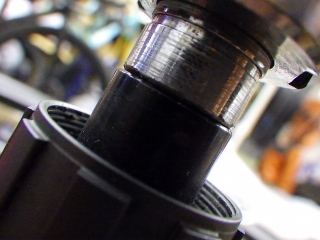
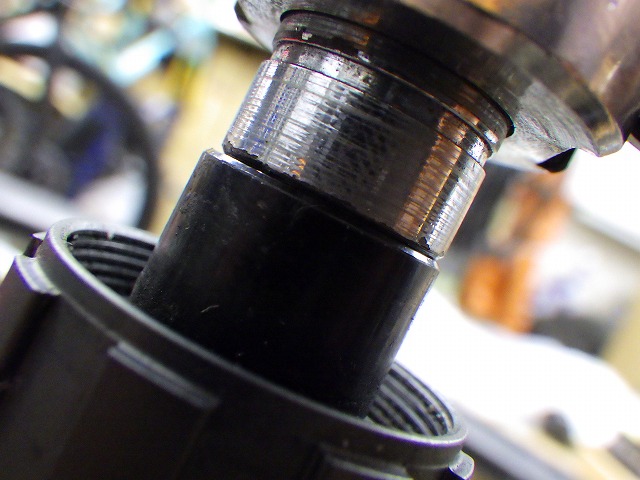
I don't usually bother taking photos for something this basic, but just to be sure—center is good. The non-freewheel-side tension was at "that'll do," but the rim was still leaning toward the freewheel side and demanded further tightening of the non-freewheel side. (You could loosen the freewheel side to center it, but I didn't want to do that.) So I nervously tensioned the non-freewheel side bit by bit. Of all the wheels I've built recently, this one required the most centering gauge checks before finishing.
↑This is the front wheel of the Alpinist CLX that I rebuilt yesterday.
A customer called the other day asking "How's that Rovals wheel rebuild coming along—the one I sent in that Continental wheelie bag?" and since it was my turn in the queue, I got to work on it. But at that time, I made sure to ask whether it was a rim brake wheel, just to be safe.
The customer might have thought that was odd, but
...it was actually for a completely different reason: we happen to have another "Rovals wheel in a Continental wheelie bag" here at the shop.
This one is a CL50 rim brake wheel.

Separate from yesterday's Alpinist CLX, we're also holding a matching wheel for repair. The Alpinist CLX has a tendency to have spoke tension cranked up really tight compared to the CLX50, and when rebuilding, it's quite difficult to get it back to the original tension level. Even yesterday's front wheel—I thought I'd tensioned it quite a bit during the work, but when I measured it with a tension meter, it wasn't as tight as I thought. But since we happened to have another stock Alpinist CLX here at the shop, I was able to compare them, which really helped. The outcome probably wouldn't have changed either way, but being able to compare them gave me the confidence to tension without hesitation, which has actually shortened the work time.
↑Both are front wheels
Even comparing them in their untrued state, if you pick up these two front wheels side by side, I don't think anyone would choose the stock one. You might think, "Well, you could just tension it more from the stock state," and you'd have a point, but even with left-right equal spoke diameter and maintaining wheel center (of course), the stock wheel barely has any room left to tension. However, during the rebuild, I increased the spoke proportion on the low-spoke side, so the wheel's weight has actually gotten heavier. This means its appeal to the segment of buyers who only look at total wheel weight is actually weaker. The manufacturer probably targets customers who prioritize appearance on the scale over pure wheel performance, and chose to appeal to the majority by making it 1g lighter rather than optimizing actual wheel performance. I can only conclude the designers made this choice—otherwise, I'd have to assume the Rovals wheel designers got their priorities backwards and are just idiots.

The front wheel from yesterday has its rim tape removed due to work requirements, but the tape that was on it was not the original Rovals tape.
The original tape was a DT tubeless tape with just "Rovals" written on it—no "tubeless ready" marking—and this exact tape is probably unobtainable as a spare part.
Today, another wheel job (and so on).
I'm rebuilding the rear wheel of the Alpinist CLX.
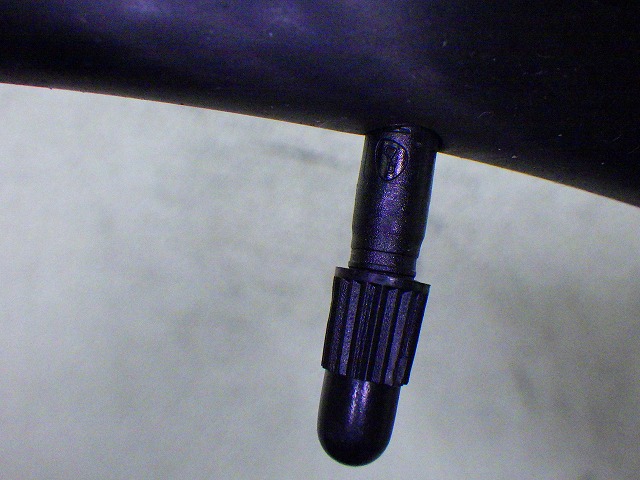
The tube in the front wheel was a polyurethane Tubolito, with even the plastic valve cap in orange, though someone had blacked it out with an oil-based marker. The rear wheel tube was also polyurethane but from a different maker—Revoloop. This type of tube has noticeably poor ride feel, just like everyone knows latex tubes have better ride quality. However, you can definitely feel how much lighter the wheel's outer circumference becomes, so if you're chasing lightweight performance, adopting it as a tradeoff is reasonable. Combined with the Alpinist CLX rim, even including the rim tape, the rim and tube come in well under 400g. This is a weight that's hard to achieve with clincher rims.

The rear wheel's rim tape was still the original. The tube is brown because it's aged and oxidized; new Revoloop tubes are a slightly translucent white.

Before work, the rim was slightly off to the left.
Rebuilt. I'll do the truing later.


I don't usually bother taking photos for something this basic, but just to be sure—center is good. The non-freewheel-side tension was at "that'll do," but the rim was still leaning toward the freewheel side and demanded further tightening of the non-freewheel side. (You could loosen the freewheel side to center it, but I didn't want to do that.) So I nervously tensioned the non-freewheel side bit by bit. Of all the wheels I've built recently, this one required the most centering gauge checks before finishing.