Another day, another wheel (and so on).

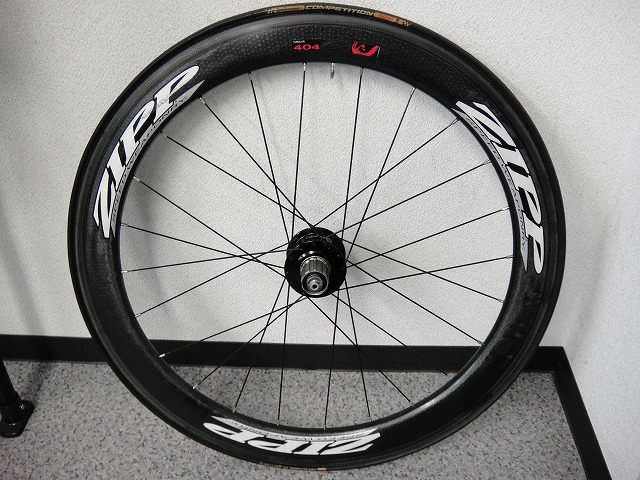
I took on a rebuild job for a ZIPP 404.
The wheel itself isn't really broken anywhere, but

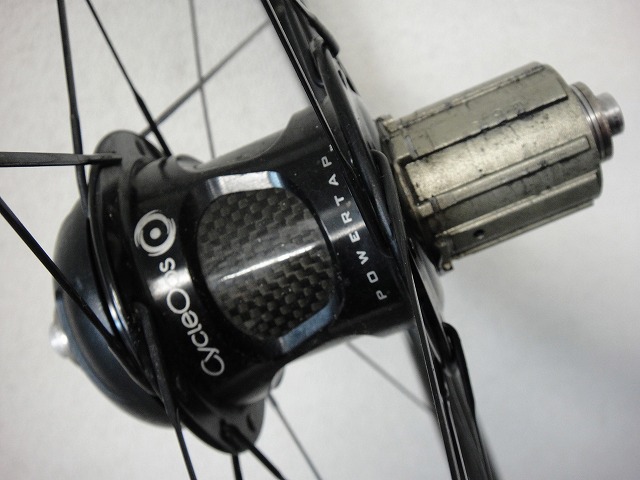
the mechanical parts of this PowerTap hub were broken. After going back and forth on whether to send it in for repair or get a new G3 hub,
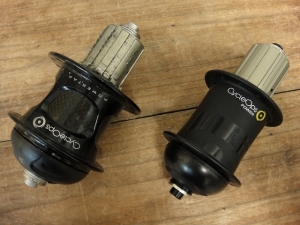
they decided to go with a new hub.
The customer might not have noticed, but the bearings were shot, so getting a new hub was definitely the right call on that front too.
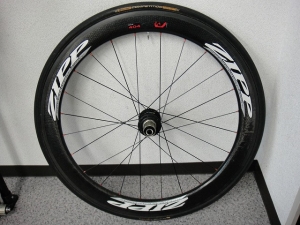
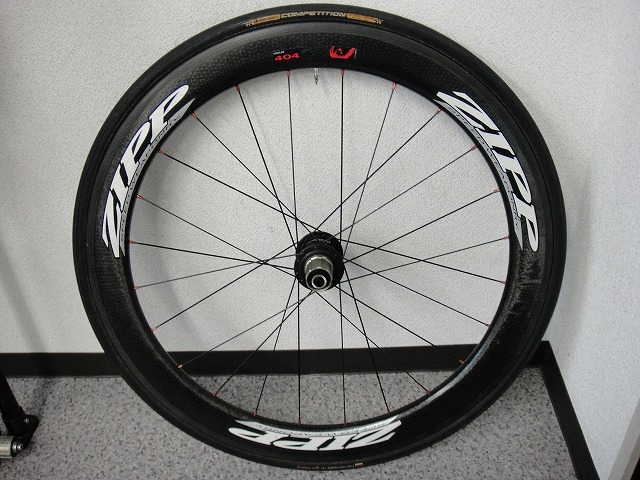
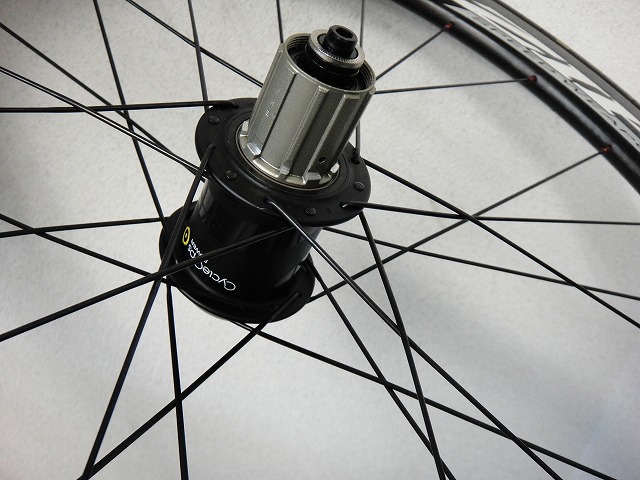
All rebuilt.

Before: all CX-RAY spokes with 2-cross lacing.
After: half-competition spokes with 3-cross lacing on one side.
It's hard to tell in the photos, but red nipples were also the customer's request.
After rebuilding, the drive side got heavier due to spoke thickness, and the non-drive side got heavier due to the lacing pattern. But the hub shed enough weight to offset that, so the wheel overall is lighter.
ZIPP used to have the image of being "a rim that can't take high spoke tension," but the current models are pretty solid, actually. Probably because they went from being a small garage operation ("We're gonna make the world's best carbon rims, yeah!") to becoming a brand used by pro riders, they can't afford to take the same risks anymore. Compared to their rims from eight years ago, the actual weight at the same rim height has definitely gone up, but the durability has increased so much that it's moved from "light to hold" to "pedals smooth, goes fast, and doesn't break"—a huge improvement.
As far as I'm concerned, success means "when I dial in the drive-side spoke tension to what it was before the rebuild, the non-drive side tension ends up higher than before." But the old ZIPPs were built with such insanely high tension that it was nearly impossible to match the pre-rebuild spoke tension I measured.
Bonus
↑The ZIPP sticker is applied perfectly along the dimple holes—pure craftsmanship. You can see how they do it in a YouTube video called "Zipp Decals."

Peeling off the sticker from the old rim.
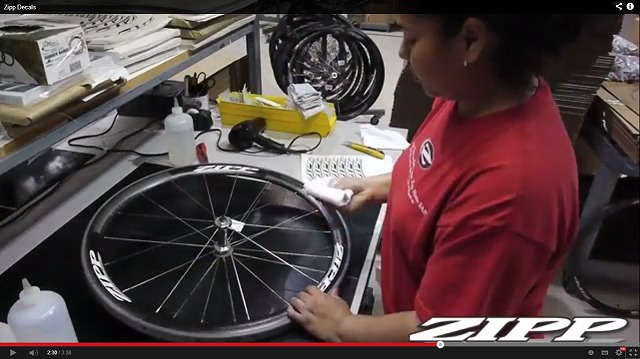
When applying a new one, there are guide lines drawn on the workbench to ensure the sticker phase is perfectly aligned.

After degreasing the rim and applying the sticker, they use a squeegee-like tool to press it perfectly into the dimples on the rim. Just two seconds after this photo,
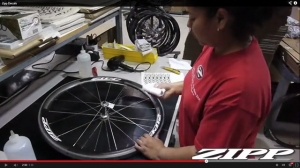
↑you get this image. Pretty amazing, right? What's so amazing about it, you ask? The rim height has shrunk... I still can't figure out the trick behind this magic.
I took on a rebuild job for a ZIPP 404.
The wheel itself isn't really broken anywhere, but
the mechanical parts of this PowerTap hub were broken. After going back and forth on whether to send it in for repair or get a new G3 hub,

they decided to go with a new hub.
The customer might not have noticed, but the bearings were shot, so getting a new hub was definitely the right call on that front too.
All rebuilt.
Before: all CX-RAY spokes with 2-cross lacing.
After: half-competition spokes with 3-cross lacing on one side.
It's hard to tell in the photos, but red nipples were also the customer's request.
After rebuilding, the drive side got heavier due to spoke thickness, and the non-drive side got heavier due to the lacing pattern. But the hub shed enough weight to offset that, so the wheel overall is lighter.
ZIPP used to have the image of being "a rim that can't take high spoke tension," but the current models are pretty solid, actually. Probably because they went from being a small garage operation ("We're gonna make the world's best carbon rims, yeah!") to becoming a brand used by pro riders, they can't afford to take the same risks anymore. Compared to their rims from eight years ago, the actual weight at the same rim height has definitely gone up, but the durability has increased so much that it's moved from "light to hold" to "pedals smooth, goes fast, and doesn't break"—a huge improvement.
As far as I'm concerned, success means "when I dial in the drive-side spoke tension to what it was before the rebuild, the non-drive side tension ends up higher than before." But the old ZIPPs were built with such insanely high tension that it was nearly impossible to match the pre-rebuild spoke tension I measured.
Bonus
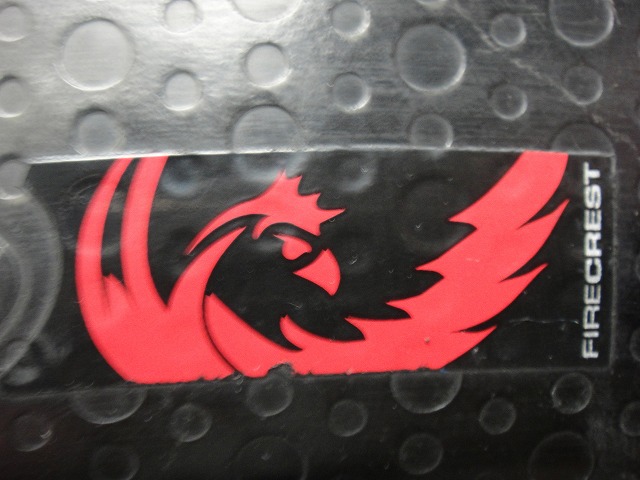
↑The ZIPP sticker is applied perfectly along the dimple holes—pure craftsmanship. You can see how they do it in a YouTube video called "Zipp Decals."

Peeling off the sticker from the old rim.
When applying a new one, there are guide lines drawn on the workbench to ensure the sticker phase is perfectly aligned.
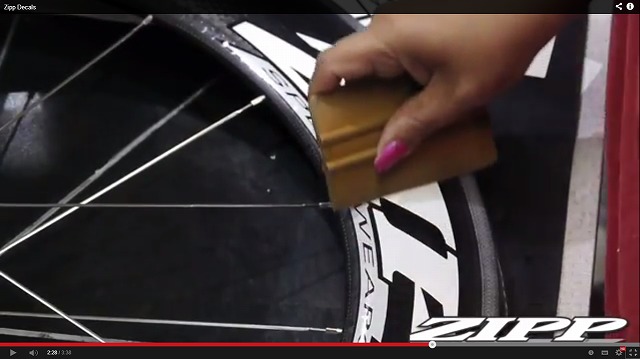
After degreasing the rim and applying the sticker, they use a squeegee-like tool to press it perfectly into the dimples on the rim. Just two seconds after this photo,
↑you get this image. Pretty amazing, right? What's so amazing about it, you ask? The rim height has shrunk... I still can't figure out the trick behind this magic.