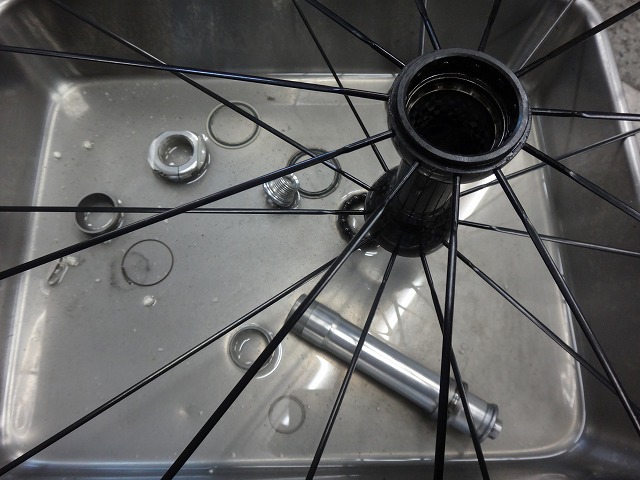
A customer brought in a Hyperon for us to work on.
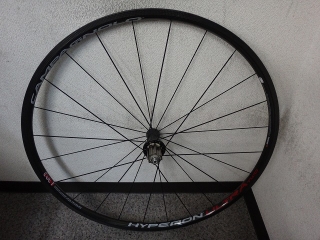
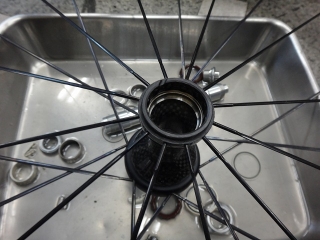
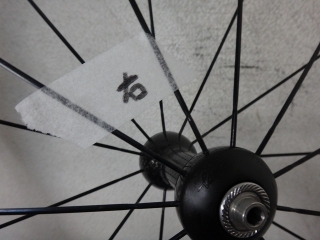
They're requesting a full overhaul, so I'm starting with the rear wheel.
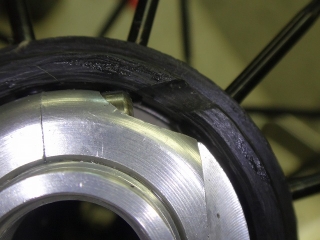
I'm taking photos from the freewheel side, but
there's a reference tape on the non-freewheel side
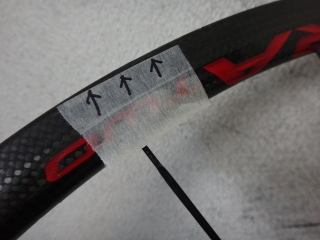
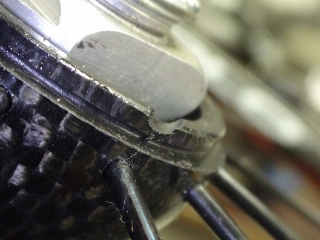
↑The customer asked me,
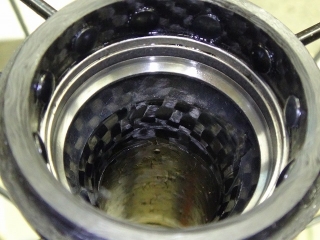
"Is it okay that the rim looks like it's peeling?"
No problem at all.
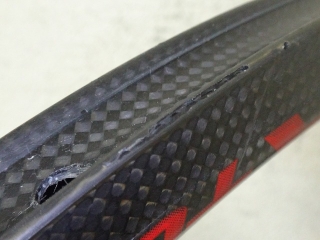
Just a small chip on the outermost outer layer.
If the carbon starts peeling outward from the brake zone,
that would be a problem. But if they're concerned about it,
you can apply masking tape to the brake zone
and fill the gap with cyanoacrylate adhesive—that'll do the trick.
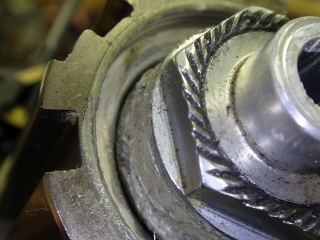

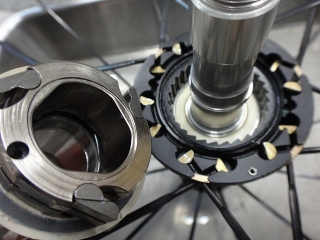
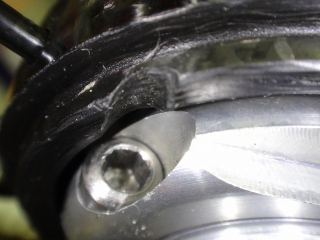
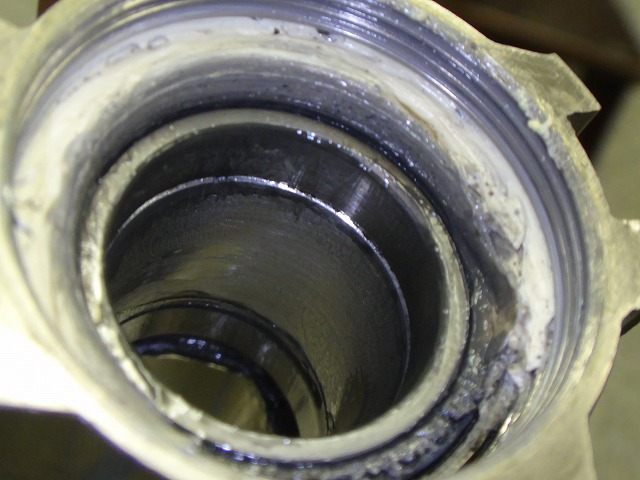
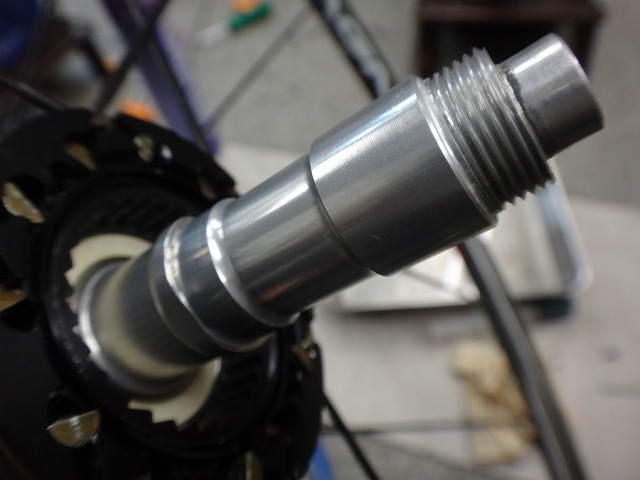
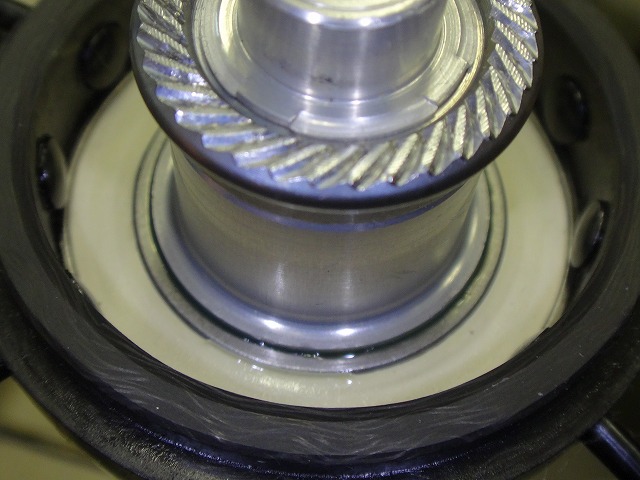
On the outside of the freewheel body bearing,
there were traces of Finish Line Teflon grease (probably) applied thickly
and then the sprocket lockring was tightened over it.
This grease might serve a purpose in preventing water intrusion.
As long as it doesn't compromise the bearing seal material, it's fine.

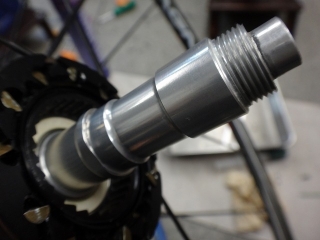
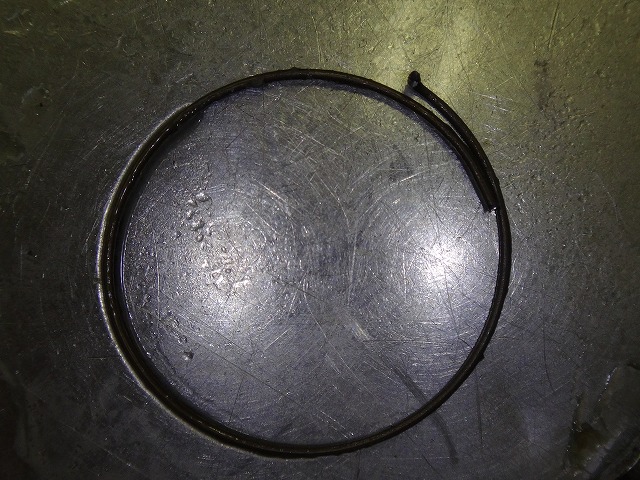
The freewheel body pawl spring showed deformation, so I replaced it.
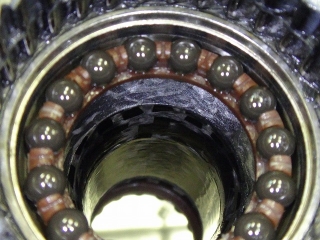
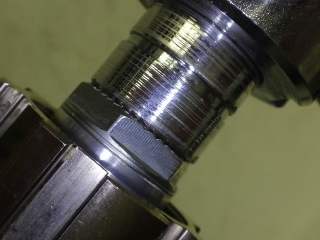
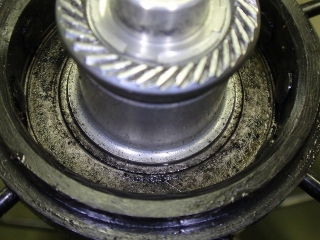
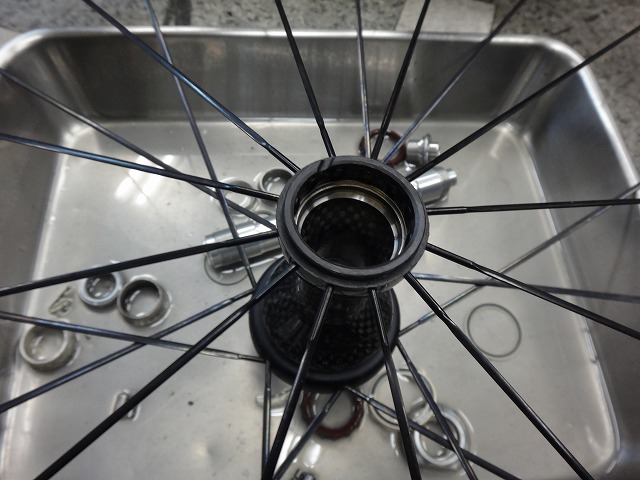
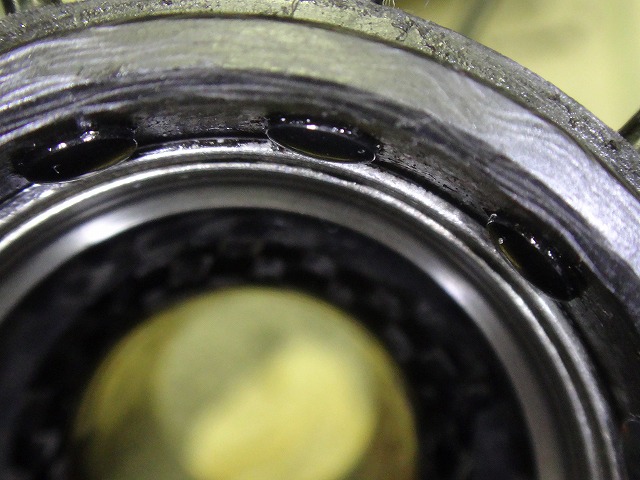
This is the right side of the rear hub. The CULT bearing balls
all had a fresh, lustrous shine in all four directions,
showed no signs of damage, and the rotation was completely smooth.
I cleaned the hub
thoroughly.
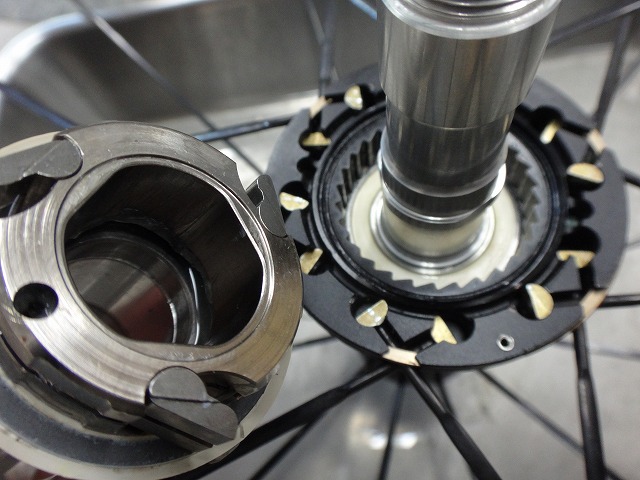
There were no traces of the freewheel body bearing rubbing on the hub axle—
it's extremely clean. The customer says "I haven't used it much."
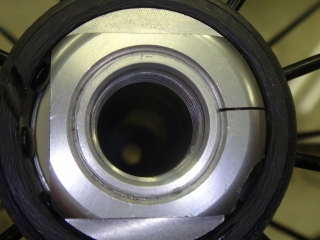
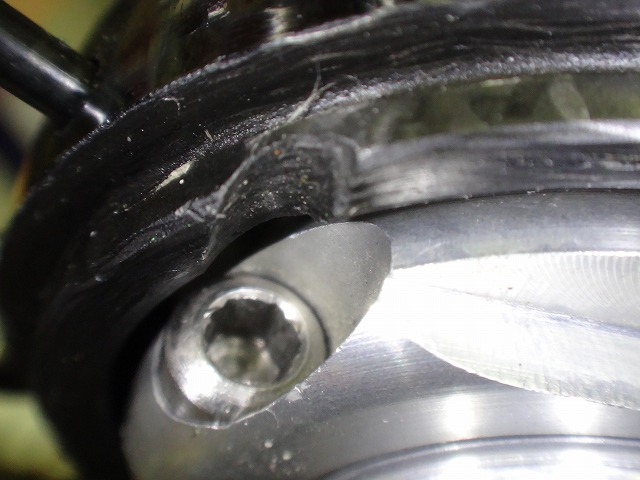
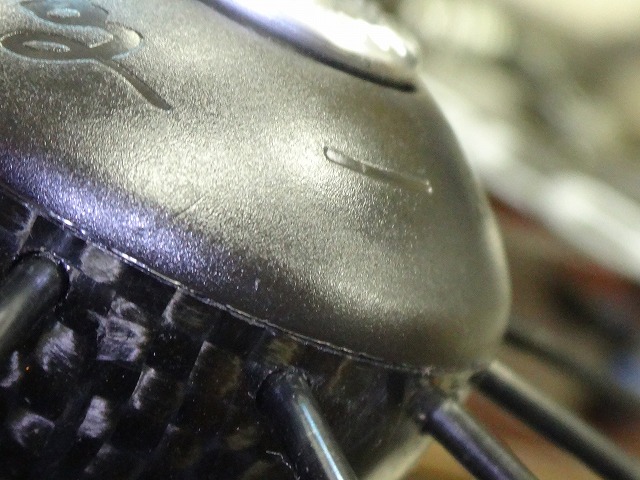
Carbon hubs from this era have cutouts on the bearing adjustment bolt
for tool engagement. On rear hubs, this is naturally on the left (non-freewheel) side,
but on front hubs, this is actually how you distinguish left from right.

I'm not criticizing filling this part of the freewheel body with grease.
I cleaned it for the sake of the work, so if you want that done again, please let me know.


The rim wasn't dramatically off to the freewheel side, actually.
It was shifted about a sheet of paper towards the non-freewheel side.
The spoke tension was clearly slack, so
apart from truing, I retensioned it, and during that process,
this photo was taken just after tightening the freewheel side only.

Then I retensioned the non-freewheel side too.

Since the early Bora, Campagnolo's carbon wheel rims
have been made by Corima, and as a result,
Campagnolo wheels have reverse-drilled rims.
This is true even for aluminum rim wheels, but
rim-only parts for hand-built wheels don't follow this pattern.
That said, in the case of the G3 rear wheel, both neighbors of the valve hole
are on the freewheel side spokes, and
when truing radially-built front wheels, you rarely pay attention to drilling anyway,
so it's not something to worry about except during rim replacement work.
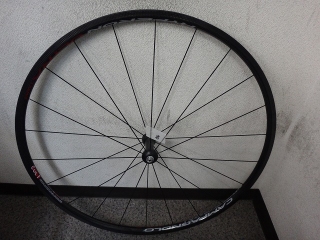
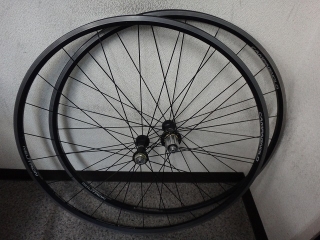
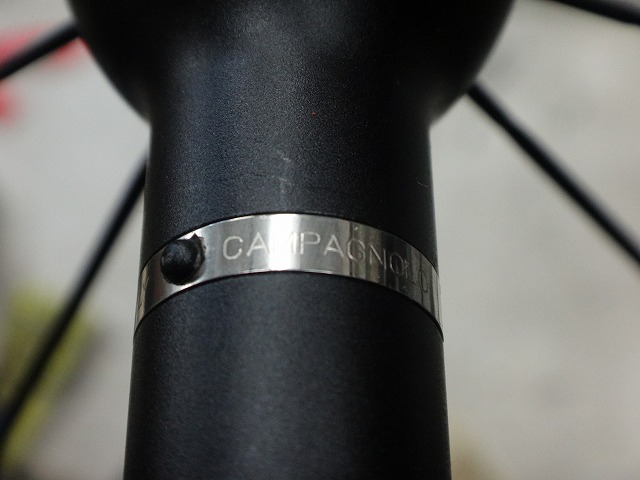
Now for the front wheel. This is a photo after the work.
I've added tape to mark the right side, but I'll explain that later.
The bearing seal is dirty, but
the insides look fine.

Looks fine, but since they requested an overhaul, I cleaned it anyway.
This originally had CULT bearings, but

when replacing the one on this carbon hub,
you need to remove all the spokes—both sides for the front, or the non-freewheel side for the rear.
In fact, we currently have another Hyperon in the shop with that exact job,
but the customer said "whenever," so it's just sitting there.
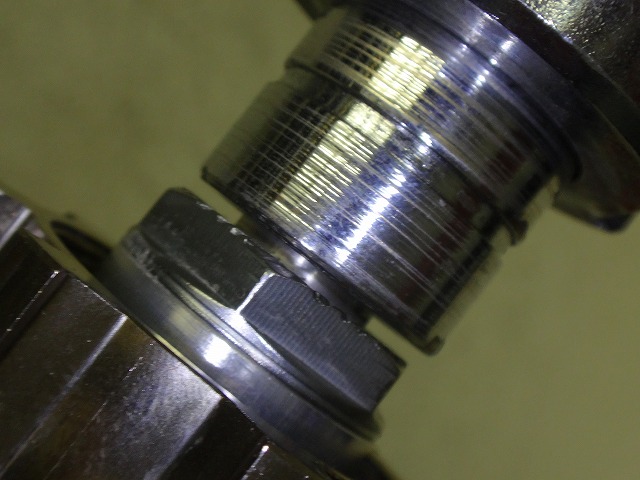
The bearing adjustment nut has a shape that accepts a wrench, unlike current specs,
and over-tightening with a tool as a result
has accelerated bearing damage in quite a few cases that I'm aware of.
The fact that current parts have a shape that won't accept a tool
tells you that hand-tightening is enough here.

I reassembled it.
About that cutout I mentioned—

it disappears when you put the hub cap on.
Switching gears. The customer with the Hyperon that wants CULT conversion
brought in an early-generation Neutron in excellent condition.
I don't know if the motivation was that they didn't CULT-convert their Hyperon
and had an impulse buy, but
this front hub has no cutouts, so the hub itself has no left-right distinction.

When I aligned the Ultra Linear Geometry sticker on the rim,

the left and right of the front hub axle were reversed from the rim orientation,
so I removed the hub axle and flipped it.
Hubs from this era have a grease hole in the center of the hub body,
and the band that covers that hole

has text that you can orient so it reads from the right side.
That way, even with the hub cap on and no quick release or tire,
you can tell left from right. But the Hyperon has a carbon hub body
and no grease hole, so I just added a right-side marker tape to the spokes.
As for the Hyperon's front wheel, it was perfectly centered but had a slight runout.
By the way, the Neutron had unnaturally perfect lateral runout
but the rim was offset on both wheels in a way that would never come from a Campagnolo stock wheel,
so it looks like it was trued without a centering gauge.
One last thing about Hyperons.
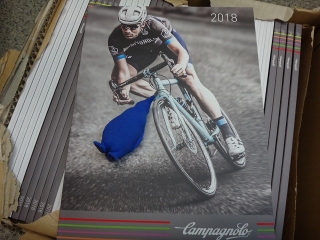
A distributor that's incredibly knowledgeable about Campagnolo in Japan
sent me a fancy 2018 Campagnolo catalog.
...Why so many? The number keeps increasing every year.
So we're distributing them free to anyone who wants one. Help yourself, seriously.
Oh, almost forgot the point: The 2018 catalog doesn't include the Hyperon. It's discontinued.
Campagnolo used to categorize complete wheels by rim height as
High Profile, Medium Profile, and Low Profile, but now the only model equivalent to Low Profile
is the Neutron Ultra.

They're requesting a full overhaul, so I'm starting with the rear wheel.
I'm taking photos from the freewheel side, but

there's a reference tape on the non-freewheel side

↑The customer asked me,
"Is it okay that the rim looks like it's peeling?"
No problem at all.
Just a small chip on the outermost outer layer.
If the carbon starts peeling outward from the brake zone,
that would be a problem. But if they're concerned about it,
you can apply masking tape to the brake zone
and fill the gap with cyanoacrylate adhesive—that'll do the trick.

On the outside of the freewheel body bearing,
there were traces of Finish Line Teflon grease (probably) applied thickly
and then the sprocket lockring was tightened over it.
This grease might serve a purpose in preventing water intrusion.
As long as it doesn't compromise the bearing seal material, it's fine.
The freewheel body pawl spring showed deformation, so I replaced it.

This is the right side of the rear hub. The CULT bearing balls
all had a fresh, lustrous shine in all four directions,
showed no signs of damage, and the rotation was completely smooth.
I cleaned the hub
thoroughly.
There were no traces of the freewheel body bearing rubbing on the hub axle—
it's extremely clean. The customer says "I haven't used it much."

Carbon hubs from this era have cutouts on the bearing adjustment bolt
for tool engagement. On rear hubs, this is naturally on the left (non-freewheel) side,
but on front hubs, this is actually how you distinguish left from right.

I'm not criticizing filling this part of the freewheel body with grease.
I cleaned it for the sake of the work, so if you want that done again, please let me know.

The rim wasn't dramatically off to the freewheel side, actually.
It was shifted about a sheet of paper towards the non-freewheel side.
The spoke tension was clearly slack, so
apart from truing, I retensioned it, and during that process,
this photo was taken just after tightening the freewheel side only.


Then I retensioned the non-freewheel side too.
Since the early Bora, Campagnolo's carbon wheel rims
have been made by Corima, and as a result,
Campagnolo wheels have reverse-drilled rims.
This is true even for aluminum rim wheels, but
rim-only parts for hand-built wheels don't follow this pattern.
That said, in the case of the G3 rear wheel, both neighbors of the valve hole
are on the freewheel side spokes, and
when truing radially-built front wheels, you rarely pay attention to drilling anyway,
so it's not something to worry about except during rim replacement work.

Now for the front wheel. This is a photo after the work.

I've added tape to mark the right side, but I'll explain that later.

The bearing seal is dirty, but
the insides look fine.
Looks fine, but since they requested an overhaul, I cleaned it anyway.

This originally had CULT bearings, but
when replacing the one on this carbon hub,
you need to remove all the spokes—both sides for the front, or the non-freewheel side for the rear.
In fact, we currently have another Hyperon in the shop with that exact job,
but the customer said "whenever," so it's just sitting there.

The bearing adjustment nut has a shape that accepts a wrench, unlike current specs,
and over-tightening with a tool as a result
has accelerated bearing damage in quite a few cases that I'm aware of.
The fact that current parts have a shape that won't accept a tool
tells you that hand-tightening is enough here.
I reassembled it.

About that cutout I mentioned—
it disappears when you put the hub cap on.

Switching gears. The customer with the Hyperon that wants CULT conversion
brought in an early-generation Neutron in excellent condition.
I don't know if the motivation was that they didn't CULT-convert their Hyperon
and had an impulse buy, but
this front hub has no cutouts, so the hub itself has no left-right distinction.

When I aligned the Ultra Linear Geometry sticker on the rim,

the left and right of the front hub axle were reversed from the rim orientation,
so I removed the hub axle and flipped it.
Hubs from this era have a grease hole in the center of the hub body,
and the band that covers that hole
has text that you can orient so it reads from the right side.
That way, even with the hub cap on and no quick release or tire,
you can tell left from right. But the Hyperon has a carbon hub body
and no grease hole, so I just added a right-side marker tape to the spokes.
As for the Hyperon's front wheel, it was perfectly centered but had a slight runout.
By the way, the Neutron had unnaturally perfect lateral runout
but the rim was offset on both wheels in a way that would never come from a Campagnolo stock wheel,
so it looks like it was trued without a centering gauge.


One last thing about Hyperons.
A distributor that's incredibly knowledgeable about Campagnolo in Japan
sent me a fancy 2018 Campagnolo catalog.
...Why so many? The number keeps increasing every year.
So we're distributing them free to anyone who wants one. Help yourself, seriously.
Oh, almost forgot the point: The 2018 catalog doesn't include the Hyperon. It's discontinued.
Campagnolo used to categorize complete wheels by rim height as
High Profile, Medium Profile, and Low Profile, but now the only model equivalent to Low Profile
is the Neutron Ultra.