A customer brought in a Racing Zero Carbon (high-end racing bicycle) for service.
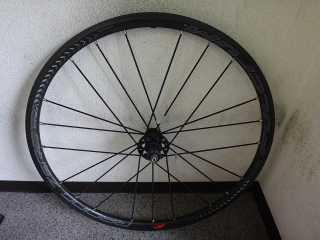
Starting with the rear wheel. Full overhaul and
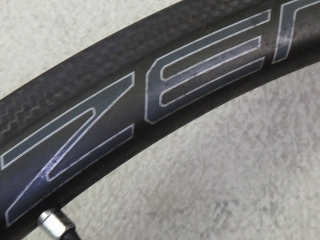
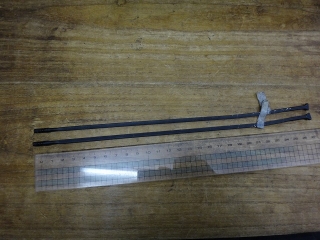
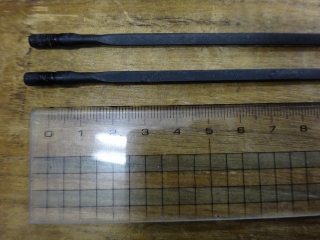
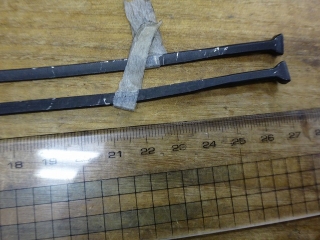
The customer wants me to replace the two spokes marked here—they got bent from a chain drop.
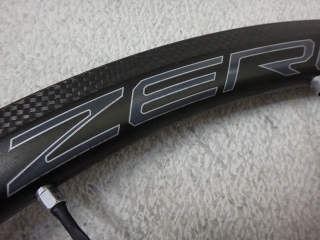
The rim was so dirty that my hands got grimy touching anywhere on it, so I cleaned the wheel. I washed the front wheel too, though I didn't get photos of that.
I temporarily installed a tubeless valve to prevent water from seeping into the rim.
Before
After
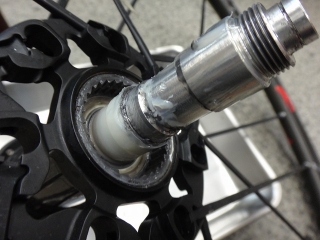
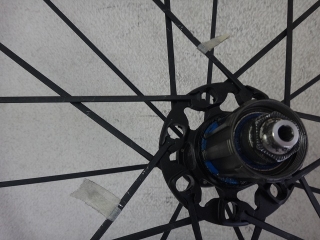
I removed the freebody, but I didn't feel the need to disassemble the hub itself, so I just confirmed the pawl springs weren't deformed and applied fresh grease around the ratchet mechanism.
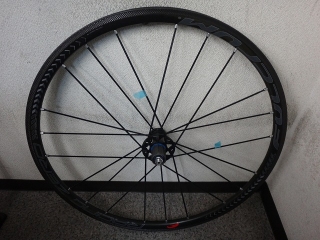
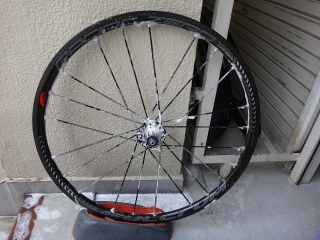
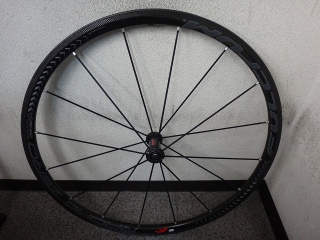
I replaced the spokes and trued the wheel.
When some bent spokes were still mixed in, the temporary center check showed no offset, but there was lateral runout, so depending on the angle I placed the truing stand, I might have detected some centering error. The image above shows the condition after the work.
↑The replaced spokes
Next, the front wheel.

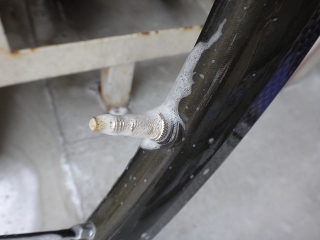
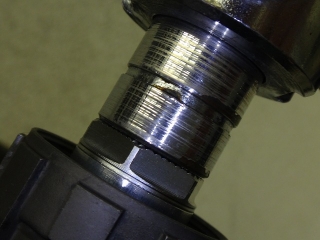
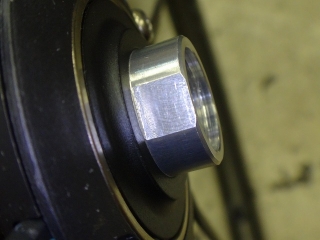
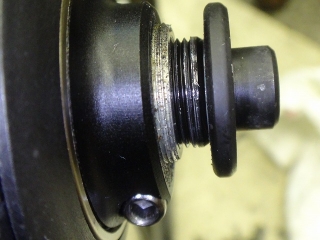
When I loosened both axle ends with a 5mm allen key, the separate hollow bolt on the right end came off the hub axle first. This is a potential disaster waiting to happen with the new axle.
I removed the axle end temporarily
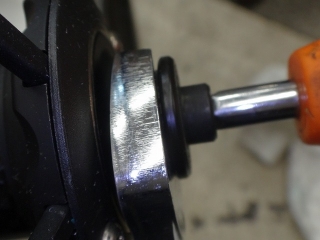
Applied strong threadlocker to the threads, then tightened it hard with a 14mm wrench (custom-fitted to width) and a 5mm allen key
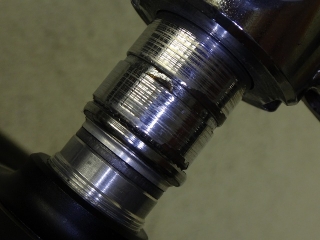
Now I've set it up so the left end will loosen first in the future.
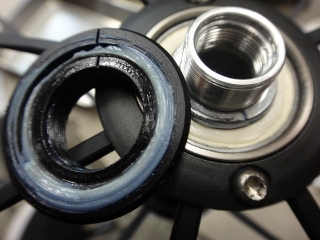
Like the rear hub, this one didn't look like it needed disassembly (and I didn't release the centering shim washer that had dug in), so I just reinstalled the bearing adjustment nut.
Normally you wouldn't need to remove the left end just for bearing adjustment, but I've set things up so that if the customer needs future hub relubrication, we won't have another axle catastrophe on our hands.

Starting with the rear wheel. Full overhaul and

The customer wants me to replace the two spokes marked here—they got bent from a chain drop.

The rim was so dirty that my hands got grimy touching anywhere on it, so I cleaned the wheel. I washed the front wheel too, though I didn't get photos of that.

I temporarily installed a tubeless valve to prevent water from seeping into the rim.

Before

After

I removed the freebody, but I didn't feel the need to disassemble the hub itself, so I just confirmed the pawl springs weren't deformed and applied fresh grease around the ratchet mechanism.

I replaced the spokes and trued the wheel.


When some bent spokes were still mixed in, the temporary center check showed no offset, but there was lateral runout, so depending on the angle I placed the truing stand, I might have detected some centering error. The image above shows the condition after the work.


↑The replaced spokes

Next, the front wheel.

When I loosened both axle ends with a 5mm allen key, the separate hollow bolt on the right end came off the hub axle first. This is a potential disaster waiting to happen with the new axle.

I removed the axle end temporarily

Applied strong threadlocker to the threads, then tightened it hard with a 14mm wrench (custom-fitted to width) and a 5mm allen key

Now I've set it up so the left end will loosen first in the future.

Like the rear hub, this one didn't look like it needed disassembly (and I didn't release the centering shim washer that had dug in), so I just reinstalled the bearing adjustment nut.
Normally you wouldn't need to remove the left end just for bearing adjustment, but I've set things up so that if the customer needs future hub relubrication, we won't have another axle catastrophe on our hands.