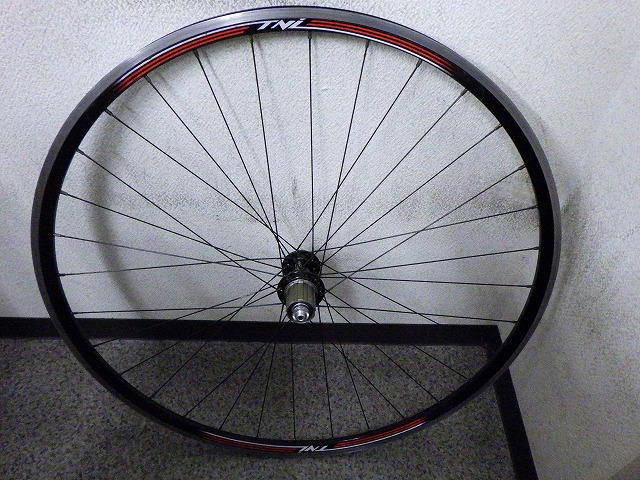
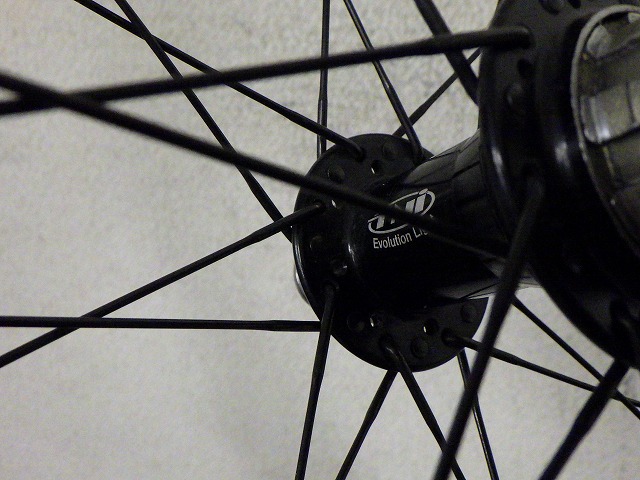
A customer brought in a rear wheel built with an AL22 rim for repair.

It's the same rim and hub as the Nomu Lab Wheel No. 5, but
it wasn't built by our shop.
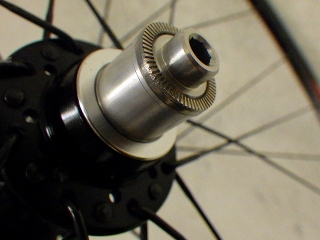
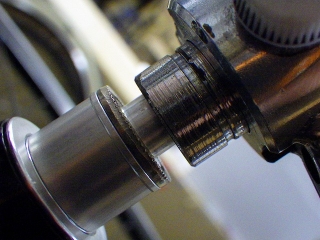
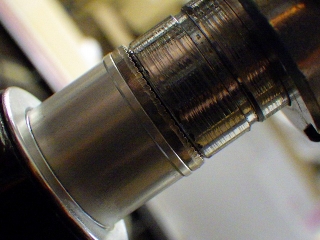
The repair request was actually already completed at the point shown in this image.
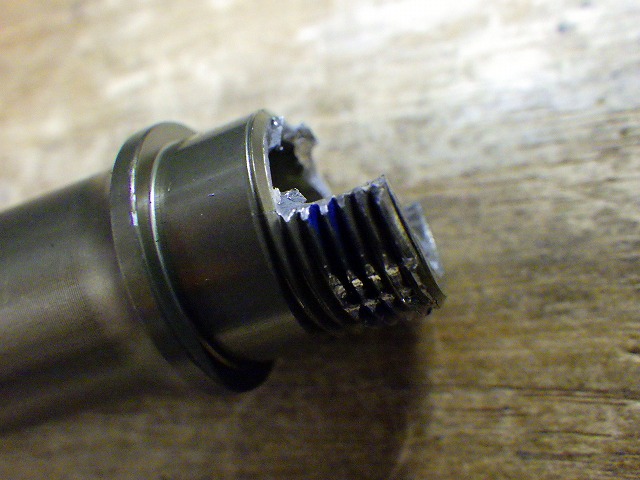
The left end nut had seized onto the hub axle,
and when they forced it, it broke. They wanted help.
The thing is, Evol Light hub axles aren't even sold individually—
there's no inventory available for them.
Plus, Evol Light hubs themselves are out of stock at the distributors (←why, I wonder?)
and are difficult to obtain.
This time I set a reasonable price and decided to sell
a hub axle as a single item,
but I thought that swapping it in would be difficult if we just sent the axle,
so I had the customer send the whole wheel to our shop.

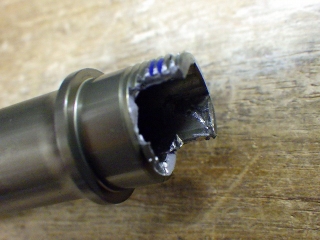
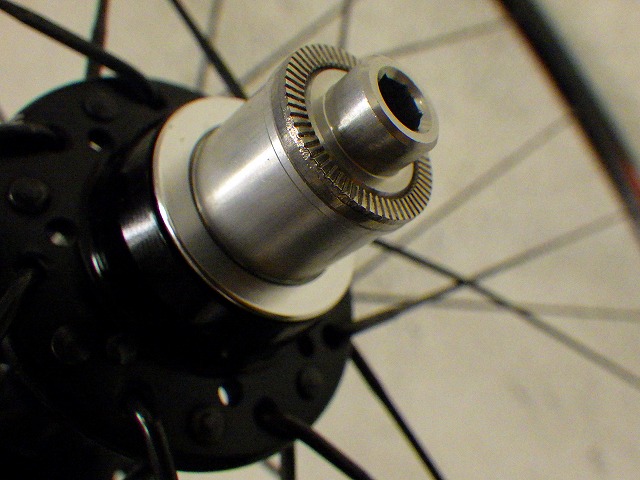
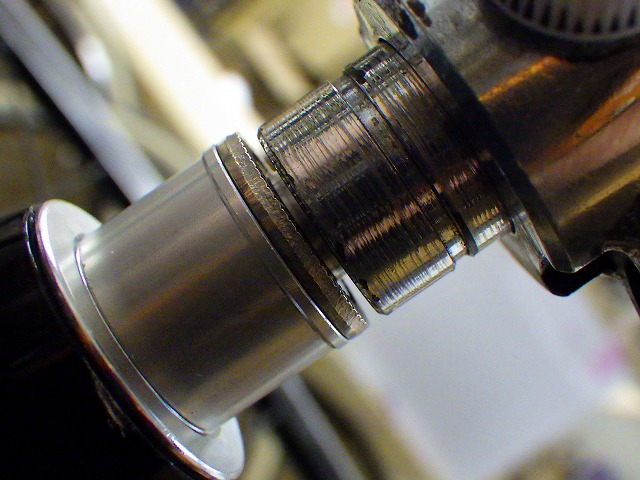
↑The replaced hub axle
As expected, the right end nut was also seized to the hub axle,
and it took a hub core grip and a vise to loosen the right side,
so if we'd just given them the hub axle, the swap would have been extremely difficult.
So that was the original repair request, but
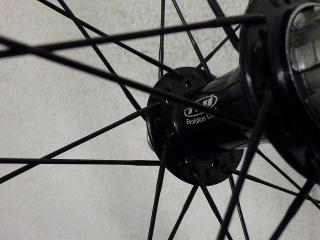
The wheel is built as 32H, all-black laser spokes in JIS 4-4 lacing pattern.
I thought I'd check the condition, so I placed a centering gauge on it and—
The rim was abnormally offset toward the freewheel side.
What the heck?
I couldn't just fix it on my own, so I asked the customer some questions.
First, I asked if they'd built this wheel themselves,
and it turned out a nearby shop had built it.
They've had it trued once since then,
but if it was offset this much, I'd expect the left side of the rear tire
to rub on the chainstay of the frame. When I mentioned this,
they said that hasn't been an issue.
They did give me permission to fix it.
So there are regions where people can make a living calling this a wheel—
I'm not copying that method, but man, it's educational.
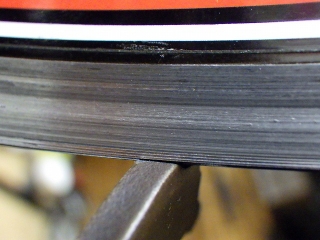

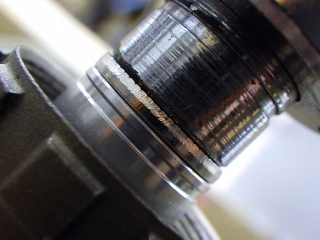
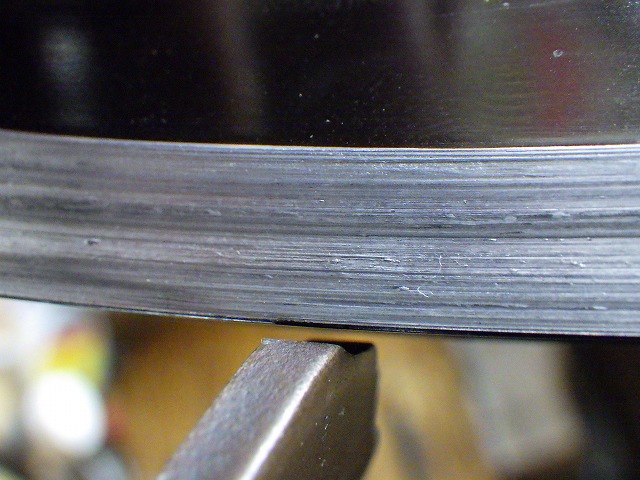
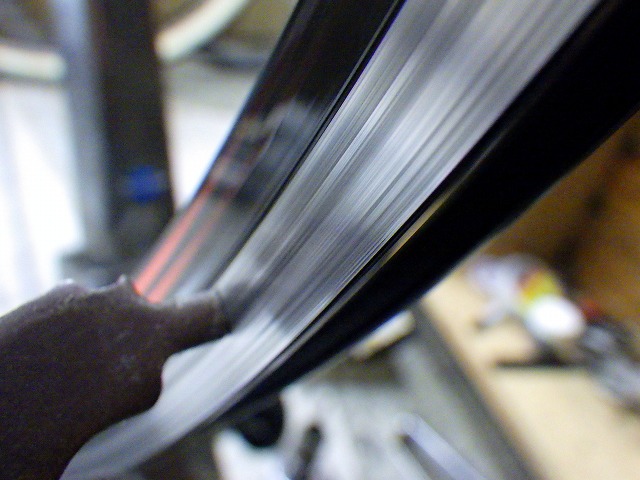
There was also severe radial runout.
In the image above, the gauge is just barely touching the rim—
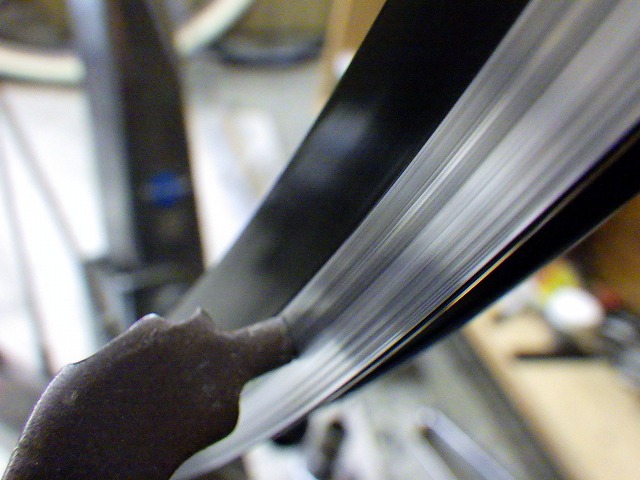
that's the phase where the rim is at its outermost point.
In the image below, that same gauge position shows the phase where the rim is at its innermost point.
The gauge position is the same in both images.
There's a whitish wear band in the brake zone,
and naturally the distance from the gauge to that white band is the same in both images.
The outermost part of the rim in the image above has a clean section
where the brake shoes have never made contact since the wheel was built.
When you spin the wheel in this state, the rim's profile bounces and jumps,
but the wear mark on the brake zone forms a perfect circle.
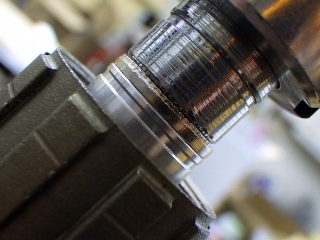

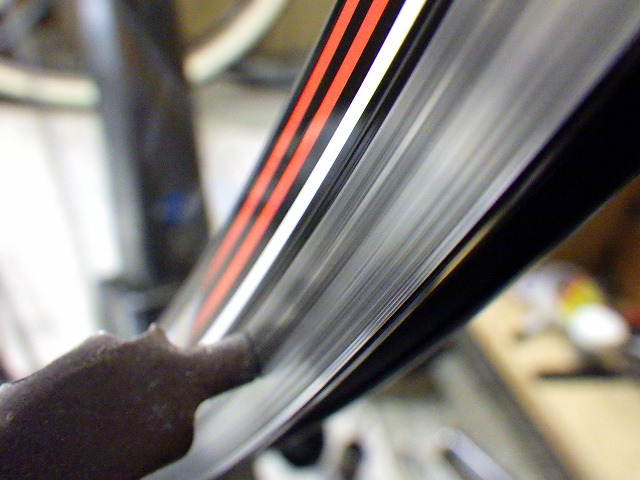
There was also lateral runout.
While tensioning to eliminate the lateral runout within what's safely tighttenable,
and doing uneven tightening on one side to reduce the center offset,
the radial and lateral runout became nearly nonexistent, as shown in the image above.
But there's still some center offset remaining.
From this point on, the only way to correct the center while keeping spoke tension
was to slide the rim slightly—barely tightening on the freewheel side
and barely loosening on the non-freewheel side.
If I loosened only the non-freewheel side from the state in the image above
to correct the center, that side would become ridiculously loose.
That's partly because both sides are the same diameter and same spoke count.
If I'd tried to correct the center with only freewheel-side tightening,
the spokes being laser (2.0–1.5–2.0mm)
would risk entering the "wobbly" failure zone.
Fortunately, this wheel being 32H saved me there.
With a 24H rear wheel built all-laser,
even if the 12 freewheel-side spokes were at their absolute minimum tension for a functional wheel,
you'd still risk that wobbly zone.
Also, this wheel was built with a shortcut—using the same spoke length on both sides
for what should be the freewheel-side spoke length,
so the non-freewheel-side spokes are about 3 threads short
from the nipple slot.
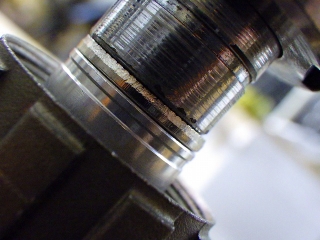
Centered.


↑All three images above show the wheel spinning.
You can see the radial and lateral runout are nearly gone.
While still images can't convey it,
within the brake zone that's now barely moving,
the original wear mark bounces up and down.
Today's "Today Also Wheel [and so on]" happened to be the Nomu Lab Wheel No. 5 rear wheel,
and sure enough the work time was shorter than before,
but if "Today Also Wheel [and so on]" had been a front wheel instead,
I reckon it would have taken about the same amount of time
as the rear wheel did.
Judging from the original radial runout on this wheel,
you could say that today was the first time a wheel worthy of the name
was actually built with this hub and rim combination.
It's the same rim and hub as the Nomu Lab Wheel No. 5, but
it wasn't built by our shop.
The repair request was actually already completed at the point shown in this image.
The left end nut had seized onto the hub axle,
and when they forced it, it broke. They wanted help.
The thing is, Evol Light hub axles aren't even sold individually—
there's no inventory available for them.
Plus, Evol Light hubs themselves are out of stock at the distributors (←why, I wonder?)
and are difficult to obtain.
This time I set a reasonable price and decided to sell
a hub axle as a single item,
but I thought that swapping it in would be difficult if we just sent the axle,
so I had the customer send the whole wheel to our shop.

↑The replaced hub axle
As expected, the right end nut was also seized to the hub axle,
and it took a hub core grip and a vise to loosen the right side,
so if we'd just given them the hub axle, the swap would have been extremely difficult.
So that was the original repair request, but
The wheel is built as 32H, all-black laser spokes in JIS 4-4 lacing pattern.
I thought I'd check the condition, so I placed a centering gauge on it and—


The rim was abnormally offset toward the freewheel side.
What the heck?
I couldn't just fix it on my own, so I asked the customer some questions.
First, I asked if they'd built this wheel themselves,
and it turned out a nearby shop had built it.
They've had it trued once since then,
but if it was offset this much, I'd expect the left side of the rear tire
to rub on the chainstay of the frame. When I mentioned this,
they said that hasn't been an issue.
They did give me permission to fix it.
So there are regions where people can make a living calling this a wheel—
I'm not copying that method, but man, it's educational.

There was also severe radial runout.
In the image above, the gauge is just barely touching the rim—
that's the phase where the rim is at its outermost point.
In the image below, that same gauge position shows the phase where the rim is at its innermost point.
The gauge position is the same in both images.
There's a whitish wear band in the brake zone,
and naturally the distance from the gauge to that white band is the same in both images.
The outermost part of the rim in the image above has a clean section
where the brake shoes have never made contact since the wheel was built.
When you spin the wheel in this state, the rim's profile bounces and jumps,
but the wear mark on the brake zone forms a perfect circle.

There was also lateral runout.
While tensioning to eliminate the lateral runout within what's safely tighttenable,
and doing uneven tightening on one side to reduce the center offset,
the radial and lateral runout became nearly nonexistent, as shown in the image above.
But there's still some center offset remaining.
From this point on, the only way to correct the center while keeping spoke tension
was to slide the rim slightly—barely tightening on the freewheel side
and barely loosening on the non-freewheel side.
If I loosened only the non-freewheel side from the state in the image above
to correct the center, that side would become ridiculously loose.
That's partly because both sides are the same diameter and same spoke count.
If I'd tried to correct the center with only freewheel-side tightening,
the spokes being laser (2.0–1.5–2.0mm)
would risk entering the "wobbly" failure zone.
Fortunately, this wheel being 32H saved me there.
With a 24H rear wheel built all-laser,
even if the 12 freewheel-side spokes were at their absolute minimum tension for a functional wheel,
you'd still risk that wobbly zone.
Also, this wheel was built with a shortcut—using the same spoke length on both sides
for what should be the freewheel-side spoke length,
so the non-freewheel-side spokes are about 3 threads short
from the nipple slot.


Centered.
↑All three images above show the wheel spinning.
You can see the radial and lateral runout are nearly gone.
While still images can't convey it,
within the brake zone that's now barely moving,
the original wear mark bounces up and down.
Today's "Today Also Wheel [and so on]" happened to be the Nomu Lab Wheel No. 5 rear wheel,
and sure enough the work time was shorter than before,
but if "Today Also Wheel [and so on]" had been a front wheel instead,
I reckon it would have taken about the same amount of time
as the rear wheel did.
Judging from the original radial runout on this wheel,
you could say that today was the first time a wheel worthy of the name
was actually built with this hub and rim combination.