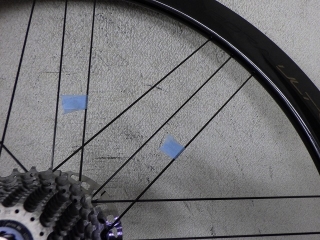
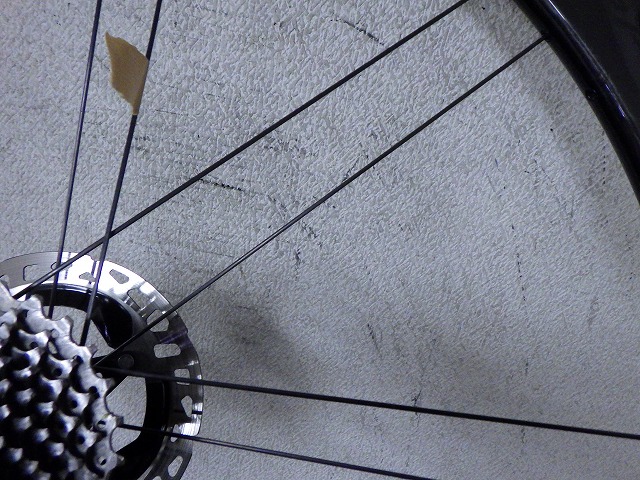
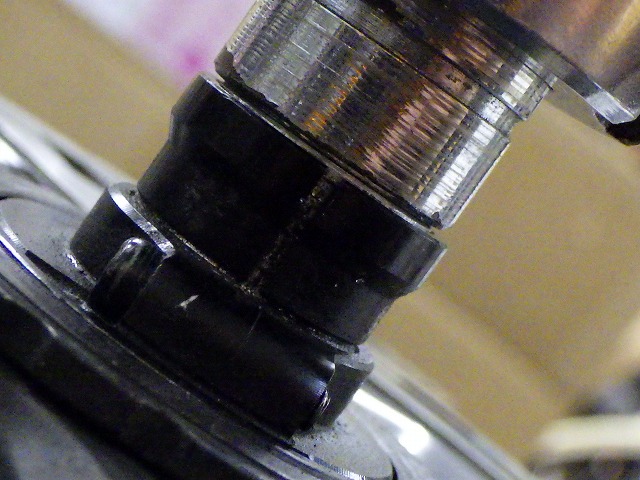
I received the rear wheel of a Bora Ultra WTO 45 from a customer.
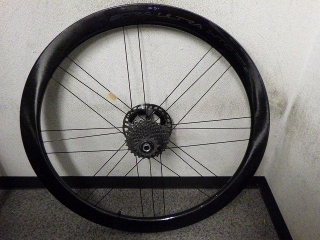
One spoke is broken, and based on the rotation direction, the next spoke is also deformed, so I'm not sure what caused the break, but it might be from the rear derailleur getting caught in it.
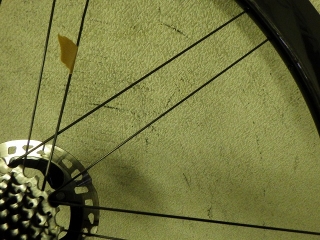
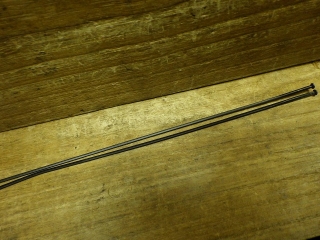
I've gotten used to operating my new digital camera, but there are some settings that save when powered off and some that don't. The white balance setting is the latter, so if I'm not careful, I end up with shots like this with weird color casts.
One spoke is broken,

and on the next spoke at the same position, the customer has put a marker tape on it, but that spoke is deformed.

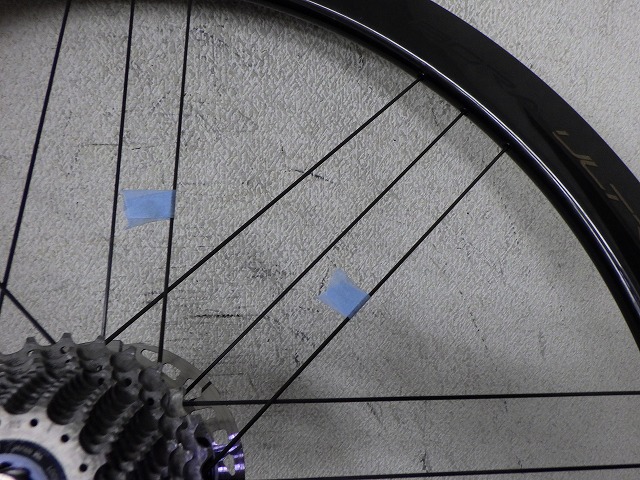
This is a rim with no holes on the outer edge except for the valve hole, but it has special nipples that are aerodynamically equivalent to internal nipples. I was wondering how you'd thread the spokes through, but it turns out there's a special tool that pulls them on the inner side of the rim and they click into place with a satisfying snap and feel. After that, they won't accidentally drop inside the rim. As for the temporary setup of the wheel build, if you pre-click all the nipples into place on the rim first, it's not that much work. Turning the nipples takes effort, but there's a special tool (with a handle attached) for that, so the work has been significantly reduced (→here).
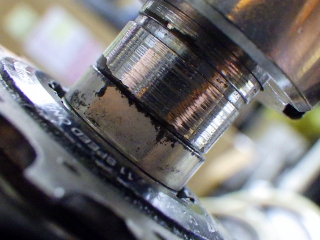

Since a spoke was broken, I didn't check the centering initially. I replaced two spokes and was working on truing the runout directly below them when the worst runout appeared at a completely different location. I corrected that lateral runout, and only after I'd dialed it in did I first use the centering gauge, and as you can see in the image above, it was dead on. If it had been off by even a single sheet of paper, I'd have to turn all the nipples on one side, and since this wheel can be somewhat tedious in that regard, it's very helpful that the original precision is so high.

It's fixed.
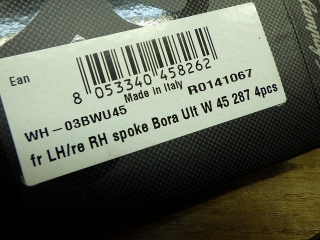
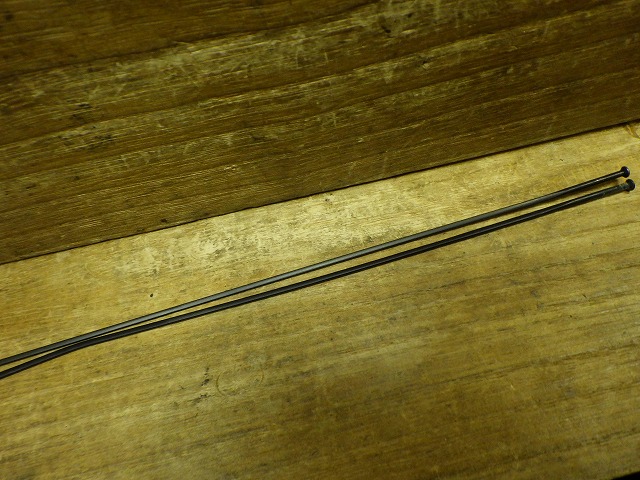
Glad I had spare spokes on hand. The left side of the front wheel and the right side of the rear wheel use the same spoke length. The right side of the front wheel and the left side of the rear wheel are different lengths, so this wheel requires three different spoke types as spares.
The spoke lengths are listed, and having this information publicly available really helps when there's no stock of a particular spoke length. You can do a makeshift repair using a spoke with similar weight characteristics. In this case, I have stock, so I'm using the original spokes, but if this wheel needed it, repairing it with a CX-RAY spoke would be fine too—you could ride on it until the original spokes arrive, or even use it in a race if needed.
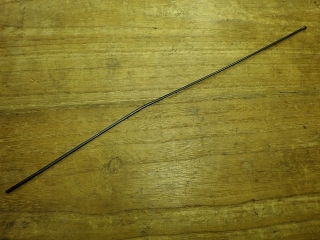
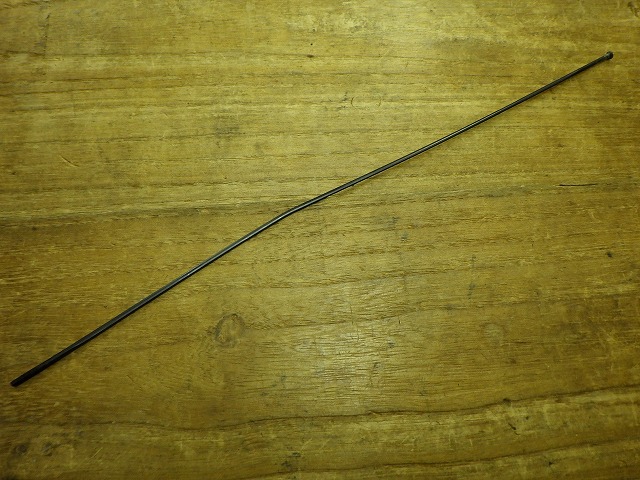
↑The replaced spoke
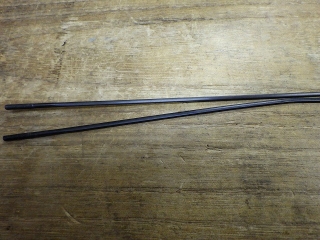
When I compare it side-by-side with a new spoke, after the bend starts, it's normal for the distance to increase toward the rim side, but
on the hub side, it moves away from the new spoke first, then comes back close again—a complex deformation pattern.

One spoke is broken, and based on the rotation direction, the next spoke is also deformed, so I'm not sure what caused the break, but it might be from the rear derailleur getting caught in it.

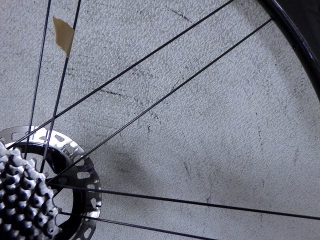
I've gotten used to operating my new digital camera, but there are some settings that save when powered off and some that don't. The white balance setting is the latter, so if I'm not careful, I end up with shots like this with weird color casts.
One spoke is broken,

and on the next spoke at the same position, the customer has put a marker tape on it, but that spoke is deformed.

This is a rim with no holes on the outer edge except for the valve hole, but it has special nipples that are aerodynamically equivalent to internal nipples. I was wondering how you'd thread the spokes through, but it turns out there's a special tool that pulls them on the inner side of the rim and they click into place with a satisfying snap and feel. After that, they won't accidentally drop inside the rim. As for the temporary setup of the wheel build, if you pre-click all the nipples into place on the rim first, it's not that much work. Turning the nipples takes effort, but there's a special tool (with a handle attached) for that, so the work has been significantly reduced (→here).

Since a spoke was broken, I didn't check the centering initially. I replaced two spokes and was working on truing the runout directly below them when the worst runout appeared at a completely different location. I corrected that lateral runout, and only after I'd dialed it in did I first use the centering gauge, and as you can see in the image above, it was dead on. If it had been off by even a single sheet of paper, I'd have to turn all the nipples on one side, and since this wheel can be somewhat tedious in that regard, it's very helpful that the original precision is so high.

It's fixed.

Glad I had spare spokes on hand. The left side of the front wheel and the right side of the rear wheel use the same spoke length. The right side of the front wheel and the left side of the rear wheel are different lengths, so this wheel requires three different spoke types as spares.
The spoke lengths are listed, and having this information publicly available really helps when there's no stock of a particular spoke length. You can do a makeshift repair using a spoke with similar weight characteristics. In this case, I have stock, so I'm using the original spokes, but if this wheel needed it, repairing it with a CX-RAY spoke would be fine too—you could ride on it until the original spokes arrive, or even use it in a race if needed.
↑The replaced spoke

When I compare it side-by-side with a new spoke, after the bend starts, it's normal for the distance to increase toward the rim side, but
on the hub side, it moves away from the new spoke first, then comes back close again—a complex deformation pattern.