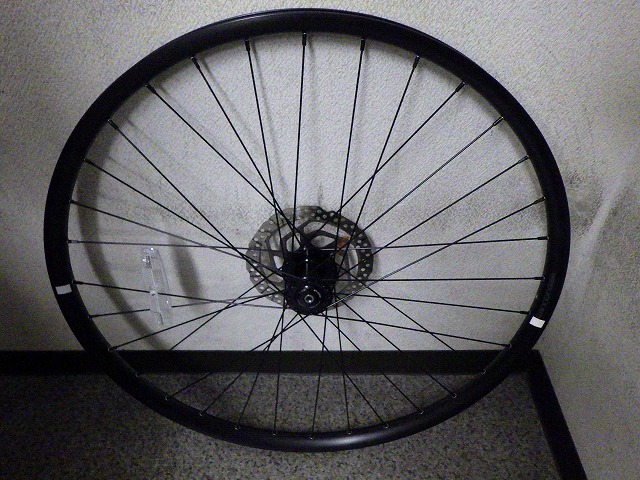
A customer dropped off a Cannondale Lefty front wheel for me to work on.

Based on the rim diameter, it looks like a Bad Boy front wheel from the same manufacturer.
It came packaged together with a Nomulab Wheel No.7 rear wheel,
and the customer wanted truing work on both, but the Nomulab wheel
had virtually no runout worth mentioning—though don't get me wrong,
I'm not trying to brag here or anything.
The box fits two wheels, and since shipping costs are the same whether you send one or two,
they probably just threw both in there.
But this Lefty front wheel wasn't just in need of truing—
it was basically a wheel mid-assembly that I had to finish building from scratch.
There was definitely a noticeable lateral runout that stuck out,
and while that might not have been there originally,
on a completely different phase of the wheel there was radial runout
spanning about five consecutive spoke holes out of the 32H rim,
and the amount of center offset was almost laughably bad.
You could say this front wheel became a properly finished wheel
for the first time after I worked on it.


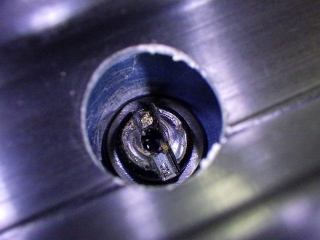
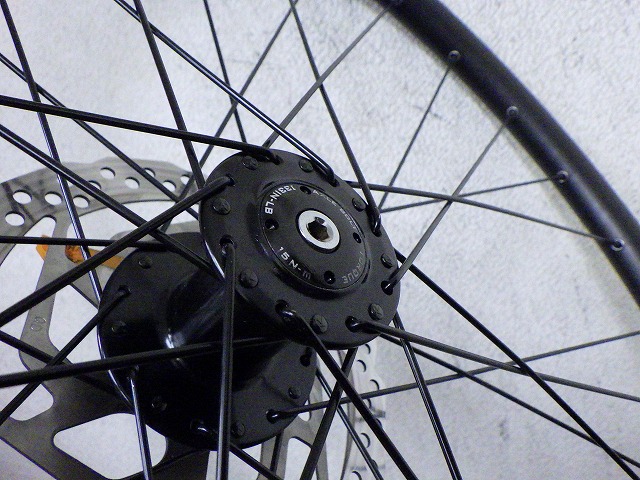
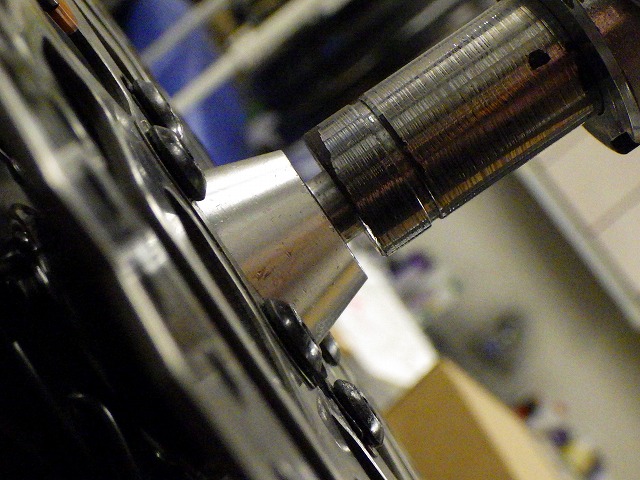
About the Lefty front wheel—
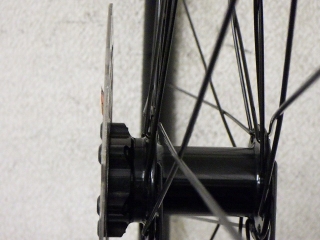
It has a one-key release design where loosening
the screw cap bolt on the right side
causes the entire wheel to extrude to the right
and separate from the fork.
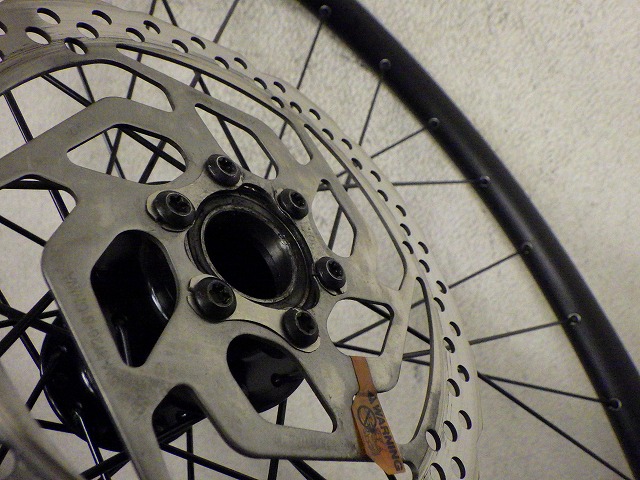
If a disc rotor is mounted, the extrusion will cause
the brake caliper to interfere,
so if you carelessly force the bolt loose without realizing this,
the wheel won't come off and the rotor gets bent out of shape.
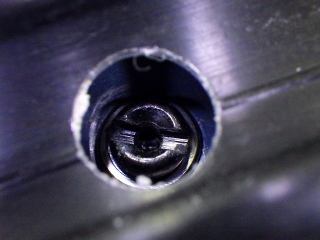
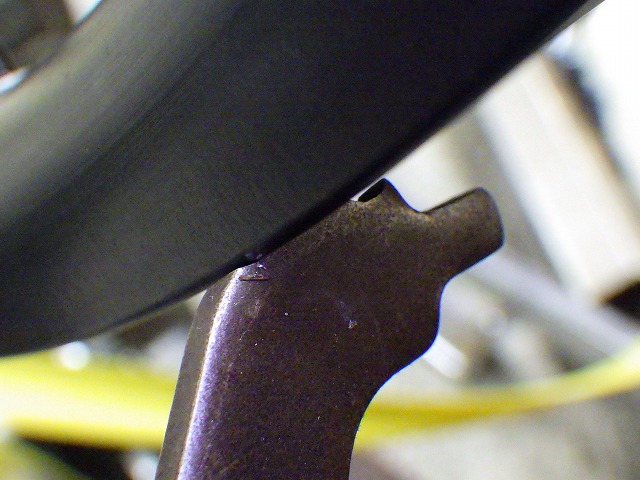
So when removing a Lefty front wheel, you need to
detach the brake caliper from its mounting bracket.
But to avoid having to completely loosen and remove the bolts
holding the bracket, there are usually cutouts provided
in the mounting bracket holes for convenience.


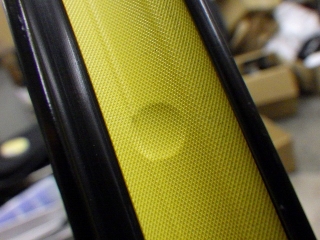
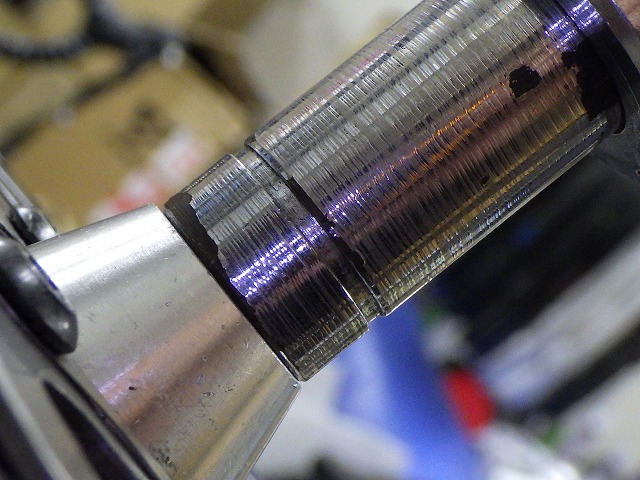
I mounted a Lefty-specific truing stand adapter
and held a centering gauge against it—this is how far off it was.
Since it's the genuine adapter, the wheel center in this position
matches the wheel center when mounted on the actual bike.

The radial runout was severe, with the rim bulging most toward the outside,
and looking at the rim position at the only phase where
it touched the truing stand gauge—
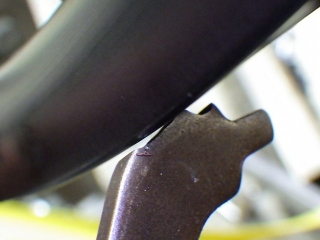
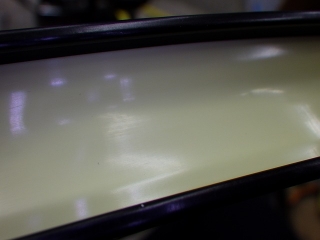
At the phase where it's most dished inward, it looks like this.
It might be hard to see, but this is
a really significant amount of radial runout.
About this radial runout—it probably wasn't the result of
some amateur playing around with truing.
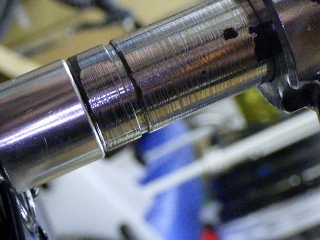
The nipples had significant resistance right from the start of turning,
and I thought maybe some threadlocker had been applied,
so I completely loosened one nipple,
but nothing was applied.
When I put that nipple back on the spoke threads,
once you get past where the rim makes contact,
it spins smoothly without any resistance.
I tried turning other nipples too, and sure enough,
they all had that initial stuck feeling between the nipple and spoke,
and as the nipple rotates, the spoke twists,
and after turning it far enough you hear a sharp "pop!"
and the twist suddenly releases.
The important thing to note is that when the twist unwinds,
the rotation amount doesn't always return the spoke to its original position—
often it doesn't fully return.
Once that galling sensation releases, the nipples become
fairly easy to turn after that.
I had to release the galling on all the nipples during adjustment,
but regarding the radial runout specifically,
creating that much radial runout would require tightening the nipples
way more than someone unskilled could manage. If the nipples have been turned
a reasonable number of times since the wheel left the factory,
the galling sensation should be gone, so I don't think
this radial runout came from amateur truing attempts.
As for the center offset—it was in the direction of tightening
on the non-rotor side, the low-tension side,
which worked out great for me. As I've written before,
this is what I call a "tightening bonus" offset.
The offset was so large that even after going through
one complete tightening pass just as an opening move,
I still hadn't achieved proper centering.

I finished chasing down the lateral and radial runout and got the center dialed in.
I'd say the work time was probably not much different from
building a wheel fresh from new components.


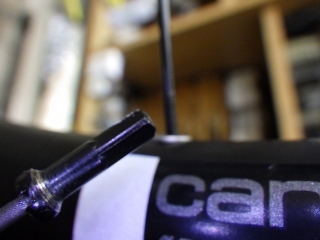
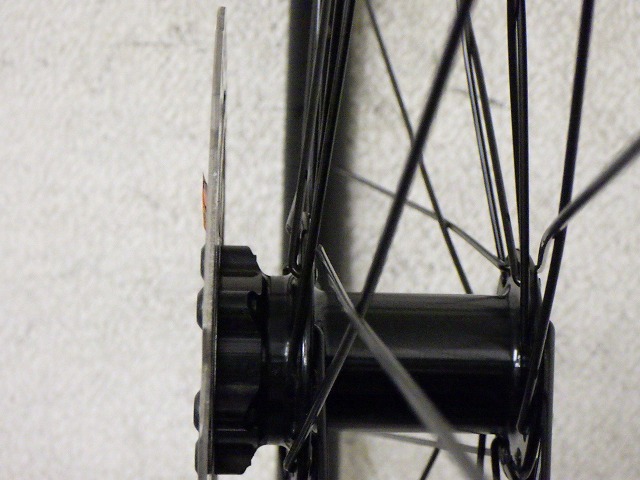
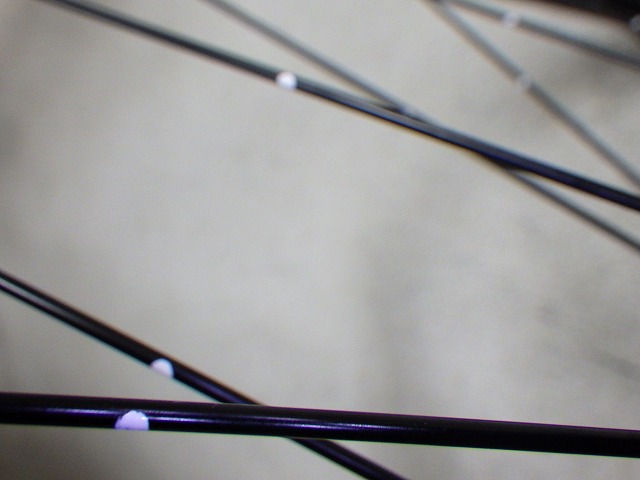
Round spokes make twist hard to see, so I sometimes
mark silver spokes with black or black spokes with white
as reference marks.
I wipe all these off after I'm done.
↑Both of these are spokes on the non-rotor bracket side nipples that I tightened more than a full turn from the original state, and you can see the spokes are shorter.
The rotor bracket side spokes are similarly short,
but this time I just did a visual check and left it.

Going back in time a bit, it had the typical complete-bike wheel issue of
cheap, poorly-fitting elastic rim tape that was meandering
all over the place at the right and left edges,
with some sections right at the rim hole edges, so—
I installed Stans tubeless tape that matches the rim's internal width.
Based on the rim diameter, it looks like a Bad Boy front wheel from the same manufacturer.
It came packaged together with a Nomulab Wheel No.7 rear wheel,
and the customer wanted truing work on both, but the Nomulab wheel
had virtually no runout worth mentioning—though don't get me wrong,
I'm not trying to brag here or anything.
The box fits two wheels, and since shipping costs are the same whether you send one or two,
they probably just threw both in there.
But this Lefty front wheel wasn't just in need of truing—
it was basically a wheel mid-assembly that I had to finish building from scratch.
There was definitely a noticeable lateral runout that stuck out,
and while that might not have been there originally,
on a completely different phase of the wheel there was radial runout
spanning about five consecutive spoke holes out of the 32H rim,
and the amount of center offset was almost laughably bad.
You could say this front wheel became a properly finished wheel
for the first time after I worked on it.
About the Lefty front wheel—
It has a one-key release design where loosening
the screw cap bolt on the right side
causes the entire wheel to extrude to the right
and separate from the fork.
If a disc rotor is mounted, the extrusion will cause
the brake caliper to interfere,
so if you carelessly force the bolt loose without realizing this,
the wheel won't come off and the rotor gets bent out of shape.
So when removing a Lefty front wheel, you need to
detach the brake caliper from its mounting bracket.
But to avoid having to completely loosen and remove the bolts
holding the bracket, there are usually cutouts provided
in the mounting bracket holes for convenience.

I mounted a Lefty-specific truing stand adapter
and held a centering gauge against it—this is how far off it was.
Since it's the genuine adapter, the wheel center in this position
matches the wheel center when mounted on the actual bike.
The radial runout was severe, with the rim bulging most toward the outside,
and looking at the rim position at the only phase where
it touched the truing stand gauge—

At the phase where it's most dished inward, it looks like this.
It might be hard to see, but this is
a really significant amount of radial runout.
About this radial runout—it probably wasn't the result of
some amateur playing around with truing.

The nipples had significant resistance right from the start of turning,
and I thought maybe some threadlocker had been applied,
so I completely loosened one nipple,
but nothing was applied.
When I put that nipple back on the spoke threads,
once you get past where the rim makes contact,
it spins smoothly without any resistance.
I tried turning other nipples too, and sure enough,
they all had that initial stuck feeling between the nipple and spoke,
and as the nipple rotates, the spoke twists,
and after turning it far enough you hear a sharp "pop!"
and the twist suddenly releases.
The important thing to note is that when the twist unwinds,
the rotation amount doesn't always return the spoke to its original position—
often it doesn't fully return.
Once that galling sensation releases, the nipples become
fairly easy to turn after that.
I had to release the galling on all the nipples during adjustment,
but regarding the radial runout specifically,
creating that much radial runout would require tightening the nipples
way more than someone unskilled could manage. If the nipples have been turned
a reasonable number of times since the wheel left the factory,
the galling sensation should be gone, so I don't think
this radial runout came from amateur truing attempts.
As for the center offset—it was in the direction of tightening
on the non-rotor side, the low-tension side,
which worked out great for me. As I've written before,
this is what I call a "tightening bonus" offset.
The offset was so large that even after going through
one complete tightening pass just as an opening move,
I still hadn't achieved proper centering.

I finished chasing down the lateral and radial runout and got the center dialed in.
I'd say the work time was probably not much different from
building a wheel fresh from new components.

Round spokes make twist hard to see, so I sometimes
mark silver spokes with black or black spokes with white
as reference marks.
I wipe all these off after I'm done.


↑Both of these are spokes on the non-rotor bracket side nipples that I tightened more than a full turn from the original state, and you can see the spokes are shorter.
The rotor bracket side spokes are similarly short,
but this time I just did a visual check and left it.


Going back in time a bit, it had the typical complete-bike wheel issue of
cheap, poorly-fitting elastic rim tape that was meandering
all over the place at the right and left edges,
with some sections right at the rim hole edges, so—
I installed Stans tubeless tape that matches the rim's internal width.