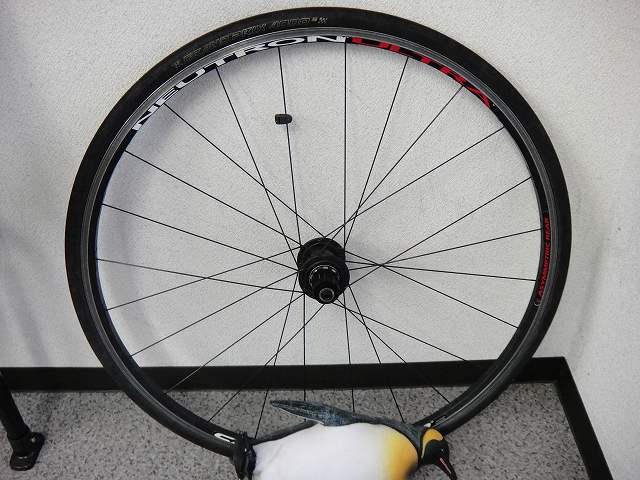
I received a PowerTap hub wheel from a customer.
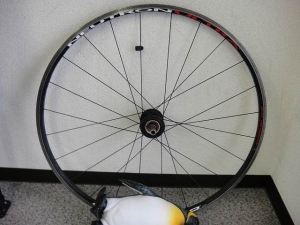
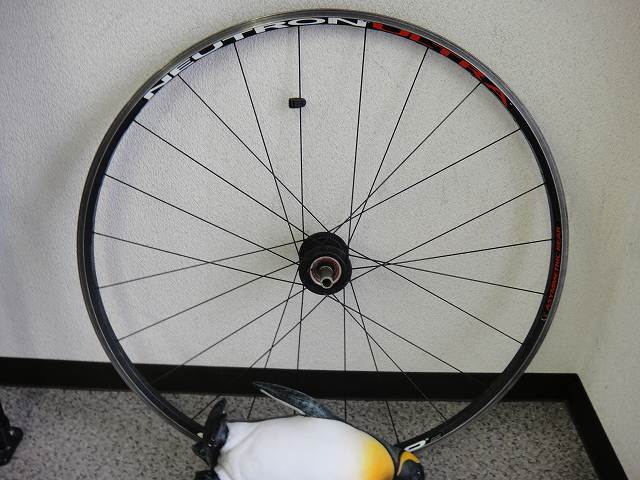
The rim is beyond what I can cover up, so I had to decide whether to hide the manufacturer name or model name. I chose to hide the manufacturer name.
The rim says "Neutron Ultra" on it, but which manufacturer it's from is a secret.
The request was basically "fix everything that's wrong with it."
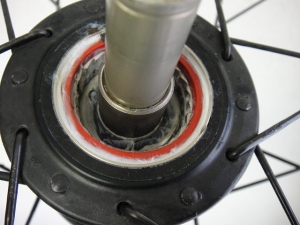
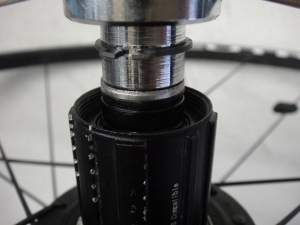
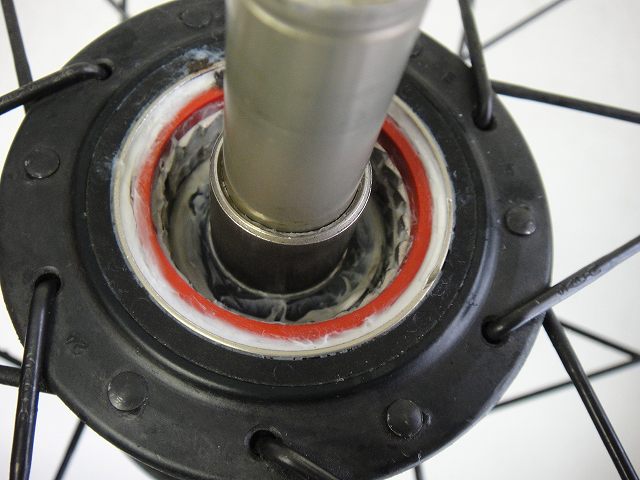
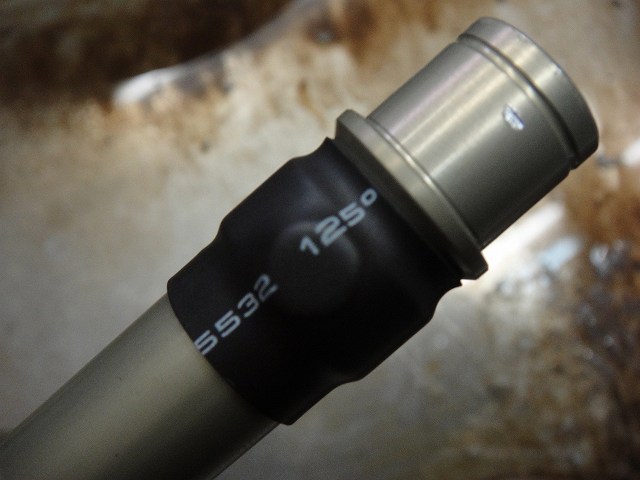
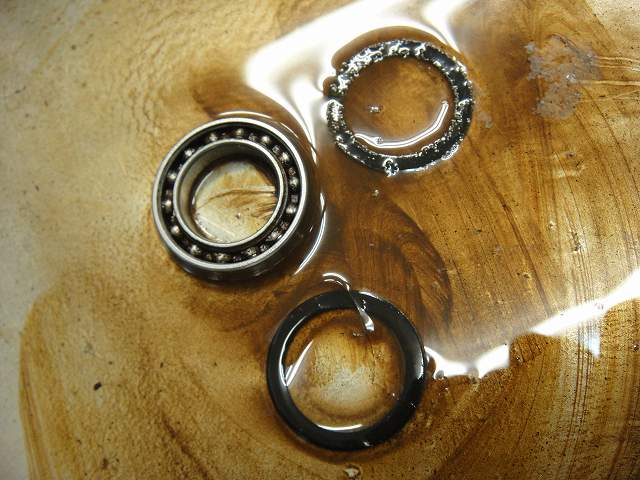
The freewheel body came off and was included separately, and it arrived in the state shown in the image.
Just touching it lightly, I could already see plenty of issues.
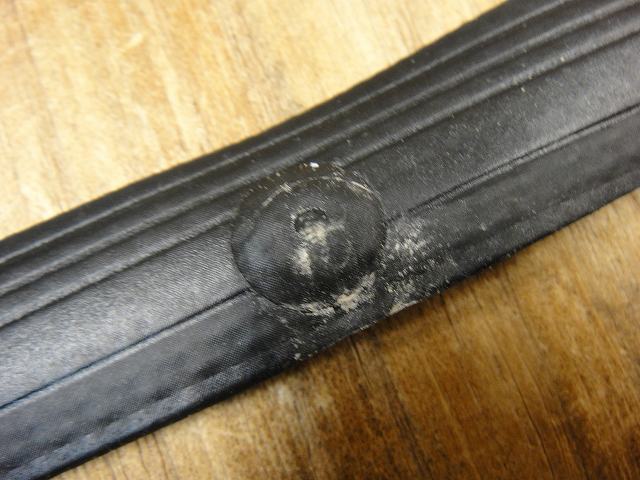
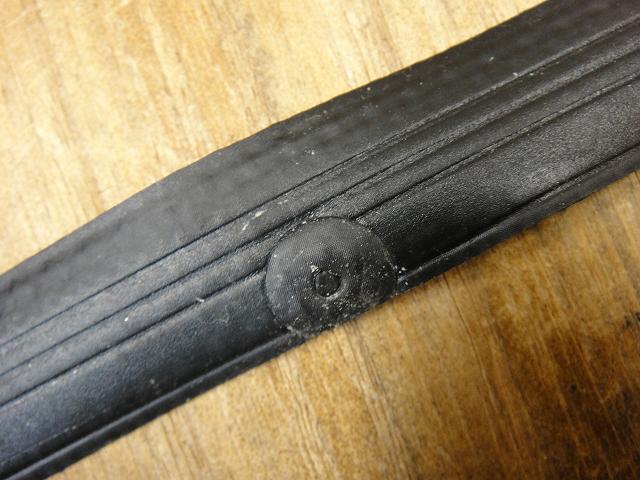
The tape looks half-hearted, but it's torn.
However, the tape itself didn't cause this damage.
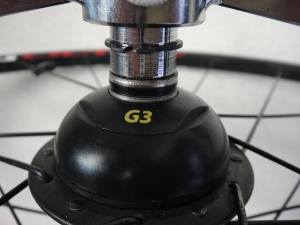
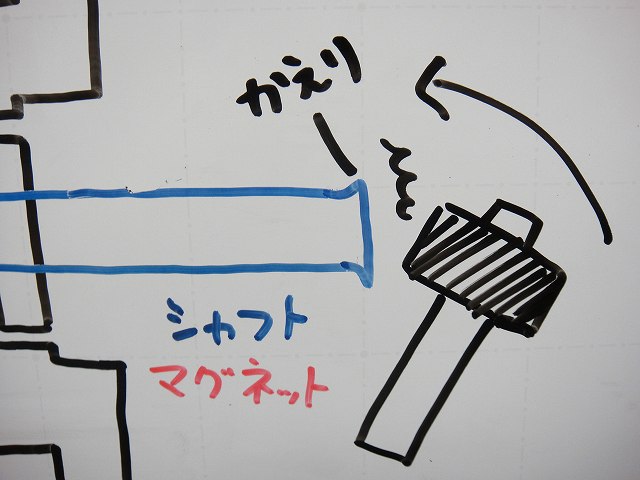
The culprit was "someone trying to pull the shaft out from the left side."
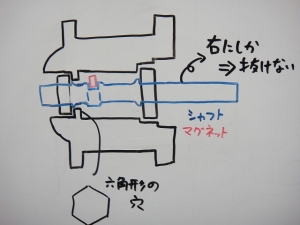
There might be some exceptions in older models, but the PowerTap hub shaft can only be removed from the right side.
On the left side inside the hub body, there's a hexagonal hole, and the magnet-equipped shaft physically cannot pass through it due to dimensional constraints.

But if you force it from the left anyway...

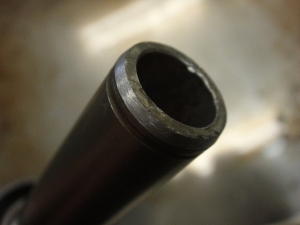
↑The magnet gets caught on the hole and goes "CRUNCH!"

↑Looking from the side, there were indeed traces of it getting "crunched."
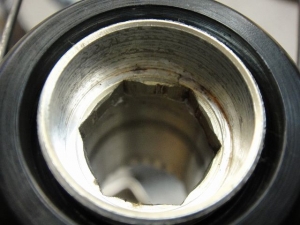
↑There are relentless crunching marks all around the hexagonal hole.
※I've been saying "crunched" repeatedly, but I'm not trying to make it trendy (laughs).
I'm just issuing a warning to anyone who likes taking things apart themselves so they don't end up crunching theirs.
The magnet came off by hand, so
I washed the shaft and then bonded it back with instant adhesive...

And then I finish it with the usual technique.
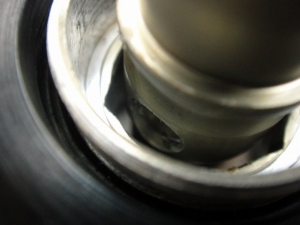
Without the magnet, it would just barely fit through the hexagonal hole, but...

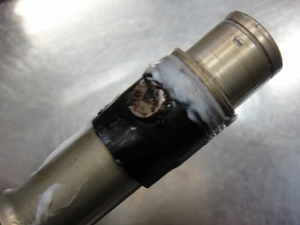
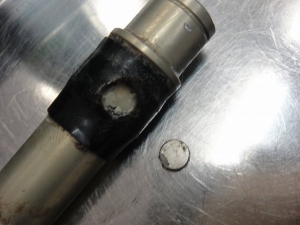
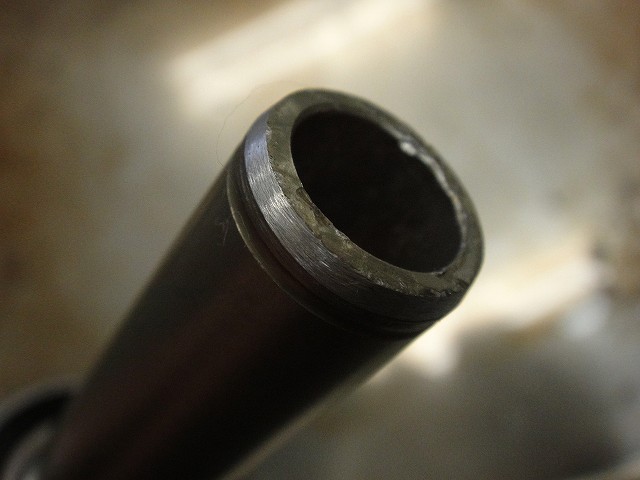
Furthermore, someone apparently tried hard to pull it out from the left with a metal hammer many times, which caused the surface to raise and deform.
PowerTap hub bearings aren't really press-fitted that tightly, so impact removal wouldn't cause a problem in theory, but since they're loose, a plastic mallet is plenty sufficient.
(That is, if you know what you're doing)
↑The shaft end face is all battered and dented.
Because of the raised deformation, the bearing became "like a swollen ring that won't come off" and couldn't be removed, so
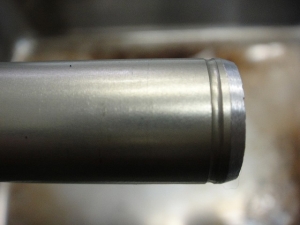
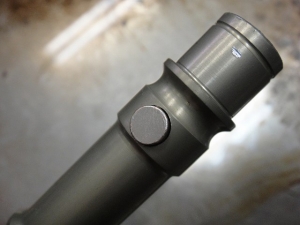
I carefully tapered the end of the shaft.
The shaft end face is what makes contact with the endcap, so it's a dimension-critical area. I absolutely cannot touch the actual end face. This is the limit I can go to.
The previous image is after grinding, but I haven't touched the end face itself.

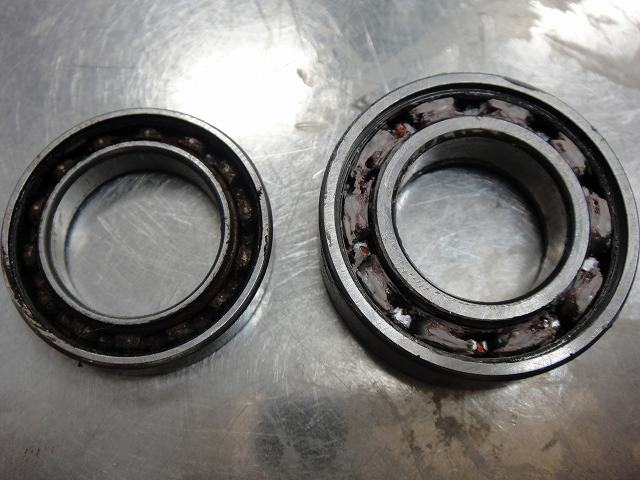
The left bearing had rough, grinding rotation.
The left side of the shaft was initially covered in brown rust fluid, so I figured it was probably shot, but

When I removed the seal, sure enough the balls were rusted.
Well, maybe I could fix it with just some grease...

No luck.
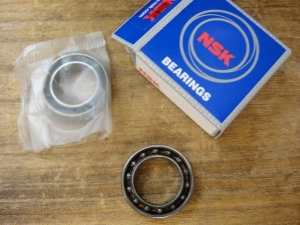
I happen to have bearings in stock that are the right size for PowerTap hubs, so I replaced it.
I treated the right bearing with just grease, but I also went ahead and cracked open the seal on the new left bearing to add grease there too.

I also cleaned the hub body.

After reassembling the hub, I checked the runout and it wasn't off. The centering was off though, so I adjusted it.
"When you measure with the gauge on the anti-freewheel side and the hub opens up on the freewheel side" means you can fix it by tightening the anti-freewheel side cone.
It's shifted in this direction, which is actually convenient. The opposite would be a nightmare.
(Because you'd end up in the hell of not wanting to loosen the anti-freewheel side but already having the freewheel side fully tightened)
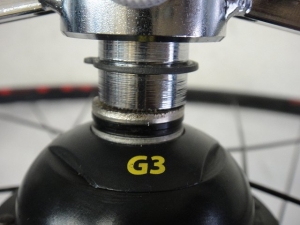
Centering is dialed in.

It had a Vittoria 15C width rim tape on it, but Campagnolo(←Oops, I let it slip!) rims have a wider internal width, so a 15C tape is too narrow and doesn't fit properly.
Plus, this is an offset rim, so all the holes on the outside are shifted toward one side. Not shifted in any political sense, of course—just physically shifted.
(Just to be clear)

In some spots it was completely inadequate, so I replaced it with a wider tape.
Censor bar... enough already... just go home...
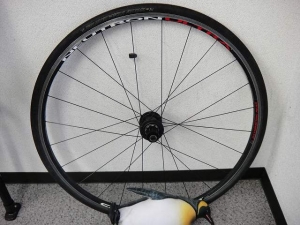
Though I've already removed it in the opening photo, the tire was on it when I received it, so if the rim tape was misaligned and I aired it up, it could look like "the puncture happened because I touched it." But that's not just about protecting myself.
If left as it was, rim-side punctures would happen sooner or later anyway, so the tape replacement was absolutely necessary as preventive maintenance.
Also, the tire direction was backwards, so I fixed that too.
There's a theory that for the Grand Prix 4000S, the water-shedding tread actually works better backwards from the manufacturer's recommended direction, and I do think there's merit to it. But I install them in the manufacturer's direction anyway.
The likelihood that someone deliberately installed it backwards based on that theory seems low, so I switched it to the manufacturer's direction.
The rim is beyond what I can cover up, so I had to decide whether to hide the manufacturer name or model name. I chose to hide the manufacturer name.
The rim says "Neutron Ultra" on it, but which manufacturer it's from is a secret.
The request was basically "fix everything that's wrong with it."
The freewheel body came off and was included separately, and it arrived in the state shown in the image.
Just touching it lightly, I could already see plenty of issues.

The tape looks half-hearted, but it's torn.
However, the tape itself didn't cause this damage.
The culprit was "someone trying to pull the shaft out from the left side."

There might be some exceptions in older models, but the PowerTap hub shaft can only be removed from the right side.
On the left side inside the hub body, there's a hexagonal hole, and the magnet-equipped shaft physically cannot pass through it due to dimensional constraints.

But if you force it from the left anyway...
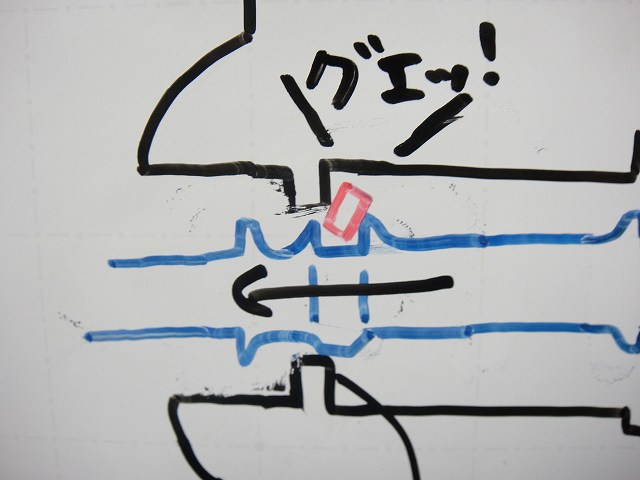
↑The magnet gets caught on the hole and goes "CRUNCH!"
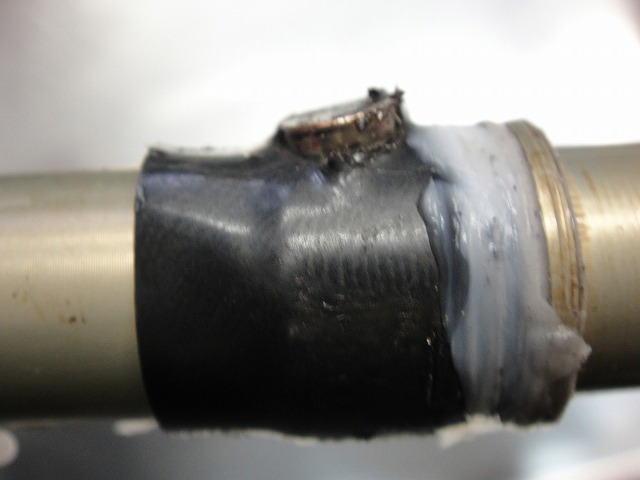
↑Looking from the side, there were indeed traces of it getting "crunched."
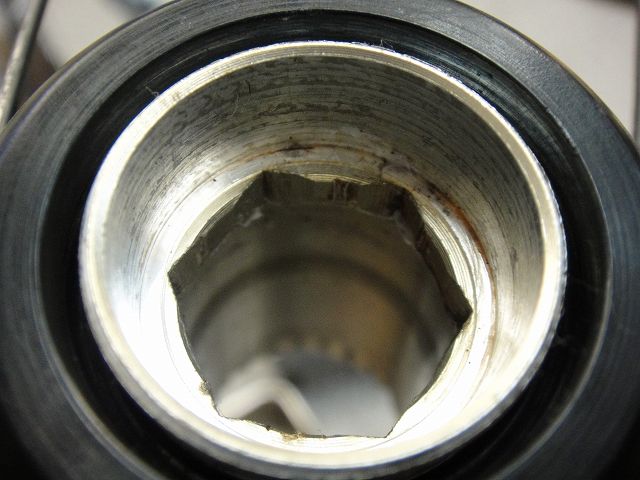
↑There are relentless crunching marks all around the hexagonal hole.
※I've been saying "crunched" repeatedly, but I'm not trying to make it trendy (laughs).
I'm just issuing a warning to anyone who likes taking things apart themselves so they don't end up crunching theirs.

The magnet came off by hand, so

I washed the shaft and then bonded it back with instant adhesive...
And then I finish it with the usual technique.

Without the magnet, it would just barely fit through the hexagonal hole, but...
Furthermore, someone apparently tried hard to pull it out from the left with a metal hammer many times, which caused the surface to raise and deform.
PowerTap hub bearings aren't really press-fitted that tightly, so impact removal wouldn't cause a problem in theory, but since they're loose, a plastic mallet is plenty sufficient.
(That is, if you know what you're doing)
↑The shaft end face is all battered and dented.
Because of the raised deformation, the bearing became "like a swollen ring that won't come off" and couldn't be removed, so

I carefully tapered the end of the shaft.
The shaft end face is what makes contact with the endcap, so it's a dimension-critical area. I absolutely cannot touch the actual end face. This is the limit I can go to.
The previous image is after grinding, but I haven't touched the end face itself.

The left bearing had rough, grinding rotation.
The left side of the shaft was initially covered in brown rust fluid, so I figured it was probably shot, but
When I removed the seal, sure enough the balls were rusted.
Well, maybe I could fix it with just some grease...
No luck.

I happen to have bearings in stock that are the right size for PowerTap hubs, so I replaced it.
I treated the right bearing with just grease, but I also went ahead and cracked open the seal on the new left bearing to add grease there too.

I also cleaned the hub body.


After reassembling the hub, I checked the runout and it wasn't off. The centering was off though, so I adjusted it.
"When you measure with the gauge on the anti-freewheel side and the hub opens up on the freewheel side" means you can fix it by tightening the anti-freewheel side cone.
It's shifted in this direction, which is actually convenient. The opposite would be a nightmare.
(Because you'd end up in the hell of not wanting to loosen the anti-freewheel side but already having the freewheel side fully tightened)

Centering is dialed in.
It had a Vittoria 15C width rim tape on it, but Campagnolo(←Oops, I let it slip!) rims have a wider internal width, so a 15C tape is too narrow and doesn't fit properly.
Plus, this is an offset rim, so all the holes on the outside are shifted toward one side. Not shifted in any political sense, of course—just physically shifted.
(Just to be clear)
In some spots it was completely inadequate, so I replaced it with a wider tape.
Censor bar... enough already... just go home...
Though I've already removed it in the opening photo, the tire was on it when I received it, so if the rim tape was misaligned and I aired it up, it could look like "the puncture happened because I touched it." But that's not just about protecting myself.
If left as it was, rim-side punctures would happen sooner or later anyway, so the tape replacement was absolutely necessary as preventive maintenance.
Also, the tire direction was backwards, so I fixed that too.
There's a theory that for the Grand Prix 4000S, the water-shedding tread actually works better backwards from the manufacturer's recommended direction, and I do think there's merit to it. But I install them in the manufacturer's direction anyway.
The likelihood that someone deliberately installed it backwards based on that theory seems low, so I switched it to the manufacturer's direction.