It's wheel day again (etc.). But before that.
I was thinking about rebuilding the rear wheel, which is the pair to yesterday's CL50 front wheel,
but I didn't have enough silver CX-RAY straight spokes,
so that work will have to wait until they arrive.
Next on the list is rebuilding the Alpinist CLX front wheel,
so I decided to do that first.
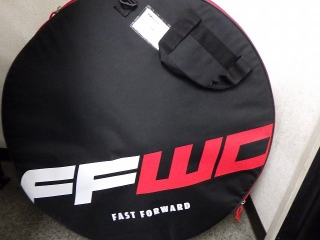
I received an Alpinist CLX from a customer
that came in an FF Yamaguchi wheel bag.
The right edge of the character "口" in FF Yamaguchi is cut off,
so this FF Yamaguchi has serious "Yamaguchi vibes."
At the bottom it says "Fast Forward,"
but I'm not sure what that means.
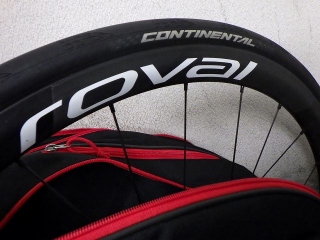
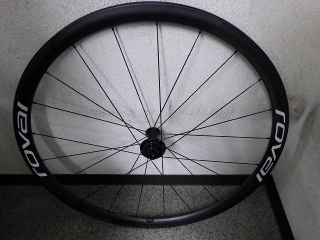
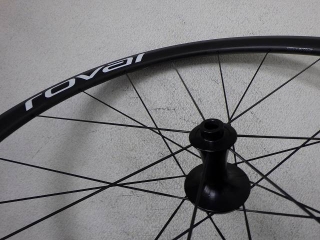
This is an Alpinist CLX with a white logo.
The reason I'm pointing this out is
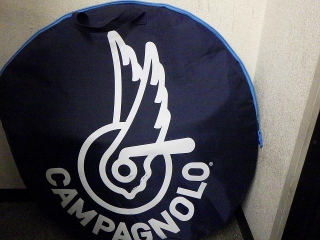
to distinguish it from the other Alpinist CLX
that's in a Campagnolo wheel bag.
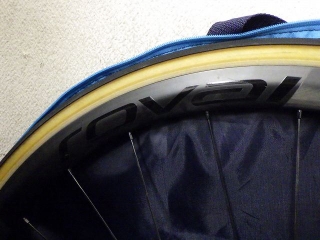
But that one turned out to have a black logo.
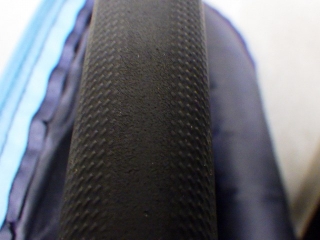
↑Also, this tire,
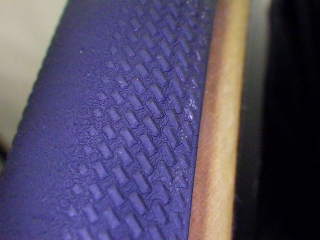
is the Specialized tire I mentioned
in a previous post (→here).
So, it's wheel day again (etc.).
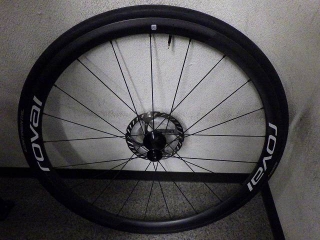
I received an Alpinist CLX from a customer.
It's one of those "get it done in time for Fuji Hill" jobs.
Today I'm rebuilding the front wheel.
The original configuration was 7+14H laced with all-black Aerolite straight spokes.
Also, the front hub rotation was a bit rough.
I won't replace the bearings without permission,
but it does seem like it should be done.
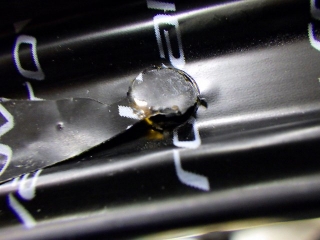
The rim tape handling at the valve hole is done by
cutting through both the outermost layer of the rim tape and
the layer underneath it in one go with a can opener cut.
But I wish they'd stop doing this because when the tape tears where it's connected,
small round pieces of tape can fall into the rim
and it becomes a bit of a hassle to retrieve them.
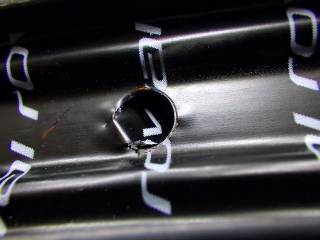
I don't think cutting the entire circumference changes anything
about the crimp at the base of the tubeless valve.
Maybe they avoid the full circumferential cut to avoid the hassle
of having to retrieve tape scraps if they accidentally drop some inside.
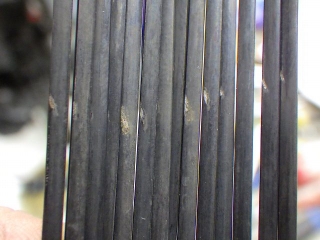
I disassembled the wheel.
The image above shows the 14 spokes on the left side—the rotor mounting side, the multi-spoke side—
that will be reused.
Some spokes, like the third from the right and the ones in the middle, are reversed,
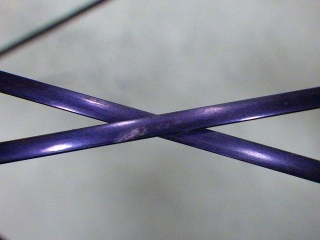
but all spokes showed wear marks from friction at the final cross.
The wear mark on the fifth spoke from the left was
particularly prominent and large.
It could be that this spoke had especially low spoke tension
within the range of tension variation,
or perhaps the spoke head was flattened into an eringi mushroom-like shape
and the flattening wasn't parallel to the spoke's flat-butted profile,
causing it to contact at a slight angle at the final cross.

After disassembling the wheel, I first did a rough lace-up.
By rough lace-up here, I mean lacing the spokes and tightening the nipples
just enough so the spoke threads are hidden on the inner edge of the nipple end face,
with the tightening amount matched across all spokes.
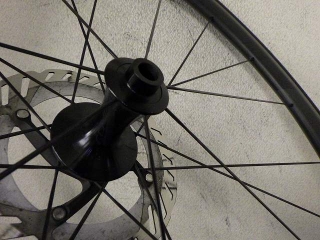
From there, I did a rough radial and lateral truing.
Only the wheel center isn't perfectly centered at this point.
With the valve hole phase on the right side and the hub on the left,
I took the above image from the rotor mounting side.

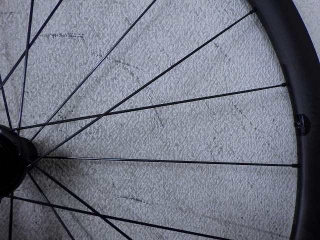
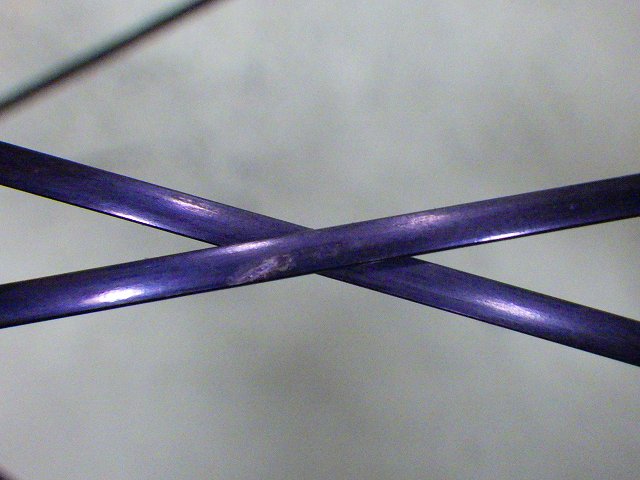
From here I'll zoom in on the final cross near the valve hole.

I laced the spoke with the most prominent wear mark
so the wear mark is on the outside.
The wear mark is already positioned in the middle of the final cross.
I finished lacing it.
Starting from the rough lace-up stage,
I'm doing a reverse asymmetric build with black CX Sprint straight spokes
on the fewer-spoke side.
I'll handle the lacing on the multi-spoke side later.
↑This is a photo taken after I finished lacing,
the wear mark has moved to this position.
The reverse asymmetric build changes the maximum tension limit.
It's not absolutely impossible to increase the tension this much while keeping the original spoke gauge,
but practically speaking, it's impossible.
At least I won't do it, and if it were easy to do,
the manufacturer would have done it in the first place.
And even if I did, it wouldn't make much of a difference with the original gauge.
Also, you might think that if you're only replacing spokes on the fewer-spoke side,
you wouldn't need to fully disassemble the wheel.
If I had originally built this wheel, that would indeed be true.
If the 14 spokes on the multi-spoke side from a partial disassembly of just the fewer-spoke side
functioned as a guide that required no radial truing,
then there'd be no need to disassemble the multi-spoke side.
Since the work time between partial and full disassembly doesn't differ much
(from the average precision of Rovals),
and I want to apply anti-seize compound to the spoke threads,
and other reasons—meal ticket reasons—
I don't want to spoil the actual rim weight measurement
there's something about partial disassembly that just doesn't sit right with me,
so I do a full disassembly.
If this Alpinist CLX were my personal bike and I wasn't changing spokes or relacing,
I'd still do a full disassembly and rebuild.
I won't write what's fundamentally wrong (and I can't),
but if this were a Bora WTO, even for my personal use,
I wouldn't fully disassemble it—I'd just inspect and ride it.
I was thinking about rebuilding the rear wheel, which is the pair to yesterday's CL50 front wheel,
but I didn't have enough silver CX-RAY straight spokes,
so that work will have to wait until they arrive.
Next on the list is rebuilding the Alpinist CLX front wheel,
so I decided to do that first.

I received an Alpinist CLX from a customer
that came in an FF Yamaguchi wheel bag.

The right edge of the character "口" in FF Yamaguchi is cut off,
so this FF Yamaguchi has serious "Yamaguchi vibes."
At the bottom it says "Fast Forward,"
but I'm not sure what that means.

This is an Alpinist CLX with a white logo.
The reason I'm pointing this out is

to distinguish it from the other Alpinist CLX
that's in a Campagnolo wheel bag.

But that one turned out to have a black logo.

↑Also, this tire,

is the Specialized tire I mentioned
in a previous post (→here).
So, it's wheel day again (etc.).

I received an Alpinist CLX from a customer.
Today I'm rebuilding the front wheel.

The original configuration was 7+14H laced with all-black Aerolite straight spokes.
Also, the front hub rotation was a bit rough.
I won't replace the bearings without permission,
but it does seem like it should be done.

The rim tape handling at the valve hole is done by
cutting through both the outermost layer of the rim tape and

the layer underneath it in one go with a can opener cut.
But I wish they'd stop doing this because when the tape tears where it's connected,
small round pieces of tape can fall into the rim
and it becomes a bit of a hassle to retrieve them.
I don't think cutting the entire circumference changes anything
about the crimp at the base of the tubeless valve.
Maybe they avoid the full circumferential cut to avoid the hassle
of having to retrieve tape scraps if they accidentally drop some inside.

I disassembled the wheel.
The image above shows the 14 spokes on the left side—the rotor mounting side, the multi-spoke side—
that will be reused.
Some spokes, like the third from the right and the ones in the middle, are reversed,
but all spokes showed wear marks from friction at the final cross.
The wear mark on the fifth spoke from the left was
particularly prominent and large.
It could be that this spoke had especially low spoke tension
within the range of tension variation,
or perhaps the spoke head was flattened into an eringi mushroom-like shape
and the flattening wasn't parallel to the spoke's flat-butted profile,
causing it to contact at a slight angle at the final cross.

After disassembling the wheel, I first did a rough lace-up.
By rough lace-up here, I mean lacing the spokes and tightening the nipples
just enough so the spoke threads are hidden on the inner edge of the nipple end face,
with the tightening amount matched across all spokes.
From there, I did a rough radial and lateral truing.
Only the wheel center isn't perfectly centered at this point.
With the valve hole phase on the right side and the hub on the left,
I took the above image from the rotor mounting side.

From here I'll zoom in on the final cross near the valve hole.

I laced the spoke with the most prominent wear mark
so the wear mark is on the outside.
The wear mark is already positioned in the middle of the final cross.

I finished lacing it.

Starting from the rough lace-up stage,
I'm doing a reverse asymmetric build with black CX Sprint straight spokes
on the fewer-spoke side.
I'll handle the lacing on the multi-spoke side later.

↑This is a photo taken after I finished lacing,
the wear mark has moved to this position.
The reverse asymmetric build changes the maximum tension limit.
It's not absolutely impossible to increase the tension this much while keeping the original spoke gauge,
but practically speaking, it's impossible.
At least I won't do it, and if it were easy to do,
the manufacturer would have done it in the first place.
And even if I did, it wouldn't make much of a difference with the original gauge.
Also, you might think that if you're only replacing spokes on the fewer-spoke side,
you wouldn't need to fully disassemble the wheel.
If I had originally built this wheel, that would indeed be true.
If the 14 spokes on the multi-spoke side from a partial disassembly of just the fewer-spoke side
functioned as a guide that required no radial truing,
then there'd be no need to disassemble the multi-spoke side.
Since the work time between partial and full disassembly doesn't differ much
(from the average precision of Rovals),
and I want to apply anti-seize compound to the spoke threads,
and other reasons—meal ticket reasons—
there's something about partial disassembly that just doesn't sit right with me,
so I do a full disassembly.
If this Alpinist CLX were my personal bike and I wasn't changing spokes or relacing,
I'd still do a full disassembly and rebuild.
I won't write what's fundamentally wrong (and I can't),
but if this were a Bora WTO, even for my personal use,
I wouldn't fully disassemble it—I'd just inspect and ride it.